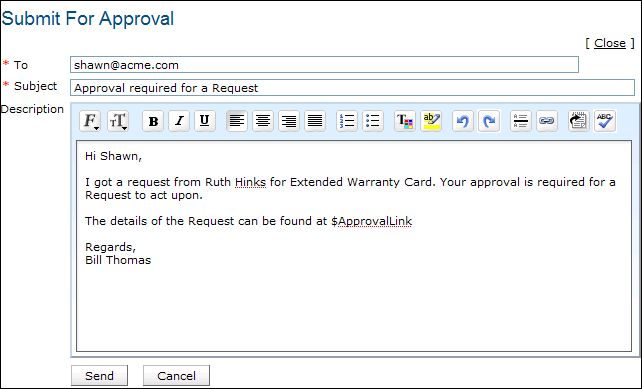
Submit For ApprovalIf a request requires formal approval from the manager before you act upon it, you can submit the request for approval using this option. On submitting a request for approval, an Approval tab appears in the request details page. Your manager will receive a Request for Approval mail with a link to approve or reject the request.
To submit the request for approval,
On sending the mail, the manager receives a Request for approval mail with a link. Clicking on the link opens a form with Approve and Reject option along with the request details.
The manager has to Approve or Reject the request based on the requirement. And save the details.
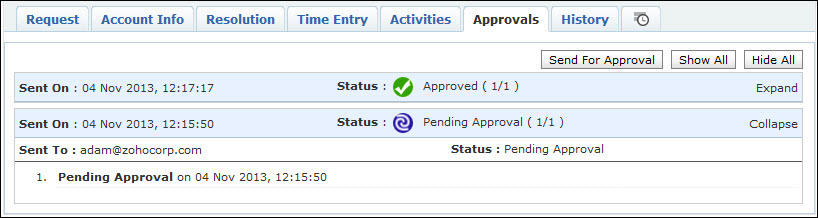
An Approvals tab appears in the request details page beside the History tab. All the mails sent for approval is listed in descending order with details like Sent On, Sent To and Status of approval.
Once the request is approved by the manager the status of the request changes to Approved. If rejected by the manager the status of the request changes to Denied as shown below,
|