
- Overview
- Configuration
Boomi
Automate Employee Life Cycle Management by Integrating Boomi with ADManager Plus
Boomi is an integration and automation platform that can help you instantly connect to applications, sync data, and automate processes such as employee onboarding. By integrating Boomi with ADManager Plus, you can extend your HCM platform's capabilities. Integrate Boomi with ADManager Plus to synchronize with AD and automate perform employee life cycle management across Exchange, Microsoft365 and other connected applications with ease.
Multi-platform user provisioning
Automatically create user accounts across various platforms, such as AD, Exchange, and Microsoft 365, when new employees are added to the HCM application.
A reduction in security risks caused by obsolete accounts
Automatically delete or disable user accounts, remove their licenses, and do even more each time a user record is deleted in the HCM application.
Follow the steps below to integrate ADManager Plus with Boomi:
- Under HCM applications, click the Custom HCM option to add a new HCM integration.
- In the Custom HCM Integration pop-up, add the Name and Description of the integration. You can also add a custom Logo for the Boomi tile.
- Click Save.
- Now the Boomi tile will appear under HCM applications. Click it to configure API authorization methods, endpoints, and LDAP data mapping.
- Under the Authorization section, select API Key from the Authorization Type drop-down menu.
- Enter the key name and value in the Key and Value fields, respectively (x-boomi-flow-api-key :
). - Associate the key with a header or query parameter using the Add to drop-down menu and click Configure.
- Enter the key name and value in the Key and Value fields, respectively (x-boomi-flow-api-key :
- In the API Endpoint Configuration section, add the following:
- Endpoint URL: Enter the endpoint URL
(https://flow.boomi.com/api/admin/1/users). Note: Click here to view Boomi's API references. - Advanced Options: Click this option to add headers and parameters.
- Method: Choose between the HTTP request methods Get and Post.
- Headers: Click and configure the respective HTTP headers.
- Parameters: Cick and configure the query parameters.
- Message Type: Select None.
- Repeat calling this Endpoint: You can also check this option to repeatedly call the API until you get the required response, if needed. From the drop-down menu, select the parameter and specify the increment value. You can also set a condition for calling the endpoint repeatedly. This step is only required when the complete user list retrieval needs repeated calls.
- Endpoint URL: Enter the endpoint URL
- Once done, click Test & Save. The Response window will display all the requested elements.
- Click Data Source - LDAP Attribute Mapping to match endpoints and to map AD LDAP attributes with the respective attributes in the HCM solution.
- Enter the Configuration Name and Description and select the Automation Category from the drop-down menu.
- In the Select Endpoint field, select those columns that are unique to users (employeeIdenifier, username, etc.). The values in these columns should be consistent across all the endpoints.
- In the Attribute Mapping field, select the attribute from the LDAP Attribute Name drop-down menu and map it with the respective column in the HCM solution.
- Click Save.
To generate an API key:
- From the home page of Boomi, navigate to Flow.
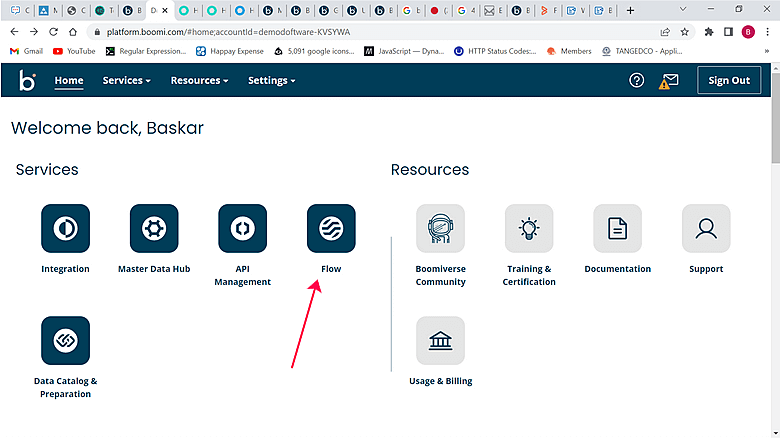
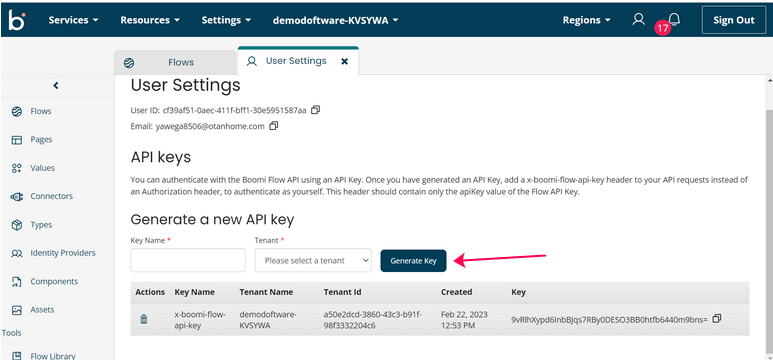
- Click the user icon in the top-right corner.

- Go to User Settings and click Generate Key.
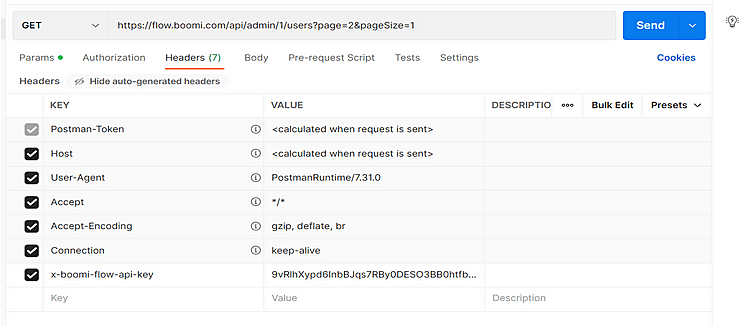
- Add x-boomi-flow-api-key as the header to your API requests (e.g., x-boomi-flow-api-key :
). 
Sample integration using the Postman tool
- Navigate to Postman (https://www.postman.com).
- To list users, enter the following:
- API: https://flow.boomi.com/api/admin/1/users
- HTTP method: GET
- Header: x-boomi-flow-api-key :
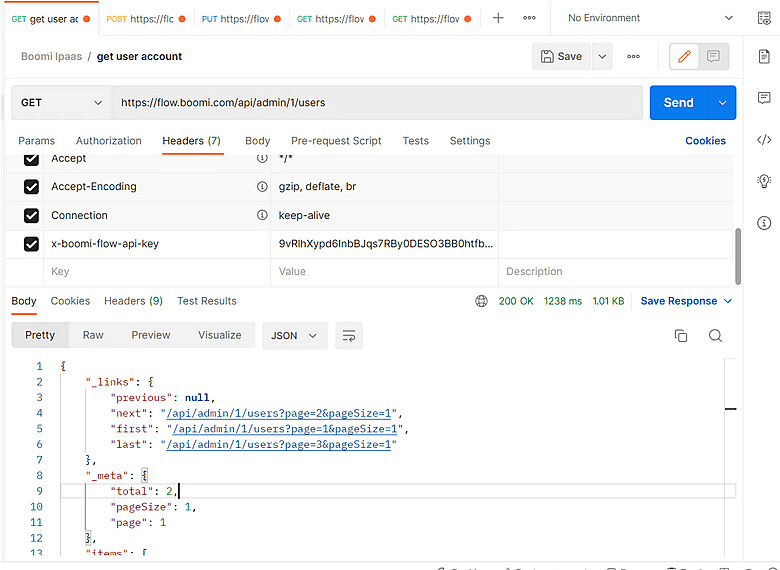
Sample response
         {                              "_links": {

"previous": null,

"next": "/api/admin/1/users?page=2&pageSize=1",

"first": "/api/admin/1/users?page=1&pageSize=1",

"last": "/api/admin/1/users?page=3&pageSize=1"

},

"_meta": {

"total": 2,

"pageSize": 1,

"page": 1

},

"items": [

{

"createdAt": "2023-02-22T05:25:07.46799+00:00",

"email": "yawega8506@otanhome.com",

"firstName": "Baskar",

"id": "cf39af51-0aec-411f-bff1-30e5951587aa",

"isSso": false,

"lastName": "Balaji",

"organizations": null,

"role": {

"developerName": "ADMINISTRATOR",

"friendlyName": "Administrator",

"roleId": 1

},

"tenants": null,

"tokens": null

}

]                      }
Images for your reference:
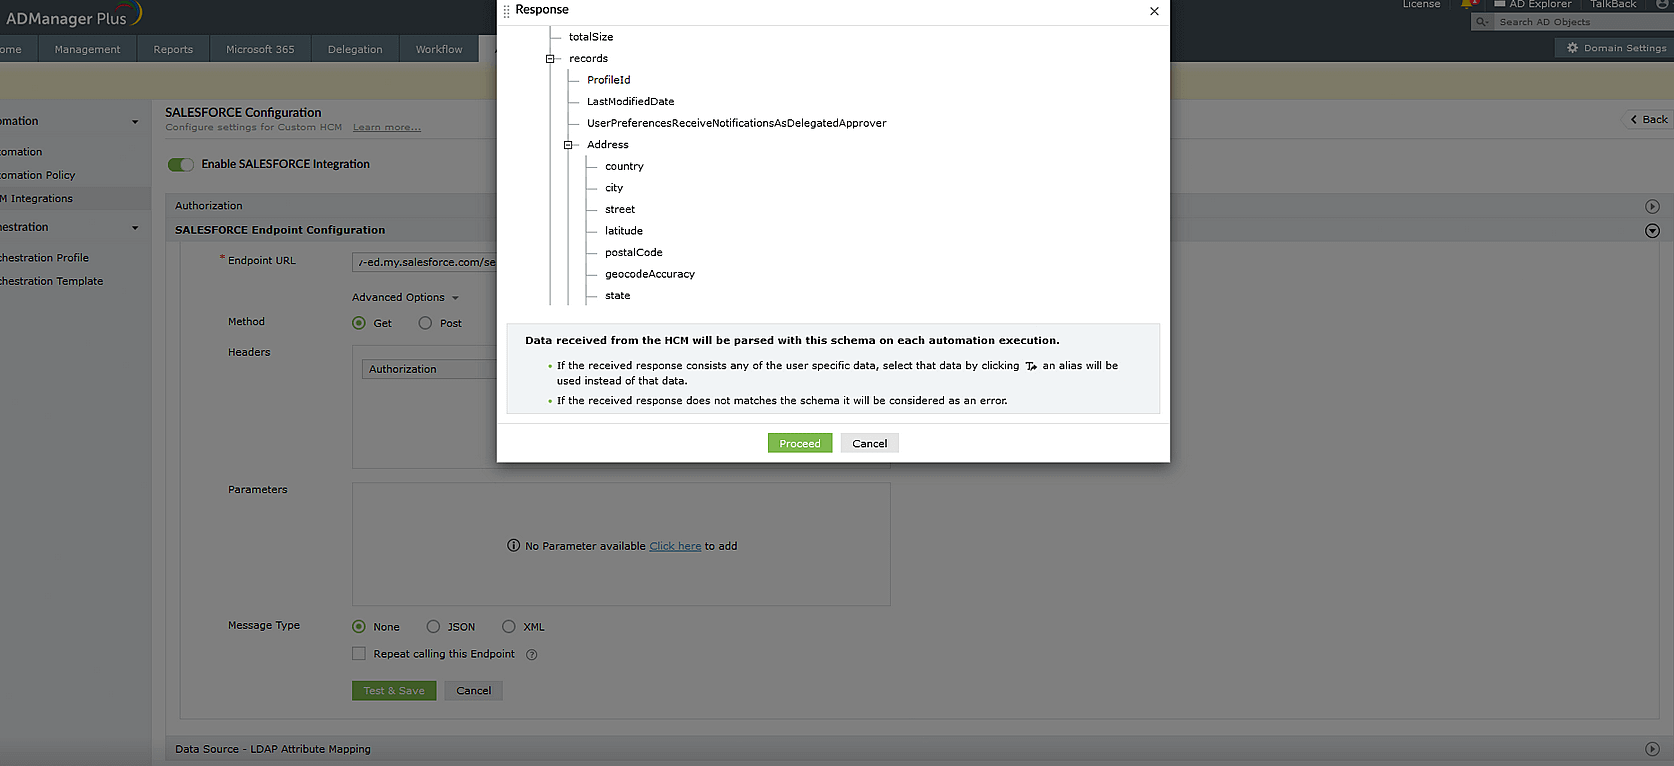
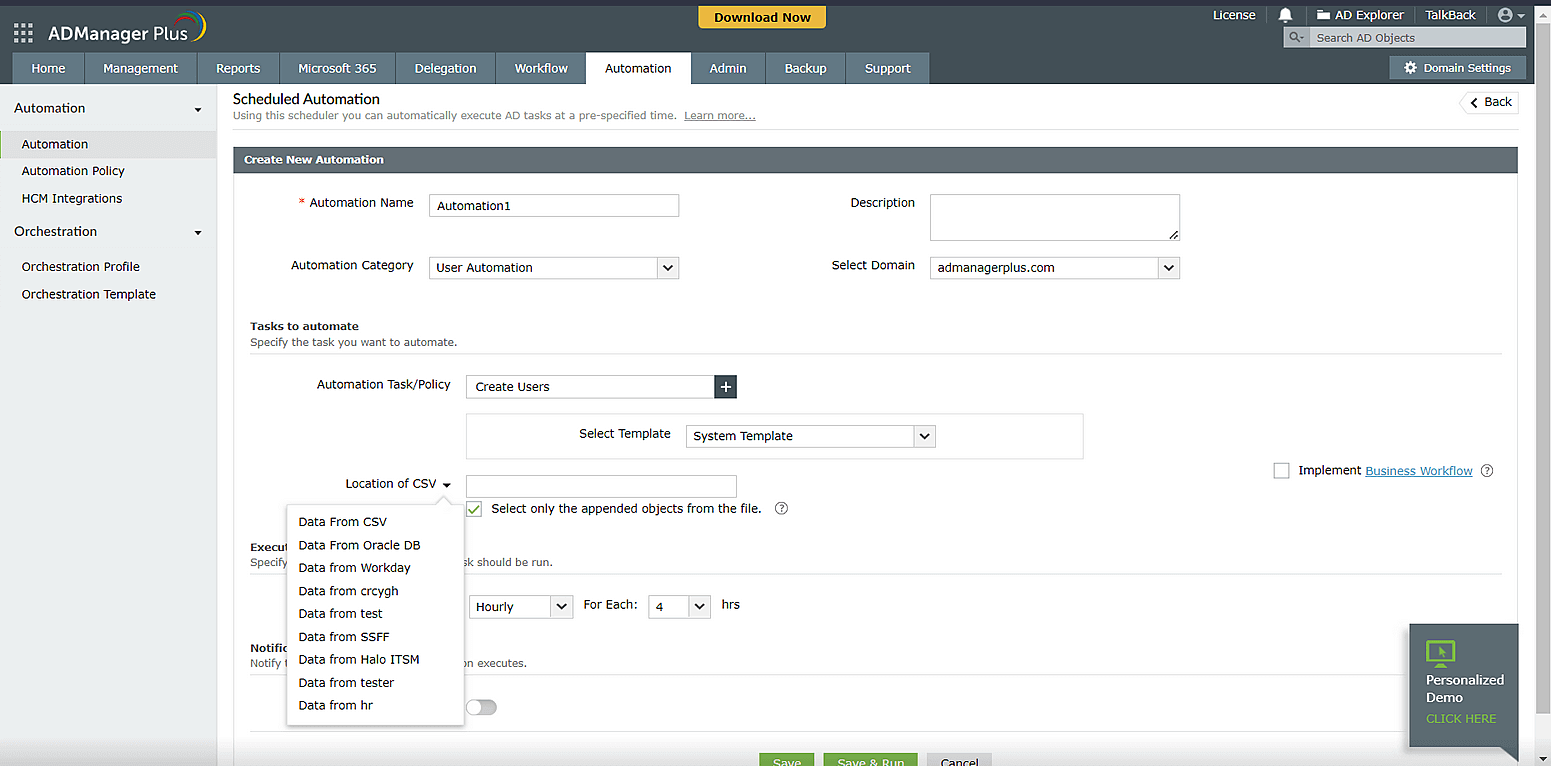
Actions supported:
Upon integrating Boomi with ADManager Plus, you can do the following:
- Create user accounts
- Delete user accounts
- Disable user accounts
- Modify user account properties
- Remove Microsoft 365 licenses
- Add users to groups
- Remove users from groups
- Move users across groups
- Modify user attributes with templates
- Create mailboxes
- Disable mailboxes
- Delete mailboxes
- Reset passwords
- Move the home folder
- Delete the home folder
- Manage users' photos
- Configure automatic reply settings
- Disable Lync accounts
- Run custom scripts