Create application sandbox
To create an application sandbox:
- Click Settings to navigate to Application Settings.

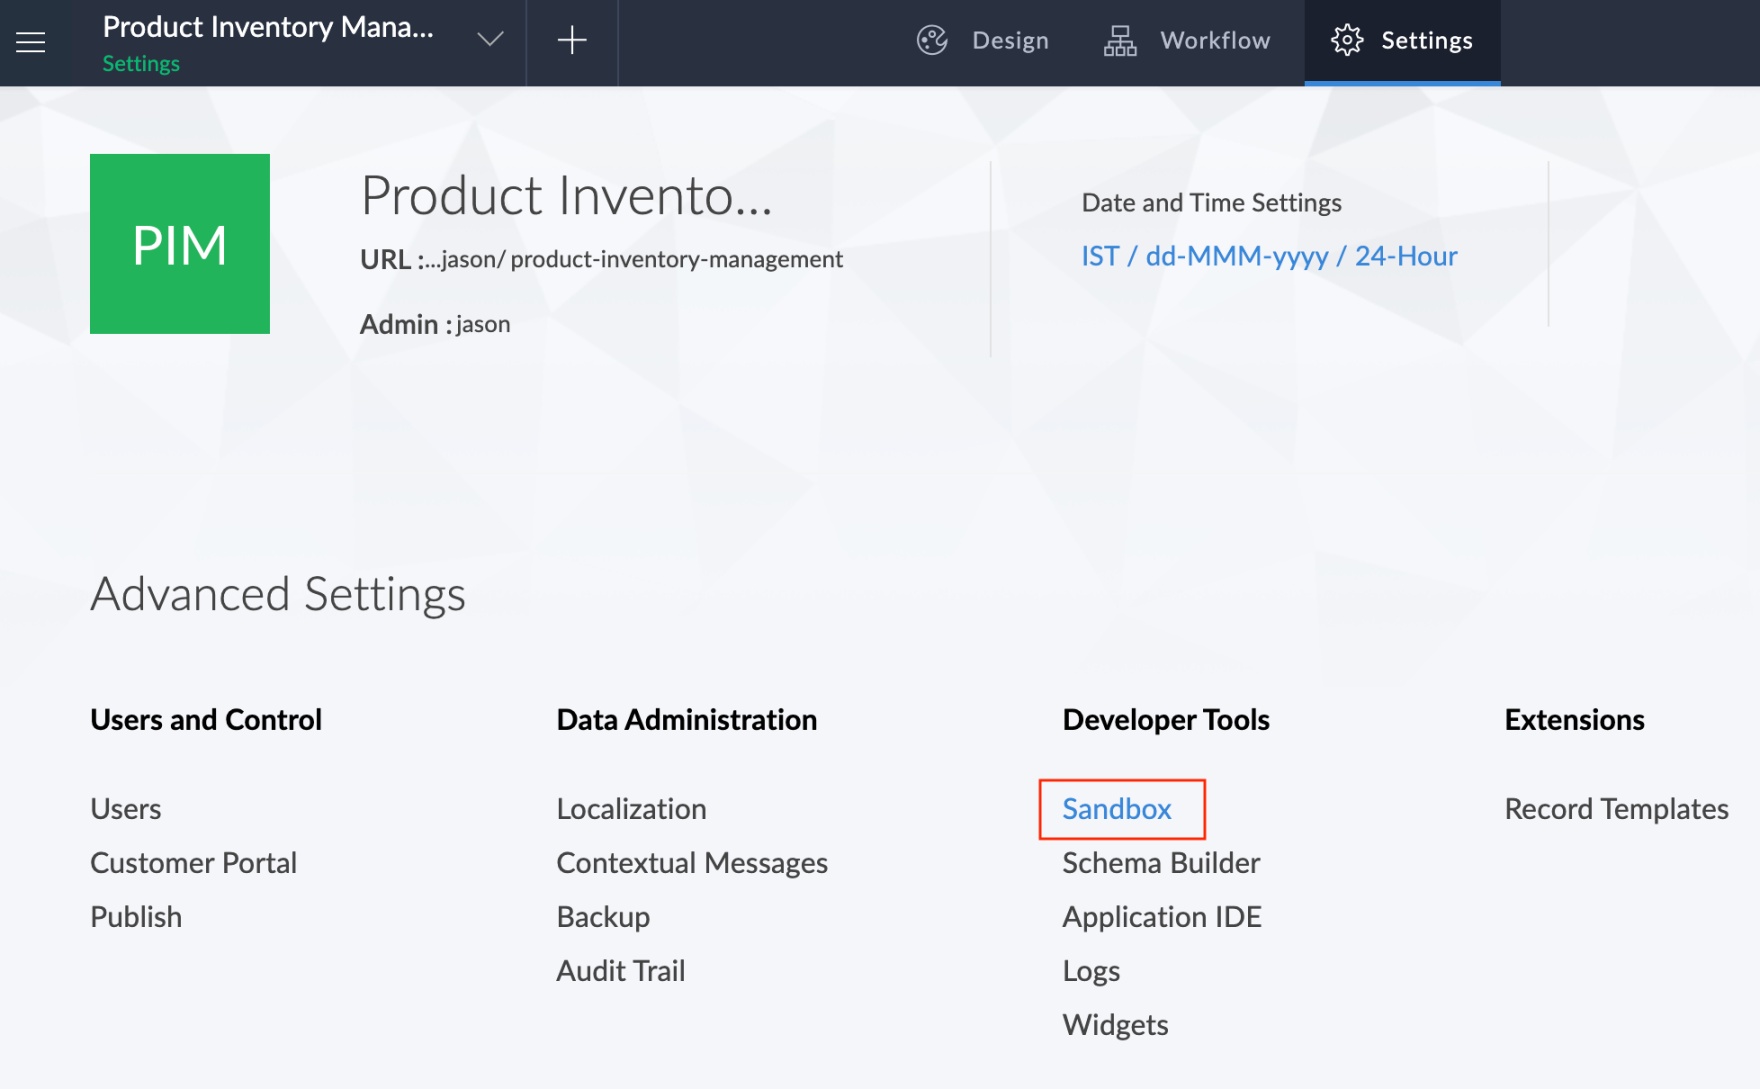
- Click Sandbox under Developer Tools.
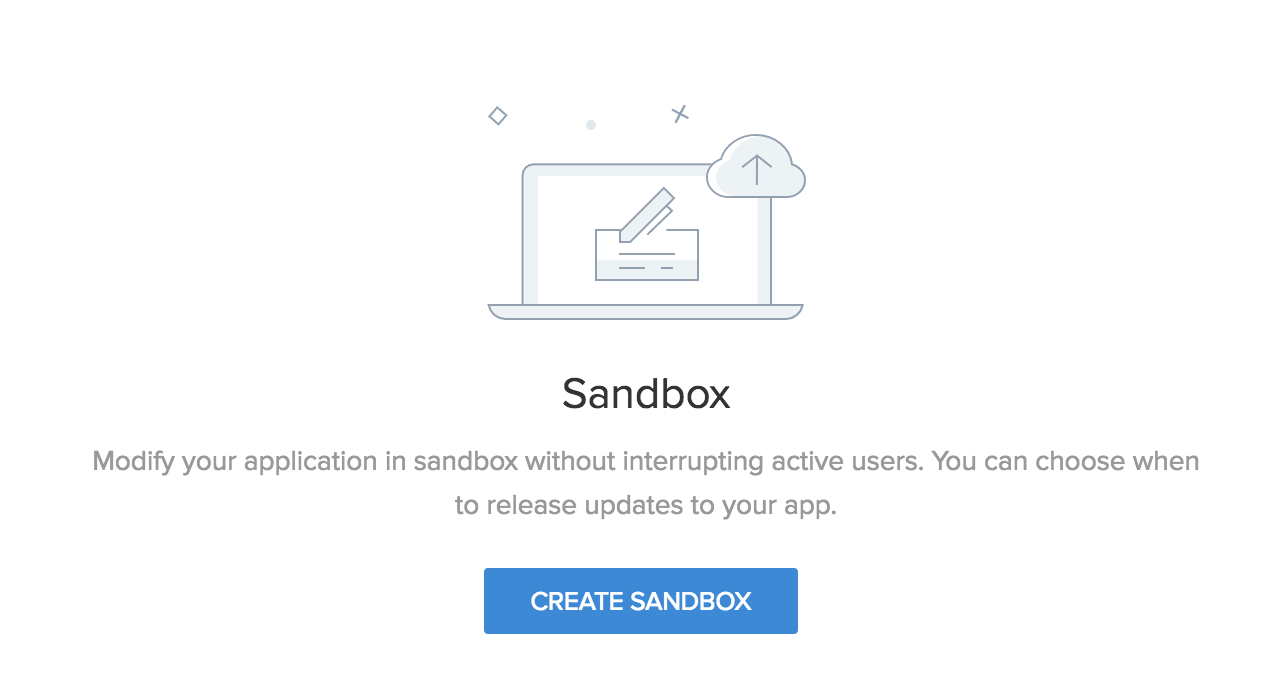
- Click Create Sandbox.
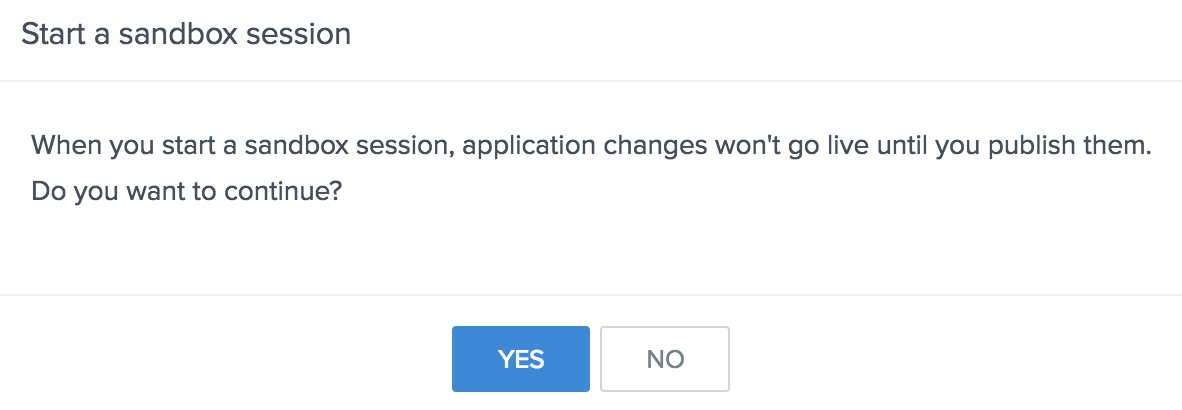
- Click Yes in the next popup.
- The application will be locked. You will only be able to make changes in the Sandbox version of the application. Click Access Sandbox.

- You will be navigated to the Sandbox version of the application. Make the required changes here and click Test This Application in the top right corner to test the changes. Next, click Publish to publish those changes for your application users.

- You will be able to view all the application changes made in the current Sandbox session. You can select the required changes that you want to Publish. Check-mark the required changes and click Proceed.

- Specify a name and description for this version of changes. The version number will be populated automatically. Click Publish.
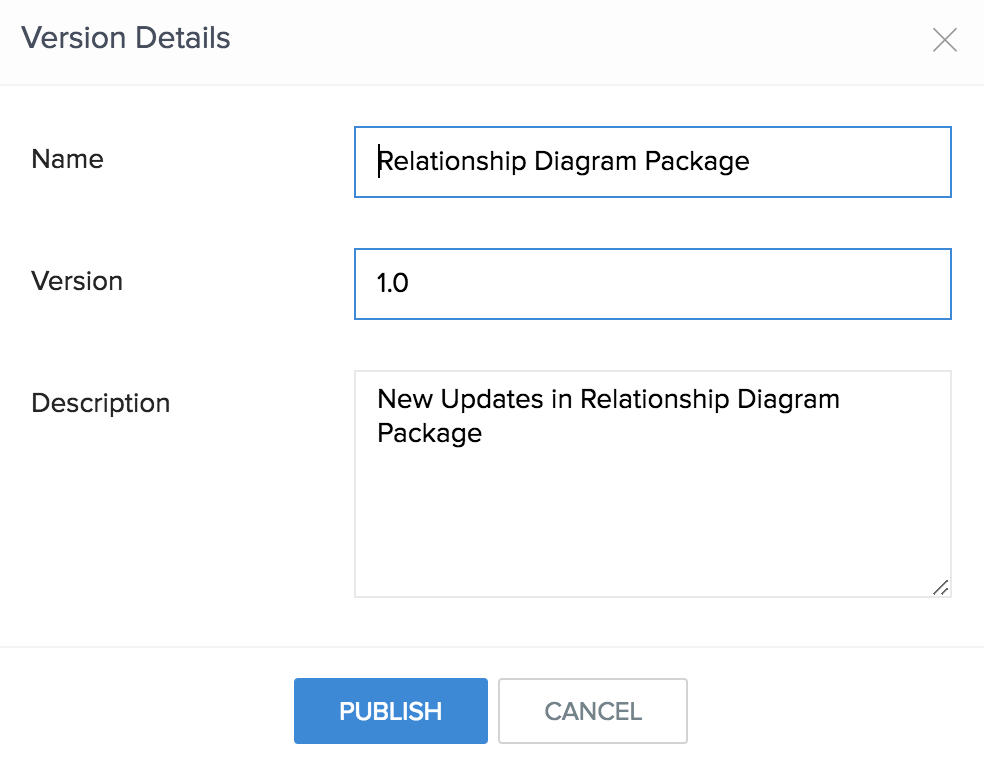
- The changes will be published and the version history for this session of Sandbox will be displayed. You can make multiple sets of changes in a single Sandbox session and each set can be viewed separately as long as the Sandbox session is running. Each set of changes will be titled as "
Package - n.x", where n.x is a variable representing the unique version of each set of changes. 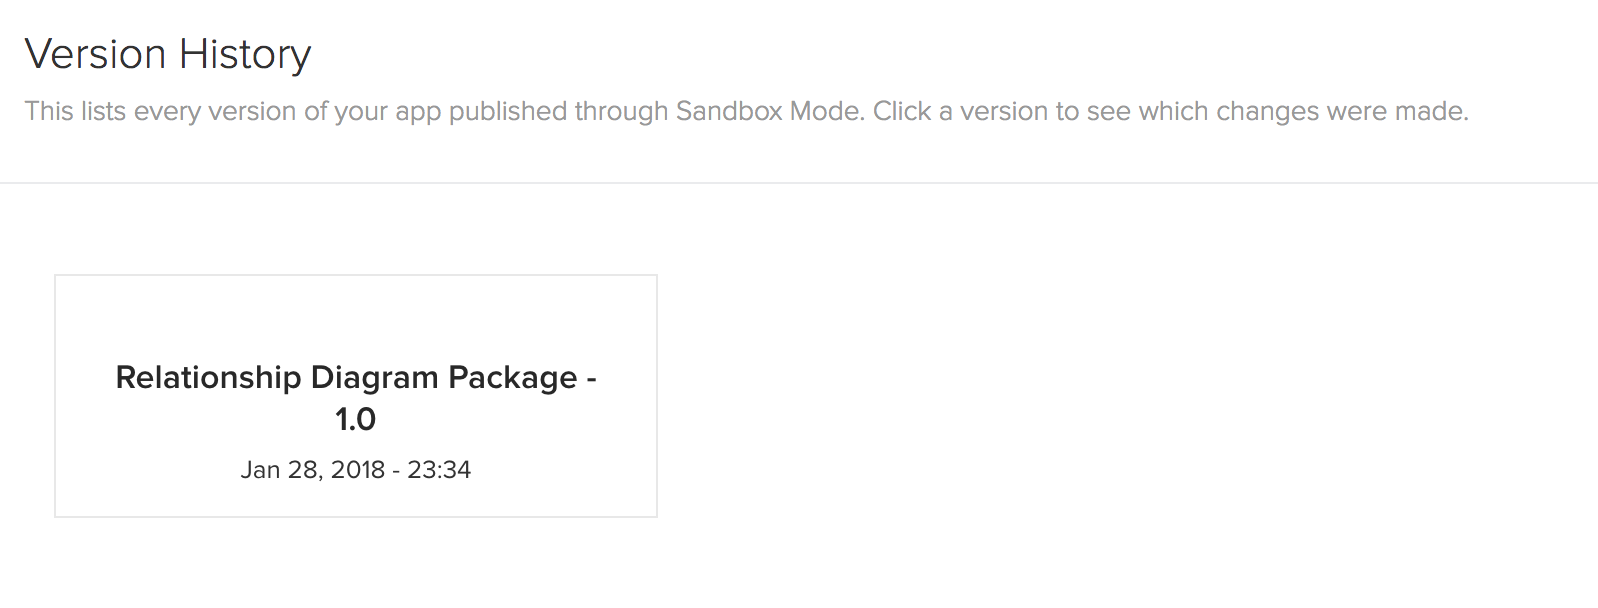
- Once you are finished, you can close this window and click Remove Sandbox to unlock the original application.

Note:
- Lookup field to other Applications cannot be added in Sandbox.
- Changes in Form Definition and View Definition cannot be made in Sandbox.
- Creating a Form using Form Template and Import options are not supported in Sandbox.