How to create a custom rule to manage applications?
Application Control Plus allows defining custom rules beyond pre-configured options for allowlisting and blocklisting. These custom rules could enable specifying detailed criteria for allowing or blocking applications based on various factors like executable name, product name, application name, and vendor name, to name a few.
Custom rules can be applied for both allowlisting and blocklisting policies. These custom rules could be applied to specific groups of devices, like any application control policy.
Custom rules for applications are created by following these steps:
- Windows
- Mac
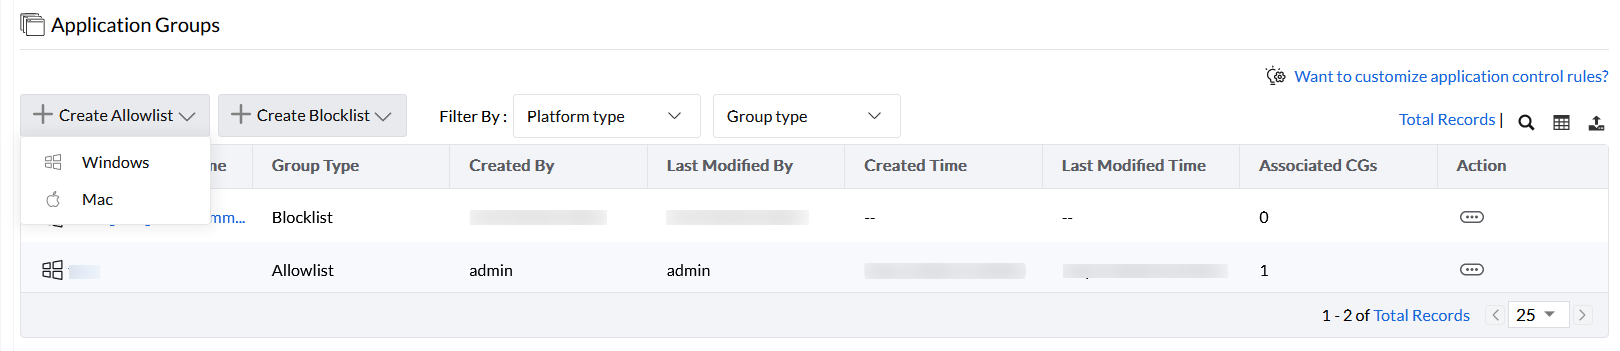
Step 1: In the product console, go to Application Groups and click on Create Allowlist/Blocklist based on your requirement. In the drop-down option, select Windows.
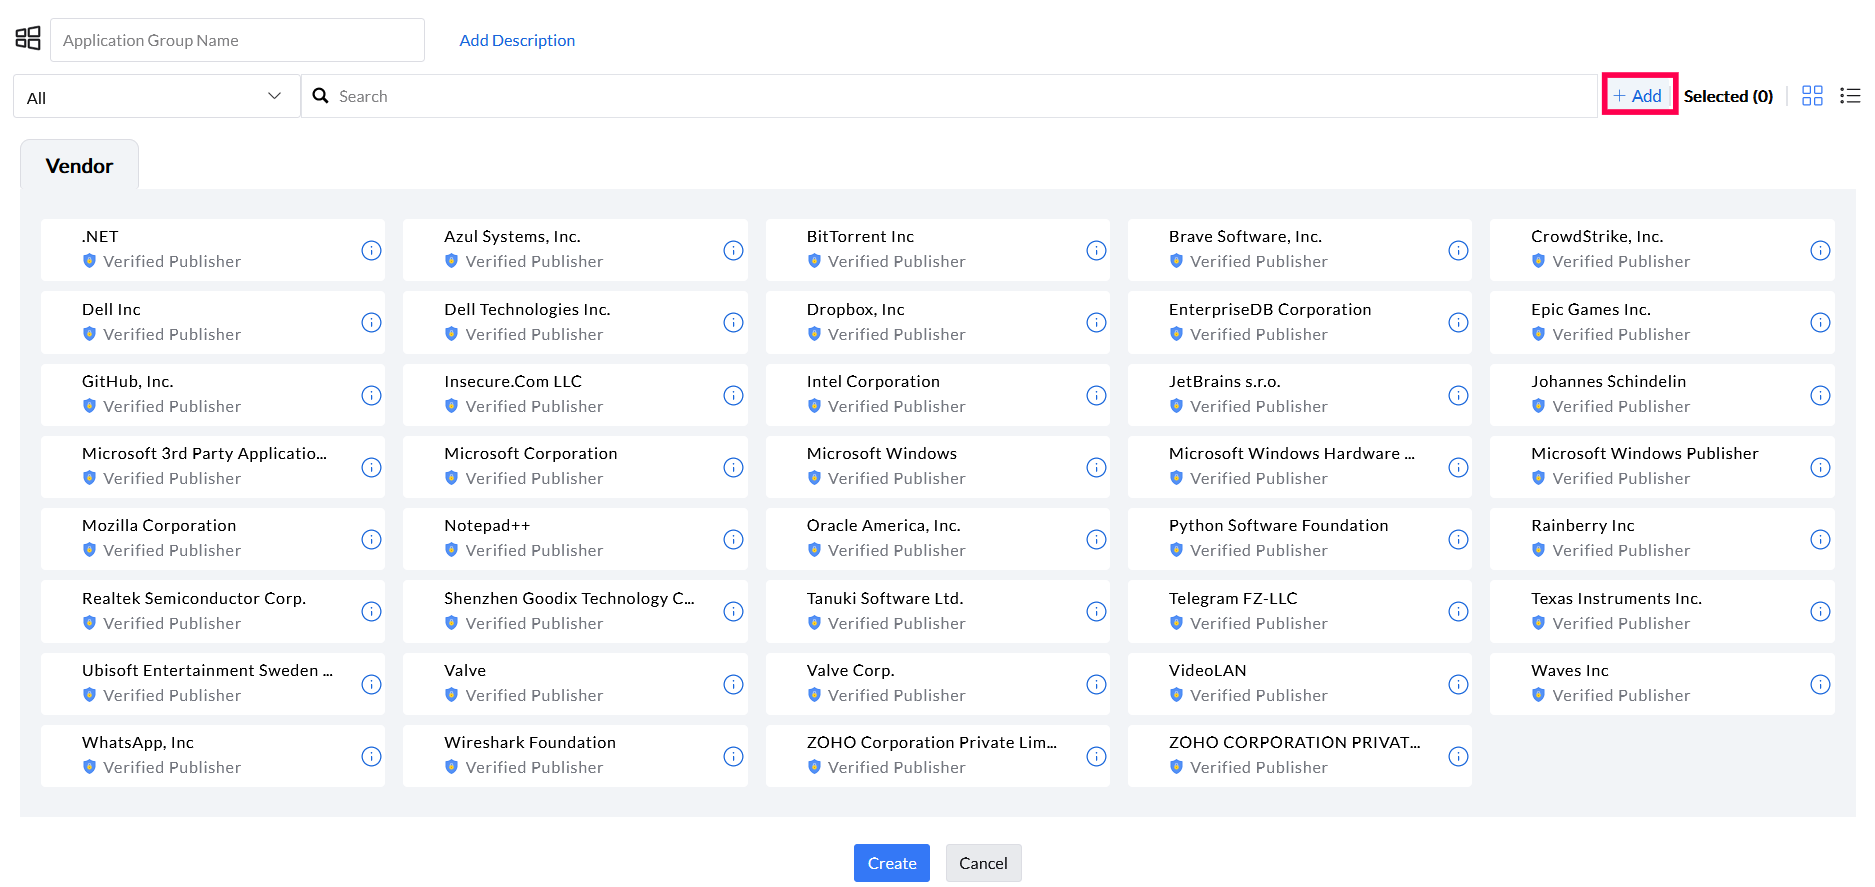
Step 2: Provide Application Group Name and description (if needed). To create a custom rule, select Add button (highlighted).
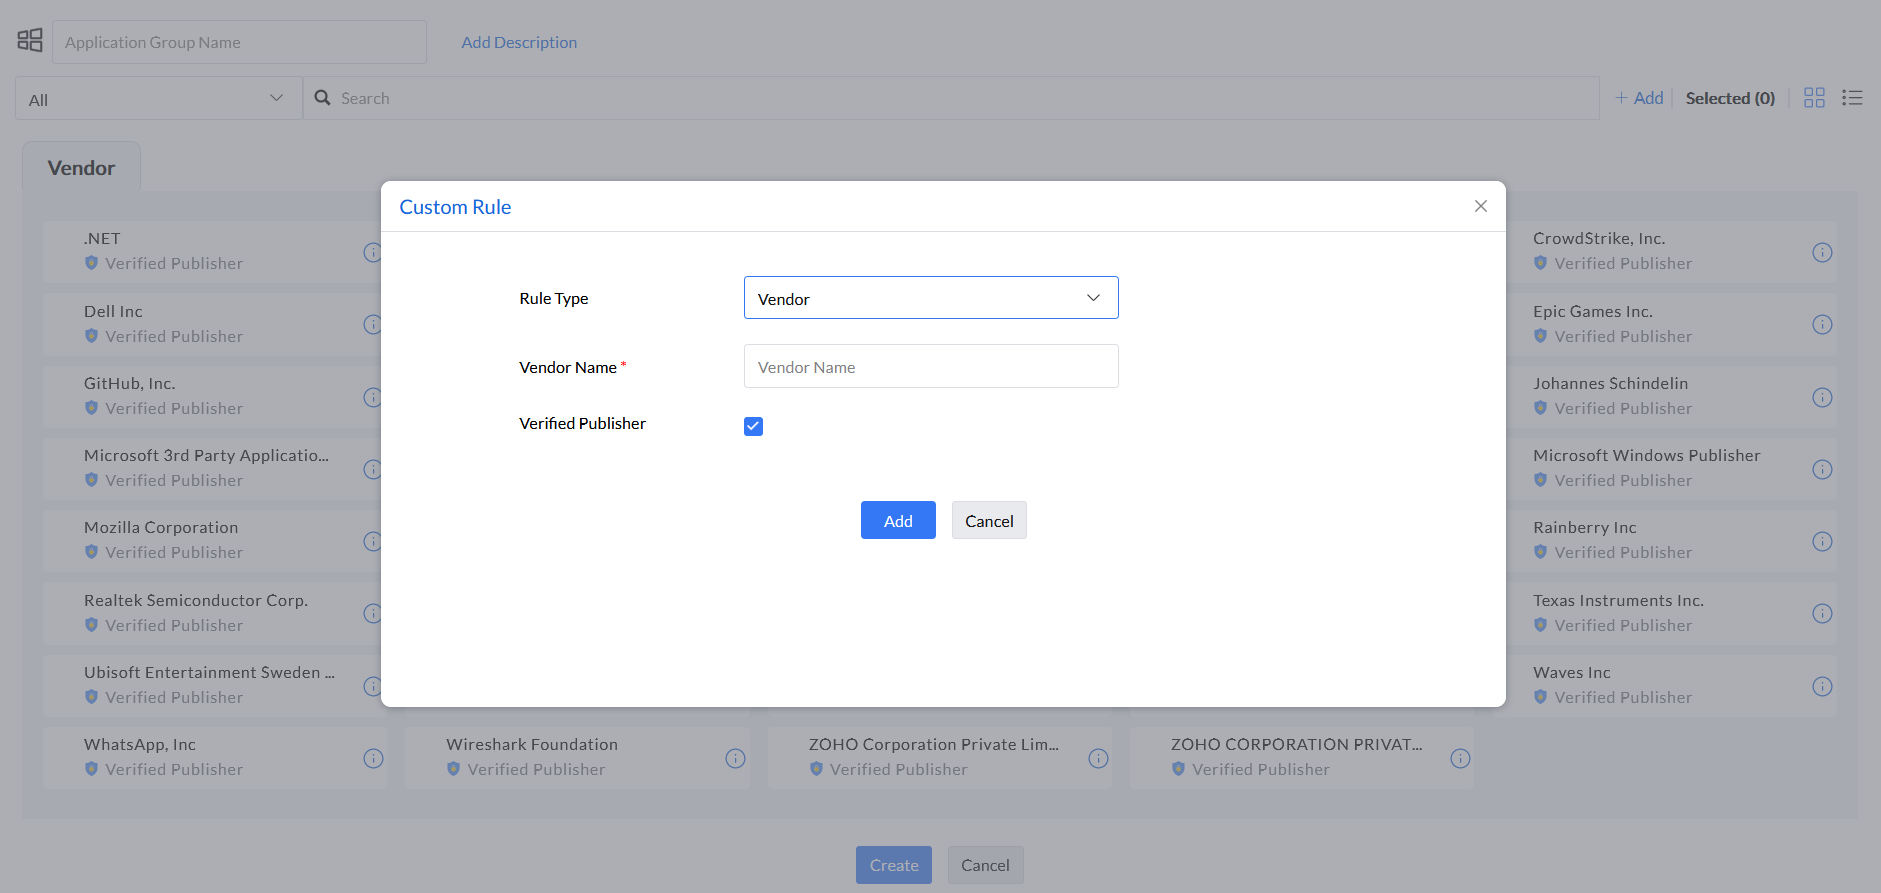
Step 3: In the Custom Rule pop up window, there are four options to select from, namely, Vendor, Product Name, Verified Executable, and File Hash.
Note:Refer to this page to fetch details such as Product Name, Executable Name, and so on.

Step 4: Under the rule type Vendor, enter Vendor Name and select if the vendor is a Verified Publisher or not.
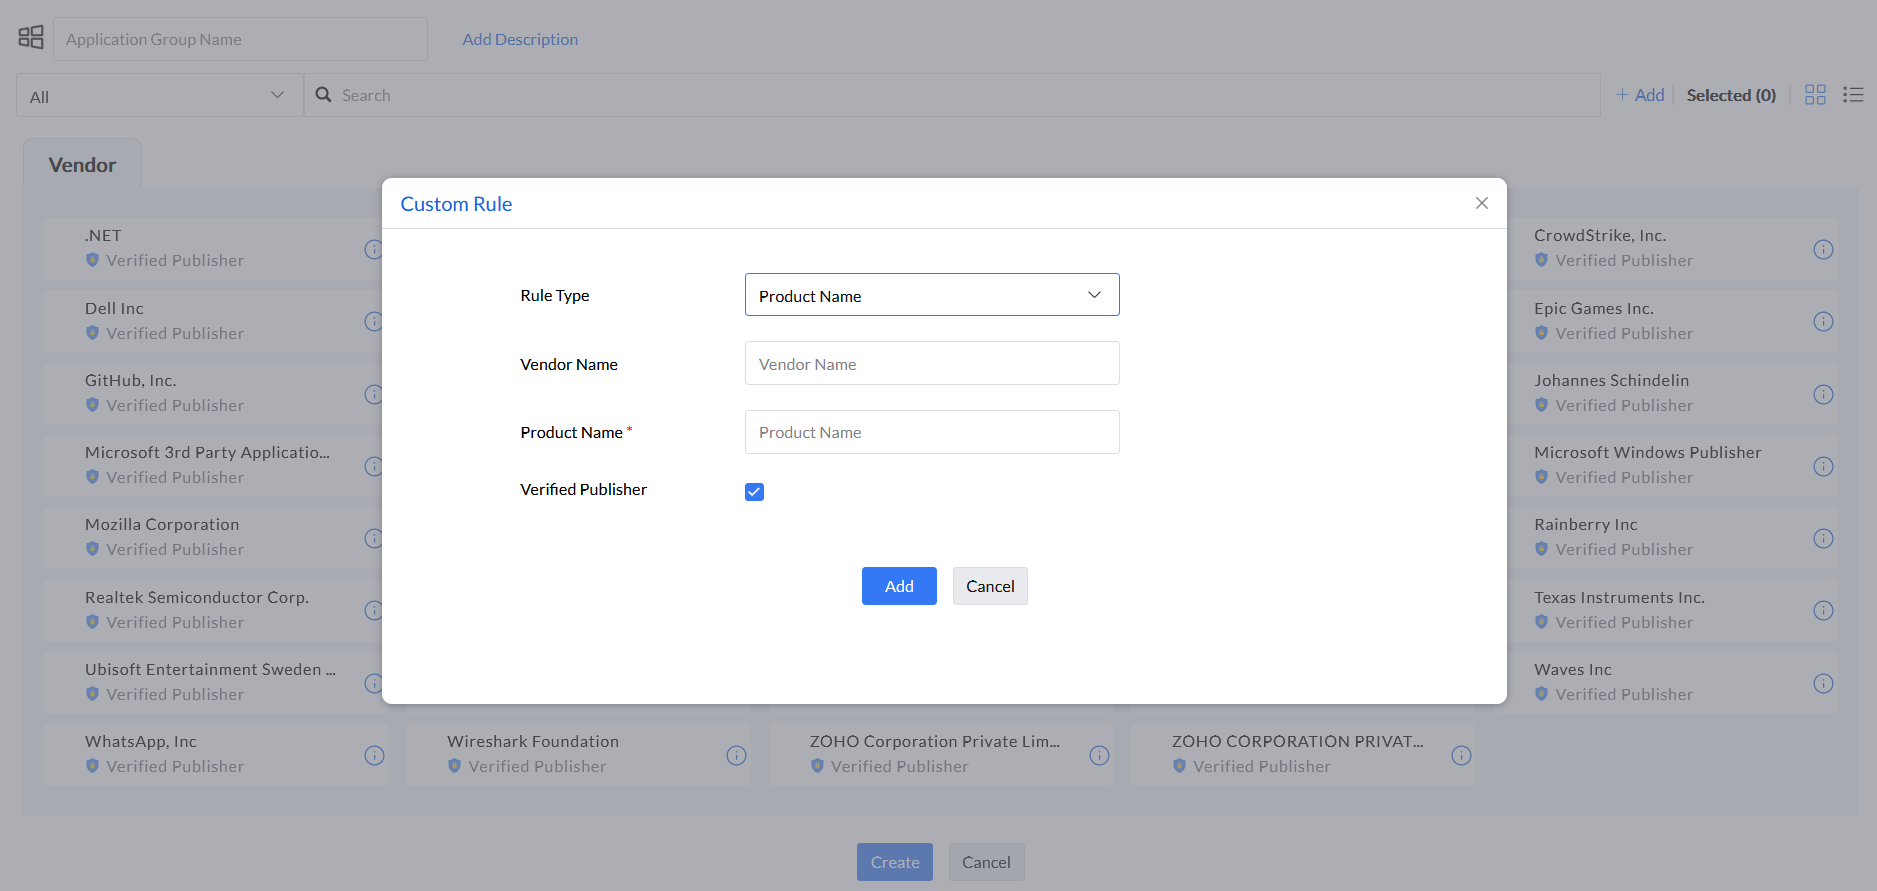
Step 5: Under the rule type Product Name, enter Product Name, Vendor Name, and select if the vendor is a Verified Publisher or not.
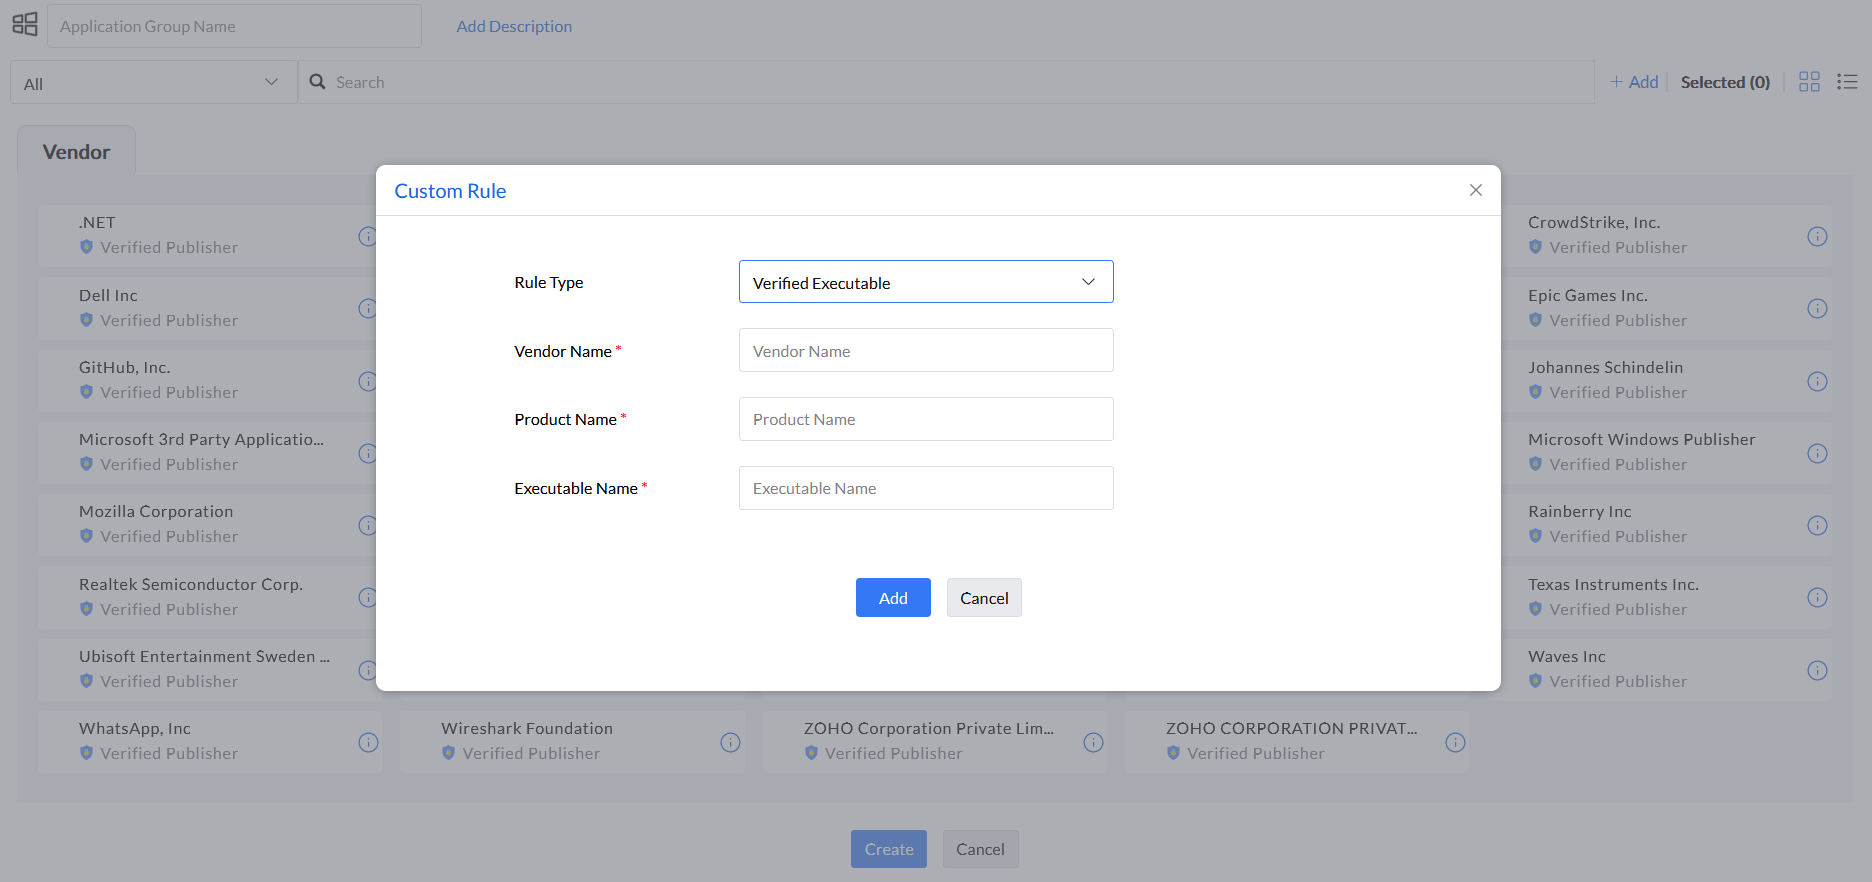
Step 6: Under the rule type Verified Executable, enter Product Name, Vendor Name, and Executable Name.
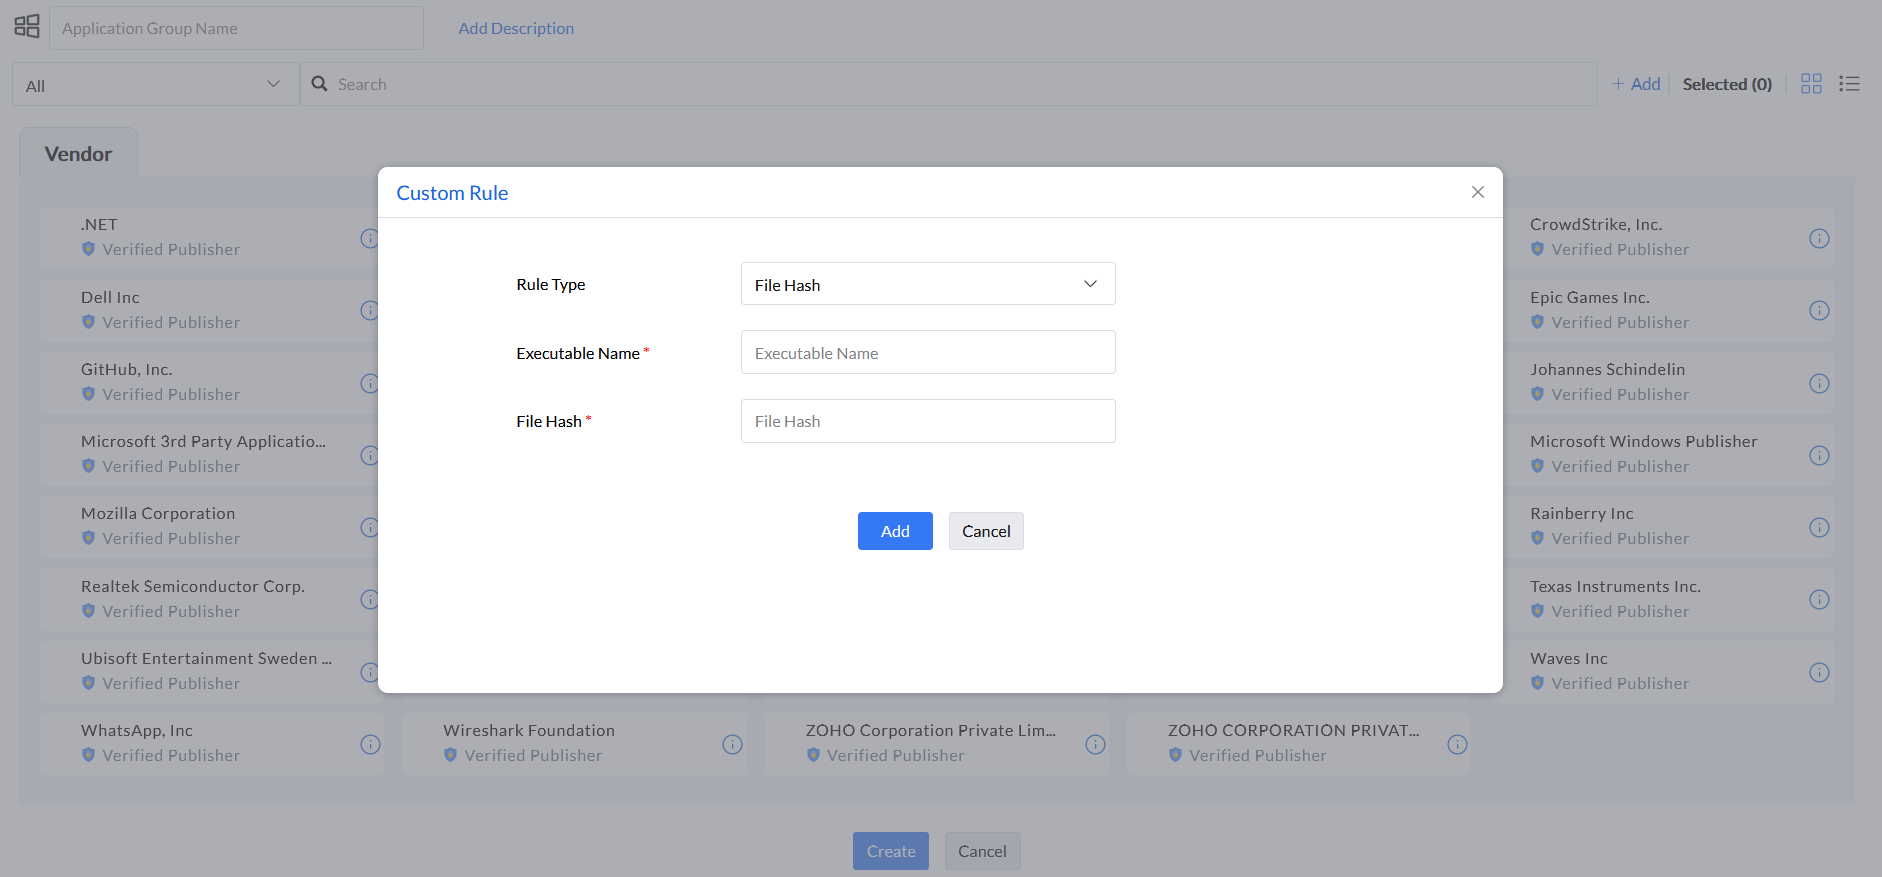
Step 7: Under the rule type File Hash, enter Executable Name and File Hash.
Step 1: In the product console, go to Application Groups and click on Create Allowlist/Blocklist based on your requirement. In the drop-down option, select Mac.
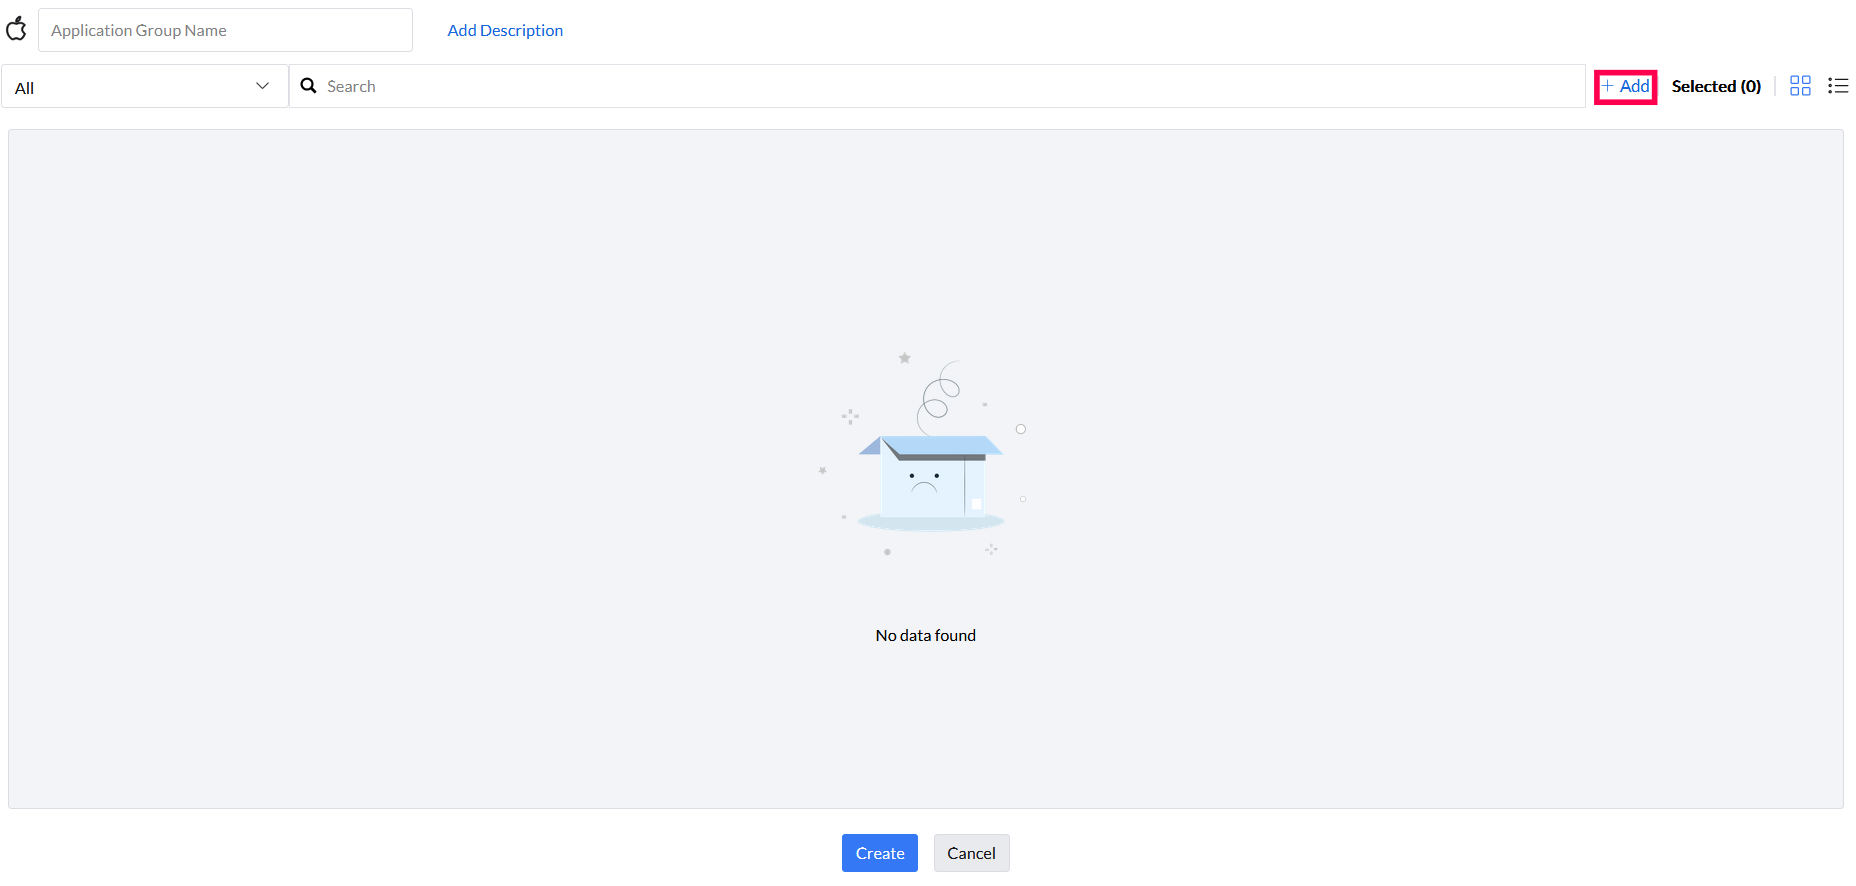
Step 2: Provide Application Group Name and description (if needed). To create a custom rule, select Add button (highlighted).
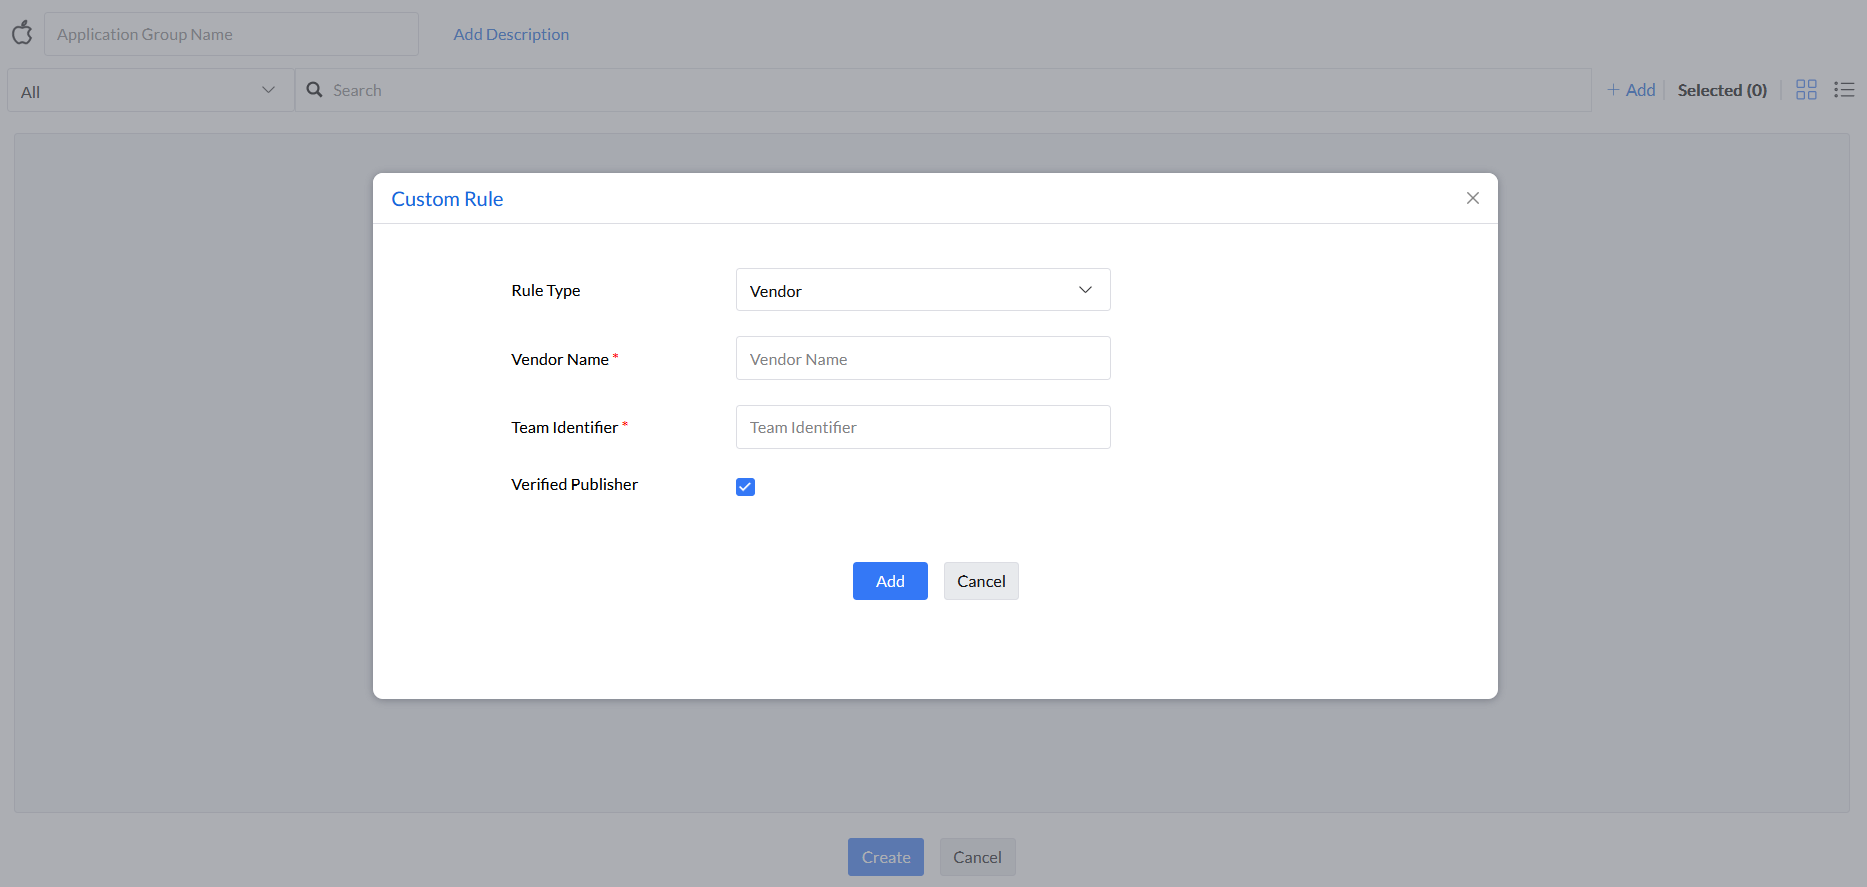
Step 3: In the Custom Rule pop up window, there are four options to select from, namely, Vendor, Application, Binary, and File Hash.
Note:Refer to this page to fetch details such as Vendor name, team identifier and so on through the Mac Terminal.
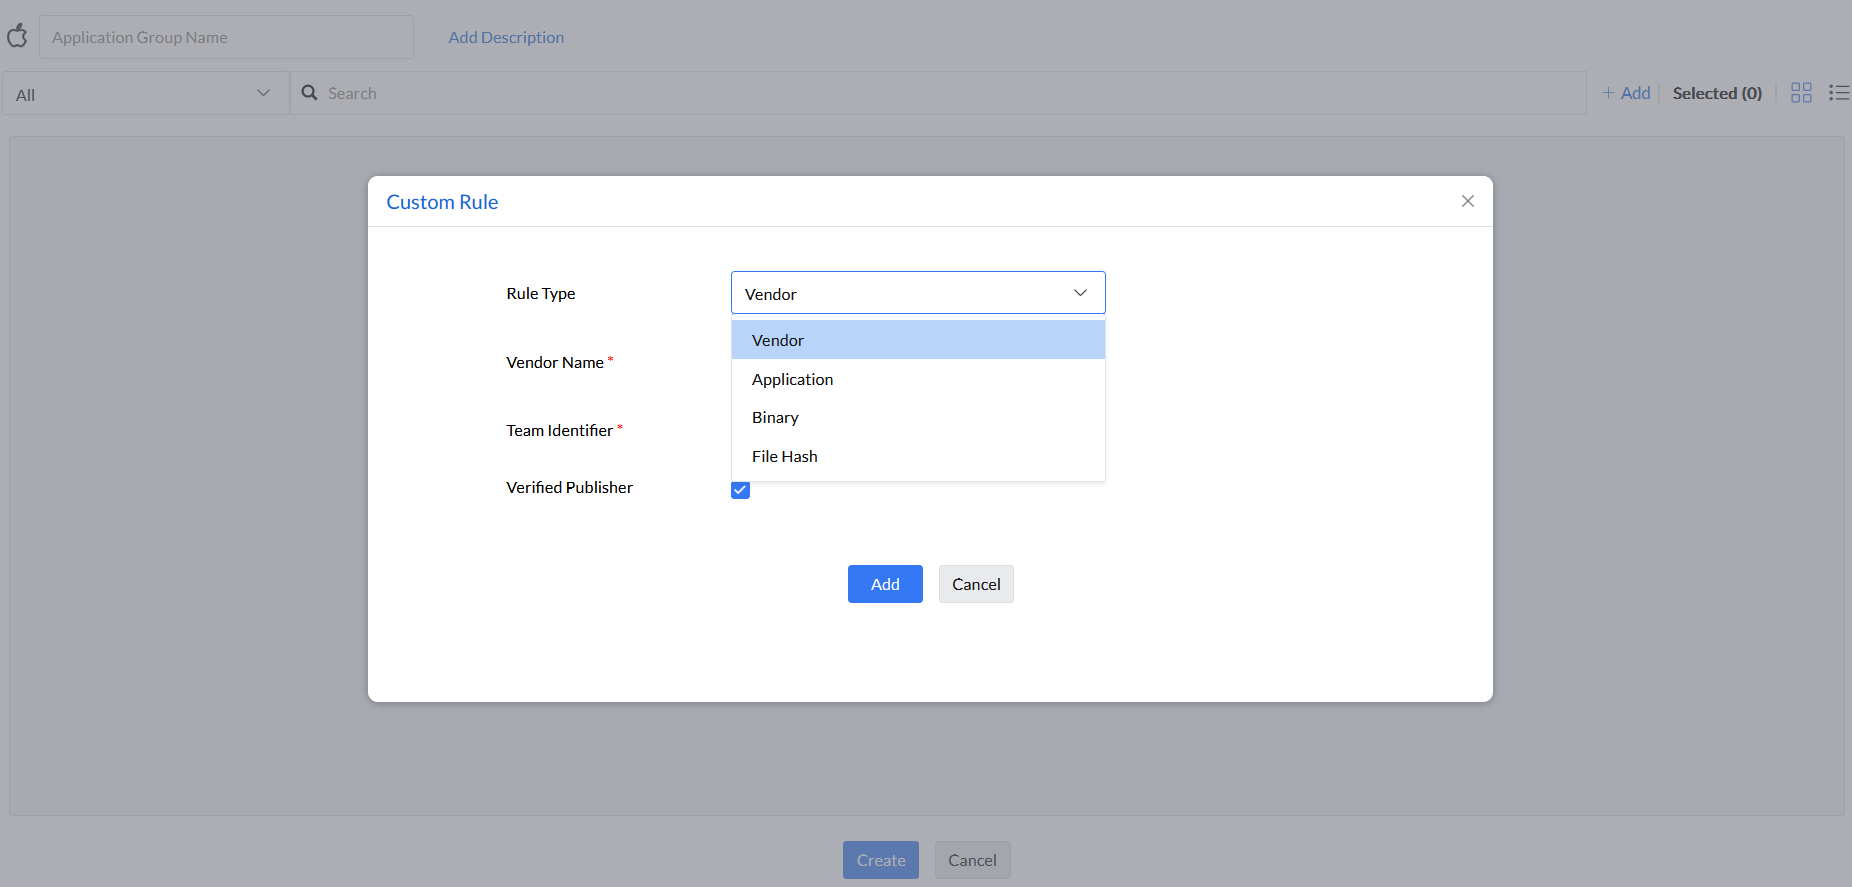
Step 4: Under the rule type Vendor Name, enter Vendor Name, Team Identifier, and select if the vendor is a Verified Publisher or not.
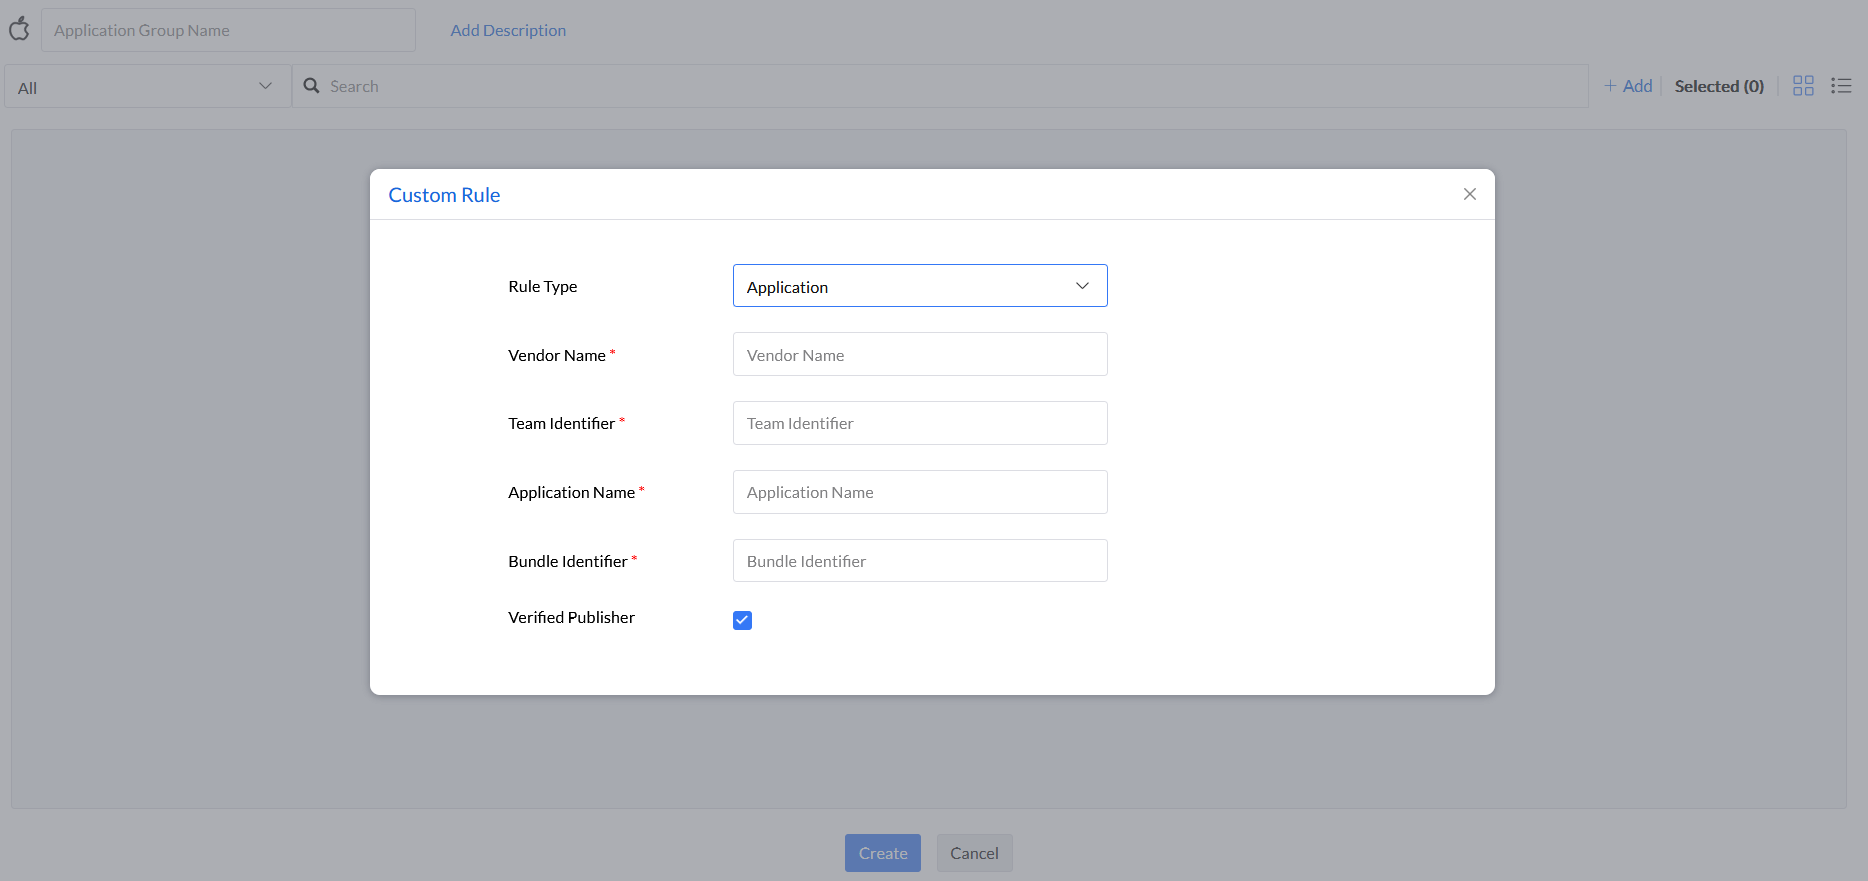
Step 5: Under the rule type Application, enter Vendor Name, Team Identifier, Application Name, Bundle Identifier, and select if the vendor is a Verified Publisher or not.
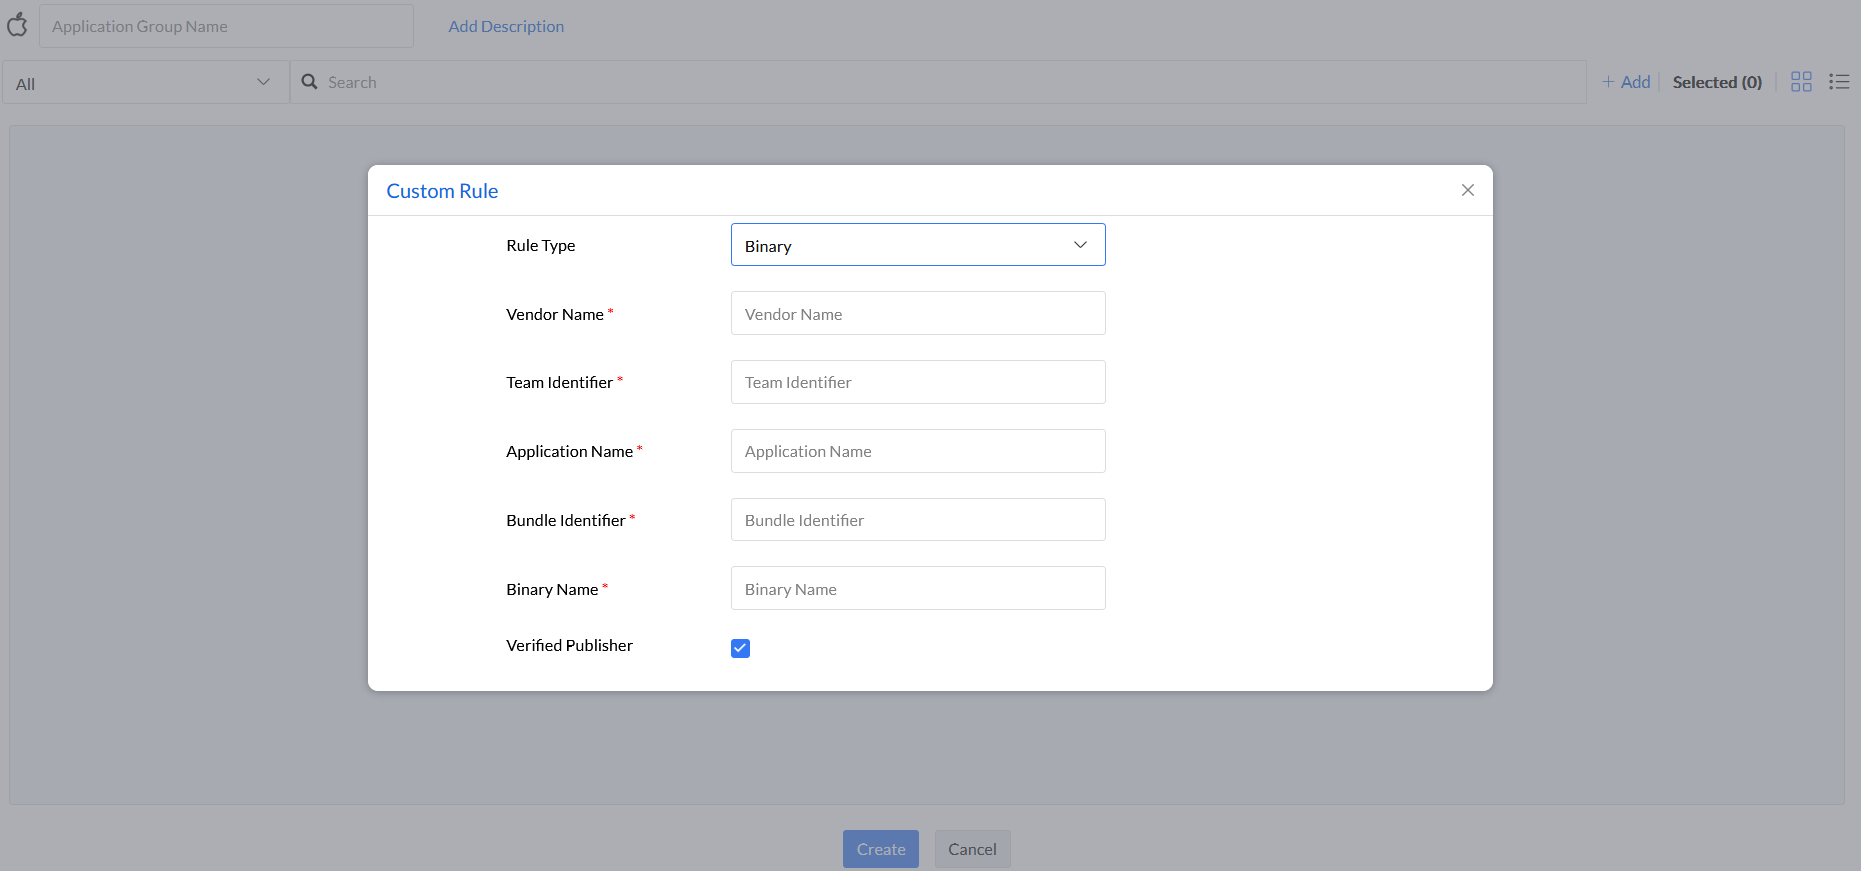
Step 6: Under the rule type Binary, enter Vendor Name, Team Identifier, Application Name, Bundle Identifier, Binary Name, and select if the vendor is a Verified Publisher or not.
Step 7: Under the rule type File Hash, enter Binary Name and File Hash, and select the File Hash Type (CD HASH or SHA-256).
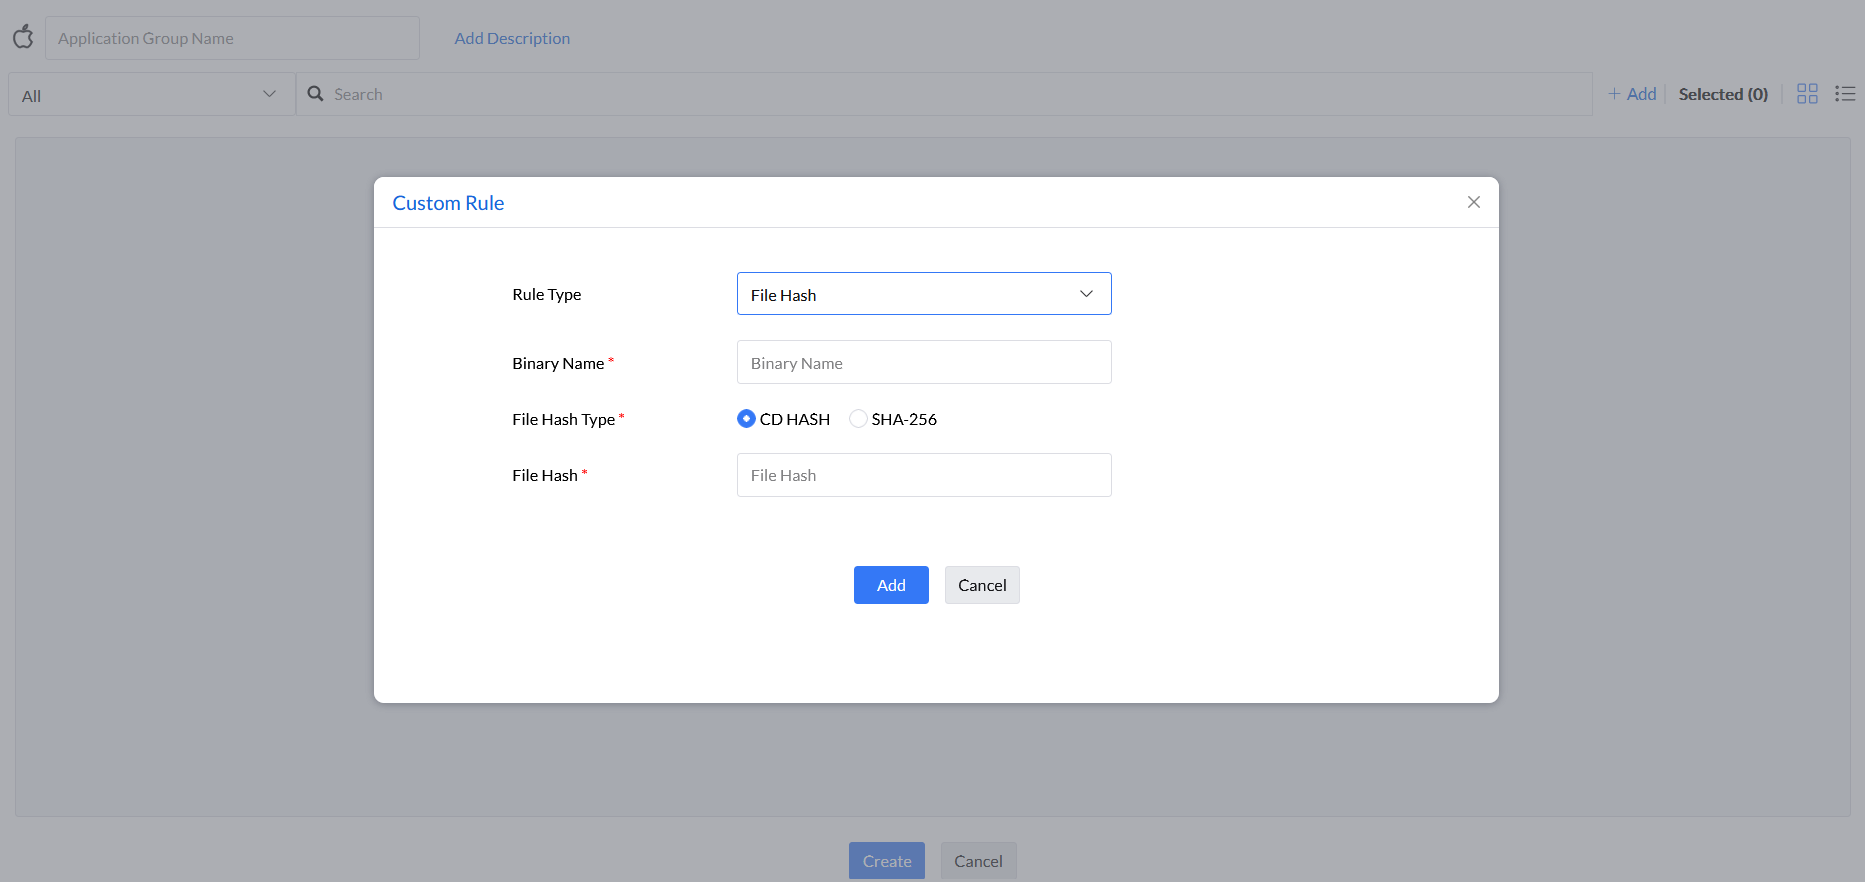
For entering the File Hash value, the application has to be verified if it is signed or not. If signed, only CD HASH value will be considered in the custom rule. If it is unsigned, SHA-256 value can be entered.
Note: Entering SHA-256 value as File Hash for an application that is signed will not be processed as a valid custom rule.