Backup archive
Backup archiving lets you store backed up files for long-term retention, which can be indexed and viewed in the backup explorer menu when required. This process streamlines backup management and optimizes storage usage by keeping only the most recent backups readily available. This reduces the load on the Elasticsearch database and improves the overall performance of the backup and recovery process.
Indexed and archived data
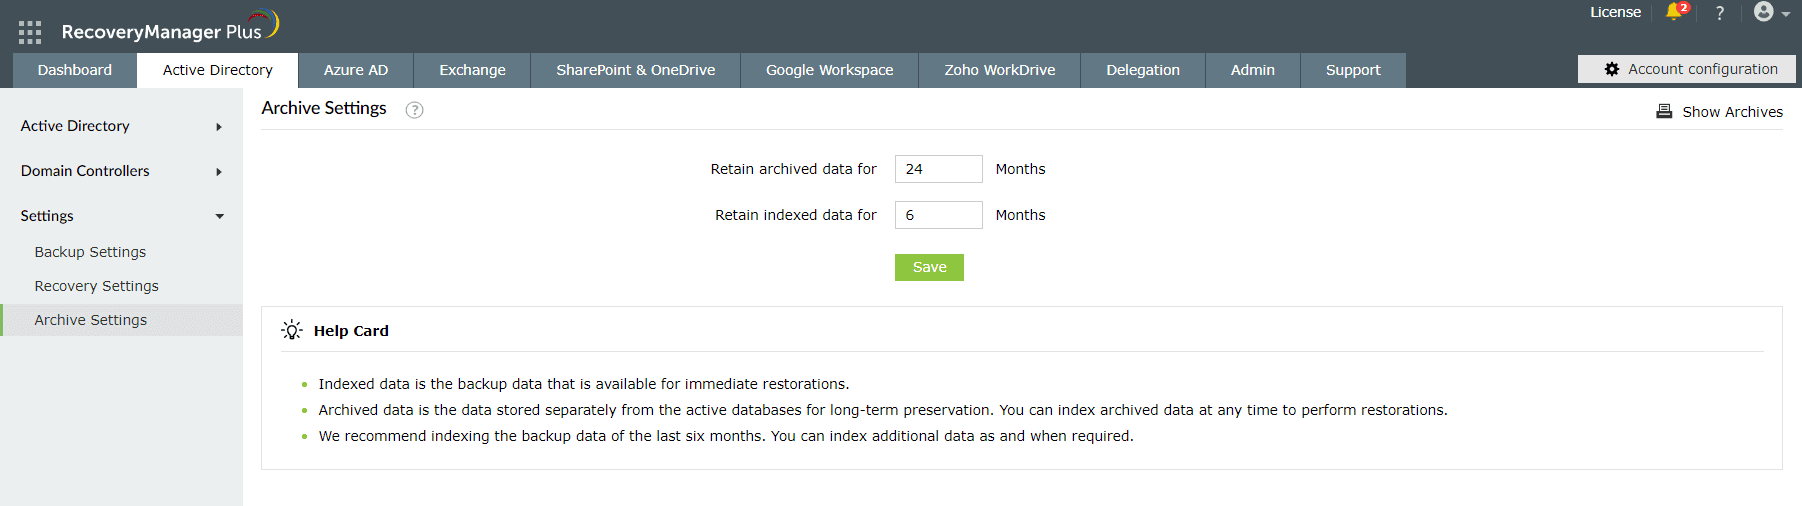
Indexed data is the backup data stored in the product's in-built Elasticsearch repository. You can view indexed data from RecoveryManager Plus's Backup Summary tab and use the Explore backup option to perform restorations right away. By default, indexed data is retained for six months, but you can customize this period to be from three to 12 months to meet your requirements.
Archived data is the long-term storage of your backups stored in the archive repository. This data is not immediately available for restoration; you have to first re-index it to perform restoration. The default retention period for archived data is 24 months, but it can be manually configured to a minimum of 12 months and a maximum of 60 months. To learn how to create an archive repository, follow the steps for creating archive repositories. RecoveryManager Plus archives backed up data only after completing a backup cycle, since each full backup and its subsequent incremental backups are backed up as a single unit.
Archival process
The archival process includes the following steps:
- During a backup cycle, each full backup and its subsequent incremental backups are stored as a single unit in the indexed state within the Elasticsearch repository.
- When the next full backup is taken, the following actions will take place:
- The previous full backup and its incremental backups are zipped and copied to the archive repository.
- RecoveryManager Plus scans the Elasticsearch database for backups that have exceeded the index period. Backups that exceed this duration will be de-indexed and deleted and can only be found in the archive repository.
- RecoveryManager Plus also scans the archive repository for backups that have exceeded the archive period. Backups that have exceeded this period will be permanently deleted.
- This process repeats from step two as long as the backup schedule is active.
For example, if you take full backups monthly and have set the index period to four months and the archive period to 12 months, the archival process will take place as follows:
- On the first day of the first month, a full backup is taken, followed by incremental backups each day for the rest of the month. These backups are indexed and stored in the Elasticsearch repository.
- When the second full backup is taken on the first day of the second month, the following steps will take place:
- The first full backup and its subsequent incremental backups will be zipped and copied to the archive repository.
- RecoveryManager Plus scans the Elasticsearch database for backups that have exceeded the index period. Once the index period duration has elapsed, which is four months, the first full backup and its incremental backups will be de-indexed and deleted and can only be found in the archive repository.
- RecoveryManager Plus also scans the archive repository for backups that have exceeded the archive retention period, which is 12 months in this case. Backups that have surpassed this period will be permanently deleted.
- This process continues as long as the backup schedule is active.
Indexing archived backups
You can index the archived data before the archival period expires and use it to perform restorations when needed. While indexing archives, the archived zip files will be unzipped and moved to the Elasticsearch repository. To index backups, follow these steps:
- Navigate to the Active Directory tab > Settings > Archive Settings.
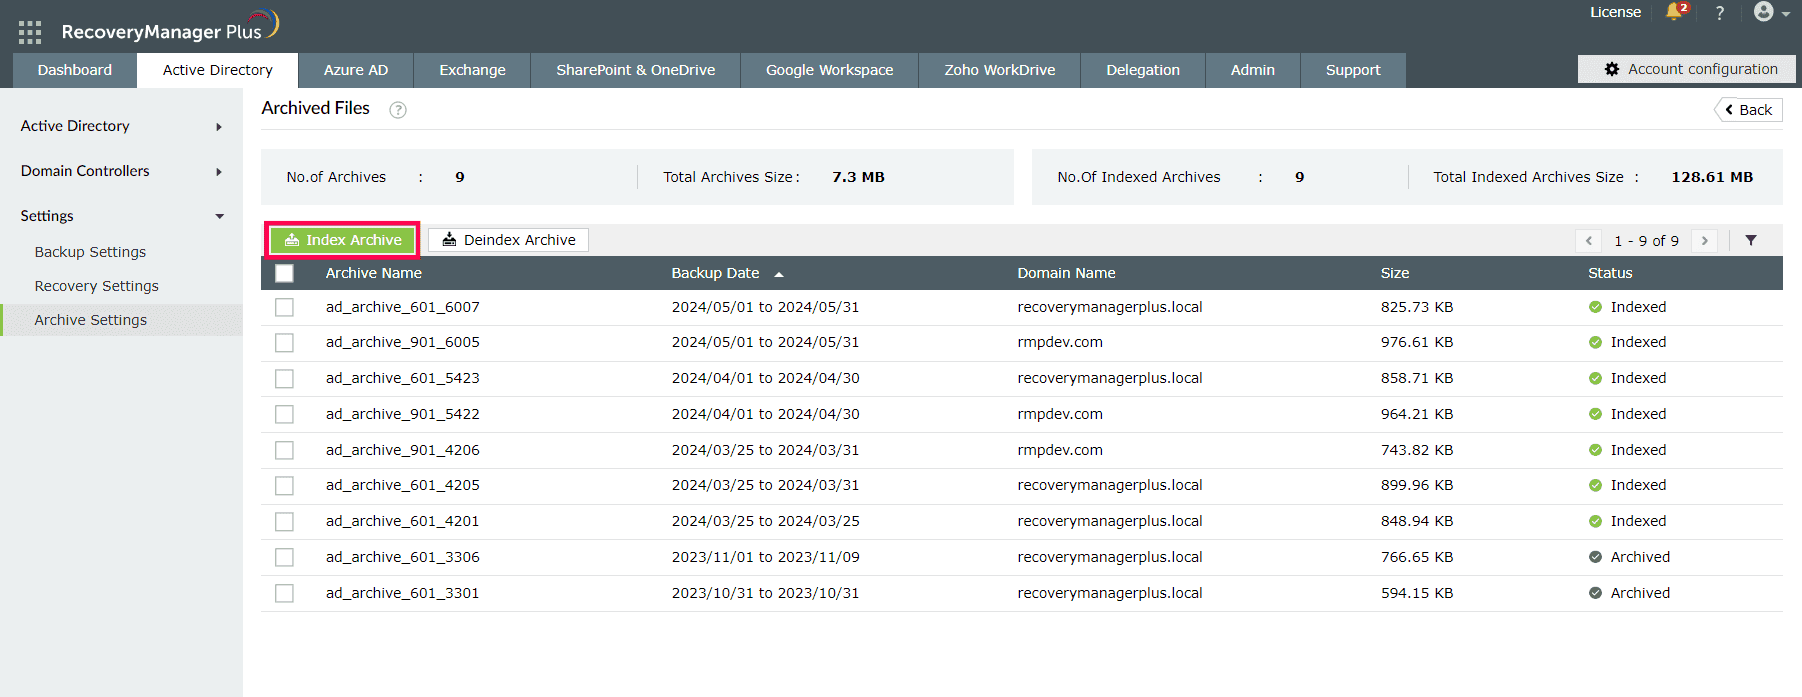
- Click Show Archives at the top-right corner.
- Select the archived backup you want to de-index and click the Index Archive button.
Creating archive repositories
You can select the repository in which the backup archive must be saved. To do so, follow these steps:
- Click the Active Directory tab.
- Go to Settings > Backup Settings.
- This page will display all the domains configured. Click the edit icon corresponding to the domain for which the archive repository needs to be selected.
- Select the required repository from the Select Archive Repository drop-down menu. You can choose from local, shared, NAS, or cloud repositories.
