- Related Products
- AD360
- Log360
- ADAudit Plus
- ADSelfService Plus
- EventLog Analyzer
- Exchange Reporter Plus

Help Document
Custom applications integration
ADManager Plus, an IGA solution, facilitates streamlined user life cycle management across integrated enterprise applications. Even if your application isn't on the predefined list, you can integrate it with ADManager Plus, provided it supports REST APIs, SOAP APIs, and Graph APIs. Once integration is complete, you can automate and orchestrate key identity life cycle processes across applications.
How to integrate a custom application with ADManager Plus
Integrating a custom application with ADManager Plus involves two major steps:
- Authorization configuration
ADManager Plus offers five authorization methods to authorize API requests. Choose the method that fits your security and operational needs and configure it.
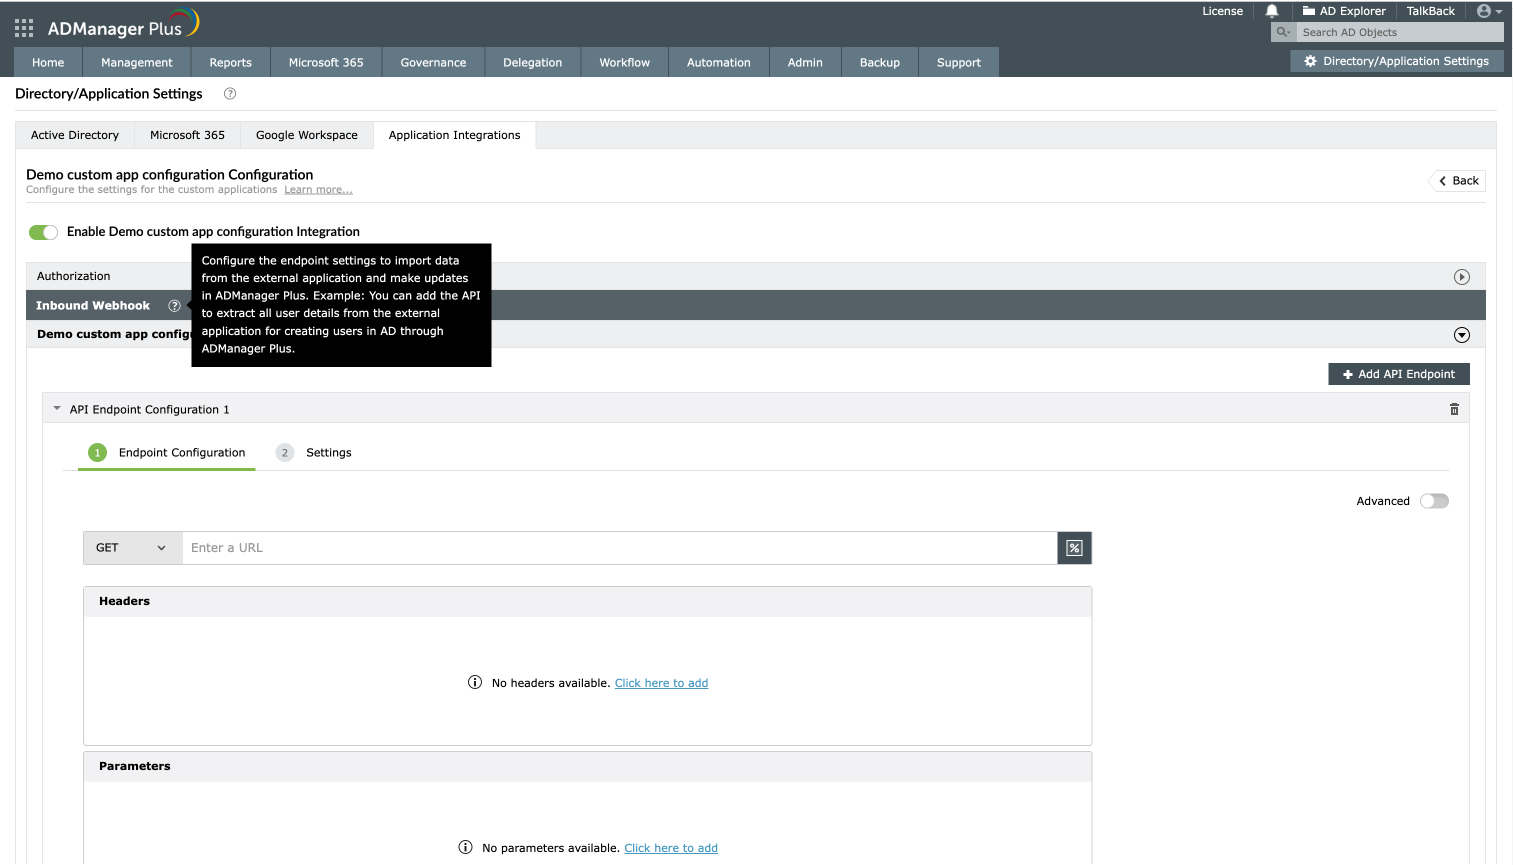
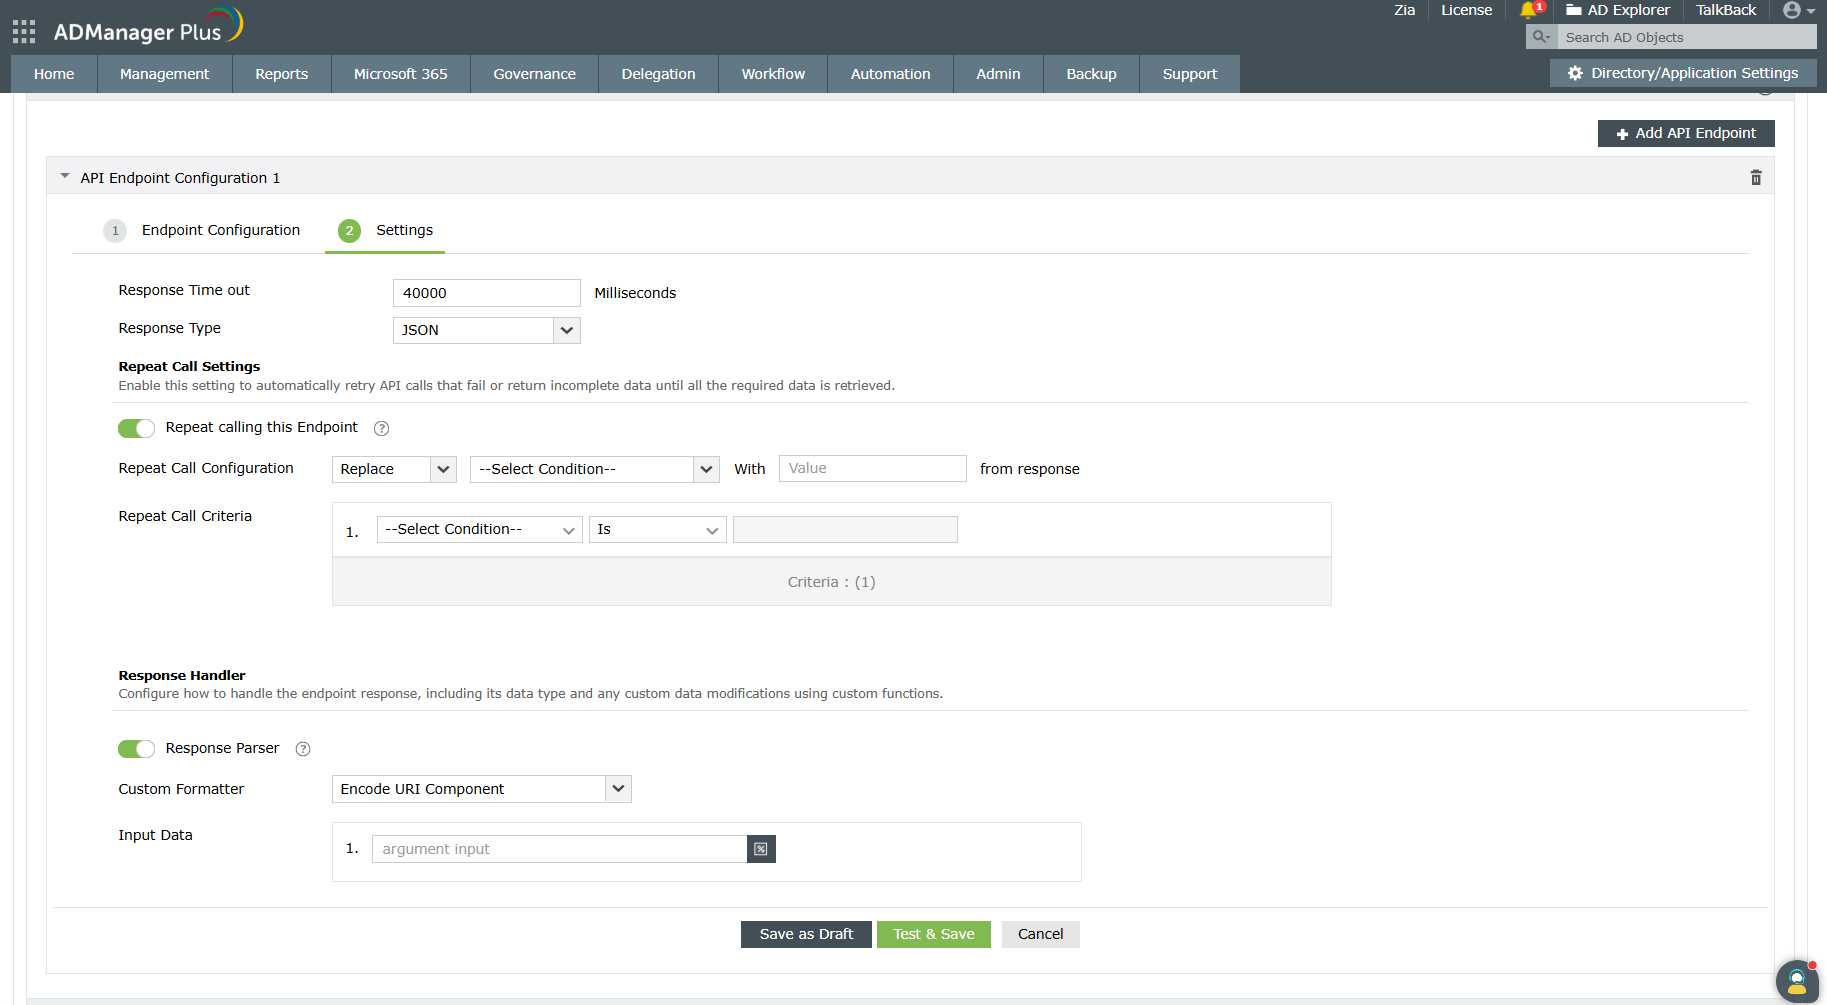
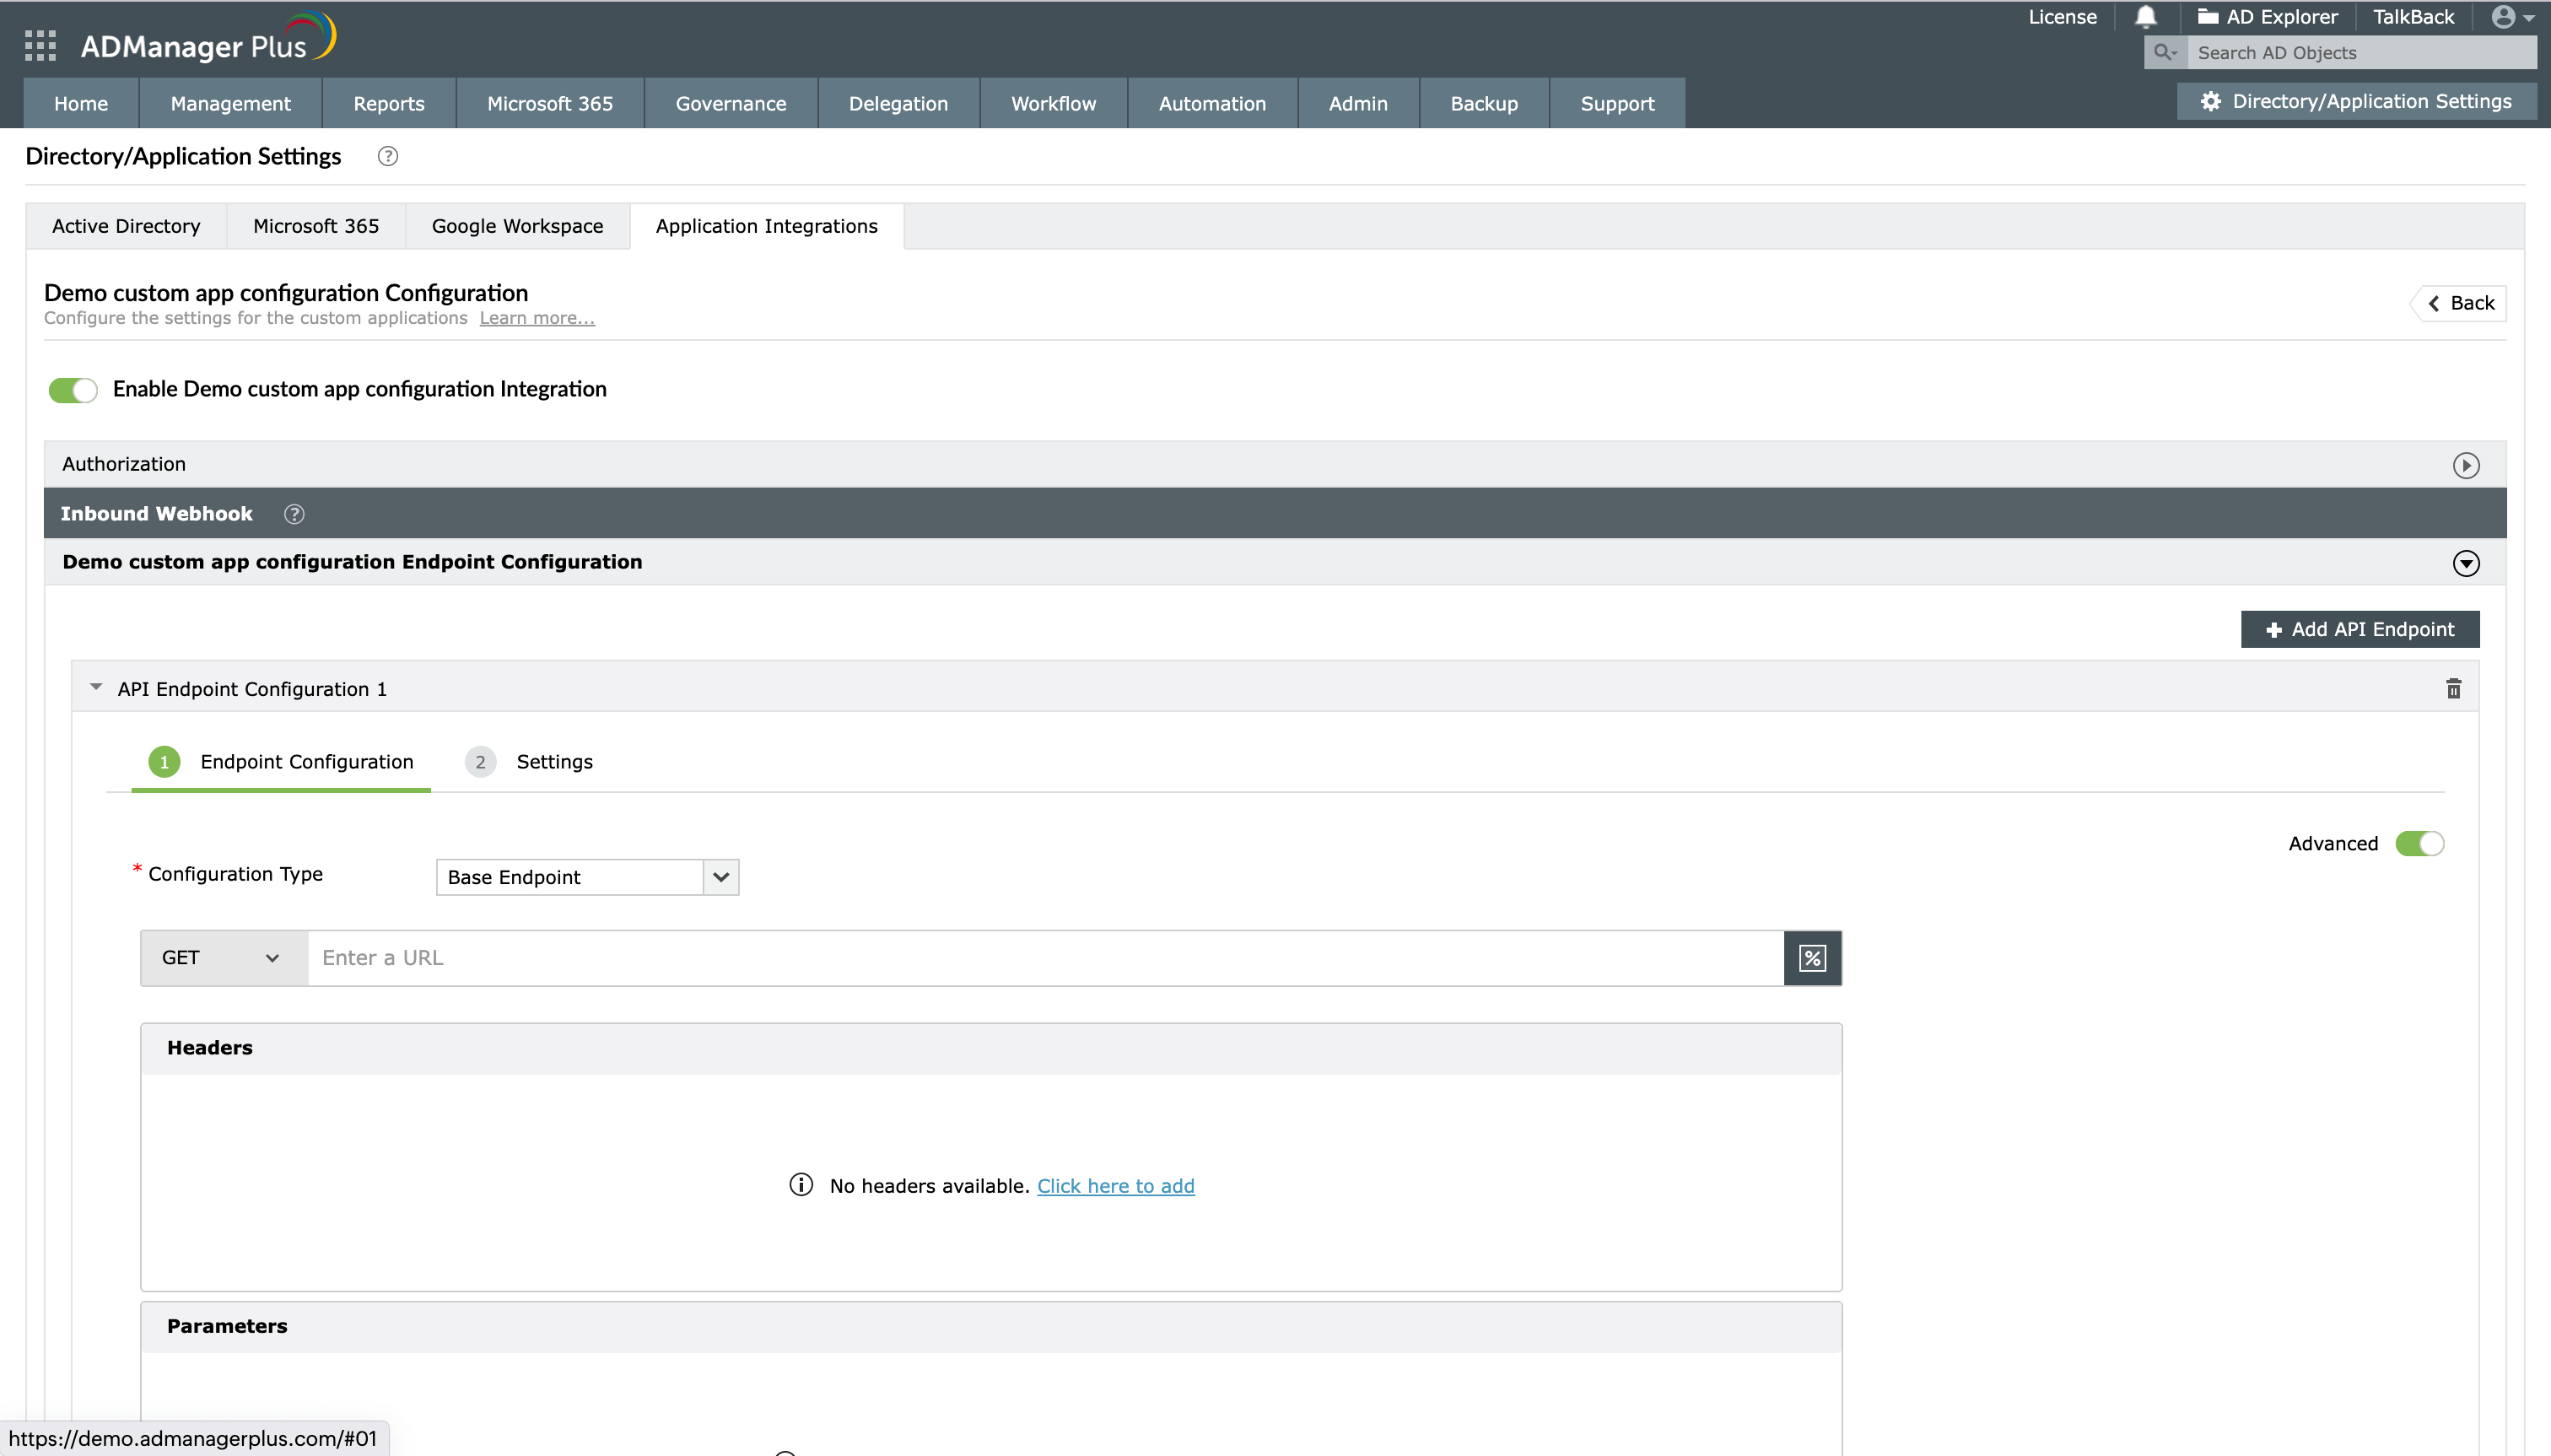
- API endpoint configuration
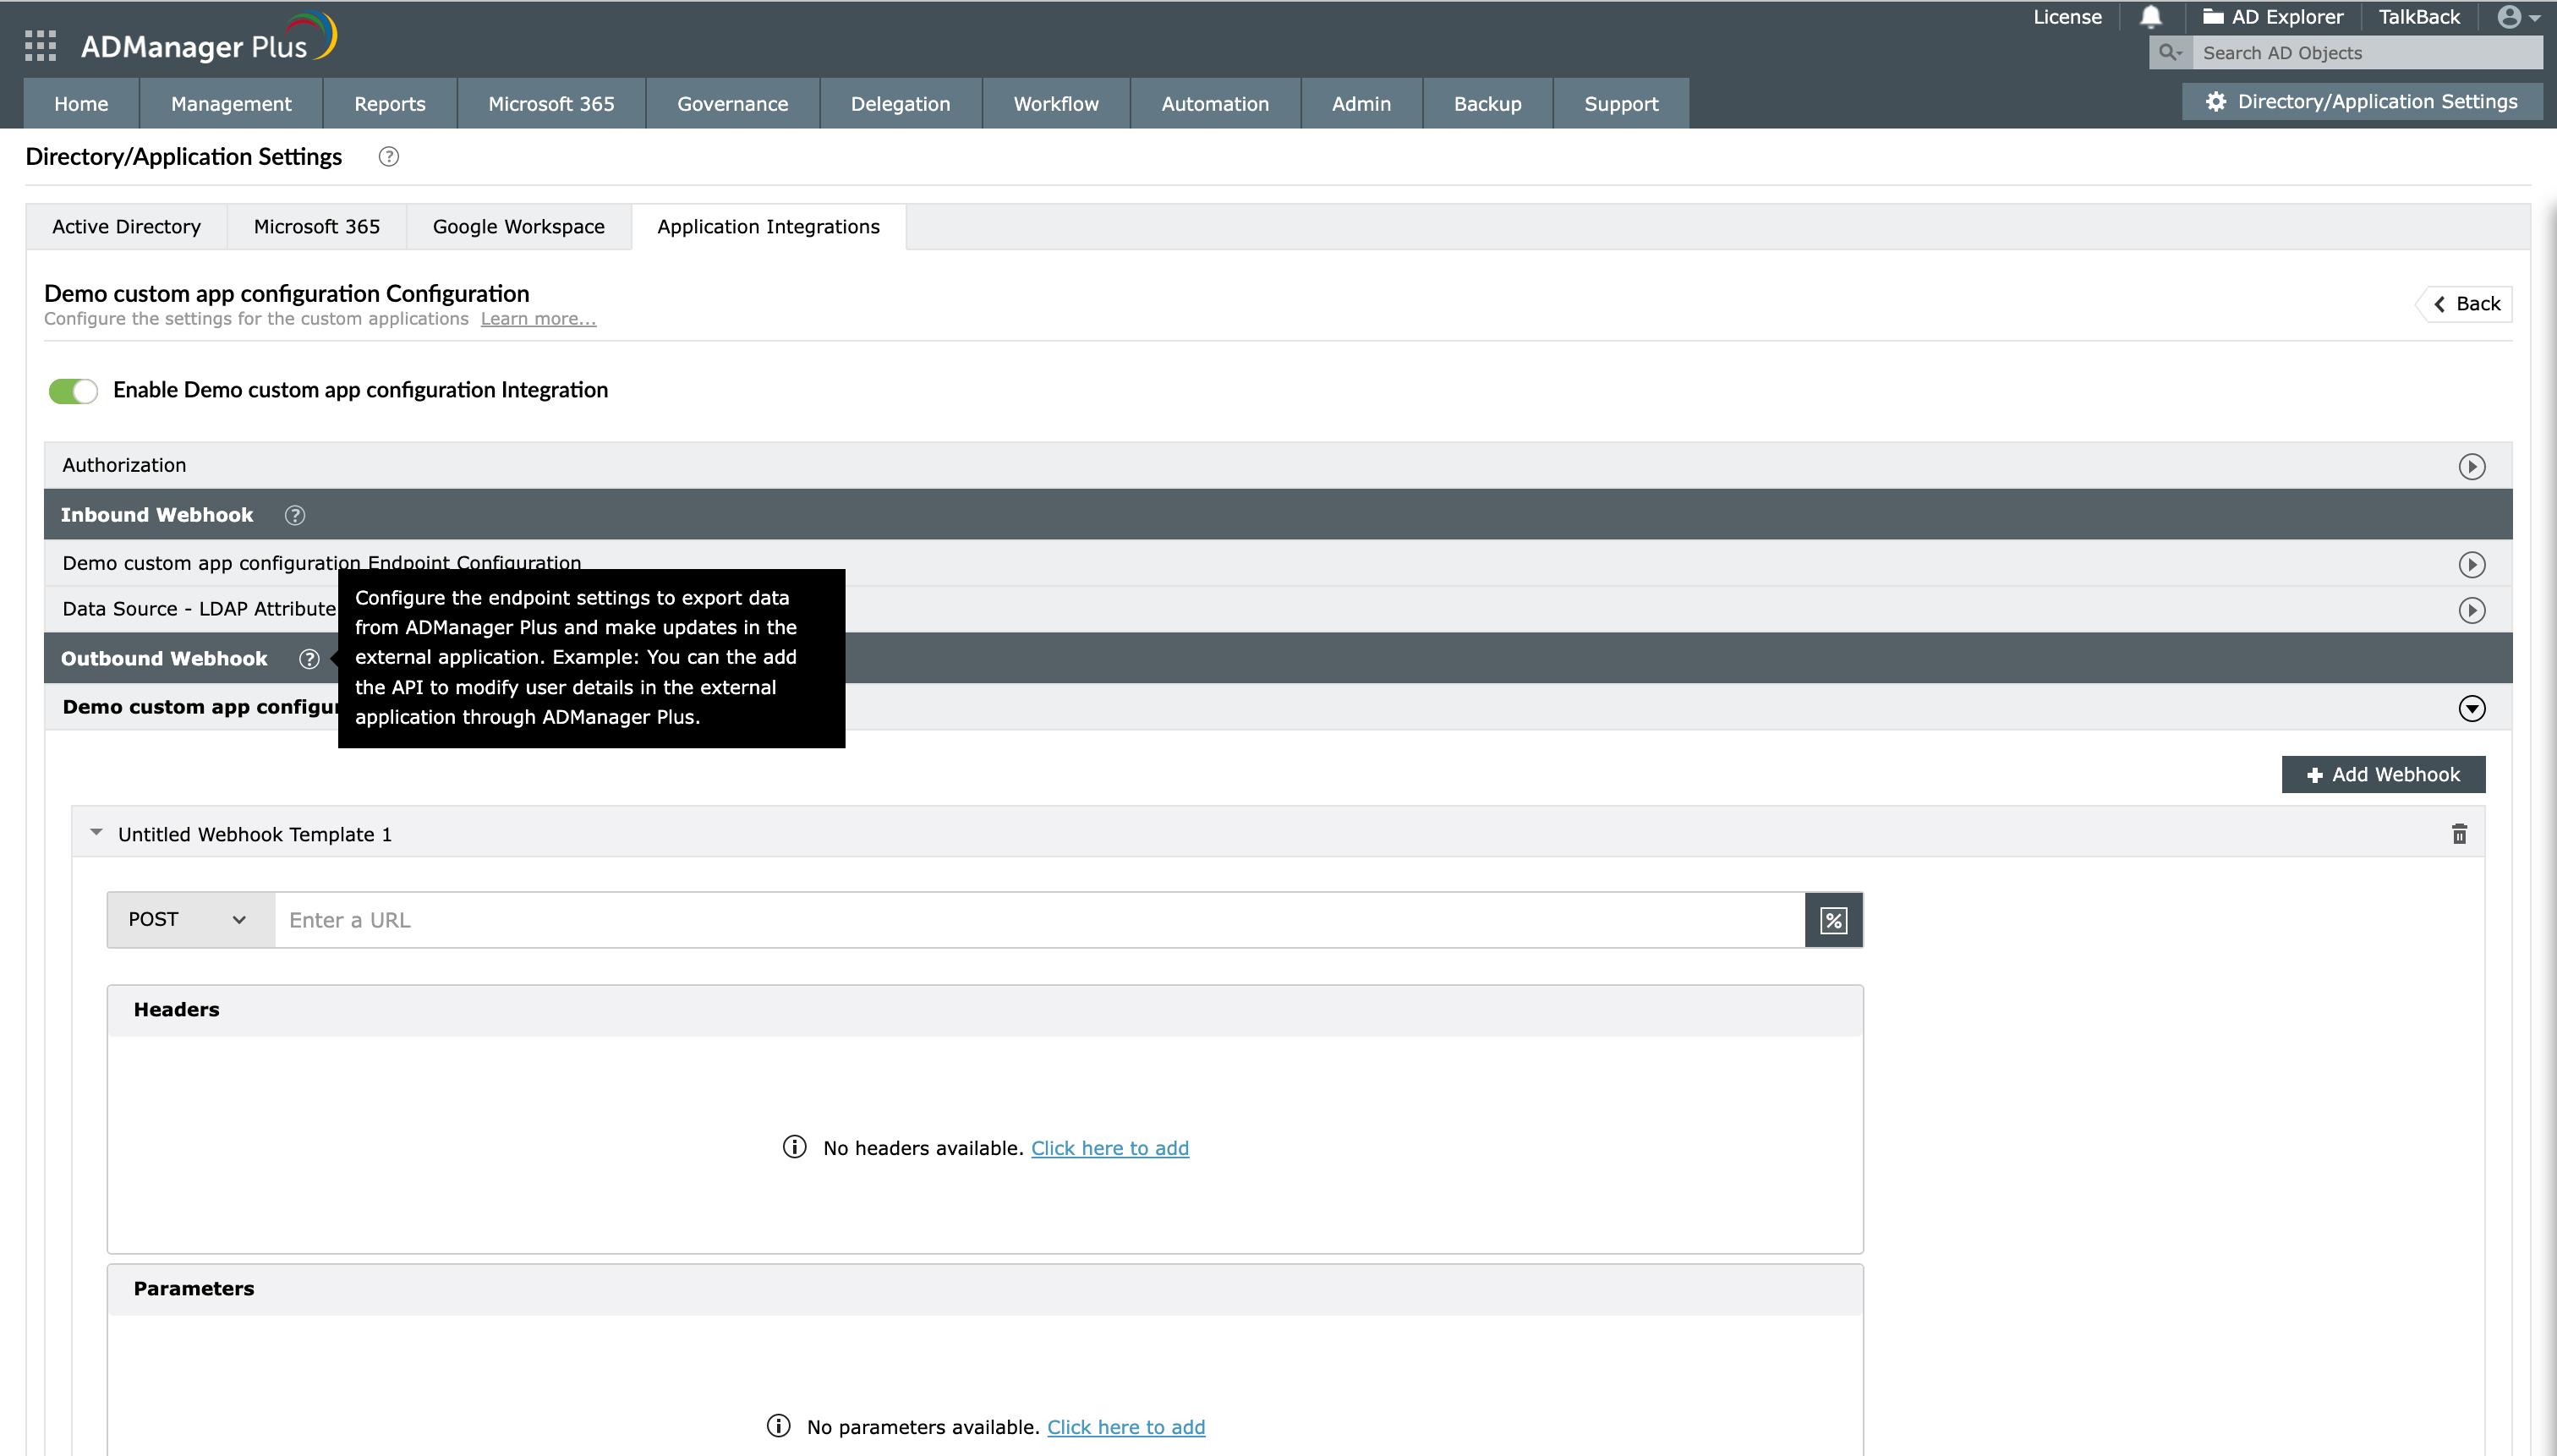
You need the API endpoints of the application to import objects and their necessary details into ADManager Plus. You can find the required API information in the application's API documentation, or you can contact the support team of the application with which you're integrating. There are two types of endpoint configuration in ADManager Plus:
Depending on your organization's goals, you can configure either or both.
Perform the steps given in each of the sections below and jump-start your identity life cycle management process with ADManager Plus right away.
Steps to integrate ADManager Plus with a custom application
- Log in to ADManager Plus.
- Navigate to Automation > Configuration > Application Integrations.
- Click the + Custom Applications tile to integrate with a new application.
- In the window that pops up, enter a suitable Name and Description, upload a Logo for the application, and click Save.
- Click the custom application added in the previous step to configure the API authorization methods, endpoints, and webhooks.
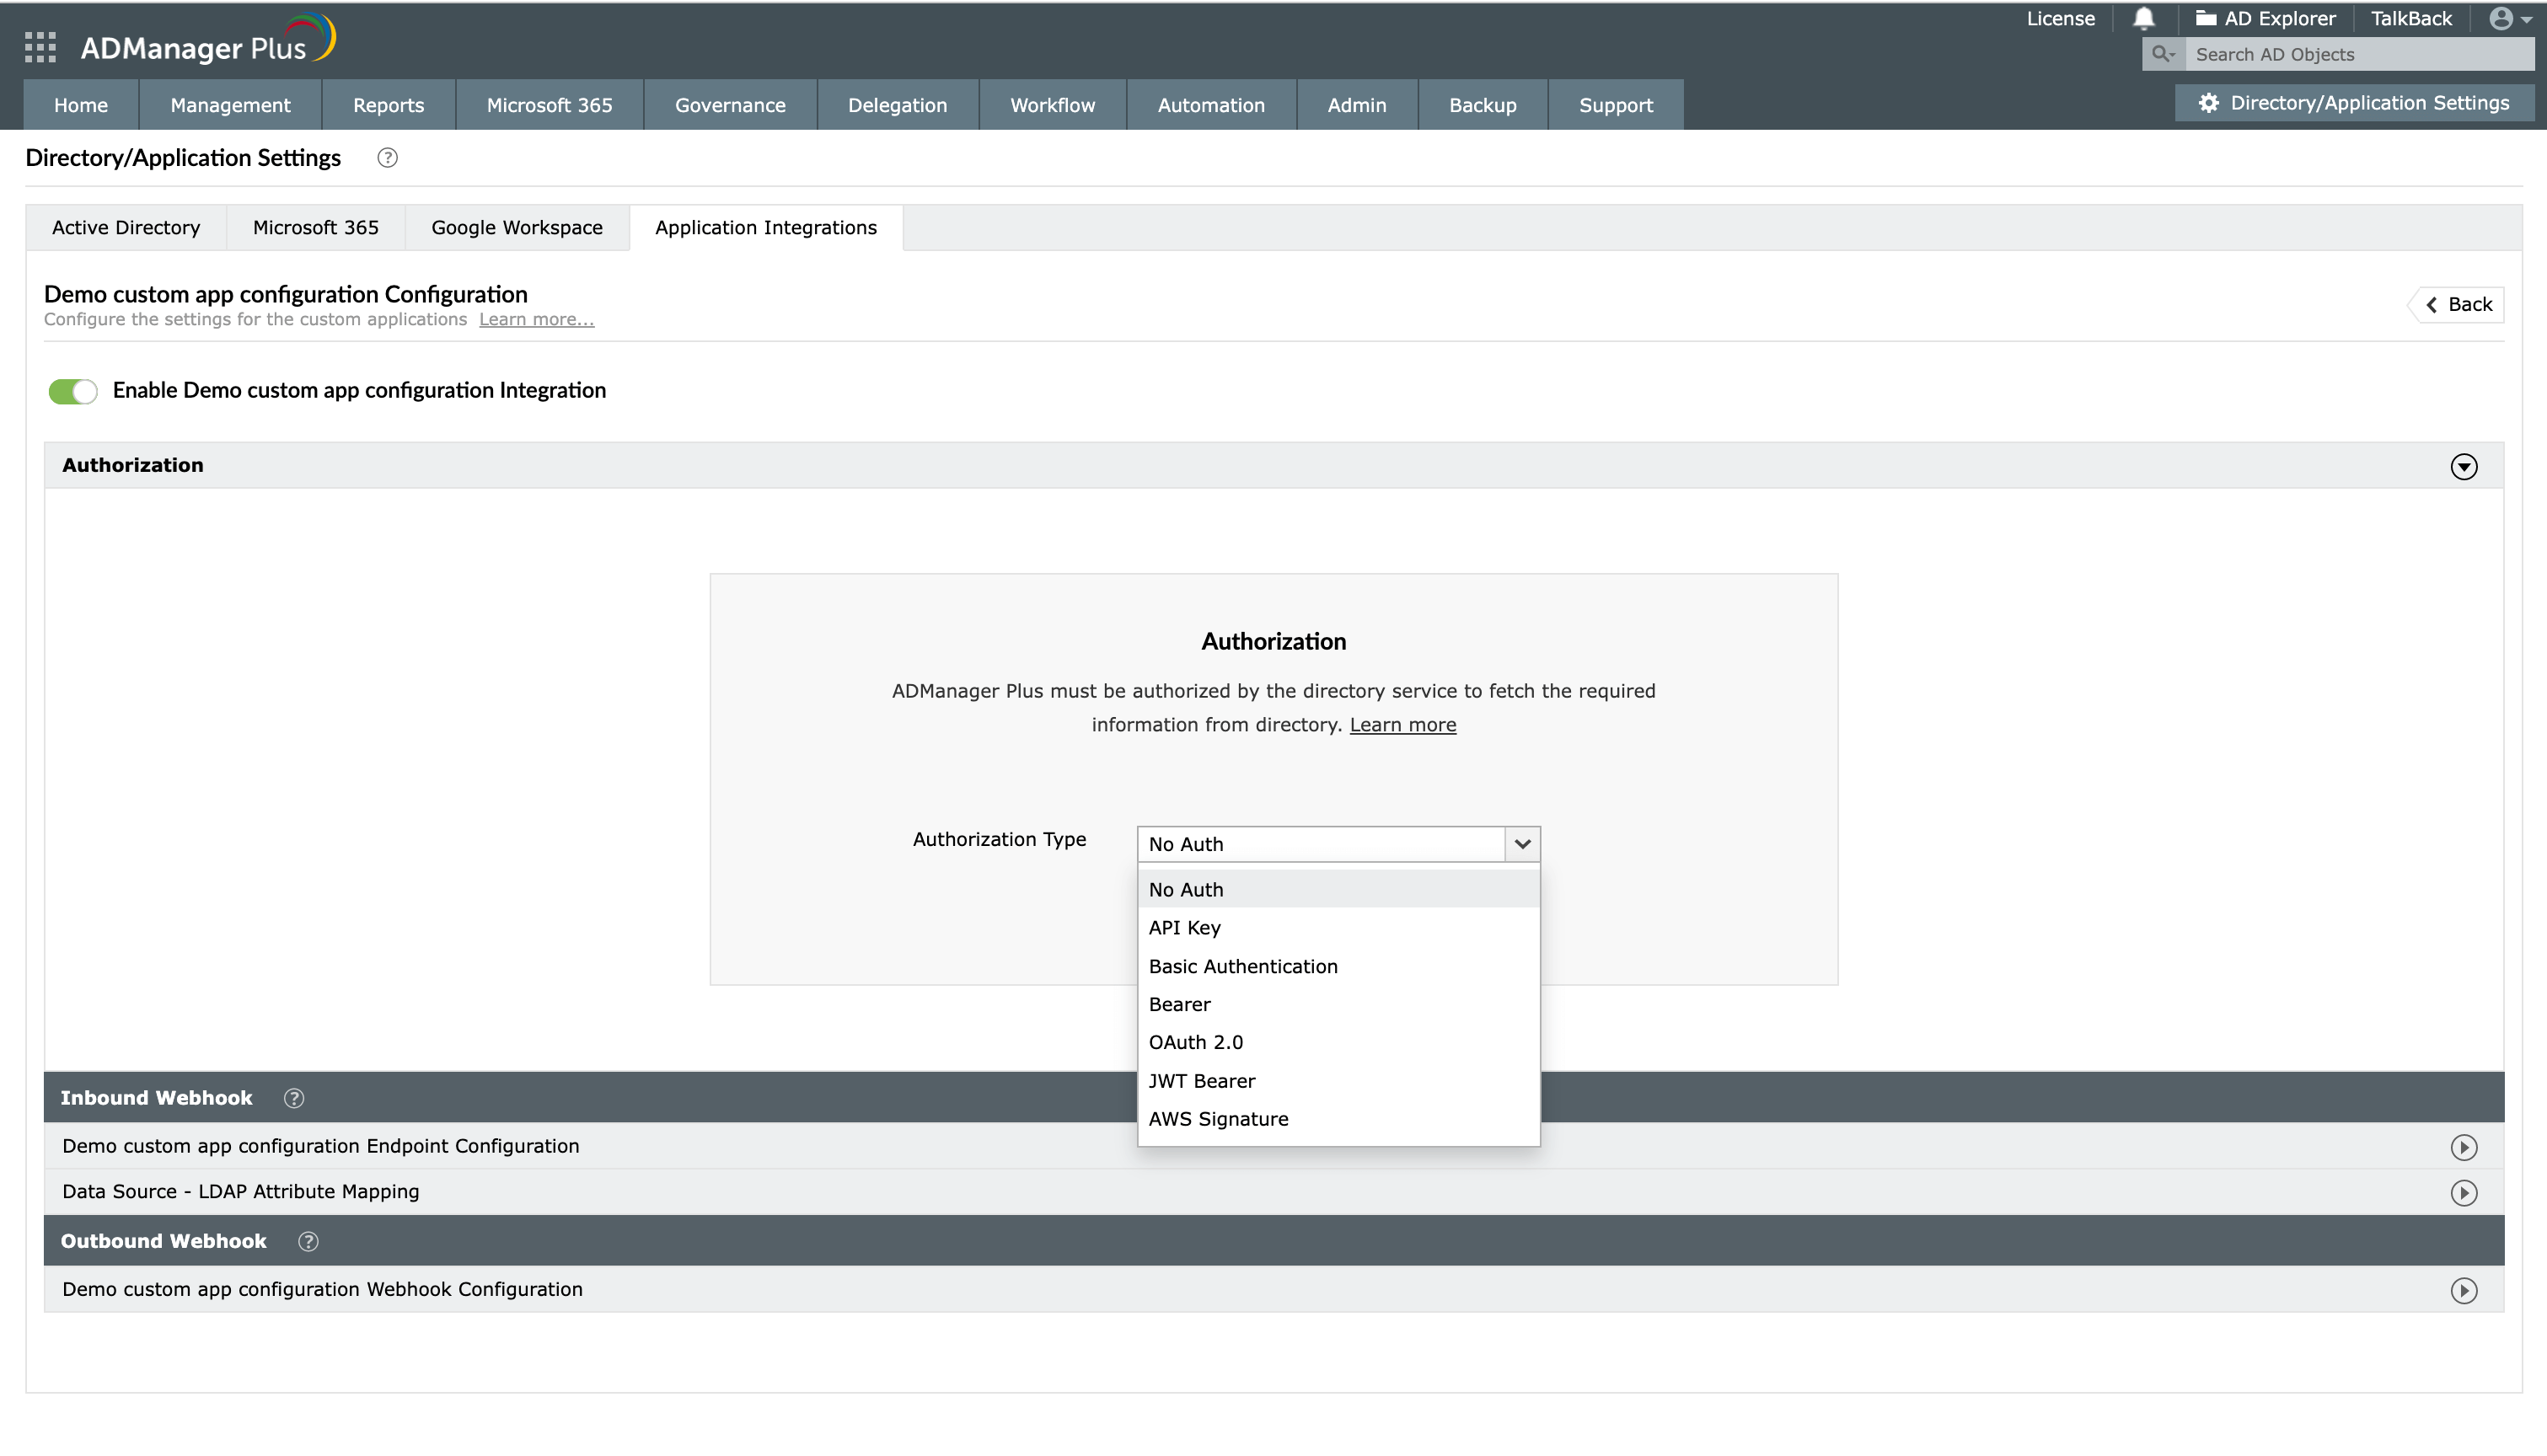
- In the Authorization section, select the Authorization Type from the drop-down:
- No Auth
Select No Auth as the Authorization Type if your request doesn't require authorization, then click Configure. If you do this, the authorization details will not be shared with the API client.
- API Key
If you select API Key as the Authorization Type, enter the key name and value in the Key and Value fields, respectively. Associate the key with a header or query parameter using the Add to drop-down and click Configure. You can refer to your application's API documentation for more details.
- Basic Authentication
If you select Basic Authentication as the Authorization Type, specify a Username and Password and click Configure.
- Bearer
If you select Bearer as the Authorization Type, enter your application's API key in the Token field and click Configure. The API key can be obtained by following the steps mentioned in your application's API documentation.
- OAuth 2.0
If you select OAuth 2.0 as the Authorization Type, specify the following:
- Header Prefix: Specify a prefix value for your authorization header.
- Grant Type: Authorization code is the default Grant Type, but you can choose Client Credentials as the Grant Type depending on the application.
- Callback URL: The Callback URL is where you will be redirected after authentication. For the applications on the list, it is prefilled with ADManager Plus' URL.
For example: http://{hostname}/OAuthCode.do. The hostname will be the machine on which the ADManager Plus instance is installed.
While integrating a new application, this should be configured in the API provider's OAuth configuration.
- Auth URL: Specify the authorization endpoint URL obtained from the application that you want to integrate with while configuring the OAuth details. You can refer to the application's API document for more information.
- Access Token URL: Enter the OAuth server URL where the application can exchange the authorization code for an access token. The server URL will be the redirect URI of the application. Refer to the API documentation for the steps to get the redirect URI of the application with which you are integrating.
- Client ID and Client Secret: Enter a valid ID and its secret key obtained from the application you want to integrate with ADManager Plus.
- Scope: Scopes are defined in the API documentation of the application with which you are integrating. It limits the client's access to specific endpoints and determines if the client can only read or also write to those endpoints. Specify the scope values in ADManager Plus after referring to the scope values in the API documentation.
- Client Authentication: You can use this option to choose if the client credentials have to be included in the request body or the header. By default, Send Client Credentials in Request Body will be selected.
- Advanced Options: Click this option and choose the headers or query parameters from the Add to drop-down.
- API-based Authorization:
While integrating custom applications with ADManager Plus, you now have the option to get the authentication tokens from API endpoints for authorization. This is supported in the <API Key> and <Bearer> authorization types. To utilize this option,
- Select the API Key or Bearer (according to the integrating application's authorization standard) option from the Authorization Type drop-down.
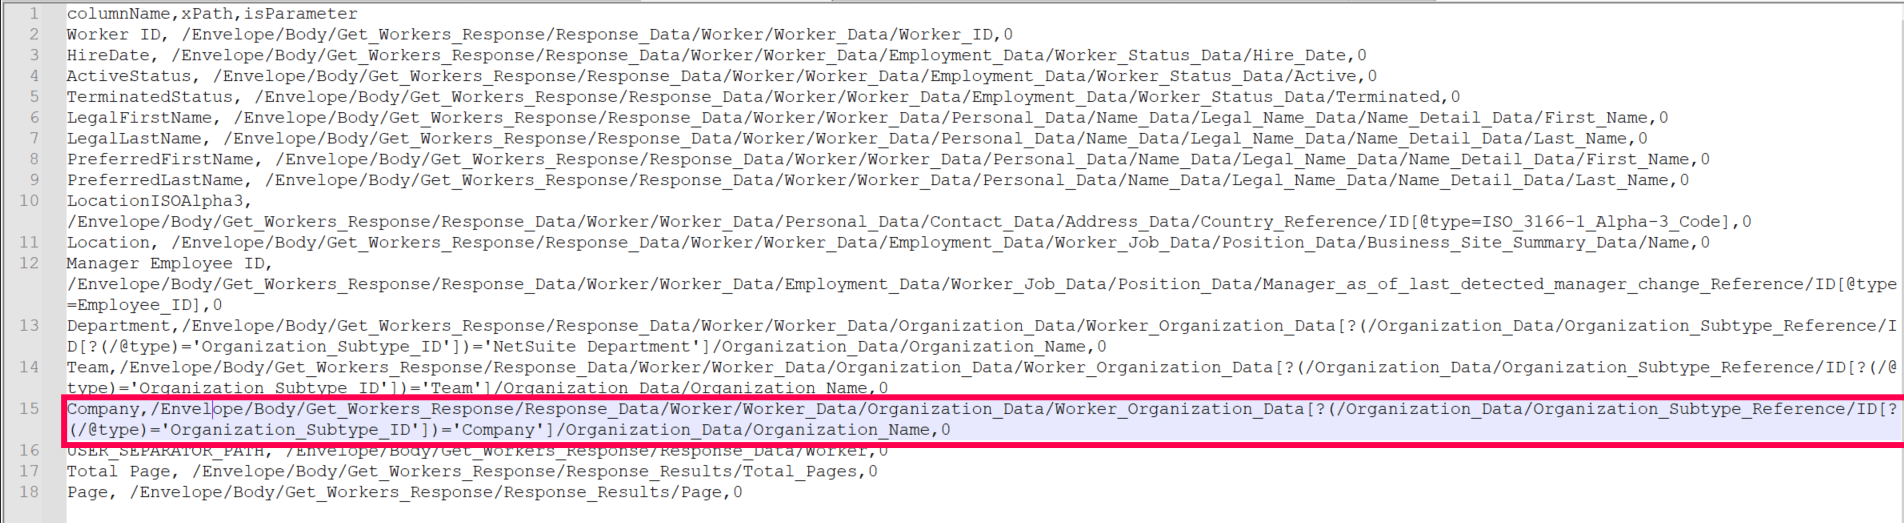
- In the Value field, click the webhook icon as highlighted in the image.
- Configure the API authentication token in the endpoint URL or add it either in headers or in parameters.
- Click Test and Configure to test the webhook and proceed to set this as an authorization method.
Note: This will also be listed as a macro in inbound and outbound webhooks in the Select Macro window pop-up.
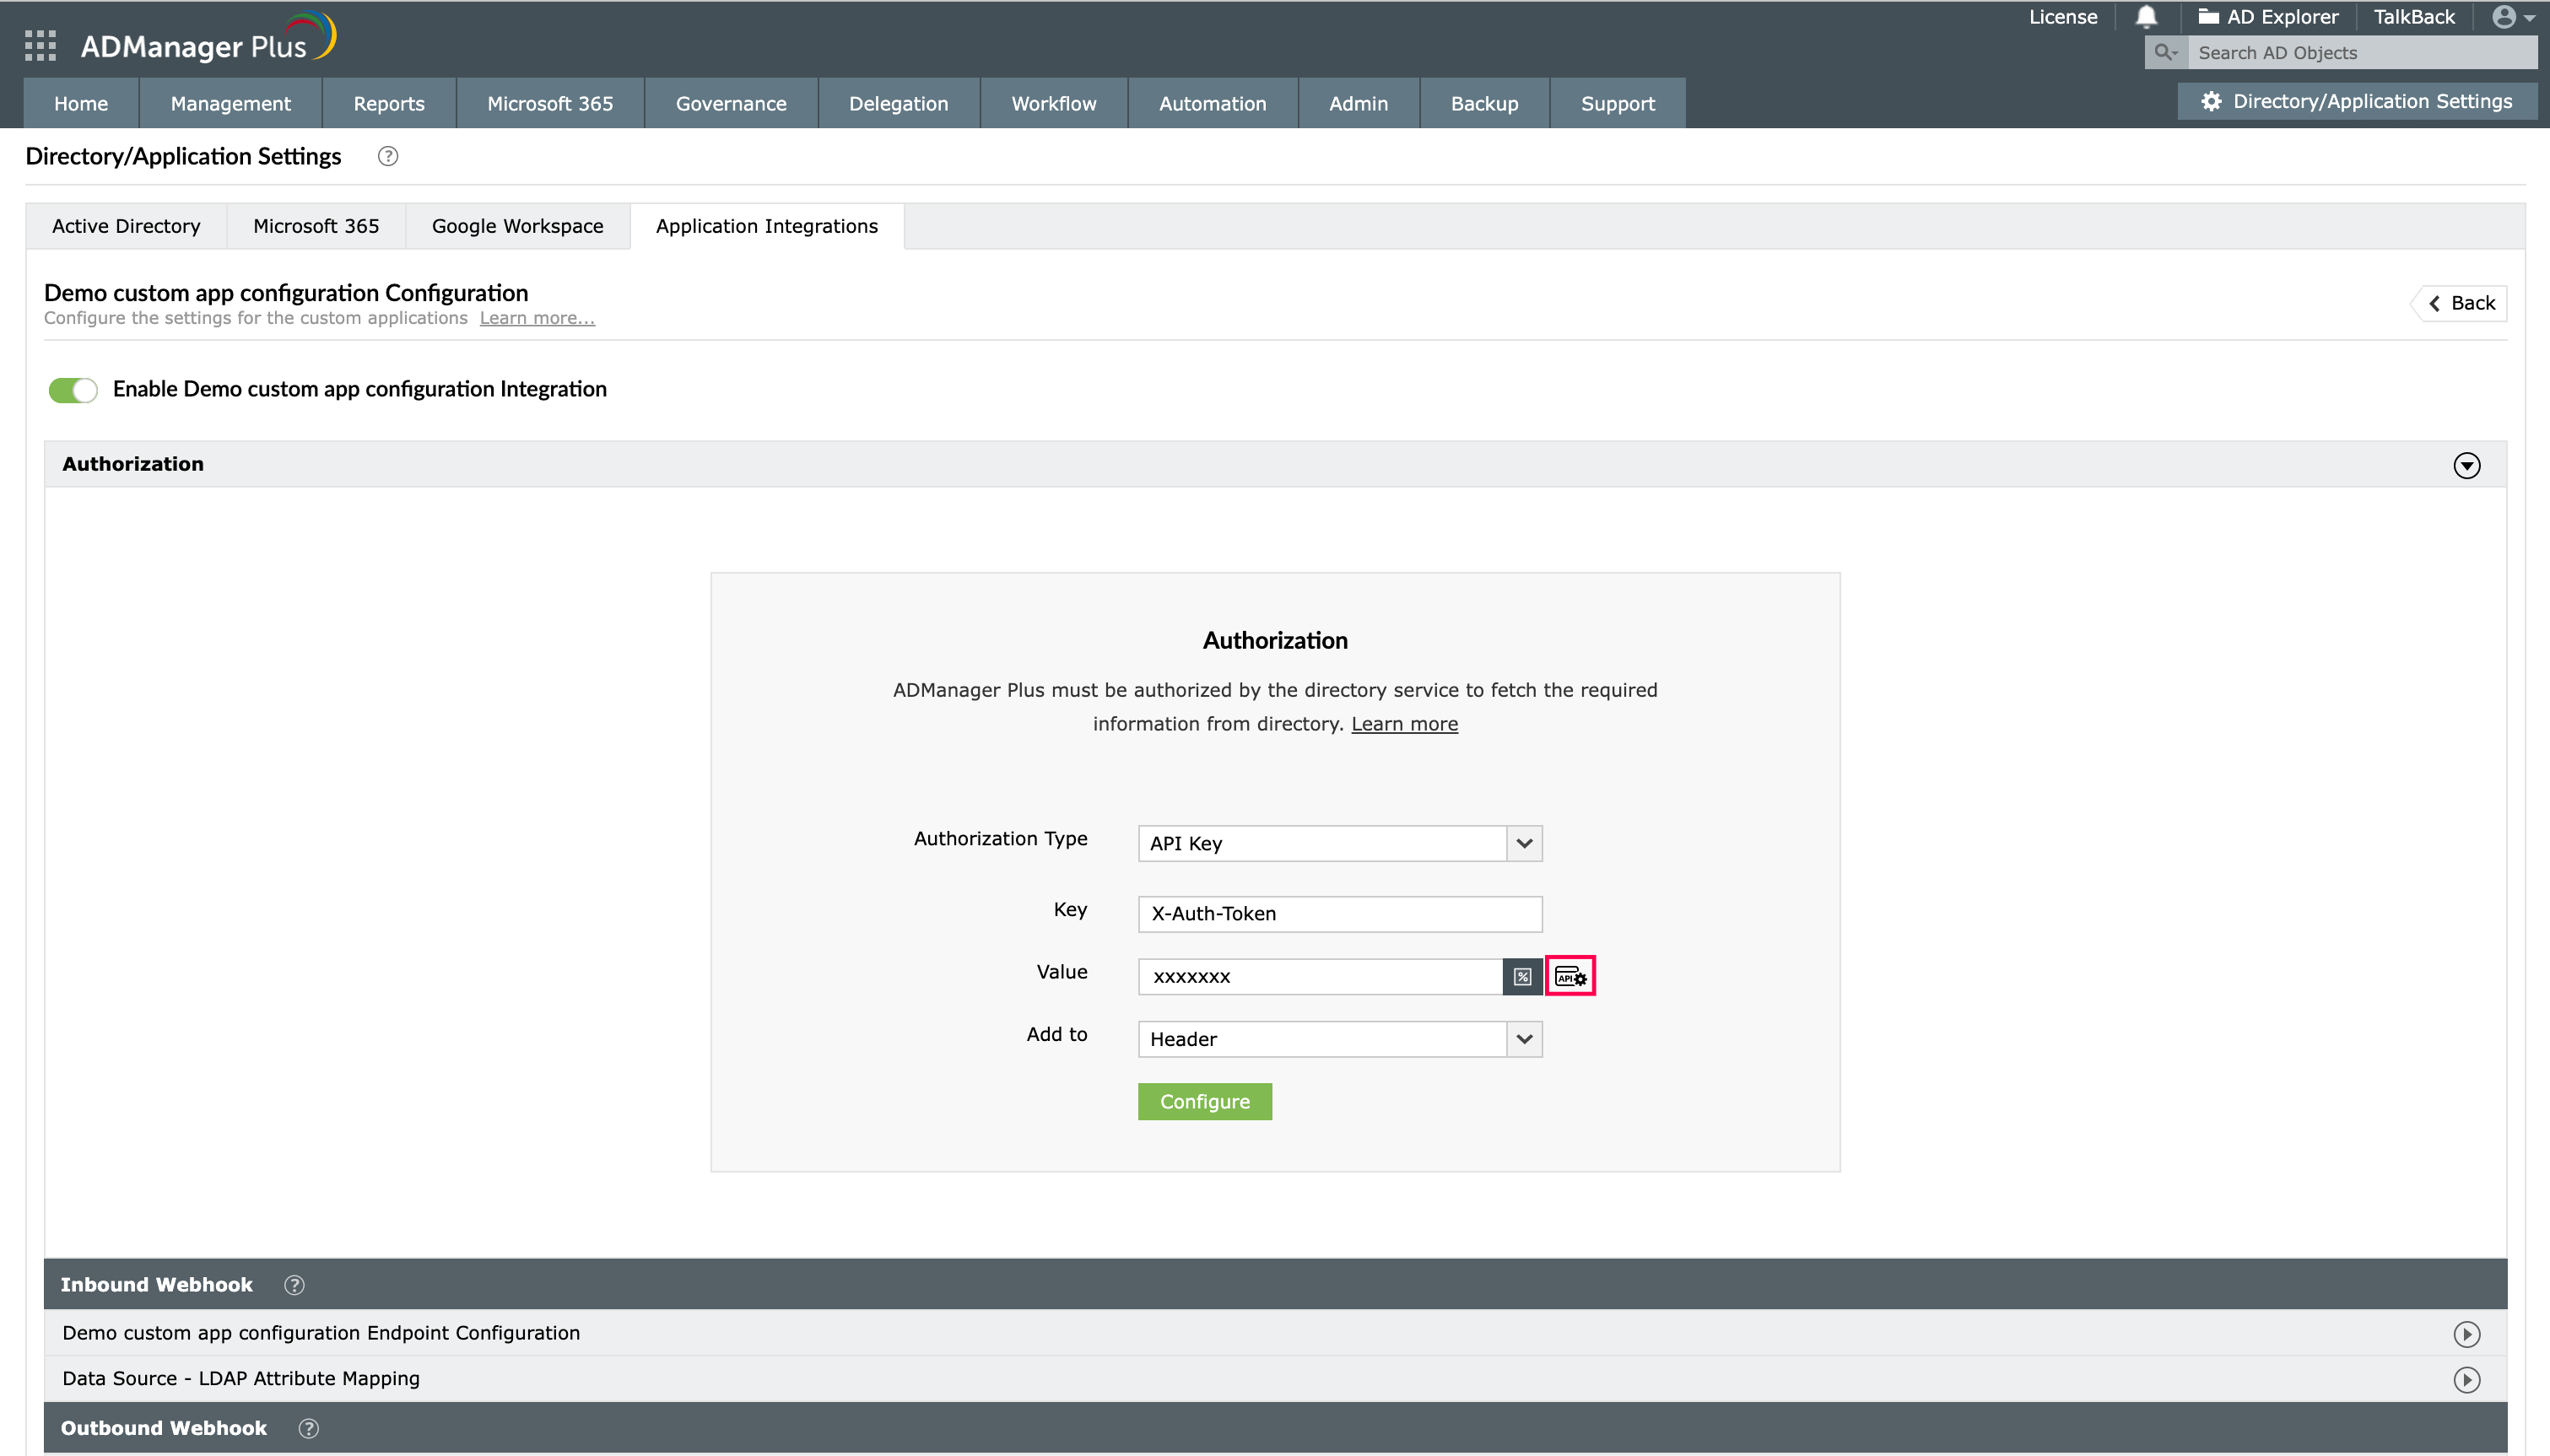
- Click the icon to add a authentication token webhook
Note: ADManager Plus sends an authorization request to the Auth URL specified above, along with the Client Id and Client Secret. The authorization server responds with an authorization code, which is then exchanged for refresh and access tokens. The access tokens are then used to make API calls, after which the user is redirected to the specified Callback URL.