Notification
Acknowledgement notifications will be sent via email, SMS, or push notifications to users and
administrators when any of these six actions are performed:
- Self-service
password reset
- Self-service
account unlock
- Change
Password
- Enroll
with ADSelfService Plus
- Self-directory
update
- Account is blocked, or when an
admin unblocks
an account from the Blocked Users Report
Acknowledgement notifications alert users about every action related to their account in real-time. They
serve as a second layer of verification, minimizing the impact of account takeovers or man-in-the-middle
(MITM) attacks by enabling quick responses in case of unauthorized actions. For example, during a MITM
attack, an attacker might intercept a password reset request and reset the password. When the user
receives a notification about the reset, they can immediately recognize it as unauthorized, report the
issue, and secure their account before the attacker can take further malicious steps.
Notifications also create an audit trail for detecting and addressing potential vulnerabilities.
Note: Before configuring email or SMS notifications, make sure that the
mail server or
SMS server is configured.
Send notifications to users
You can send notifications to users by following the steps below:
- Log into ADSelfService Plus with admin credentials.
- Click the Notification tab.
- Navigate to the operation(s) for which the user should receive acknowledgement notifications.
Note: It is recommended to enable acknowledgement notifications for all six
actions.
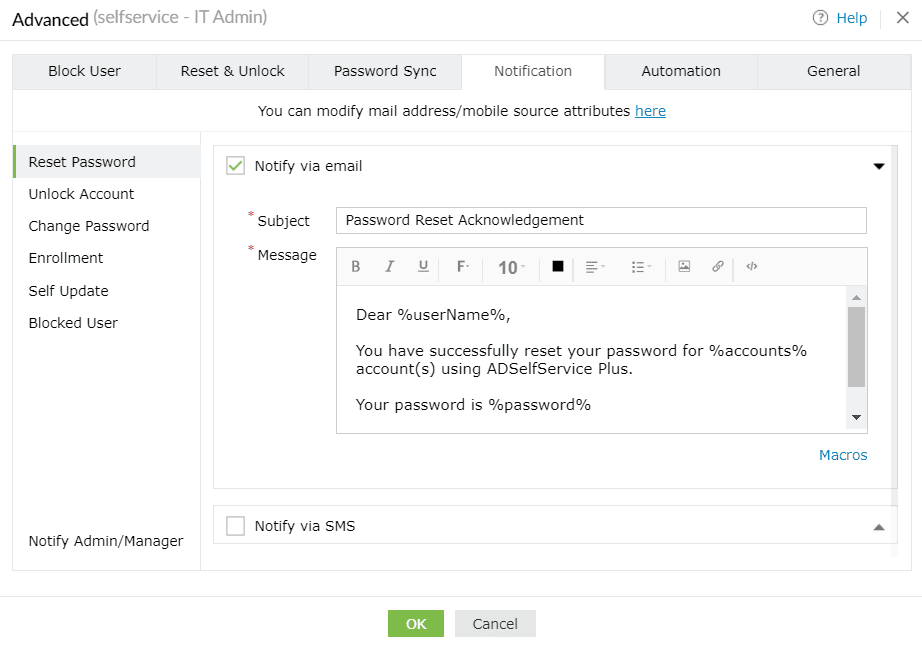
- Select the Notify option beside the method of notification (SMS, email, or push
notifications).
Important:
- Push notifications cannot be configured for self-directory update operation.
- For Enrollment, you can opt to send notifications for specific enrollment actions in the
Action field.
- Enter an appropriate Subject and Message.
- Click OK.
Send notifications to Admin/Manager
Follow the steps below to send notifications to admins when any of the six actions are performed:
- Click the Notification tab.
- Navigate to the operation(s) for which the admin should receive acknowledgement notifications.
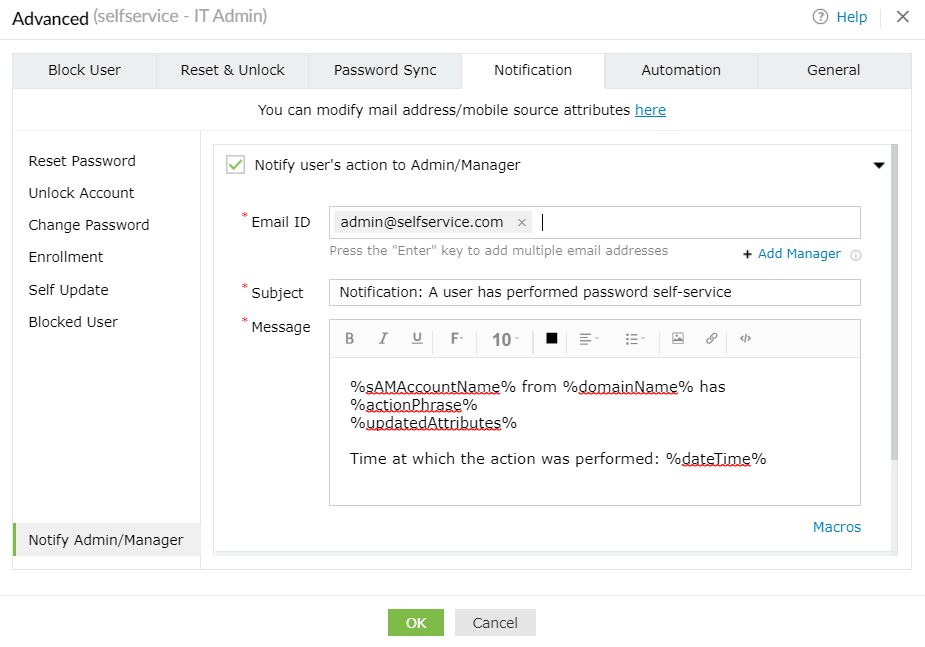
- Click Notify Admin/Manager at the bottom left corner of the Notification tab.
- You can choose to notify the admin or manager of the success or failure of user actions by checking
the box next to the desired notification.
- In the Action field, select the actions for which you wish to notify the admin or manager.
- Enter an Email ID, Subject, and Message.
- Click Add Manager under the Email ID setting to send the notification email to the users'
manager.The email address of the user's manager is taken from the Active Directory database.
- Click OK.
ADSelfService Plus also allows for the creation of requests in MangageEngine ServiceDesk Plus and
ManageEngine ServiceDesk Plus Cloud when users perform any of the six listed actions in order to keep
track of users' activities, and follow-up on them if needed.
How to create a request in ServiceDesk Plus
Note: To do this, you need to link ManageEngine ServiceDesk Plus with ADSelfService Plus. Click
here
for detailed steps on how to do so.
- Select the Create request in ServiceDesk Plus option.
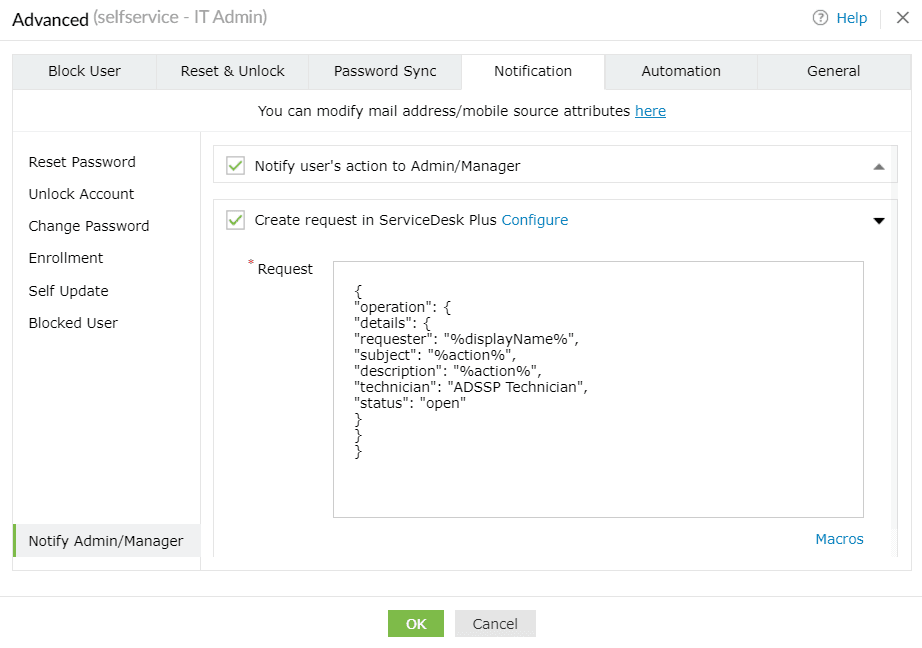
- Specify the attributes of the request and enter them in JSON format.
Sample:
{
"operation": {
"details": {
"requester": "%displayName%",
"subject": "%action%",
"description": "%action%,
"technician": "ADSSP Technician",
"status": "open"
}
}
}
- Click OK.
Tip: To learn more about the different attributes that can be used in the
request, follow the steps below.
- Log in to ManageEngine ServiceDesk Plus with admin credentials.
- Navigate to Admin > General Settings > API.
- Click the Documentation link.
- Click the Request tab. A comprehensive list of all the attributes that can be used in a
request are cataloged here.
- Click OK.
How to create a request in ServiceDesk Plus Cloud
Note:
To do this, you need to link ManageEngine ServiceDesk Plus Cloud with ADSelfService Plus. Click
here
for detailed steps on how to do so.
- Select the Create request in ServiceDesk Plus Cloud option.

- Specify the attributes of the request and enter them in JSON format.
Sample:
{
"operation": {
"details": {
"requester": "%displayName%",
"subject": "%action%",
"description": "%action%,
"technician": "ADSSP Technician",
"status": "open"
}
}
}
- Click OK.
Note: To learn about the different attributes that can be used in the
request, scroll down to the
Note section below the Request Body, and click on
Learn
More.

Don't see what you're looking for?
-
Visit our community
Post your questions in the forum.
-
Request additional resources
Send us your requirements.
-
Need implementation assistance?
Try OnboardPro
 ADManager Plus
 ADAudit Plus
 Exchange Reporter Plus
 M365 Manager Plus