Set quick view layout
The layouts can be broadly classified as tabular and non-tabular. You can do the following:
- Set tabular layout
- Freeze columns in the list report
- Set a non-tabular layout
- Set a non-tabular layout that has a placeholder for image field
- Set size for non-tabular layout
To set tabular layout for list report
- Navigate to Design page.
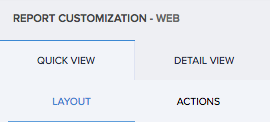
- Select Quick View on the right.
- Select Layout section.
- Select the first (tabular) layout. You can set the field and layout properties.
- Map the fields to specific positions in the layout.
- Select the fields. The respective field properties will appear.
- Define their properties.
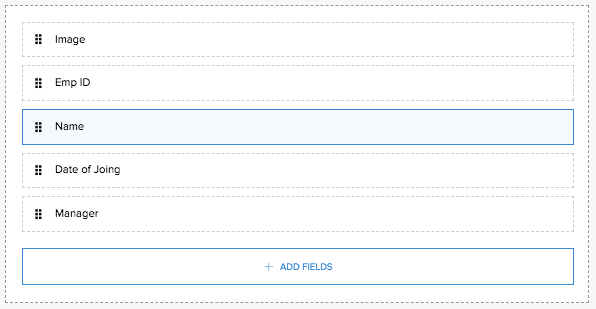
- Click ADD FIELDS button, then select a field to include it in the layout.
- Click Close. The changes are reflected in the preview.
On completing layout mapping, the preview immediately reflects the changes made. Access your report. You will find that the records are displayed as per your tabular layout.
To freeze columns in list report
- Navigate to Design page of your report.
- Select Quick View on the right.
- Select Layout.
- Select the first (tabular) layout.
- Click the Layout properties button on the top right corner. The Freeze column property will appear on top.

- Set the Freeze property as One column or Two columns, as required.
- Click Close.
Access the application to view your report. You will find that your list report is displayed with the column frozen based on your configuration.
To set a non-tabular layout for list report
- Navigate to Design page.
- Select Quick View on the right.
- Select Layout.
- Select a layout other than the first (tabular) one. You can set the field and layout properties.
- Map the required fields to the placeholders in the layout.

- Select the fields. The respective field properties will appear on top.
- Define their properties.
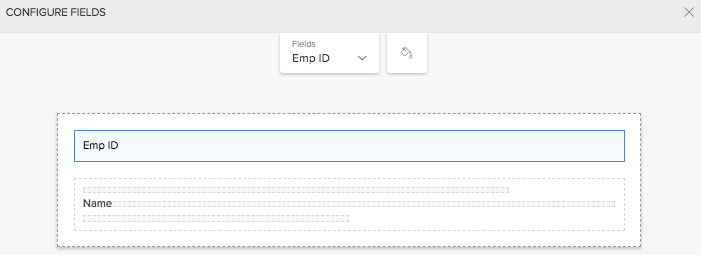
- Click Close. The changes are reflected in the preview.
On completing layout mapping, the preview immediately reflects the changes made. Access the application to view your report. You will find that your list report has assumed the non-tabular layout that you selected.
To set a non-tabular layout that has a placeholder for image field
- Navigate to Design page.
- Select Quick View on the right.
- Select Layout.
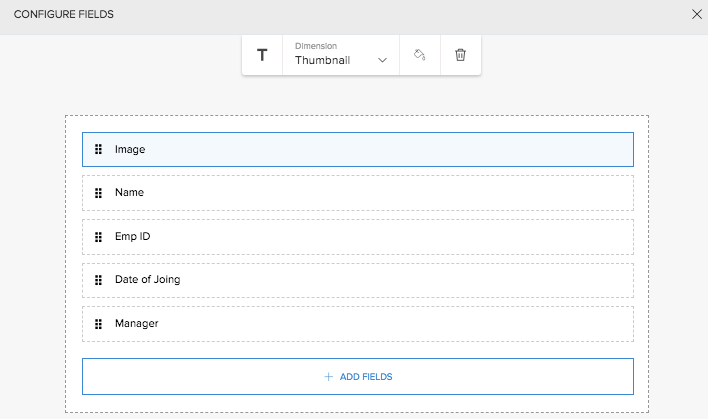
- Select a non-tabular layout that shows an image. You can set the field and layout properties.
- Map the fields to specific positions in the layout.
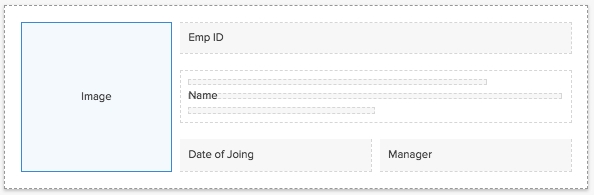
- Select the fields. The respective field properties will appear.
- Define their properties.
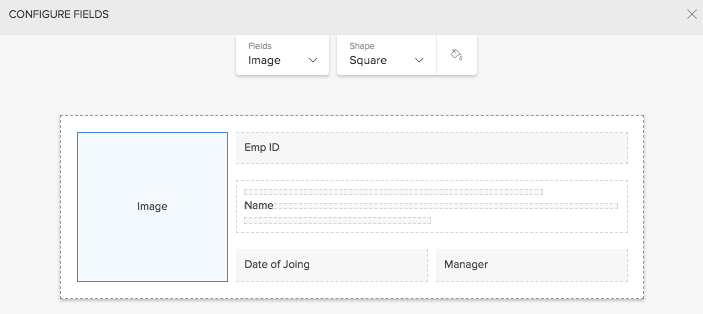
- Click Close. The changes are reflected in the preview.
On completing layout mapping, the preview immediately reflects the changes made. Access the application to view your report. You will find that your list report has assumed the layout that you selected.
To set size for a non-tabular layout of list report
- Navigate to the Design page of your report.
- Select Quick View on the right.
- Select Layout.
- Select a layout other than the first (tabular) one.
- Click the outer dotted line that encloses the fields. The layout properties will appear on top.
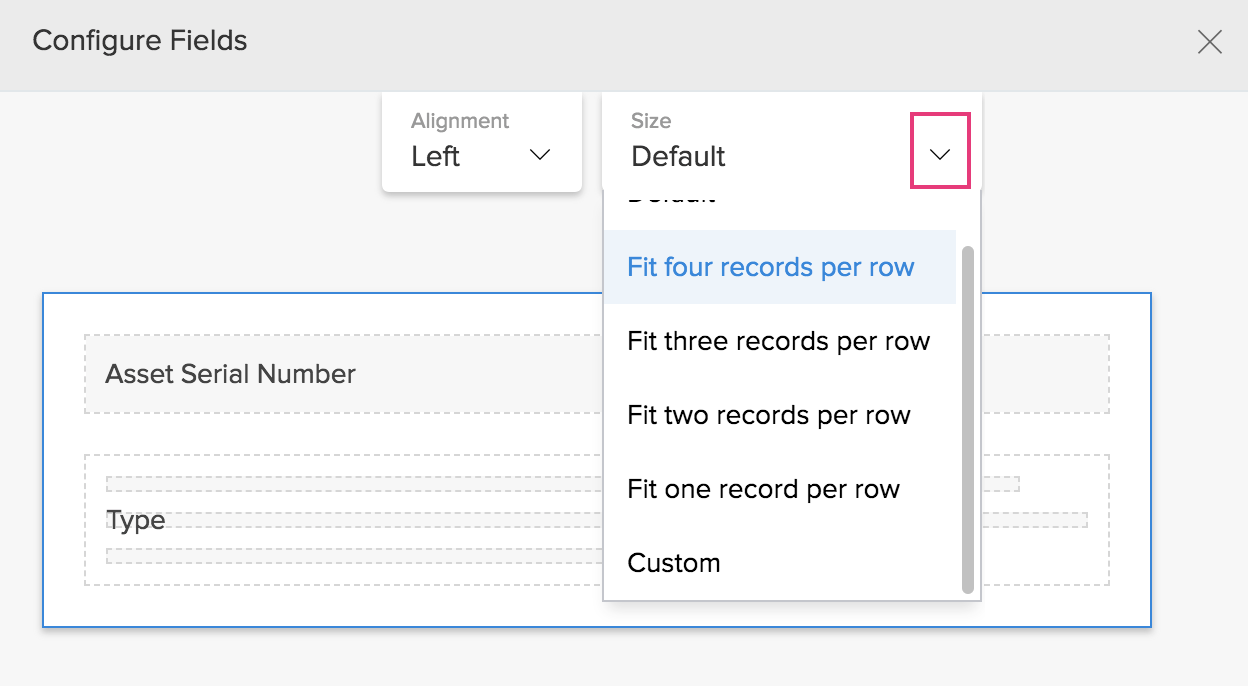
- Set the required value for the Size property:
- Default - Width of each record's layout will be set to 100 pixels (px). The number of records shown per row will majorly depend on the size of your user's web browser's window.
- Fit x records per row - You can display one to five records per row (depending on the layout). The width of each record's layout will be adjusted so as to fit the defined number of records in your user's web browser's window.
- Custom - You can set the width of record's layout in pixels. This will come in handy especially when you wish to embed your report in a page or website.