Types of credentials supported in OpManager
OpManager accesses the remote devices using the protocols such as SNMP, CLI, or WMI. The credentials like the password/snmp community, port etc., may differ for different device types. Pre-configuring a set of credentials in OpManager helps applying them to multiple devices at a time, saving a lot of manual effort. Listed below are the various types of credentials supported in OpManager, its pre-requisites and the steps to add one into OpManager.
SNMP
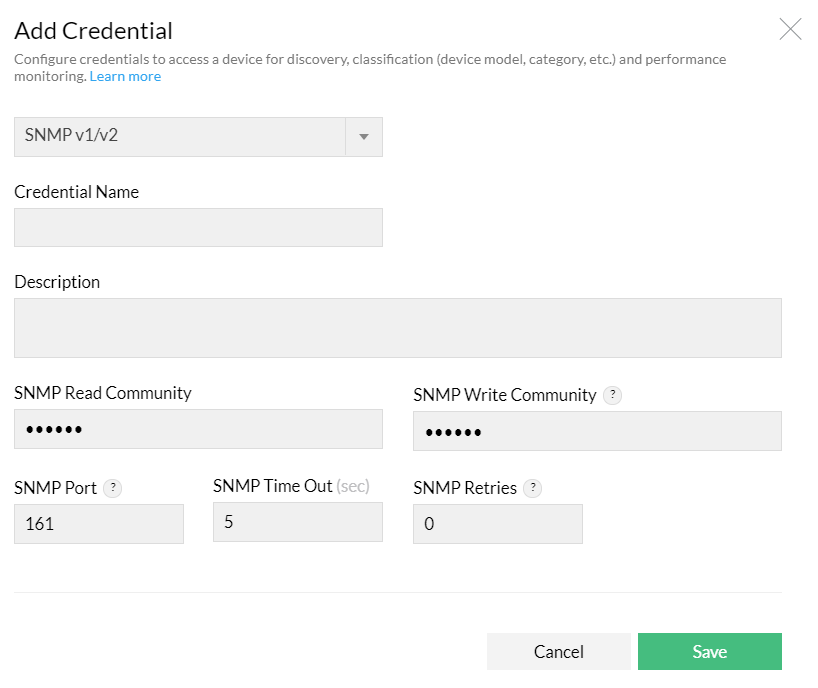
SNMP v1/SNMPv2: SNMPv1 /v2 are community based security models. They use access mechanisms known as 'Read community' (for Read access) and 'Write community' ( for Write access ). The following are the parameters that are essential for a SNMP v1/v2 credential:
- Provide a name for the Credential name and description. Configure the correct Read and Write community, SNMP Port, SNMP Timeout (in seconds) and SNMP Retries.
- Note:
- SNMP Write Community is optional and is used if you don't have read access. But it is mandatory for the OpManager plugins.
- OpManager explicitly supports SNMP v2 for device monitoring. However, if certain devices are not responding with SNMP v2, OpManager automatically defaults to SNMP v1 while configuring those specific devices. This ensures that monitoring continues seamlessly even if SNMP v2 is not supported for particular devices or monitors.
Pre-requisites:
- SNMP read credential is mandatory
- Ports: The default port used for SNMP is 161. Make sure that this port is not blocked by your firewall
SNMP v3: SNMPv3 is a user based security model. It provides secure access to the devices by a combination authenticating and encrypting packets over the network. The security features provided in SNMPv3 are Message integrity, authentication and encryption. You will have to configure the following parameters if SNMPv3 credential type is selected.
- Name: Credential name
- Description: A brief description about the credential.
- User Name: The user (principal) on behalf of whom the message is being exchanged.
- Context Name: An SNMP context name or "context" in short, is a collection of management information accessible by an SNMP entity. An item of management information may exist in more than one context. An SNMP entity potentially has access to many contexts. In other words, if a management information has been defined under certain context by an SNMPv3 entity, then any management application can access that information by giving that context name. The "context name" is an octet string, which has at least one management information.
- Authentication: Select any of the authentication protocols either MD5 or SHA and enter the password. MD5 and SHA are processes which are used for generating authentication/privacy keys in SNMPv3 applications.
- Encryption: Select any of the encryption protocols between DES, AES-128, AES-192 or AES-256 and enter the password. Note: Only after configuring Authentication it is possible to configure Encryption.
- SNMP Port: SNMP port number.
- SNMP Timeout:SNMP timeout in seconds.
- SNMP Retries: SNMP retries.
Note:
- Ensure that the snmpEngineBoots and snmpEngineTime parameters specified in the device are in-sync with those specified in the SNMP agent. If not, the device discovery in OpManager will fail.
- Make sure that the context name given in OpManager is mapped properly to the agent credential
How to check if the snmpEngineBoots and snmpEngineTime values specified in the device are in-sync with those in the SNMP Agent ?
You can use the Wireshark tool to check if the snmpEngineBoots and snmpEngineTime parameters specified in the device and the SNMP Agent are in-sync with one another.
Download wireshark and query for the SNMP OID from the MIB browser. If the SNMP response message is a report with OID 1.3.6.1.6.3.15.1.1.2, then it means that the boot time and boot count are not synchronized.
Pre-requisites for SNMPv3 credential:
- Make sure the SNMP v3 authentication details received from your vendor has been implemented properly in the device.
- Make sure the context name given in OpManager is mapped properly to the credential.
- EngineID should be unique for all the SNMP v3 devices in an environment.
- Ports: The default port used for SNMP v3 is 161. Make sure that this port is not blocked by your firewall.
- Make sure the engine boot time and engine boot count is updated properly in the SNMP agent.
WMI
WMI is a windows based credential used for authentication of devices that run on Windows operating system. If you select WMI as the protocol, configure the Domain Name, the User Name, and the Password. Example:- TestDomain\TestUser. Also enter the credential name and description.
- The amount of information that can be monitored using the WMI credential depends on the whether the credential supplied to OpManager has full admin privilige or not.
- If the credential does not have full admin privilege, certain operations like Folder monitoring ( for restricted folders ) cannot be done. Hence it is recommended ( though not mandatory ) to use WMI credentials that has full admin privilege for monitoring using OpManager.
- If your network has a threshold limit on the number of incorrect login attempts, supplying an incorrect WMI credential might lock out the device in the Active Directory if the number of incorrect attempts cross the threshold limit.
- Incorrect credentials will also affect the OpManager performance. Hence it is always advisable to schedule Test Credentials to ensure that the credentials supplied are correct and up-to-date.
Pre-requisites:
- Required data: Domain/User name, password
- Make sure the Windows Management Instrumentation service & RPC service is running in the remote device for WMI monitor.
Telnet/SSH
These are authentication credentials for CLI based server monitoring.
- Telnet: Ensure you configure the correct login prompt, command prompt, and password prompt besides user name, password, port number, timeout (in seconds) and click Save to access the device.
- SSH: Configuring the SSH protocol is similar to Telnet. Follow the steps mentioned in Telnet to add a SSH credential.
- SSH Key Authentication: This is a feature available for the SSH protocol. Choose SSH and select the SSH Key Authentication option. Ensure you configure the user name and choose the SSH Key using the Browse button. Enter the correct command prompt besides the port number and timeout (in seconds) to access the device.
- A Password prompt / Login prompt is the symbol in the CLI response which is used to decide the end of the response. The most commonly used password / login prompts are #, $. Ensure that the correct password prompt and Login prompt is provided while defining the Telnet / SSH credential in OpManager since an incorrect Login / Password prompt will lead to failure of device discovery.
Pre-requisites:
- For Telnet/SSH, ensure you configure the correct login prompt, command prompt, and password prompt besides the user name, password, port number and timeout (in seconds) to access the device.
- The default port used for Telnet is 23 and SSH is 22. Ensure that the port is not blocked by your firewall.
- For SSH Key Authentication, ensure you configure the user name and choose the SSH Key using the Browse button, and correct command prompt besides the port number and timeout (in seconds) to access the device.
- The default port used for SSH Key Authentication is 22. Ensure that the port is not blocked by your firewall.
VMware
Provide the vSphere client username and password. Enter the VMware web service port number and timeout interval for the connection between the Host and OpManager server.
Also, ensure that the credentials provided are those of the vCenter under which the required hosts / VM's are present.
Pre-requisites:
- The default HTTPS port used for VMWare is 443. Ensure that this port is not blocked by your firewall
- Provide the vSphere Username and Password of the vCenter under which the hosts and VMs which need to be discovered are present.
- Auto VM discovery feature is used to automatically update any changes in the vCenter environment ( such as addition of new VMs to a vCenter ) to OpManager.
- For monitoring VMware related devices, it is enough if a credential has 'Read only' privilege.
- Certain functions like VM On & VM Off require admin privilege. Hence ensure that the credentials supplied has admin privileges.
Citrix/UCS/Nutanix
Citrix:
Provide the Username and Password of the Host. Enter the web service port number and timeout interval for the connection between the Host and OpManager server.
UCS:
Provide the UCS Manager Username and Password. Enter the Port, Protocol and Timeout interval for the connection between the UCS and OpManager Server.
Pre-requisites:
- Make sure the UCS Manager Username and Password having remote authentication is configured.
- Enter the Port, Protocol and Timeout interval for the connection between the UCS and OpManager Server.
Nutanix:
Provide the username and password of the Prism API element, the protocol being used (HTTP/HTTPS), the timeout value for the connection and the port in which the Prism element is running.
Pre-requisites:
- The default HTTPS port used for Nutanix is 9440, and the default timeout is 20 seconds. If necessary, please change these values according to your requirement.
- Provide the username and password of the Prism element of the cluster under which the hosts and VMs to be discovered are present.
Backup Credentials (Telnet, SSH, SNMPv1, SNMPv2c, SNMPv3)
- These credentials are used for discovering devices into OpManager plugins like the Network Configuration Manager module.
- The Network Configuration module uses these credentials for taking Router/Switch config backup, and to perform compliance check and config change management periodically.
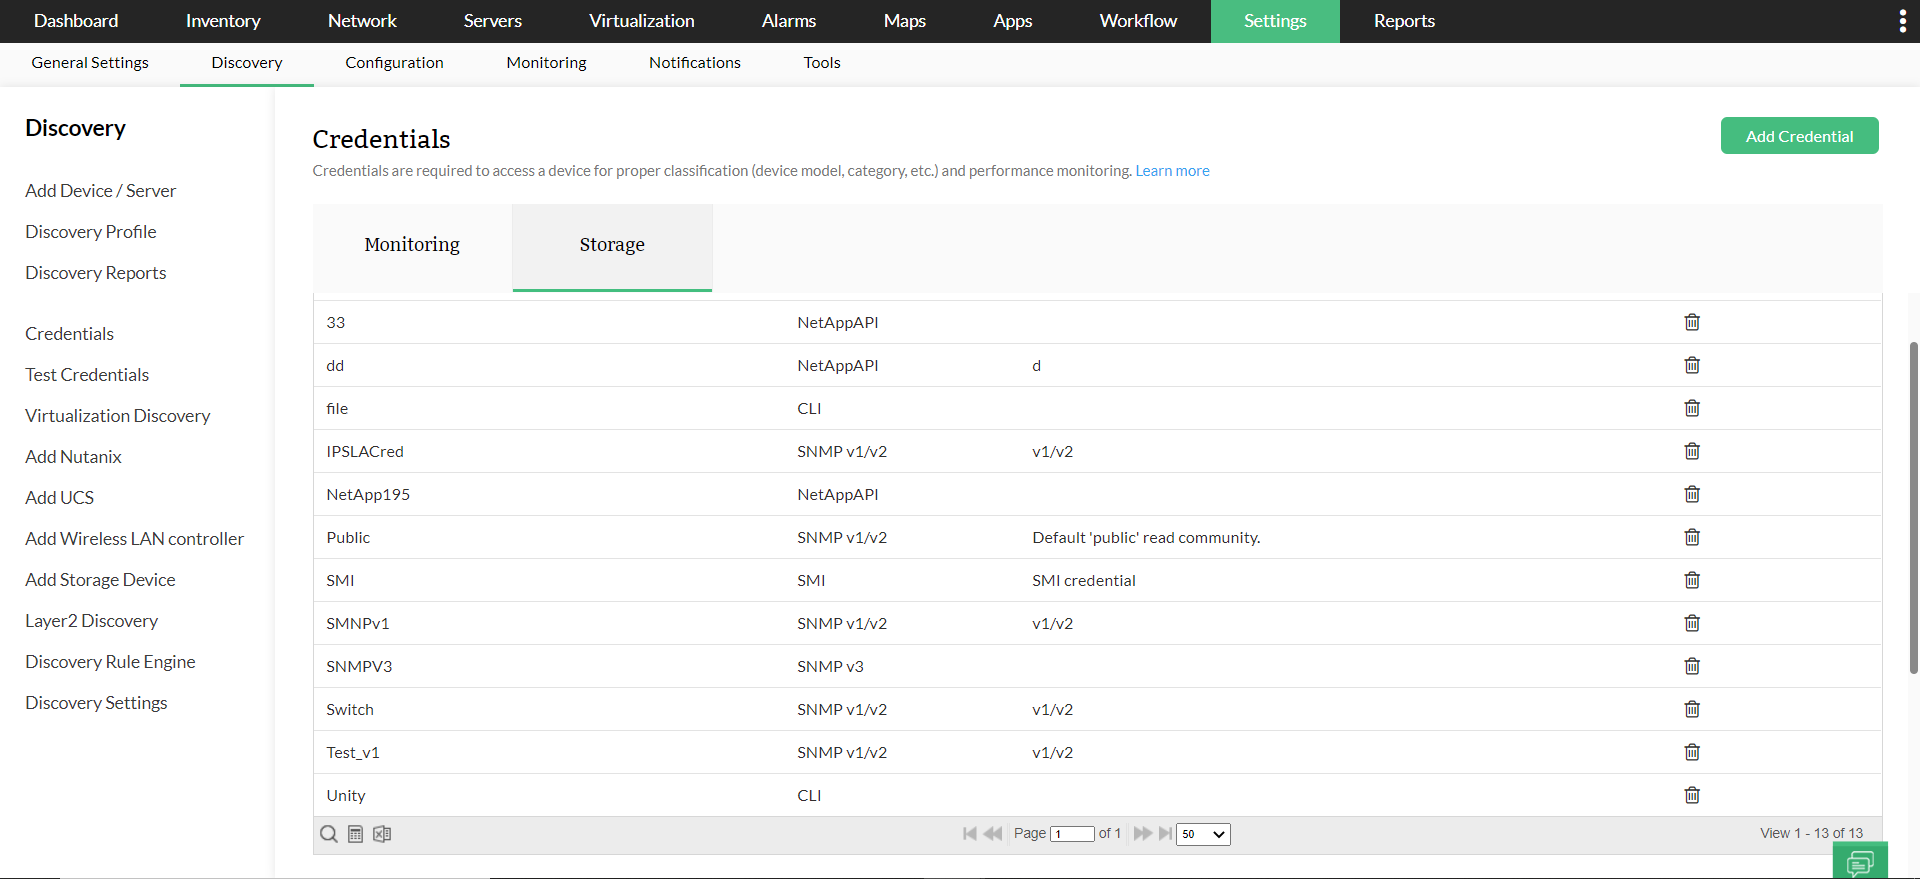
Storage Credentials (SNMPv1/v2, v3, CLI, SMI, NetAppAPI):
- These credentials are used for discovering devices into the OpStore module.
- This module enables storage monitoring of Disk, LUN, RAID etc. The Storage credentials helps you to monitor the storage devices like Storage Arrays, Fabric Switches, Tape Libraries, Tape Drives, Host servers and Host Bus Adapters cards from all leading vendors in the industry.
How to add a new credential in OpManager?
OpManager accesses the remote devices using the protocols SNMP, CLI, WMI or VMWare API. Credentials such as password/snmp community, port etc., may differ for different device types. Pre-configuring a set of credentials in OpManager helps applying them to multiple devices at once, saving a lot of manual effort.
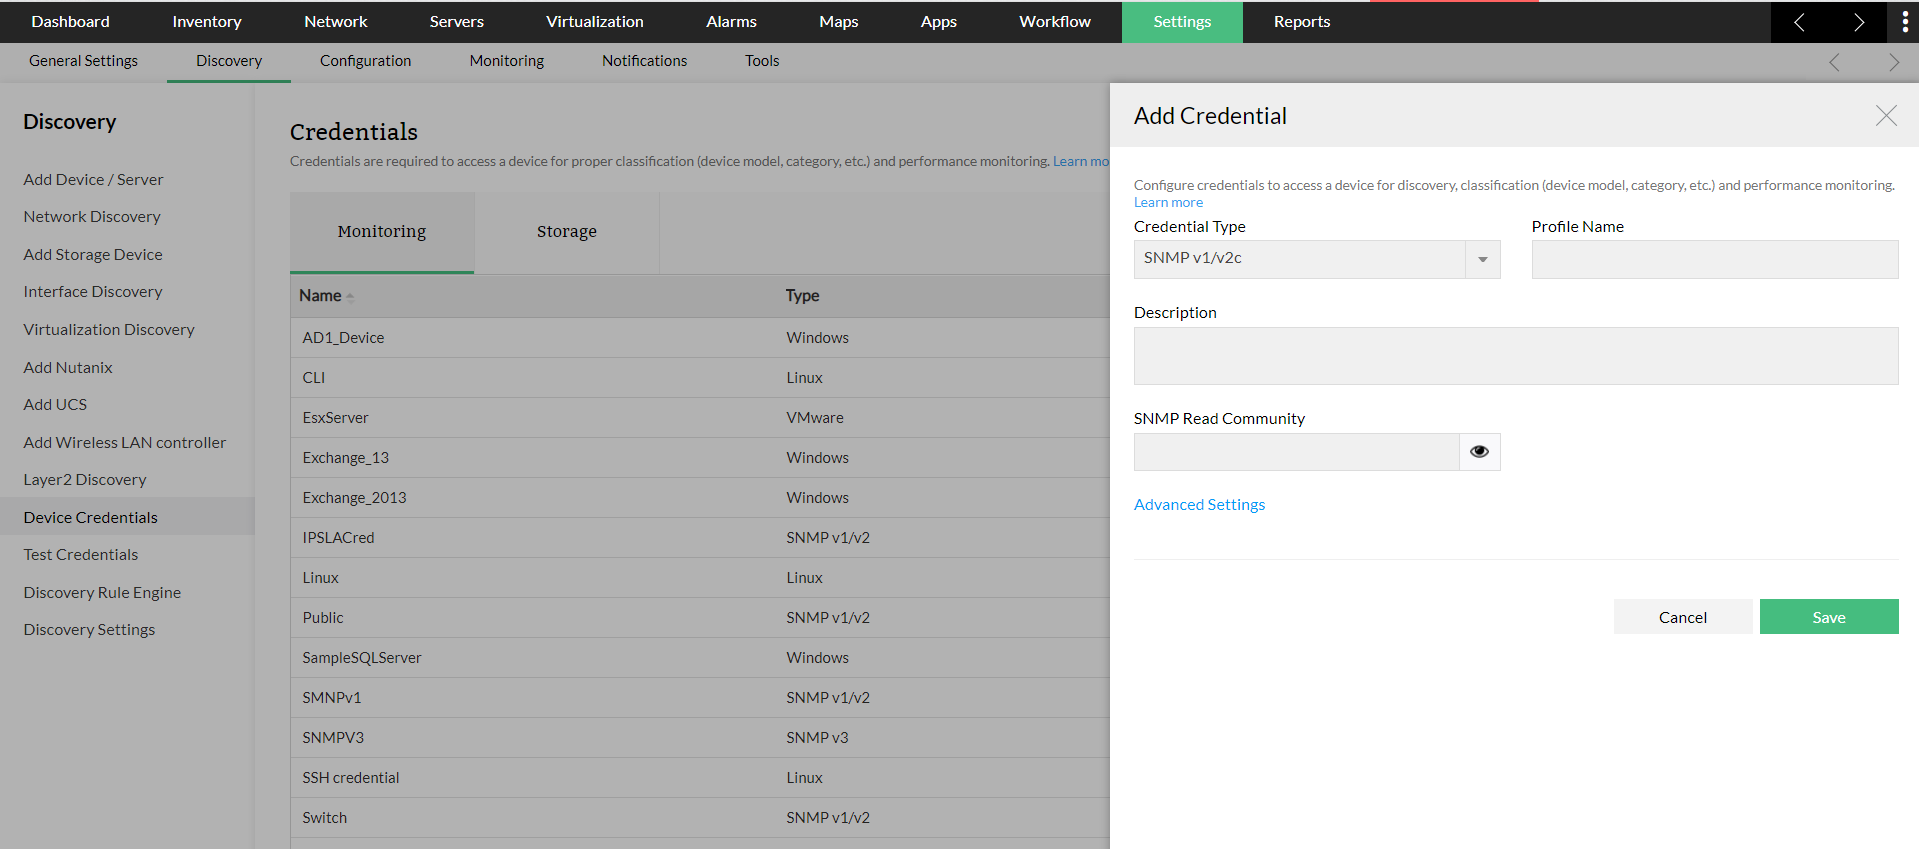
- Go to Settings > Discovery > Device Credentials.
- Click on Add Credential and select the required category and credential type.
- Configure the parameters and click on Save.
Further, you can associate the saved credentials to multiple devices available in the OpManager Inventory. To associate credentials,
- Go to Settings > Discovery > Device Credentials.
- Click on Associate and select the required credential from the drop down box.
- Now, select the devices that need to be associated with the chosen credential and move them under the Credential already associated to section by using the arrows.
- Click on Associate to apply the selected credential with the devices.
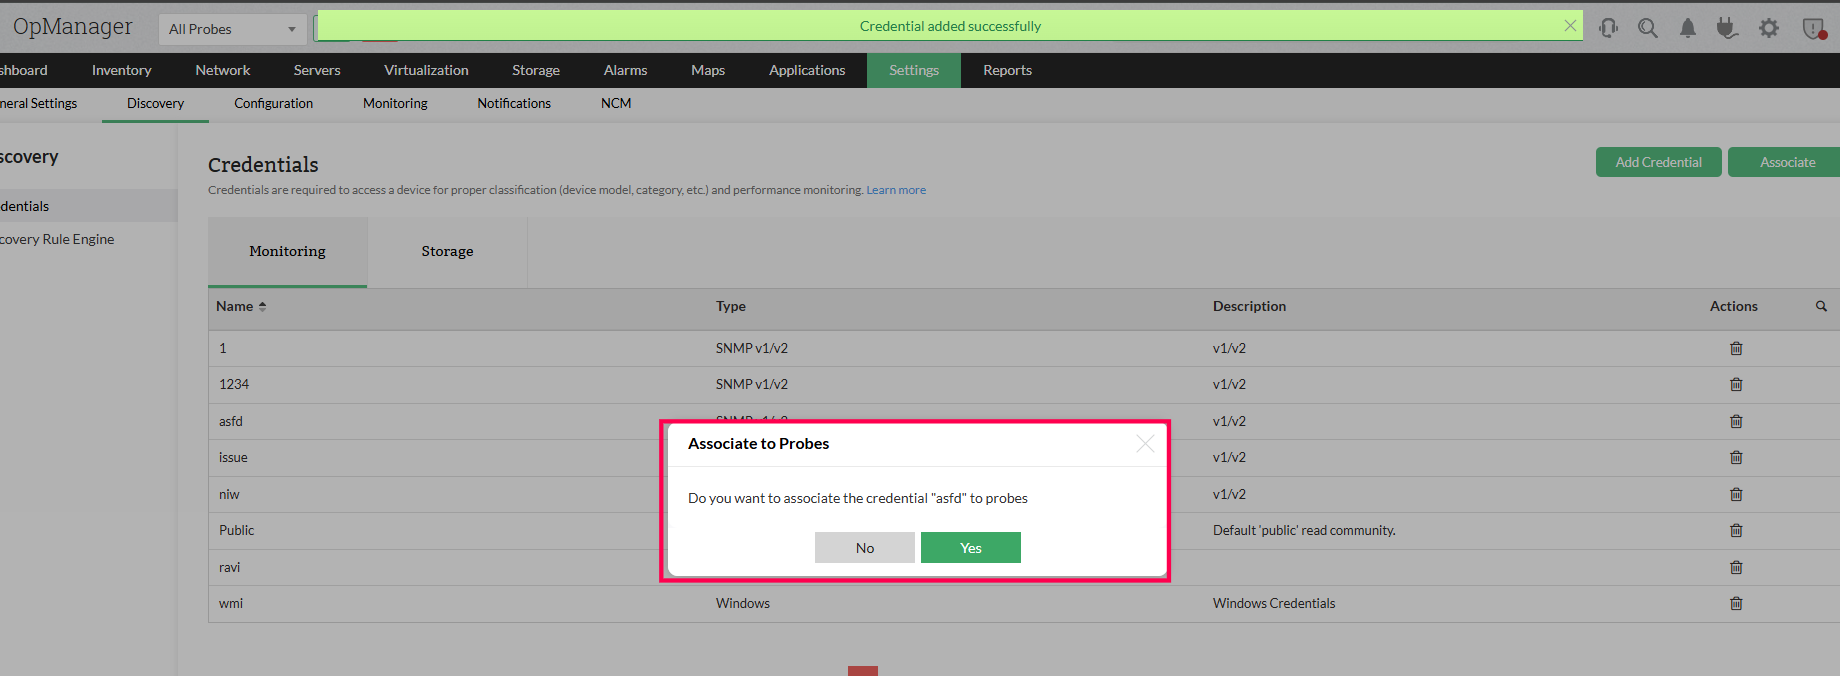
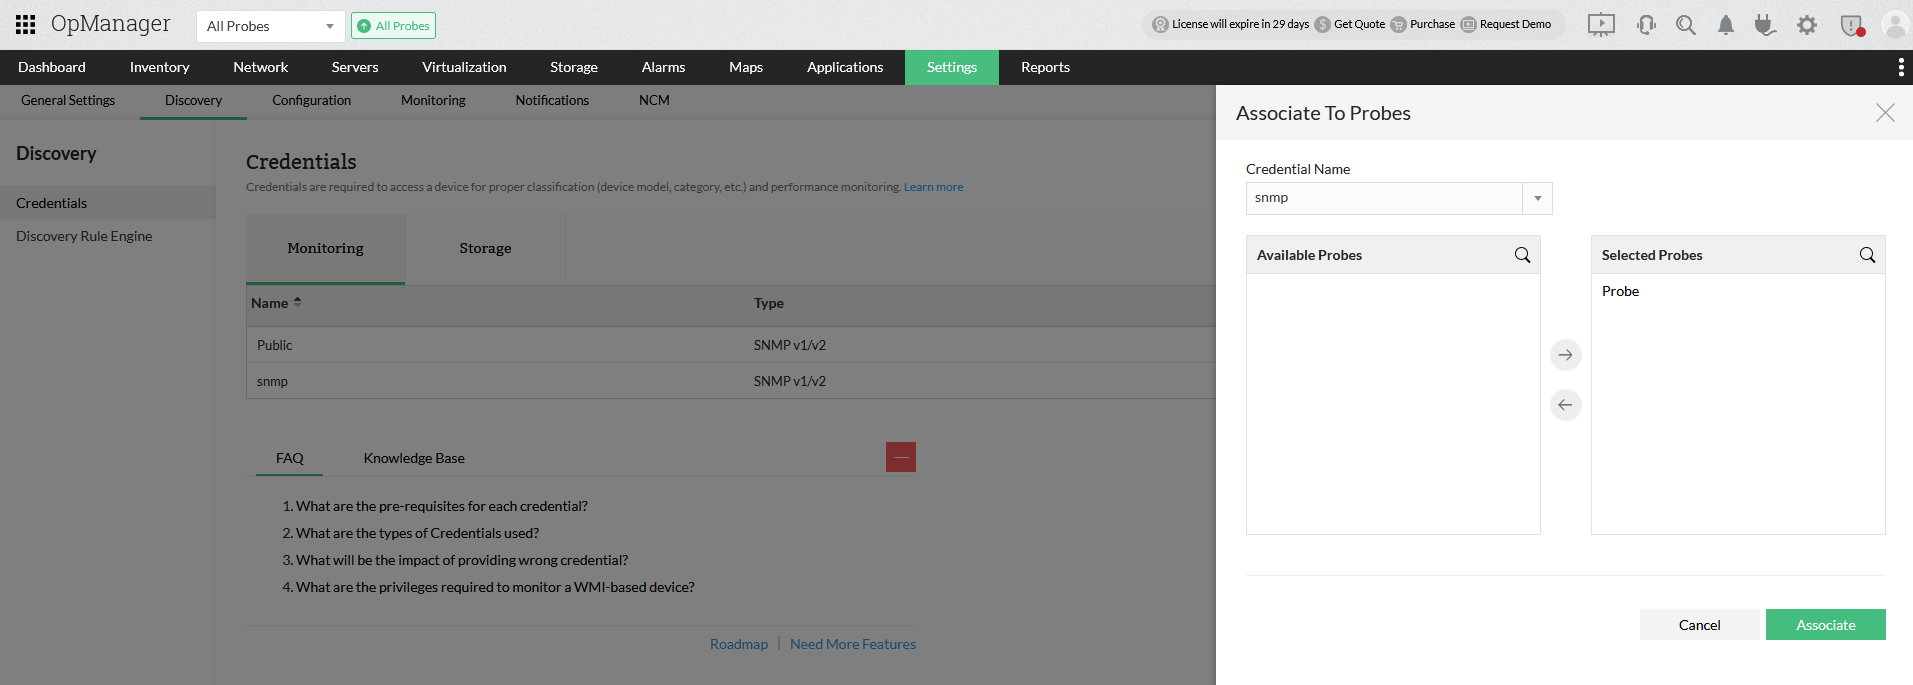
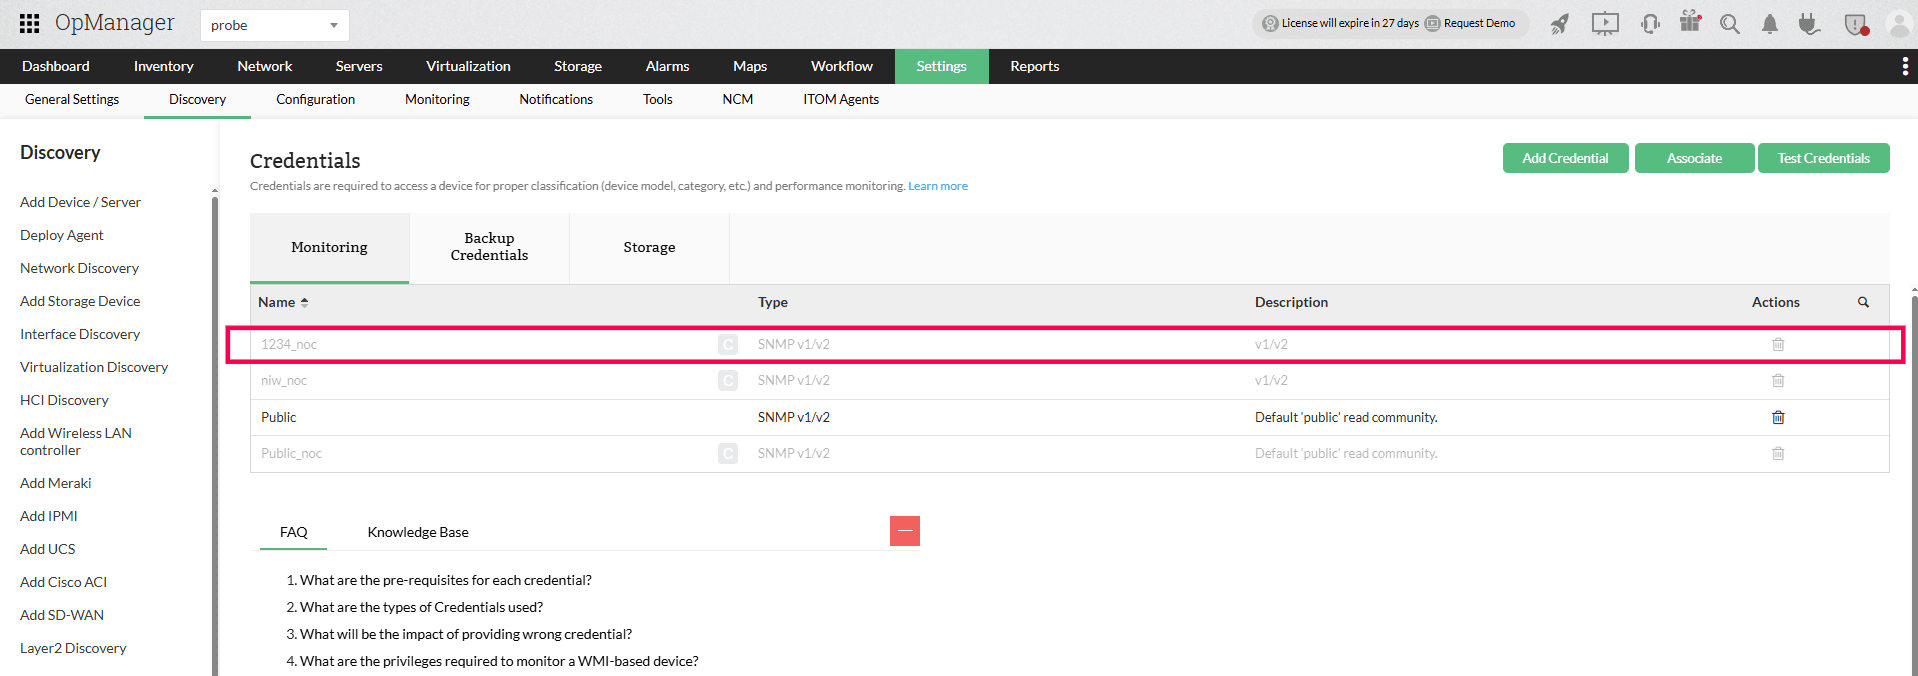
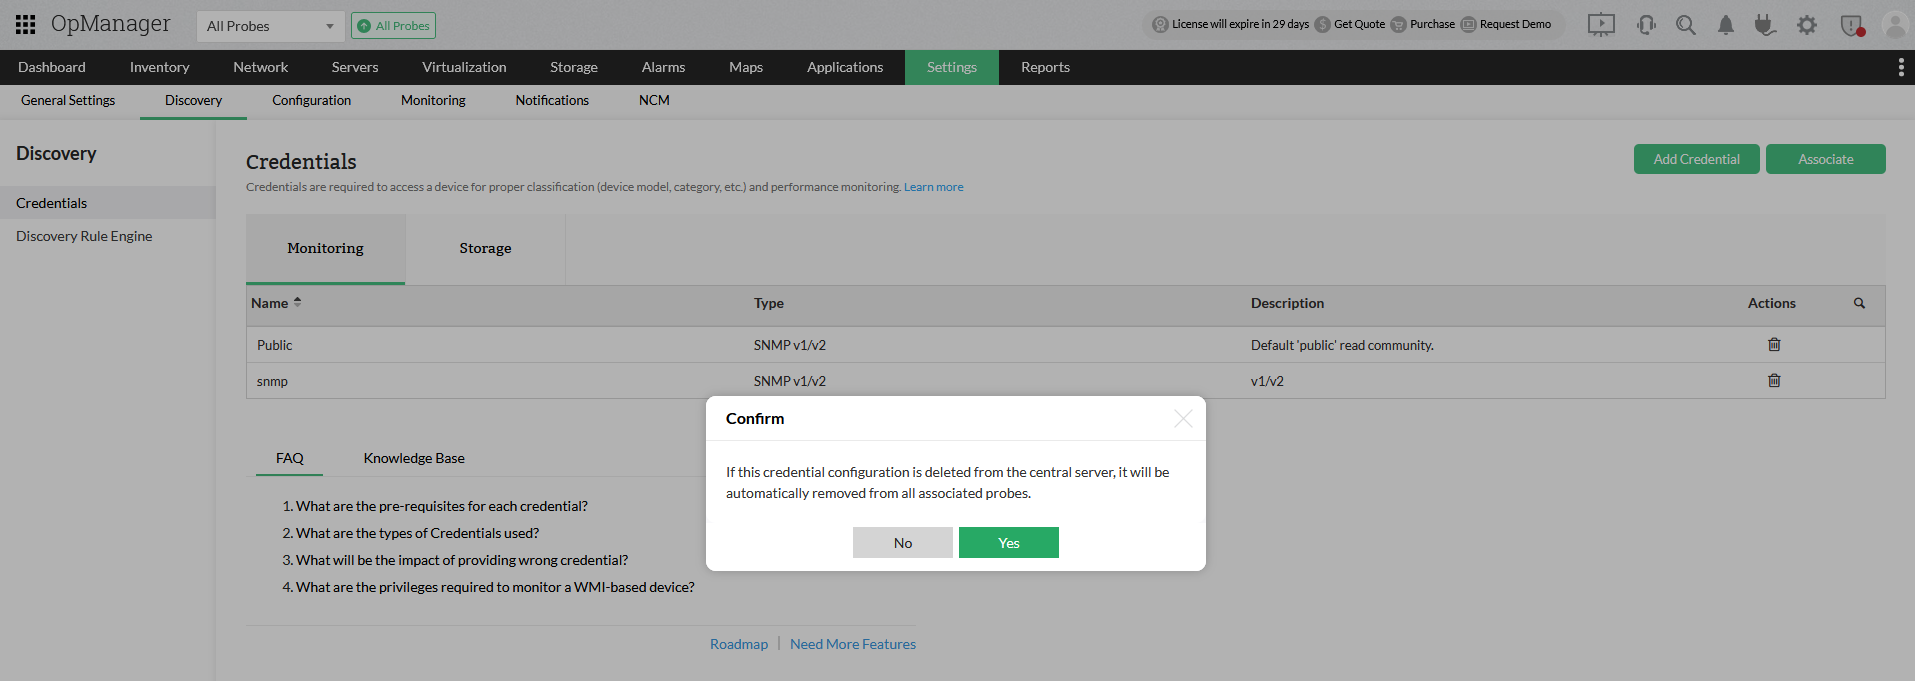
From version 128608, OpManager's Enterprise Edition introduces Centralized Credentials Manager to create and manage device credentials directly from the Central Server. These credentials can be distributed to all probes or selected probes, eliminating the need for repetitive setup at each probe level and enhancing operational efficiency.

