NOC View
OpManager's NOC View feature offers a powerful solution for continuously monitoring critical network performance metrics and dashboards for Network Operations Centers. This tool enables the display of selected dashboards in a CCTV-like setup, allowing for real-time surveillance of network health and performance. With NOC View, users can configure and cycle through essential dashboards at specified intervals, ensuring that key information is readily available and constantly updated. This help document guides you through the process of adding, editing and viewing an NOC view.
NOC View or CCTV helps you view only the required dashboards repeatedly at required intervals. To add a new NOC view follow the steps given below:

- Go to Dashboard page and click NOC views.
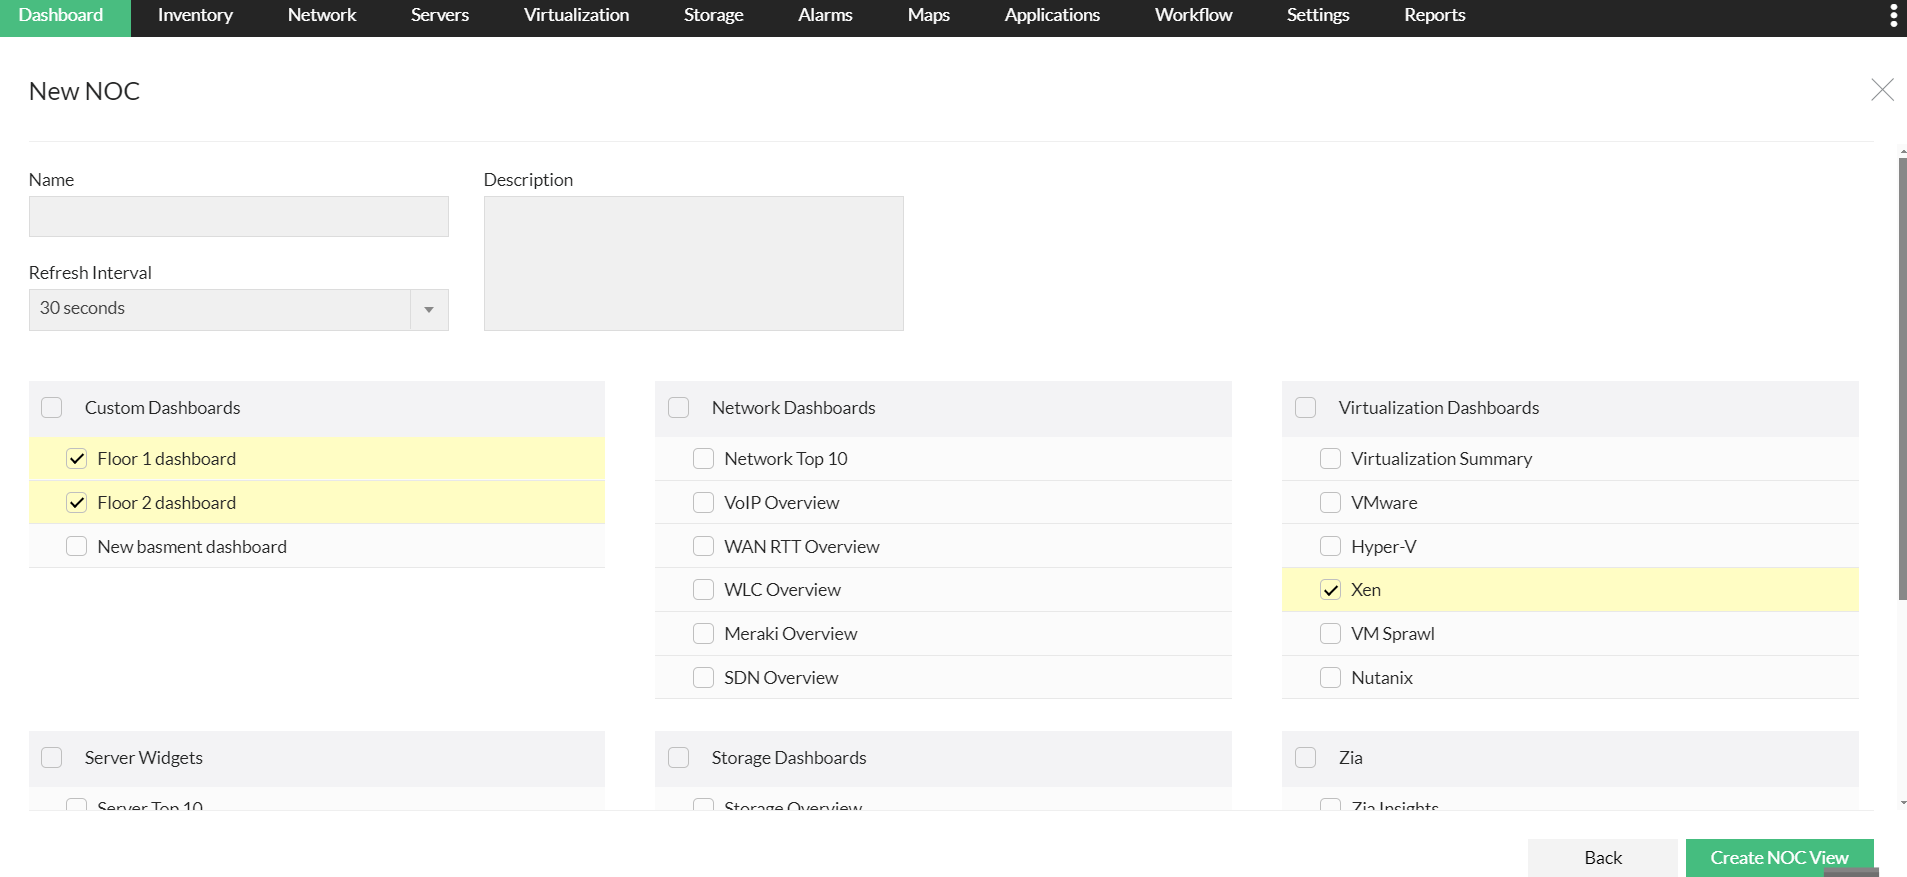
- Click Create NOC View. New NOC page opens.
- Name: Enter a unique NOC name.
- Refresh Interval: Select the interval required to switch over to the next dashboard.
- Description: Enter a brief description about this NOC view.
- Select the desired dashboards that you want to include in this NOC view.
- Click Create NOC View.
- A new NOC view has been added.
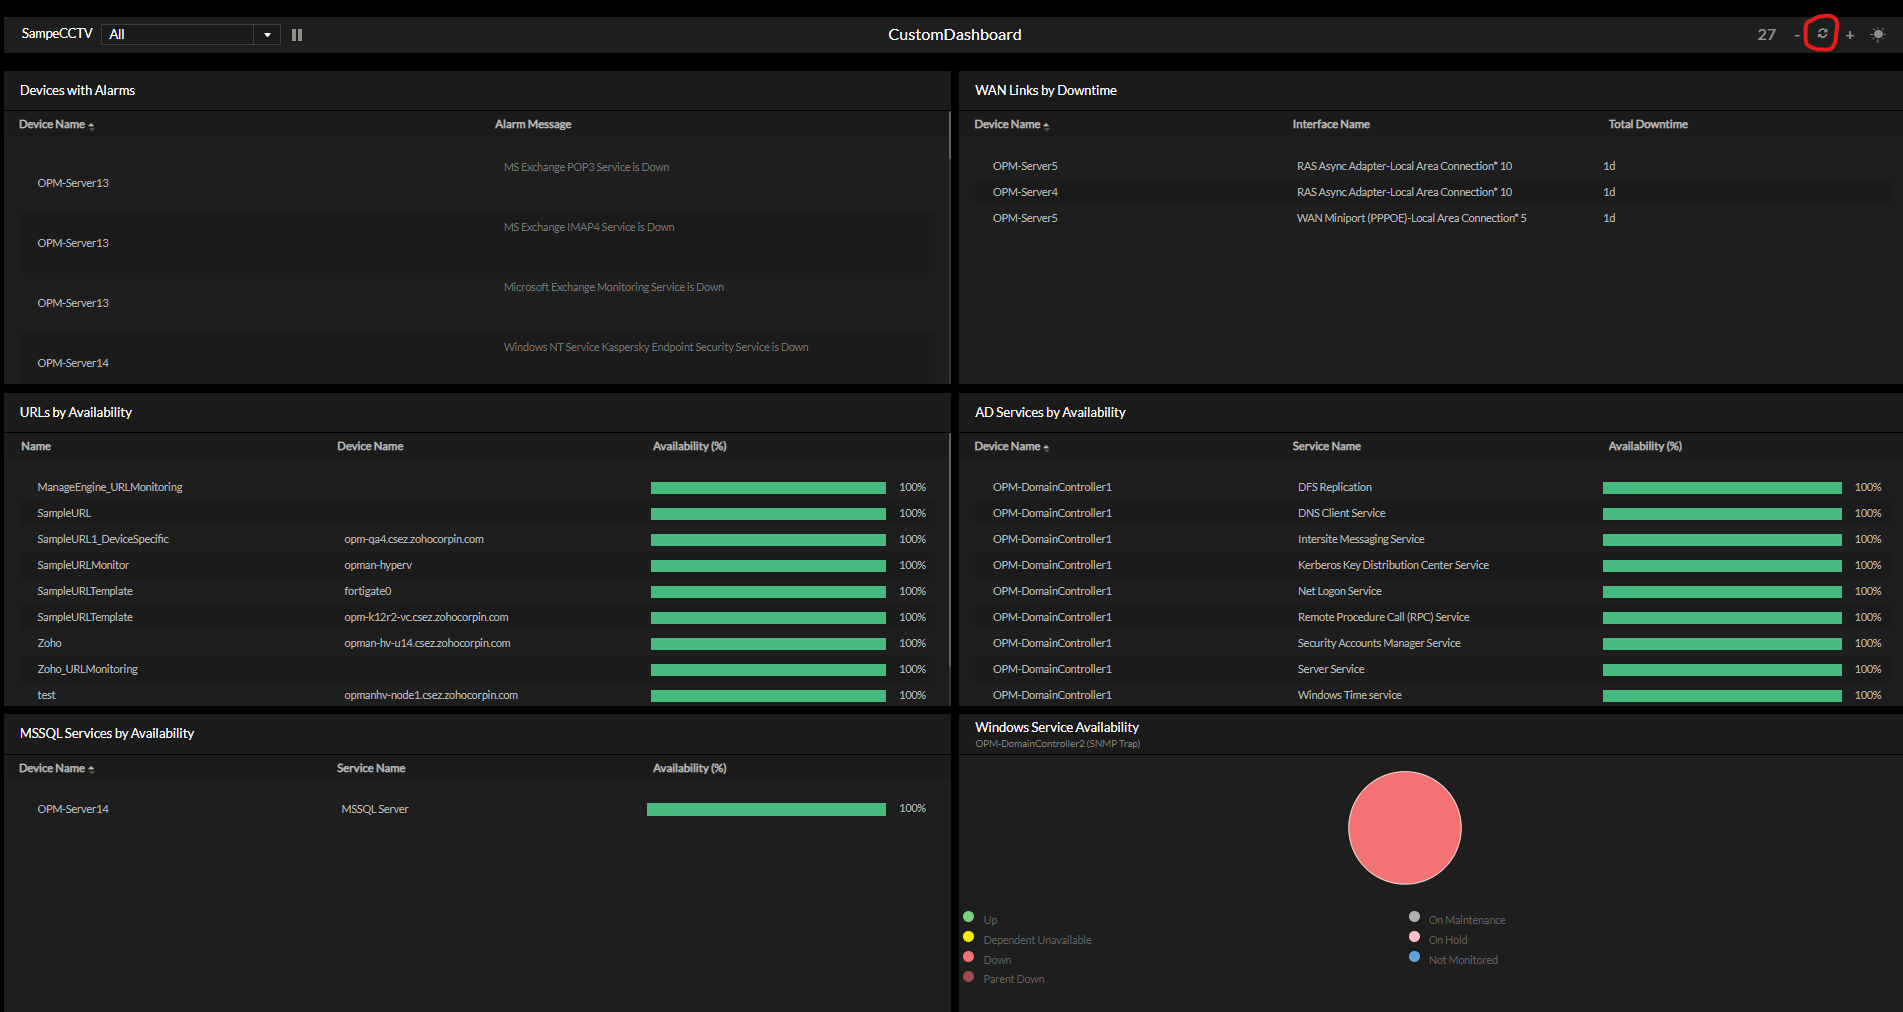
To view a NOC view, go to Dashboard page > NOC Views > Click on the name of the NOC that you want to view. That particular NOC view opens in a new window.

To edit a NOC view follow the steps given below:
- Go to Dashboard > NOC Views on the top right > Click on the edit icon against the NOC name that you want to edit.
- Make the necessary changes.
- Click Edit NOC View to effect the changes.
To switch between the Day/Night views in NOC window:
- Go to Dashboard > NOC Views > Click on the name of the NOC view that you want to view. That particular NOC view opens in a new window.
- Click on the day/night icon in the top right to switch between Day and Night views.


You can reset the refresh interval in the NOC window by clicking on the refresh interval icon on the top right. This also takes you back to the first page of the NOC window.
- Go to Dashboard > NOC Views > Click on the name of the NOC view that you want to view. That particular NOC view opens in a new window.
- Click on the Refresh Interval icon in the top right.
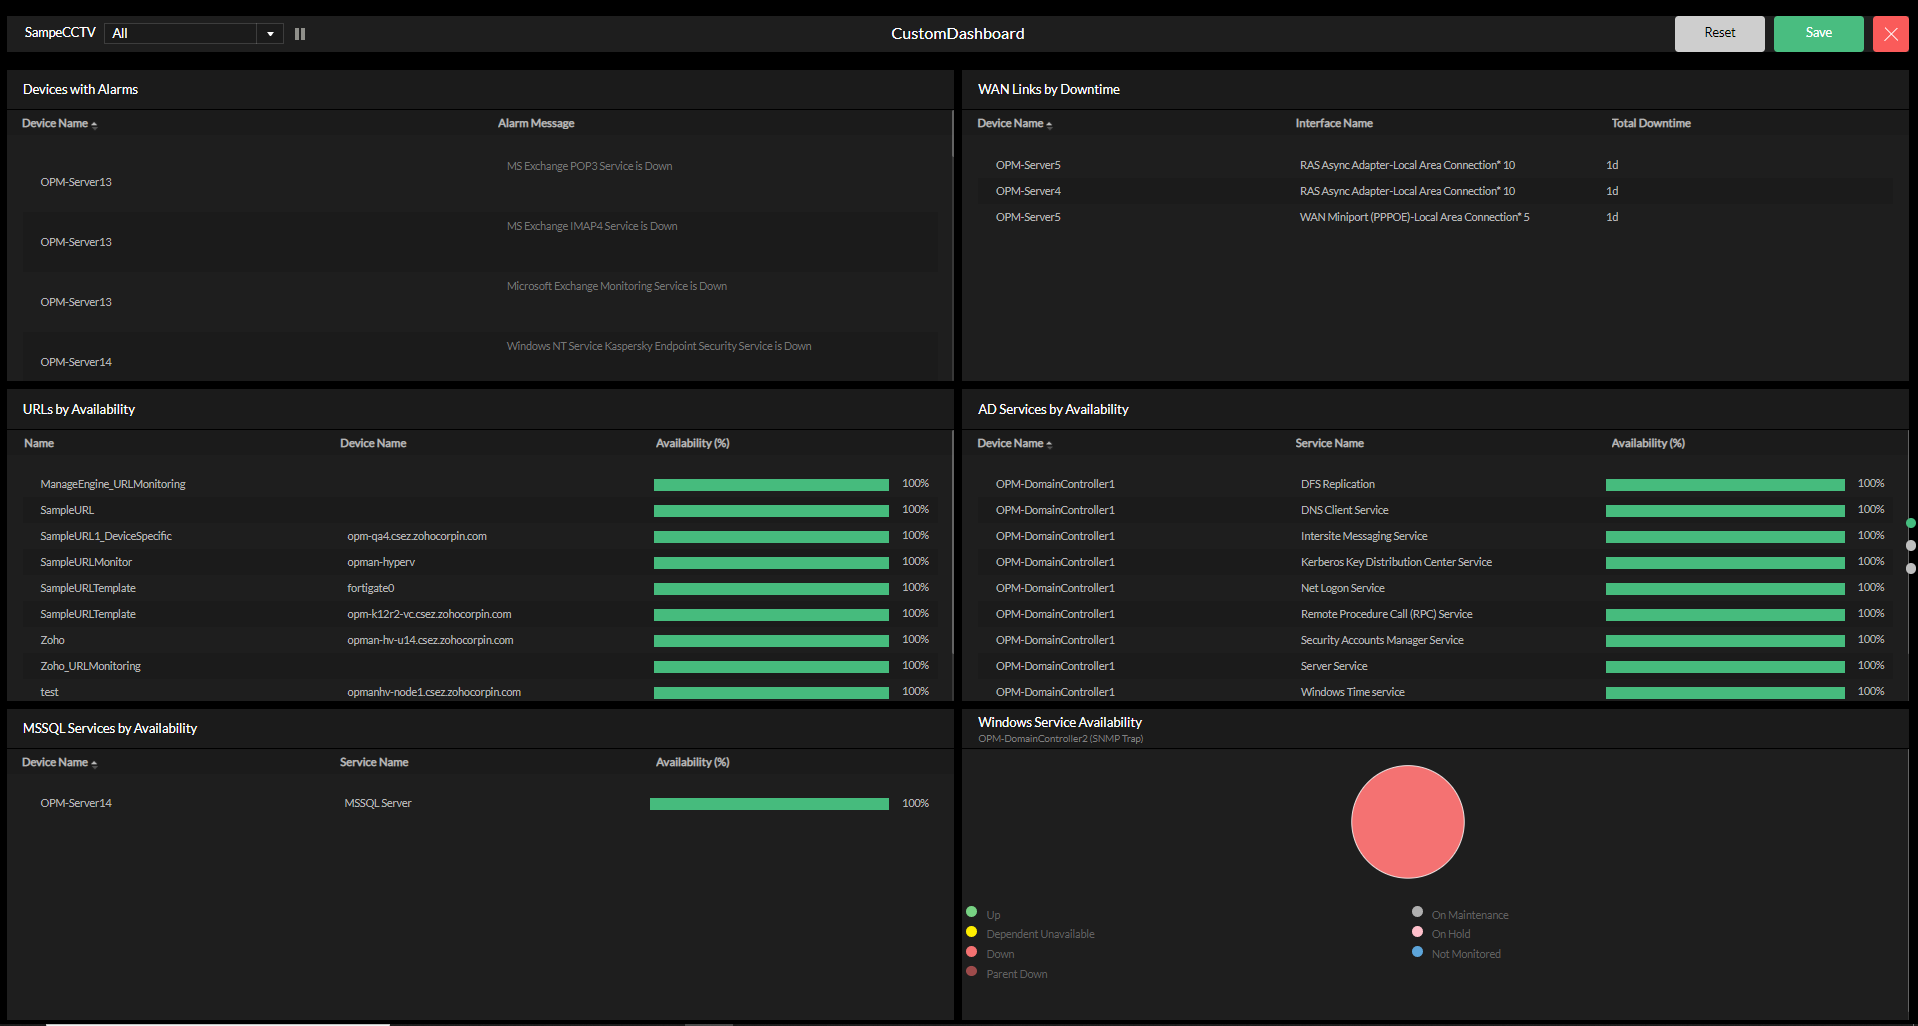
You can reposition widgets in the NOC window by means of a simple drag and drop. Click 'Save' after you have repositioned the widgets for the changes to take effect.
To embed a NOC view link, follow the steps below.
- Go to the Dashboard page and click NOC Views on the top right.

- Click the Embed icon present next to the NOC Name. The Embed link will be displayed.

- Click the link to copy it to your clipboard. The NOC Embed link is ready to be shared.
- You can access the specific NOC view using the embedded URL without logging into OpManager.
- Click the Regenerative Private link icon present towards the bottom of the Embed link box to generate a new embed link. This will deactivate the embedded link generated previously.
NOTE: In OpManager's NOC View, you have the flexibility to embed its comprehensive dashboard directly into external applications. This integration enables real-time monitoring of network performance, device status, and critical alerts within your preferred platforms
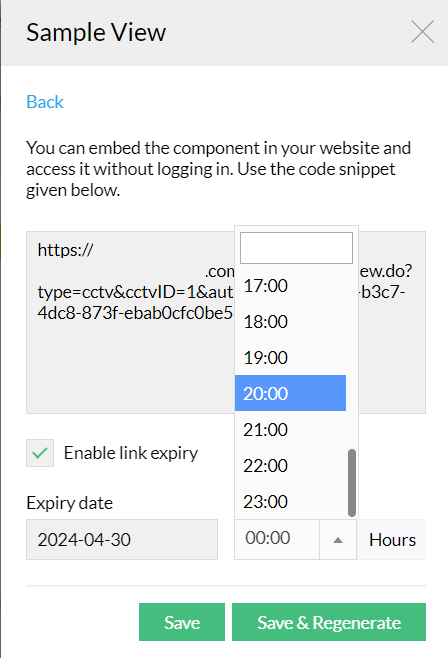
Embedding a NOC view with expiry
From version 128234, users have the ability to set expiry time for the embedded NOC view. If link expiry has not been enabled, the embedded widgets will be accessible forever. If the link has expired, you can extend the embedded link's expiry, or you can set a new expiry time and regenerate the link.
To set expiry time for an embedded link,
- Select the Enable link expiry checkbox while embedding an NOC view.
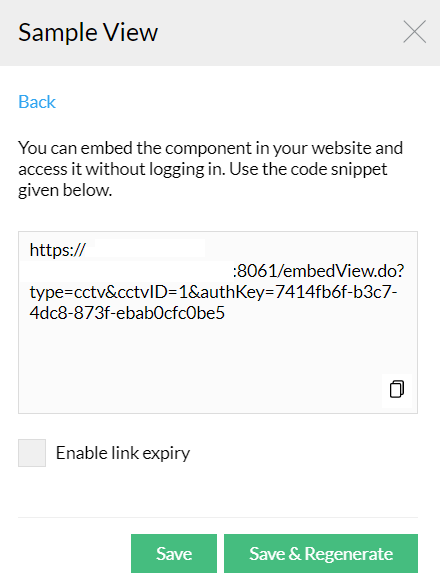
- Set the expiry date and time.
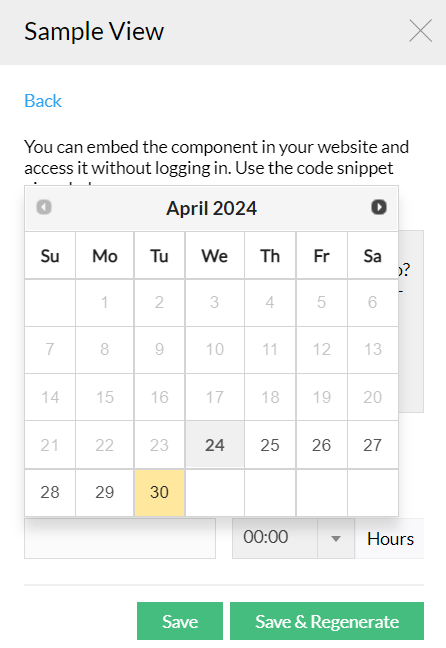
- Click Save to extend the link's expiry period, or click Save & Regenerate to regenerate a new link with updated expiry period.
