How to set polling interval for NBAR?
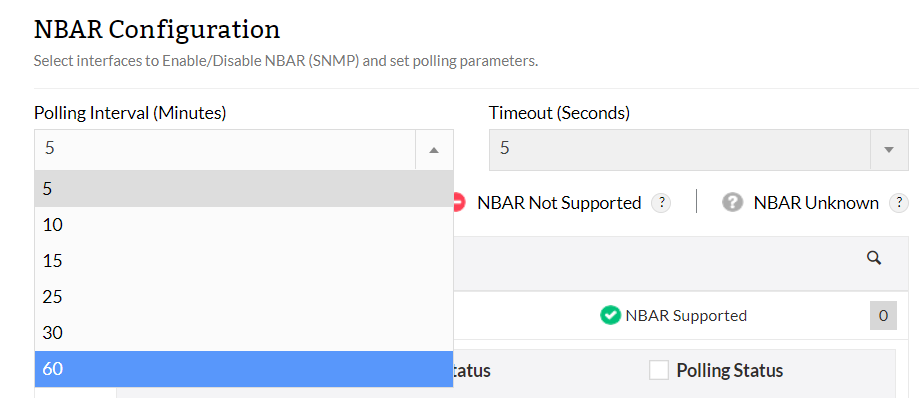
- Click on Settings > NetFlow > NBAR/CBQoS
- Select the required Polling Interval in minutes
Options available: 5 mins, 10 mins, 15 mins, 25 mins, 30 mins and 60 mins.
- Select the Timeout in seconds (5, 10, 15)
- Save
How to set polling interval for CBQoS?
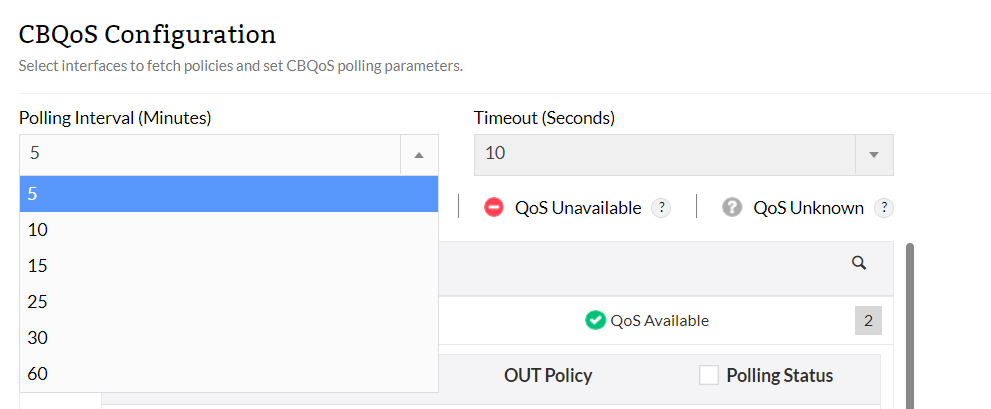
- Click on Settings > NetFlow > NBAR/CBQoS
- Select the required Polling Interval in minutes
Options available: 5 mins, 10 mins, 15 mins, 25 mins, 30 mins and 60 mins.
- Select the Timeout in seconds (5, 10, 15)
- Save
How to add a device with NBAR (SNMP)?
There are 2 steps required to configure NBAR.
Step 1: Add SNMP credentials from Settings
Step 2: Configure NBAR from Inventory
Let see each of these steps in detail:
Step 1:
- Settings > Discovery > Credentials
- Click on "Add Credentials"
- Click on Credential type based on device (SNMP v1/v2, SNMP v3, Telnet/SSH, Telnet/SSH/SNMP or Storage)
- Provide Credential name and credentials
- Save
Step 2: Once Credential is added,
- Settings > Discovery > Credentials
- Navigate to Inventory > Devices > Device Snapshot
- Click on menu icon (green square on top right) and click on "Configure NBAR"
- "Check status" to see if the router supports NBAR
- Click on "Enable NBAR" (SNMP write community is required to perform enable operation)
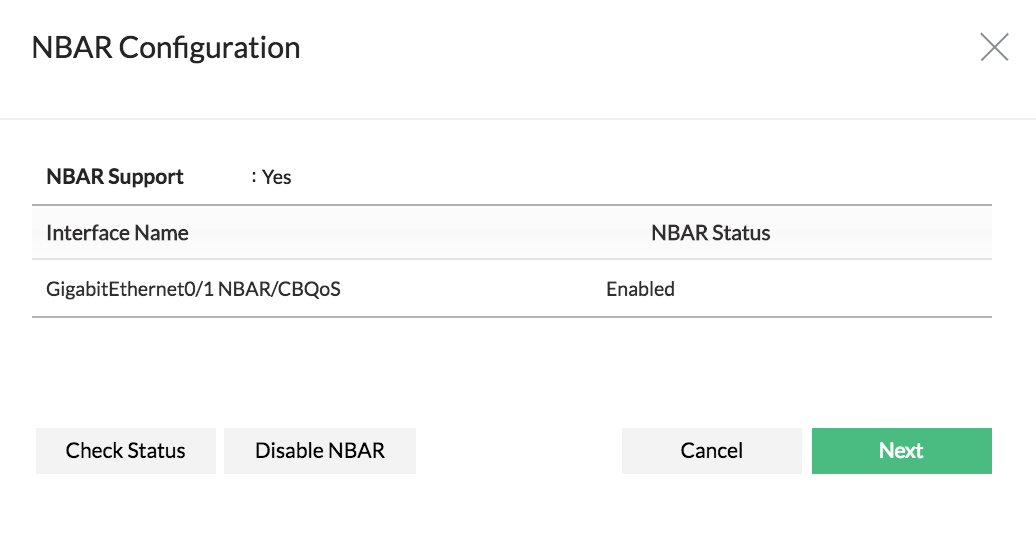
- Click Next
- Select interfaces to enable polling
- Finish
How to add a device for CBQoS?
There are 2 steps required to configure CBQoS.
Step 1: Add SNMP credentials from Settings
Step 2: Configure CBQoS from Inventory
Let see each of these steps in detail:
Step 1:
- Settings > Discovery > Credentials
- Click on "Add Credentials"
- Click on Credential type based on device (SNMP v1/v2, SNMP v3, Telnet/SSH, Telnet/SSH/SNMP or Storage)
- Provide Credential name and credentials
- Save
Step 2: Once Credential is added,
- Settings > Discovery > Credentials
- Navigate to Inventory > Devices > Device Snapshot
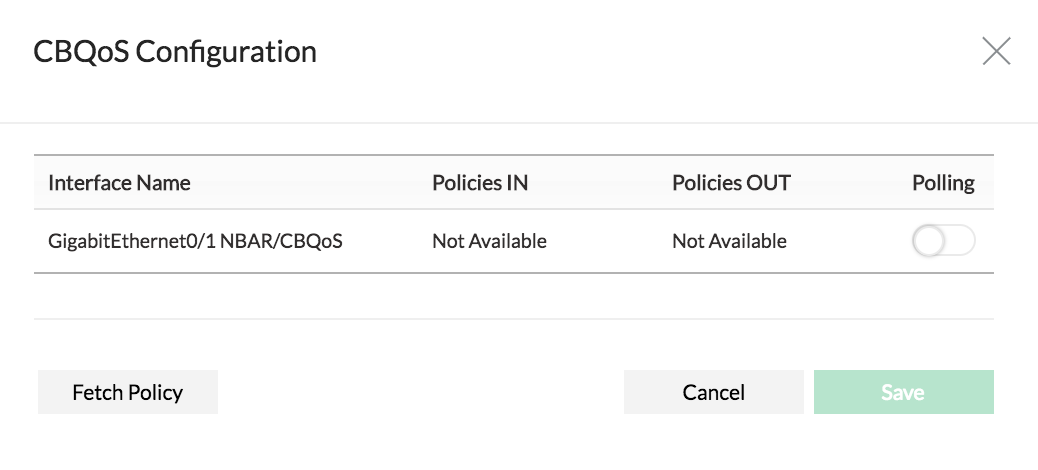
- "Fetch Policy" to get the policy details
- Click on "Enable Polling"
- Save
Thank you for your feedback!