Configuring OneLogin as Identity Provider
-
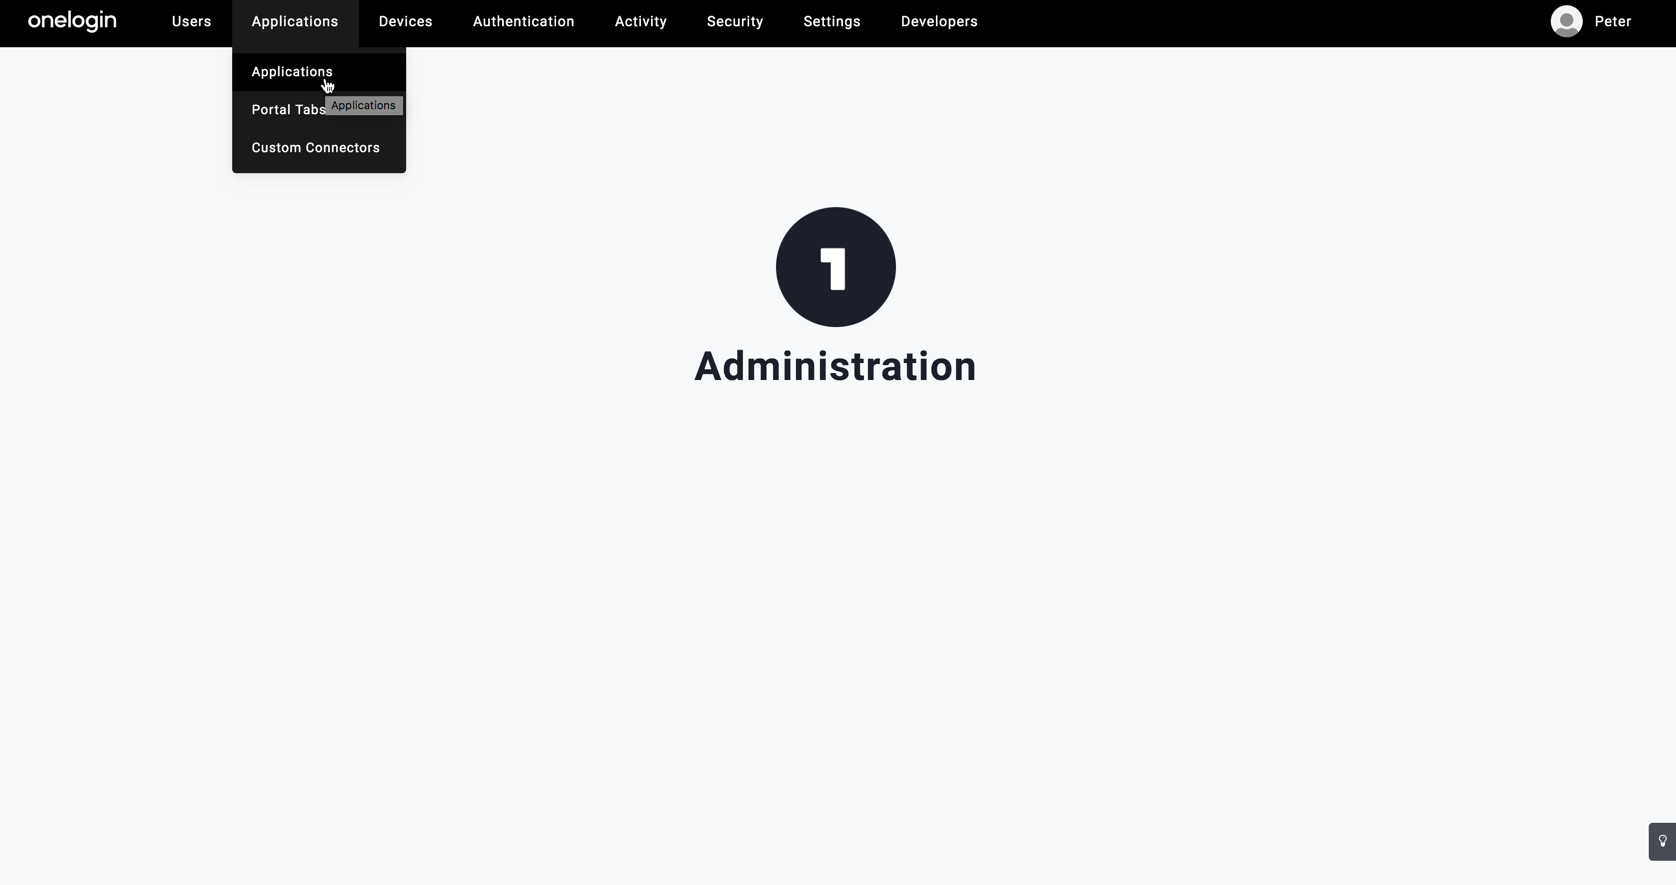
Log in your OneLogin domain and click Applications under the Applications tab.
-
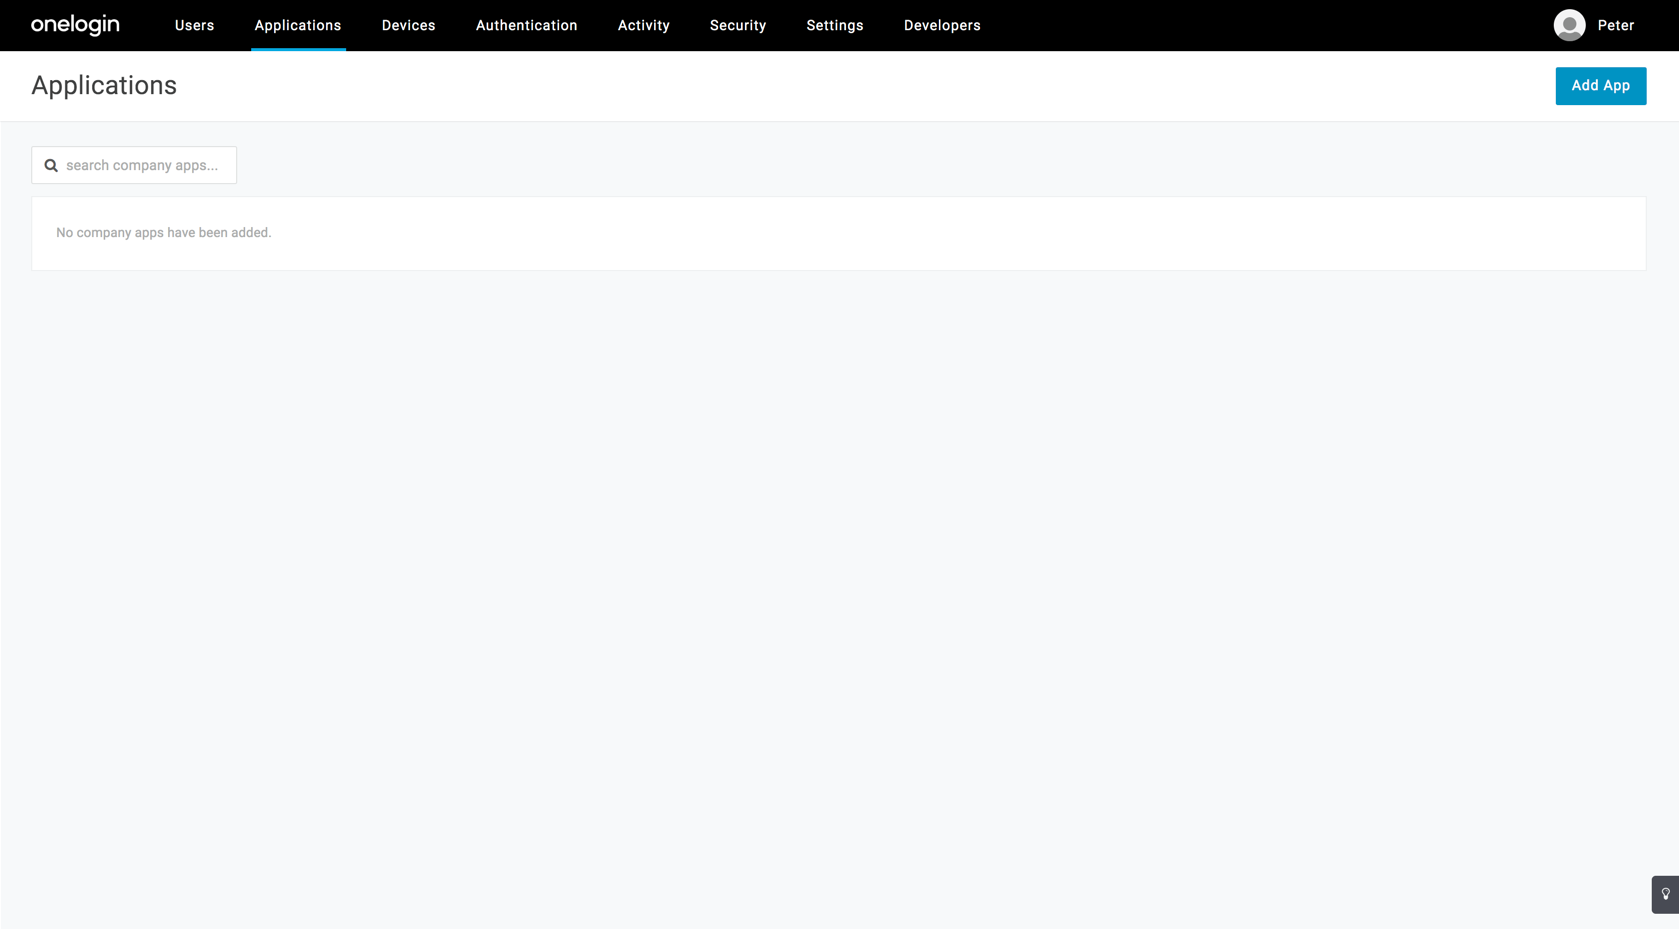
In the displayed page, click Add App.
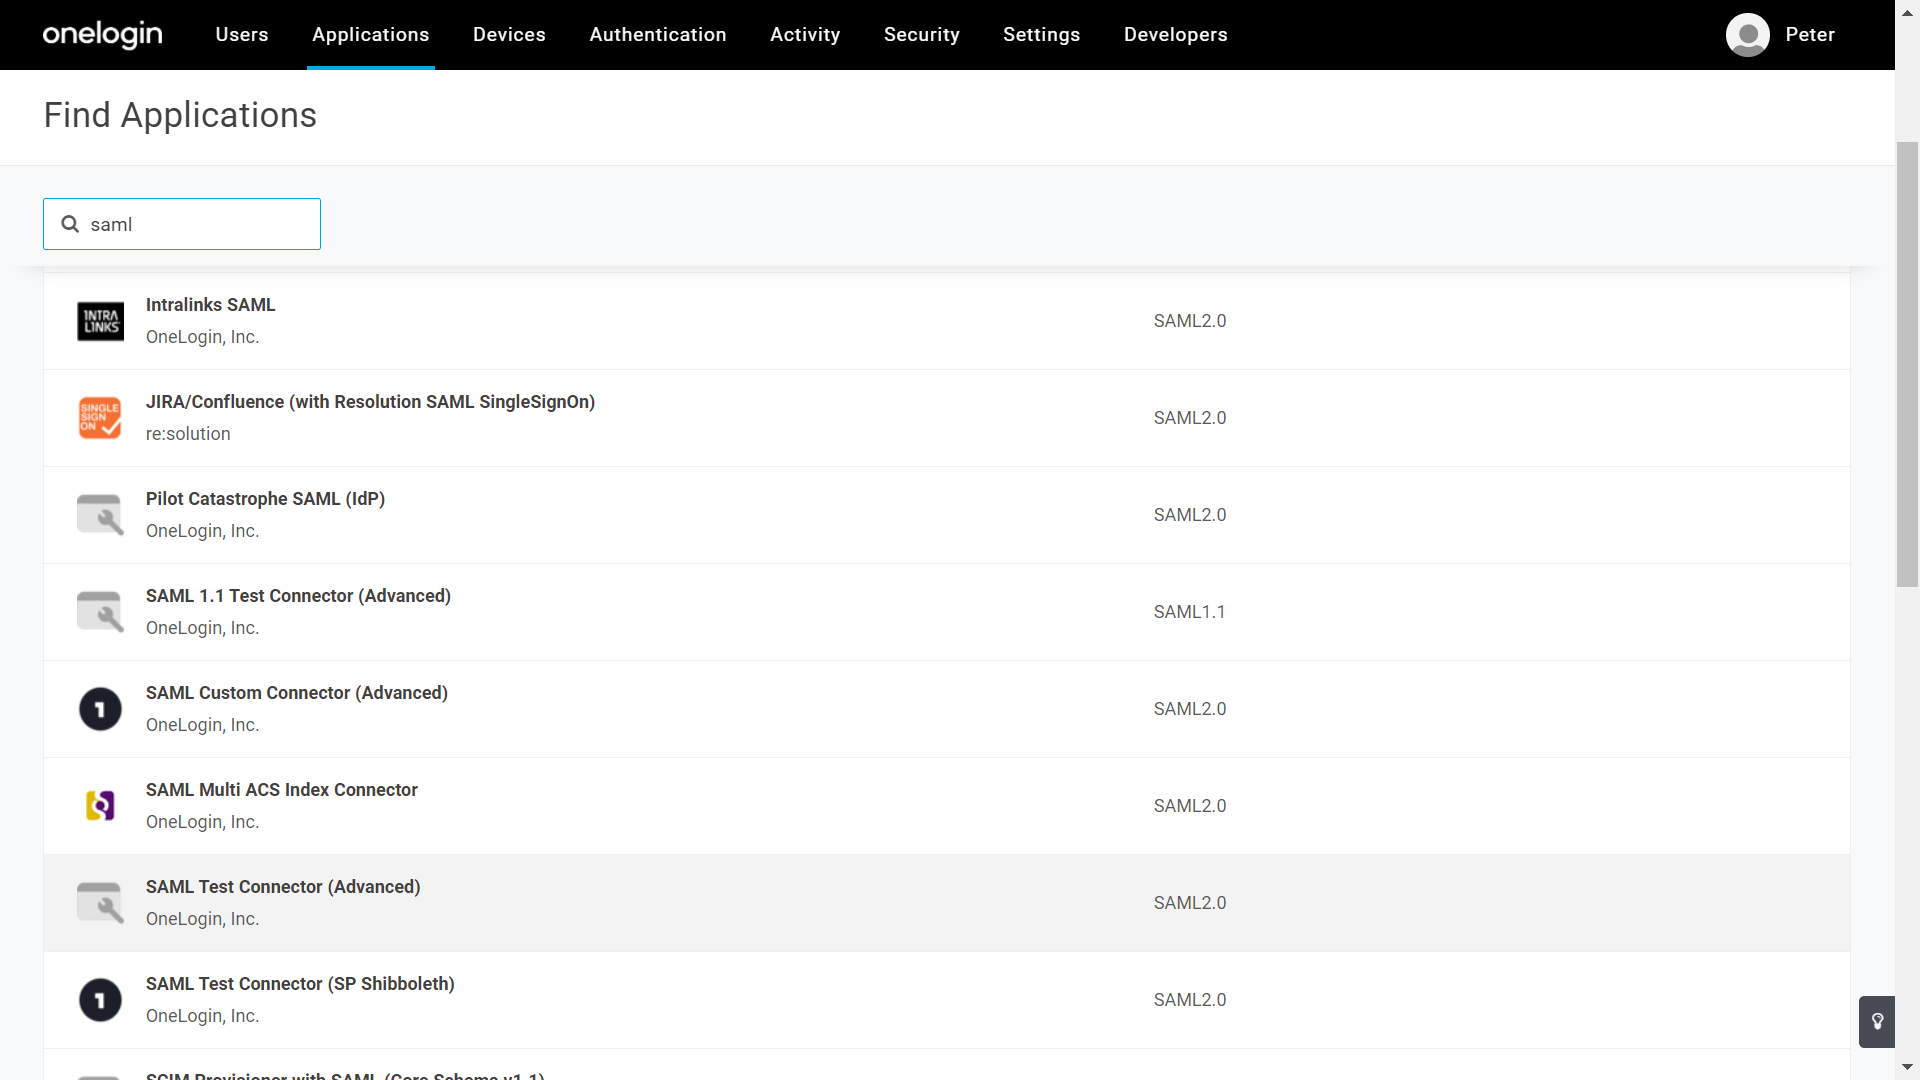
- Search for SAML from the search box and select SAML Test Connector (Advanced) from the search results.
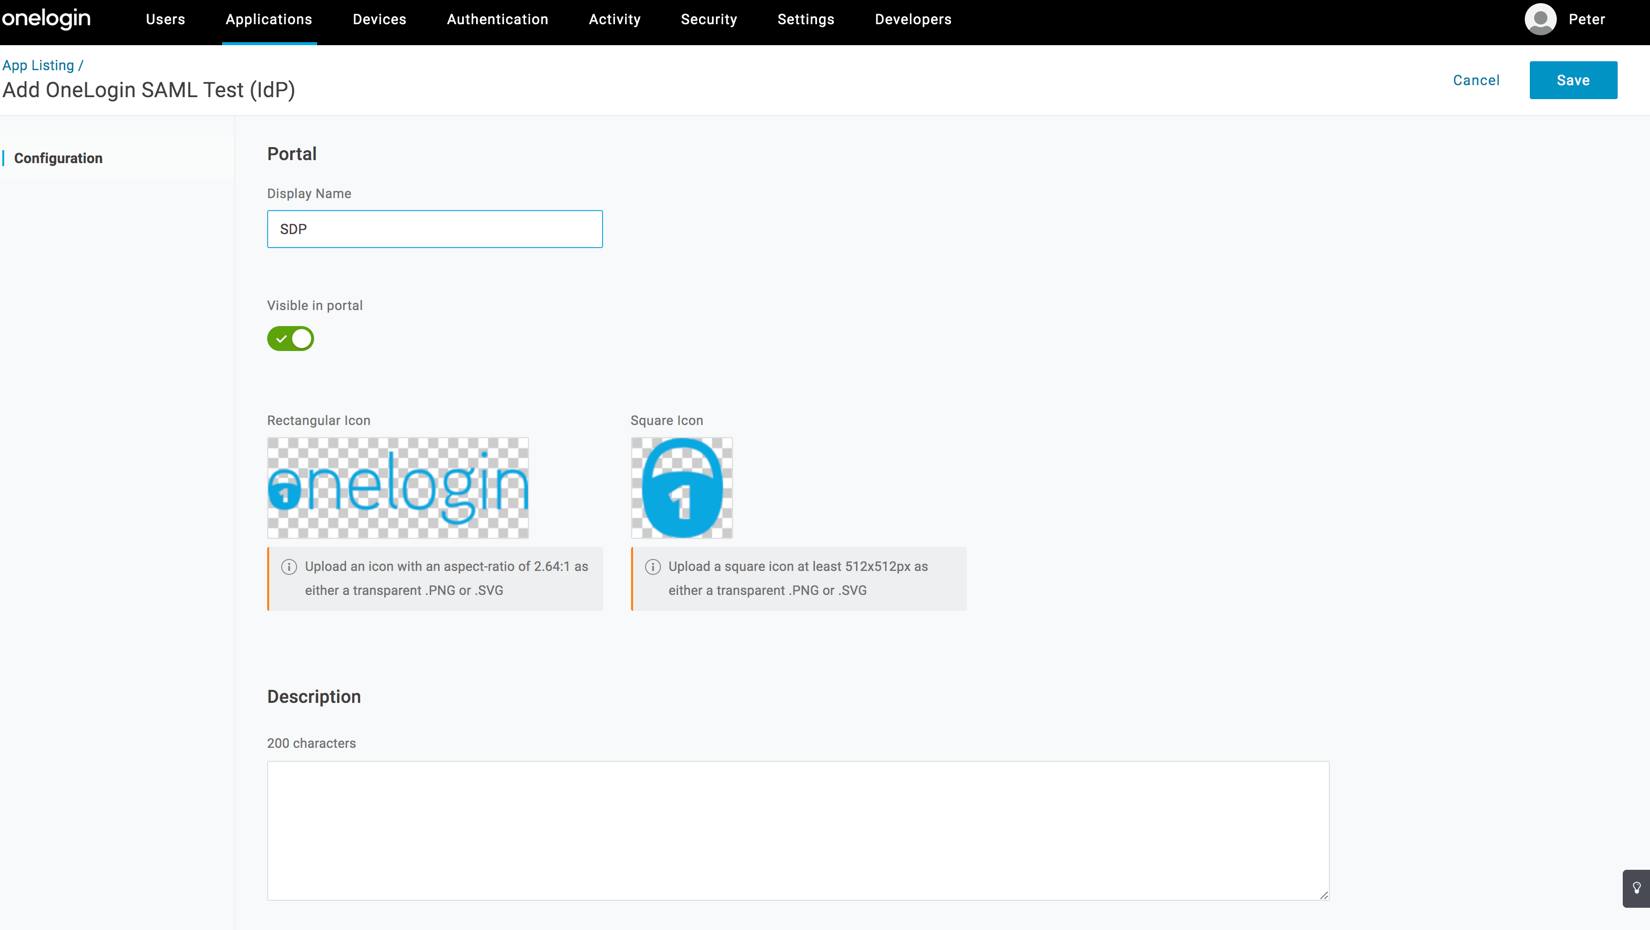
- Provide a Name and upload a Logo for your application.
- Click Save.
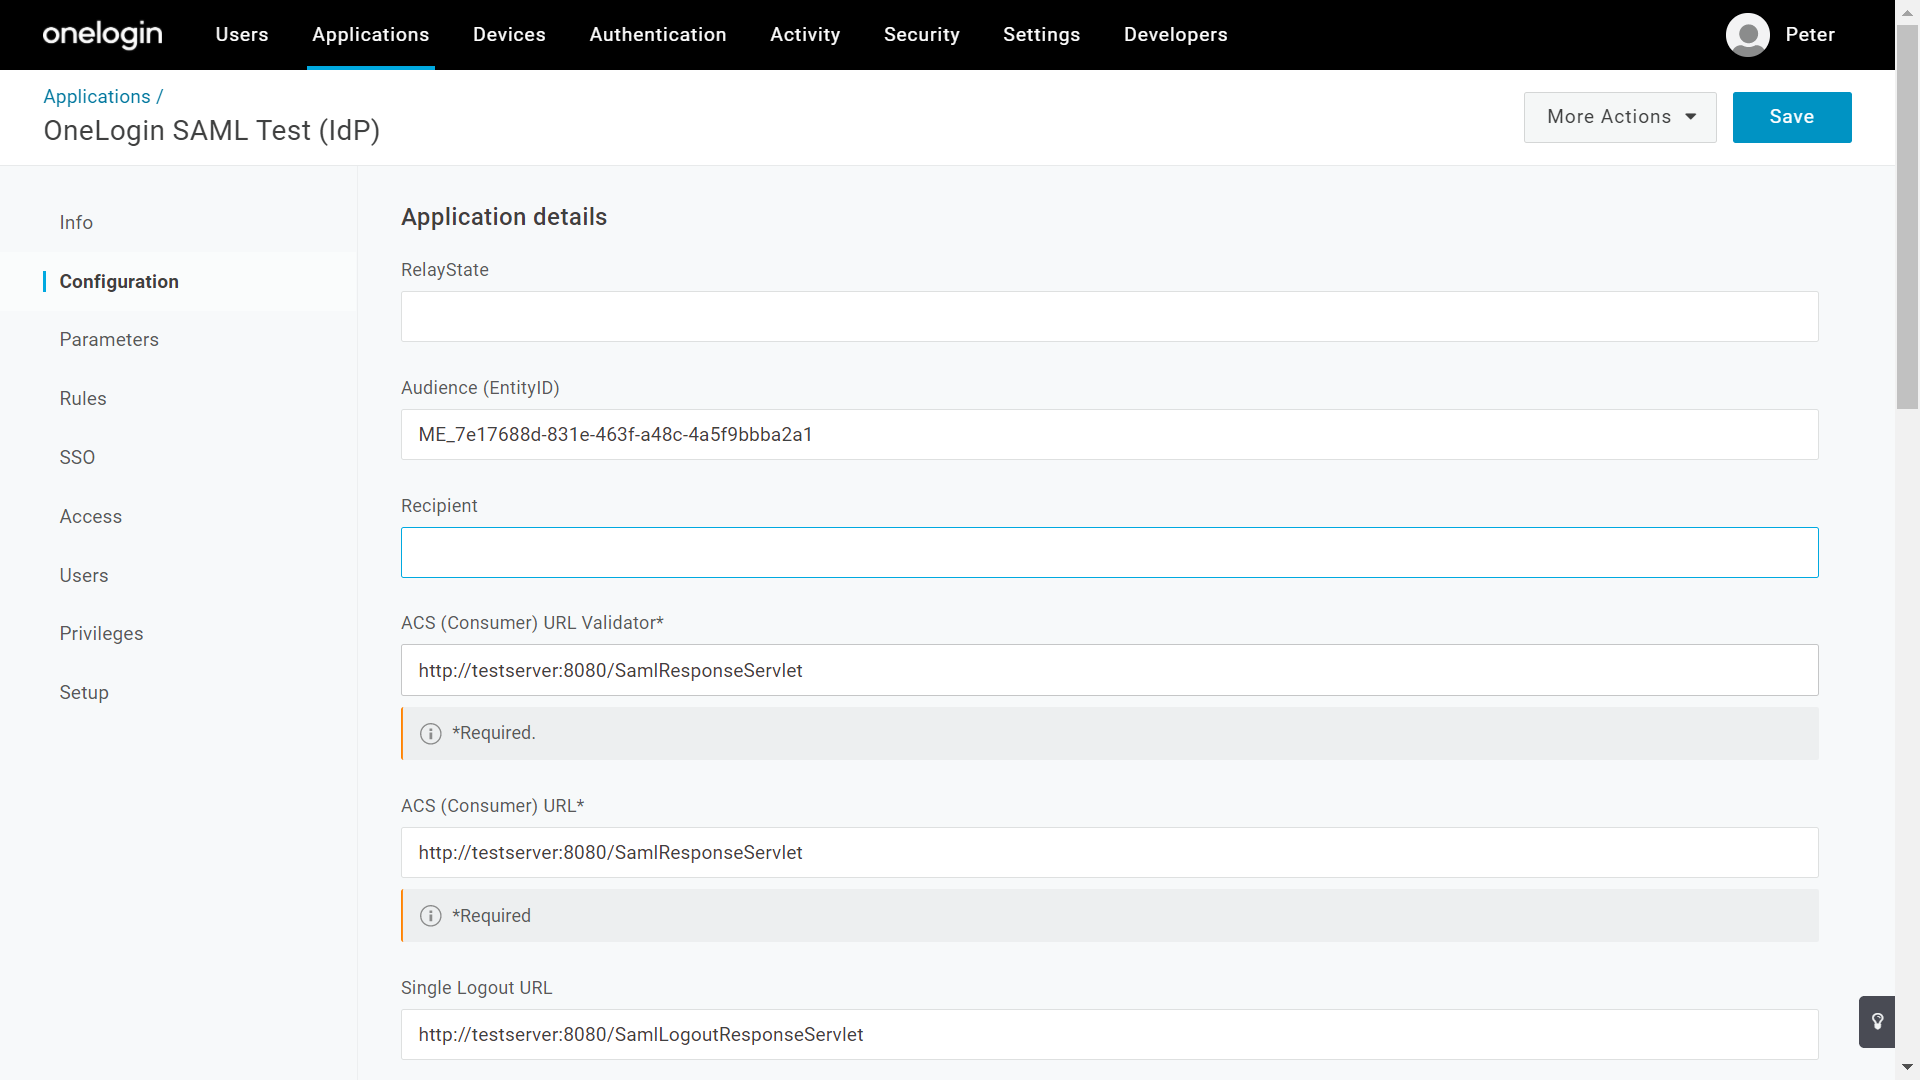
- Go to the Configurations tab and enter the details as given below.
Field Name
Description
ACS (Consumer) URL Validator
Assertion Consumer URL in ServiceDesk Plus MSP
ACS (Consumer) URL
Assertion Consumer URL in ServiceDesk Plus MSP
Single Logout URL
Single Logout Service URL in ServoiceDesk Plus
Audience (Entity ID)
Entity ID in ServiceDesk Plus MSP
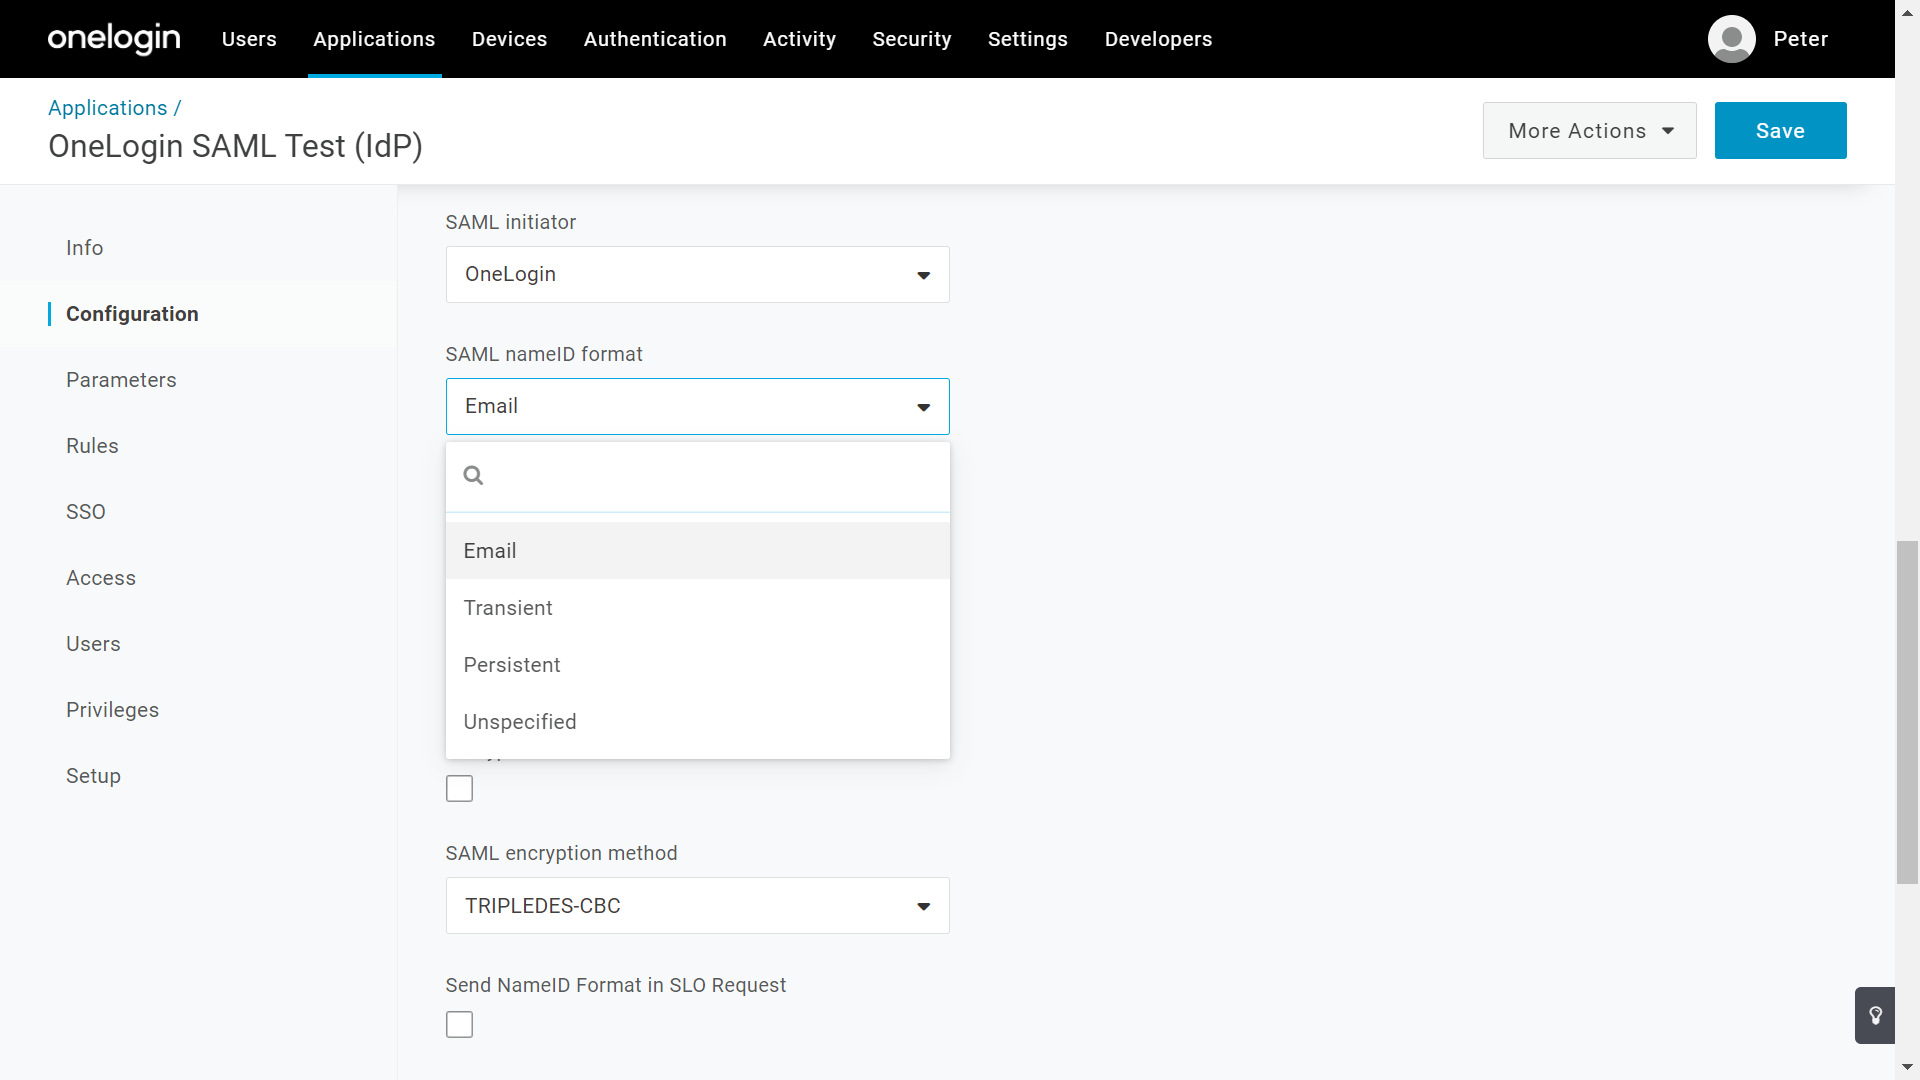
- Select the required SAML nameID format from the drop-down. ServiceDesk Plus MSP supports the following formats:
- Email: Choose this if you want to login using the email address configured in ServiceDesk Plus MSP.
- Transient/Persistent: Choose this format if you want to login using the login name configured in ServiceDesk Plus MSP.
- Unspecified: Choose this if you want to login using the User Principal Name of your Active Directory account imported into ServiceDesk Plus MSP.
- Click Save.
-
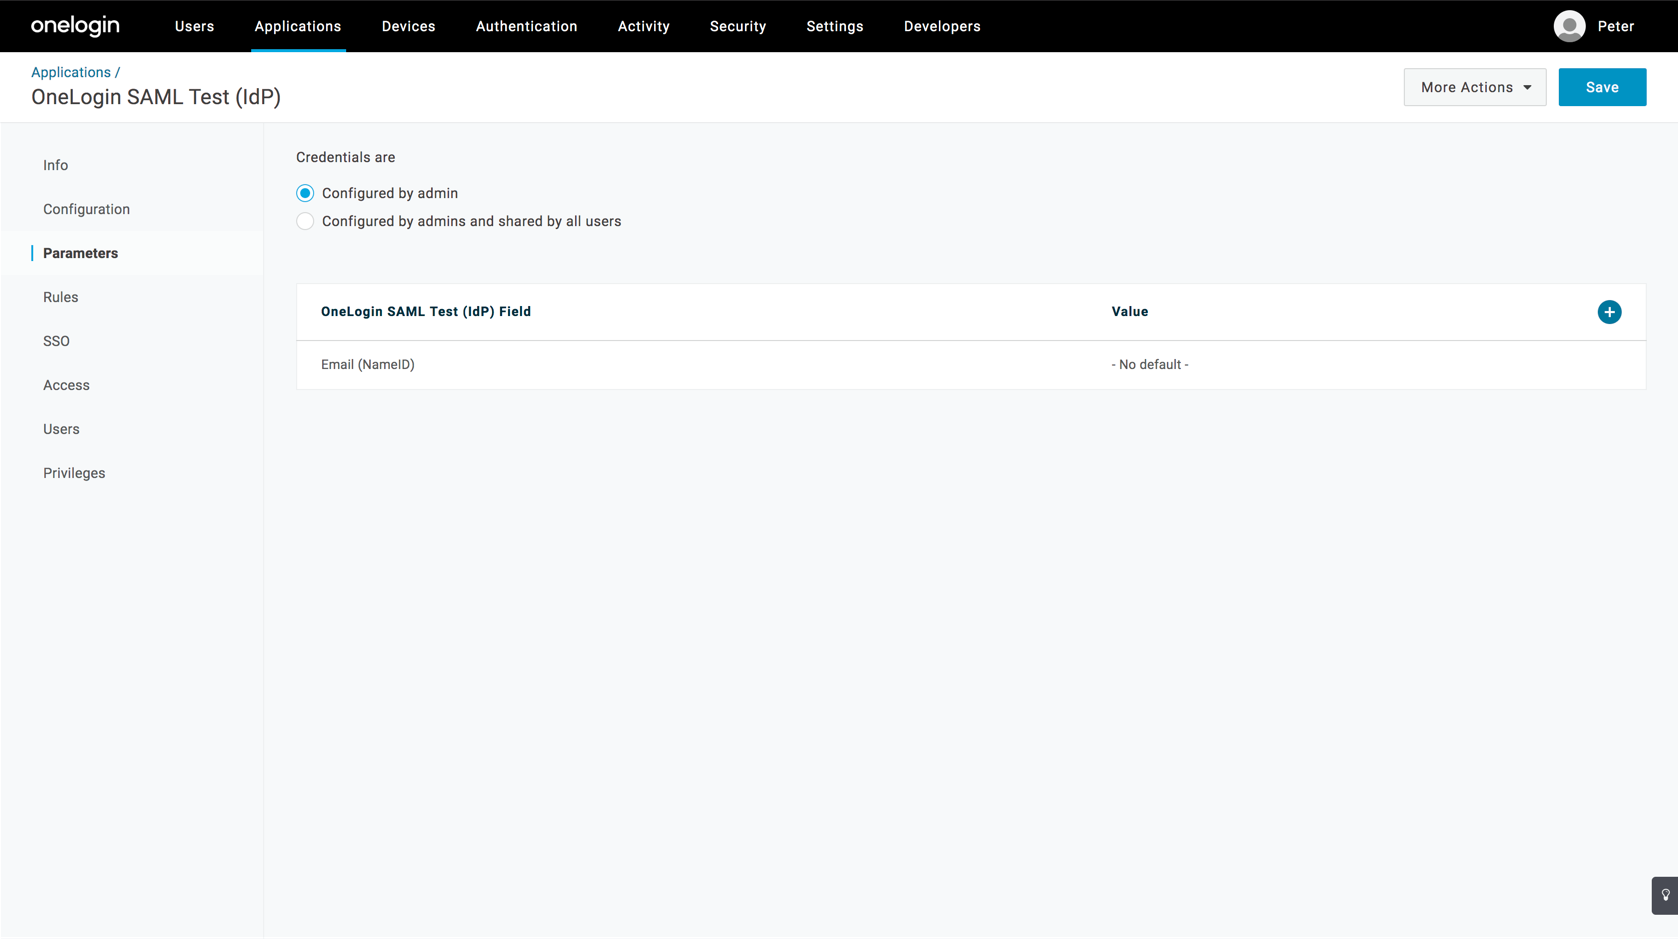
Open the Parameters tab.
-
Click NameID value. In the displayed drop-down, choose the required value for the NameID format selected in the previous screen using the following pointers:
-
For Email format, select Email as the value.
-
For Persistent/Transient formats, select an option that returns the value in the format <DOMAIN\username>. Alternatively, select Macro to configure a custom option to achieve the same. The syntax can be found here.
-
For Unspecified format, select userPrincipalName as the value.
- Dynamic User Addition in ServiceDesk Plus MSP is supported only for Persistent/Transient nameID formats.
- The NameID value configured in OneLogin should match that of ServiceDesk Plus MSP. Otherwise, redundant user addition might take place.
- Under the SSO tab, you will find the IdP details to be entered in the ServiceDesk Plus MSP application.
- Enter the details as given below.
ServiceDesk Plus MSP Attribute
OneLogin Attribute
Login URL
SAML 2.0 Endpoint
Logout URL
SLO Endpoint
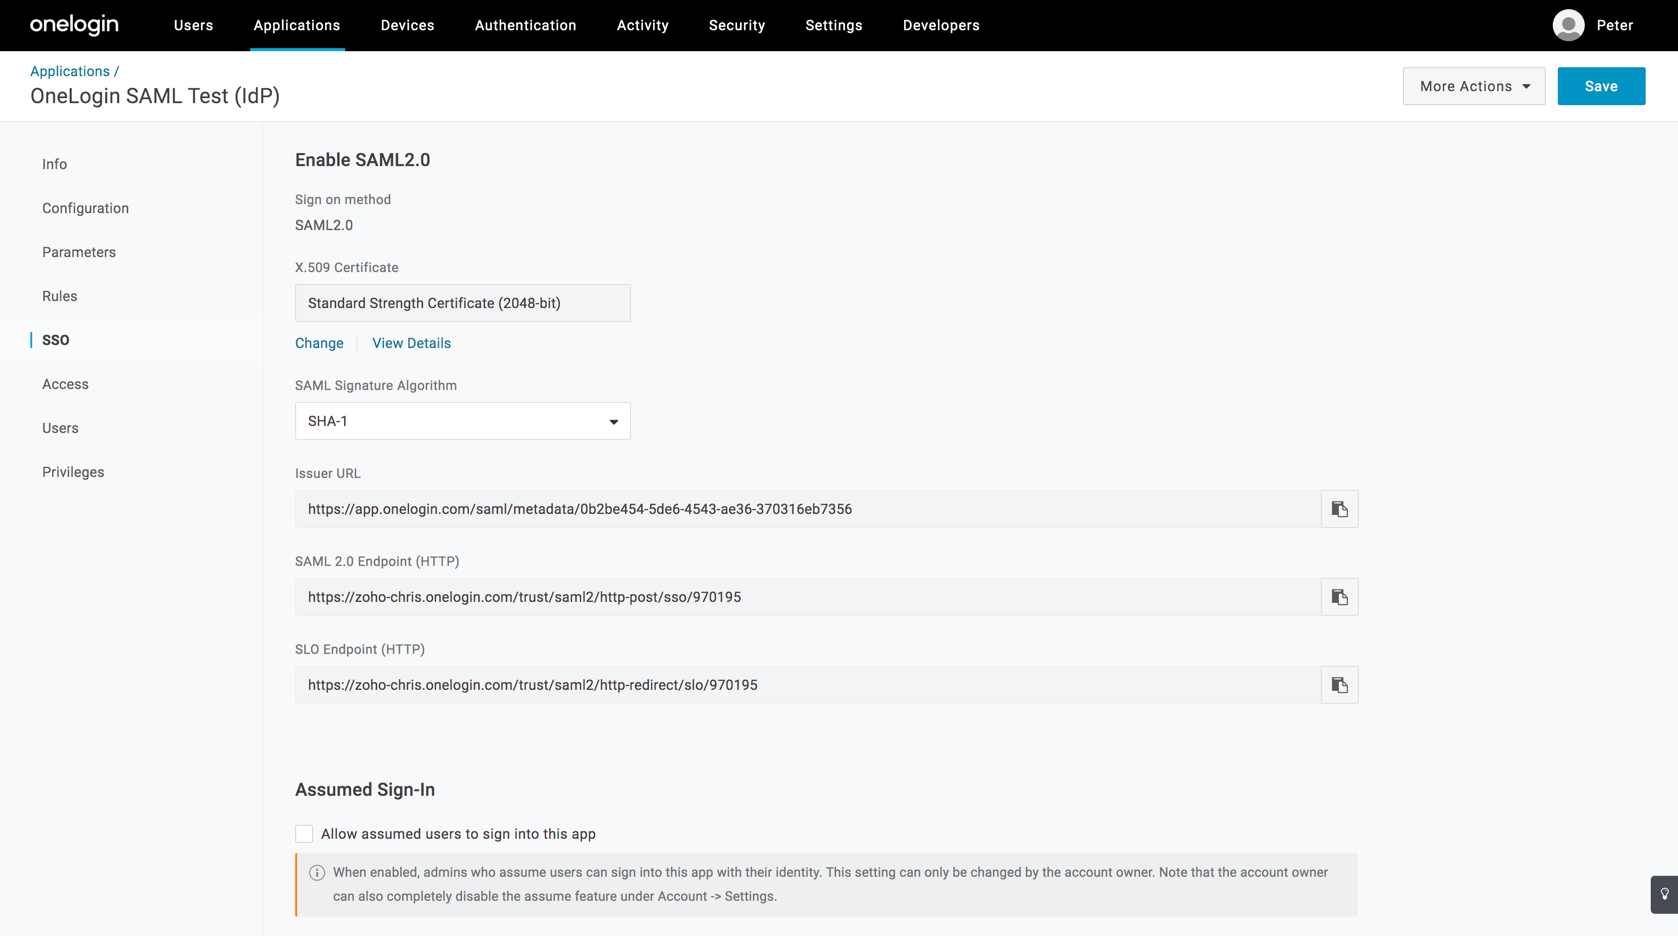
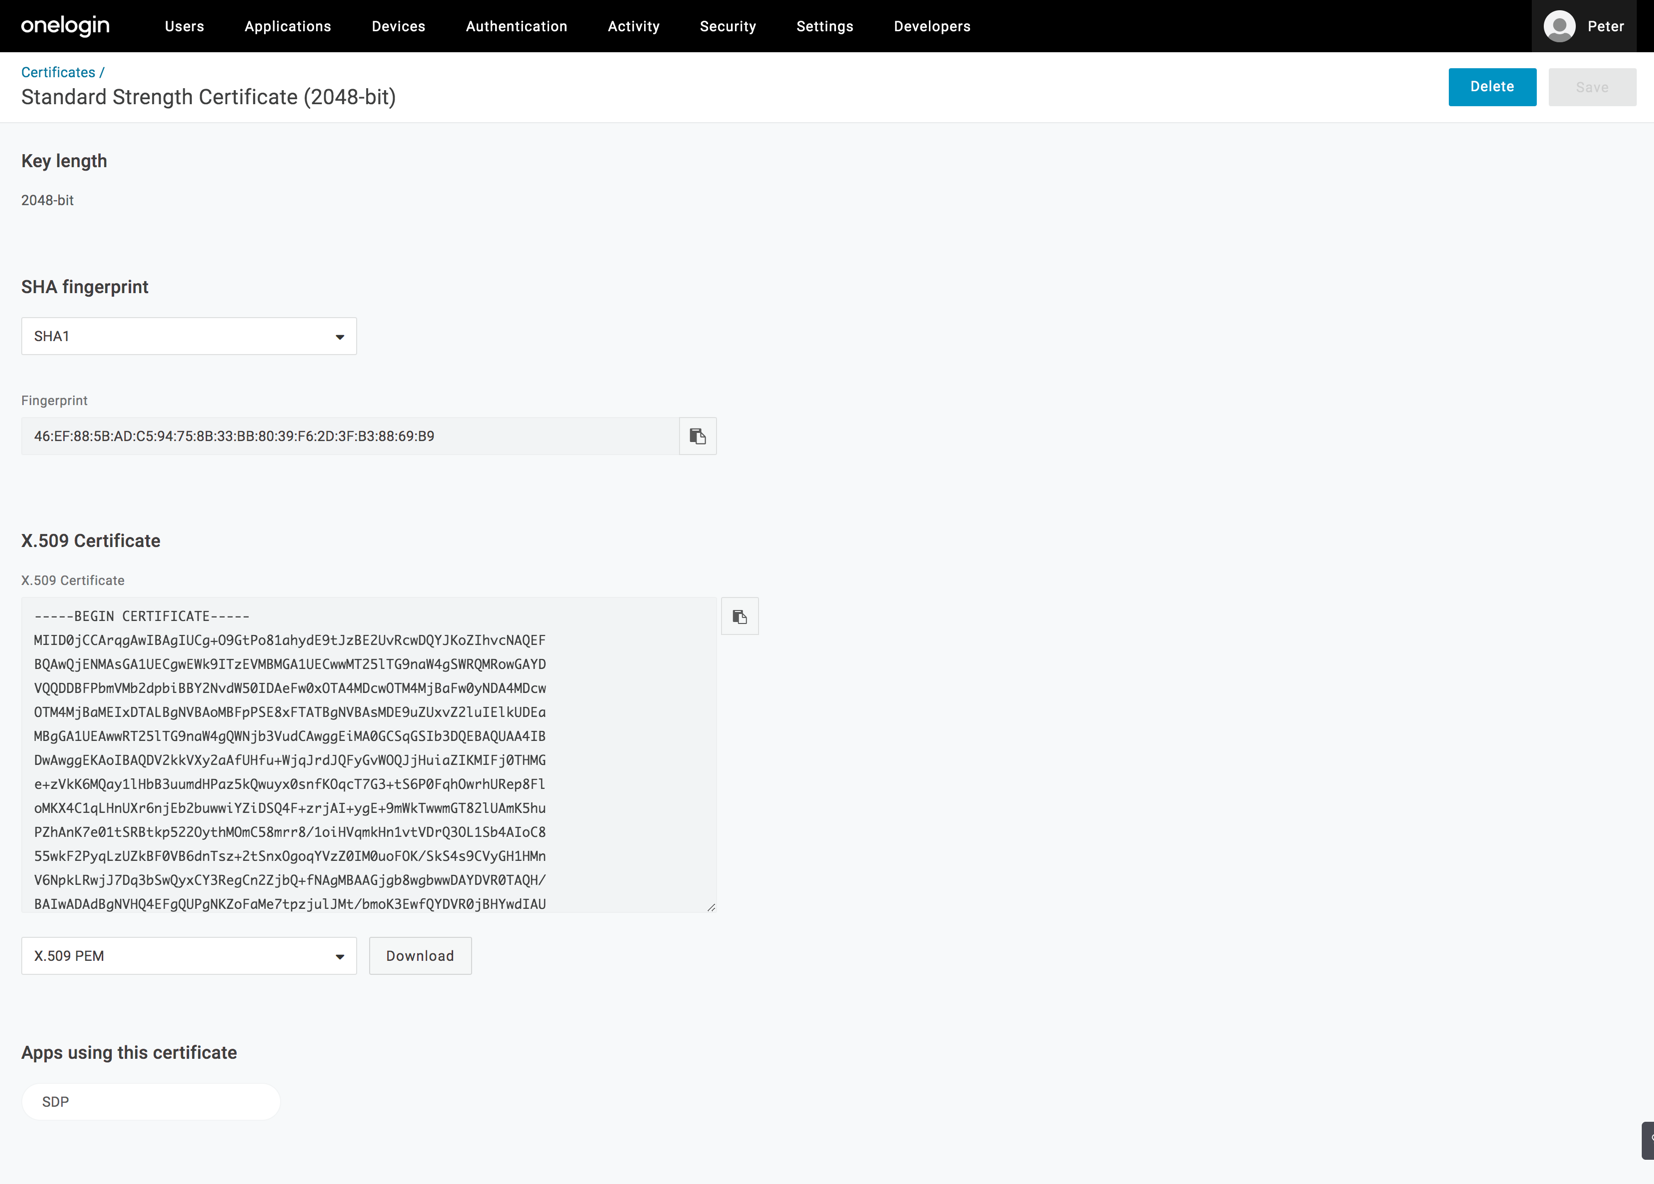
- To download the Certificate, click the View Details option under X.509 Certificate.
- Choose the certificate format as X.509 PEM/X.509 DER and click Download.
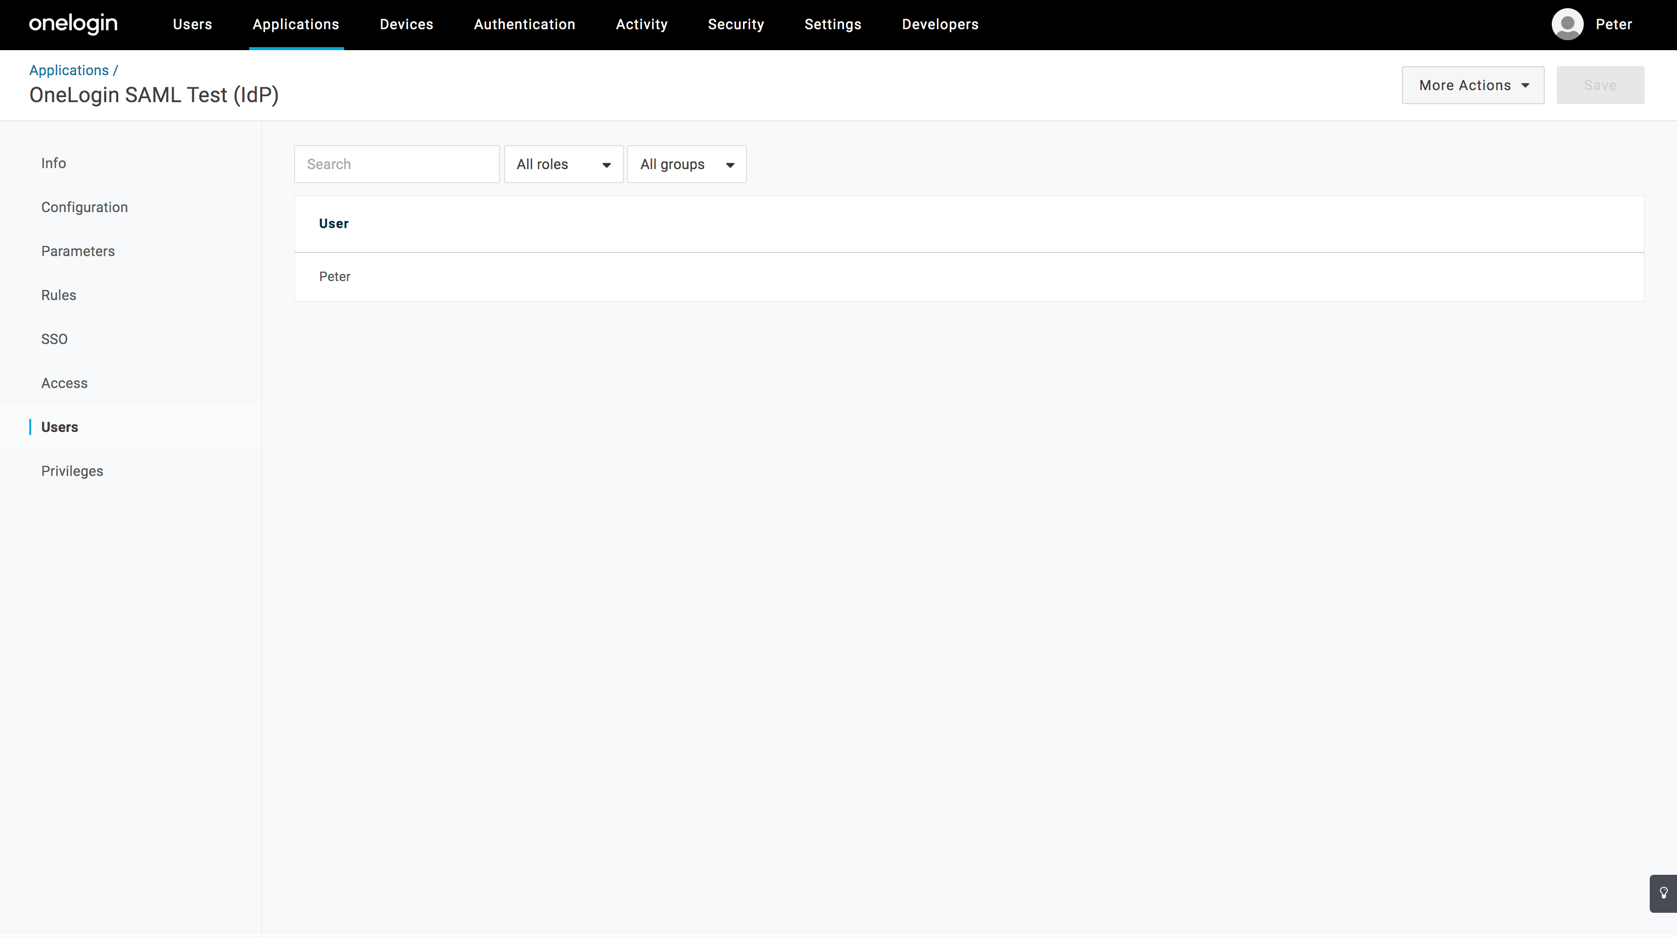
- You can assign the application to various users under the Users tab.
Go to the SAML configuration page in ServiceDesk Plus MSP and provide the IdP details to complete the integration.

