
Salesforce is a cloud-based software platform designed to enhance customer relationship management (CRM) by connecting companies with their customers, facilitating better communication, and driving business success through innovative solutions and trusted partnerships.
By integrating Salesforce with ManageEngine Identity360, you can enable the following life cycle management capabilities.
Import and synchronize user accounts, groups, and roles from Salesforce into the Identity360 portal, manage them in Universal Directory, and then sync them to other directories and applications. This enables IT admins to oversee all user-related actions from a single console.
Provision and modify users' access and account attributes across enterprise applications based on their role changes in Salesforce. Provisioning and orchestration eases onboarding and life cycle management, boosting productivity and efficiency.
Manage the roles and permissions of users in Salesforce from the Identity360 portal. Enforce least privilege and reduce security risks by granting users only the necessary permissions they need to perform their jobs.
The following steps will help you configure the supported life cycle management capabilities for Salesforce from Identity360.
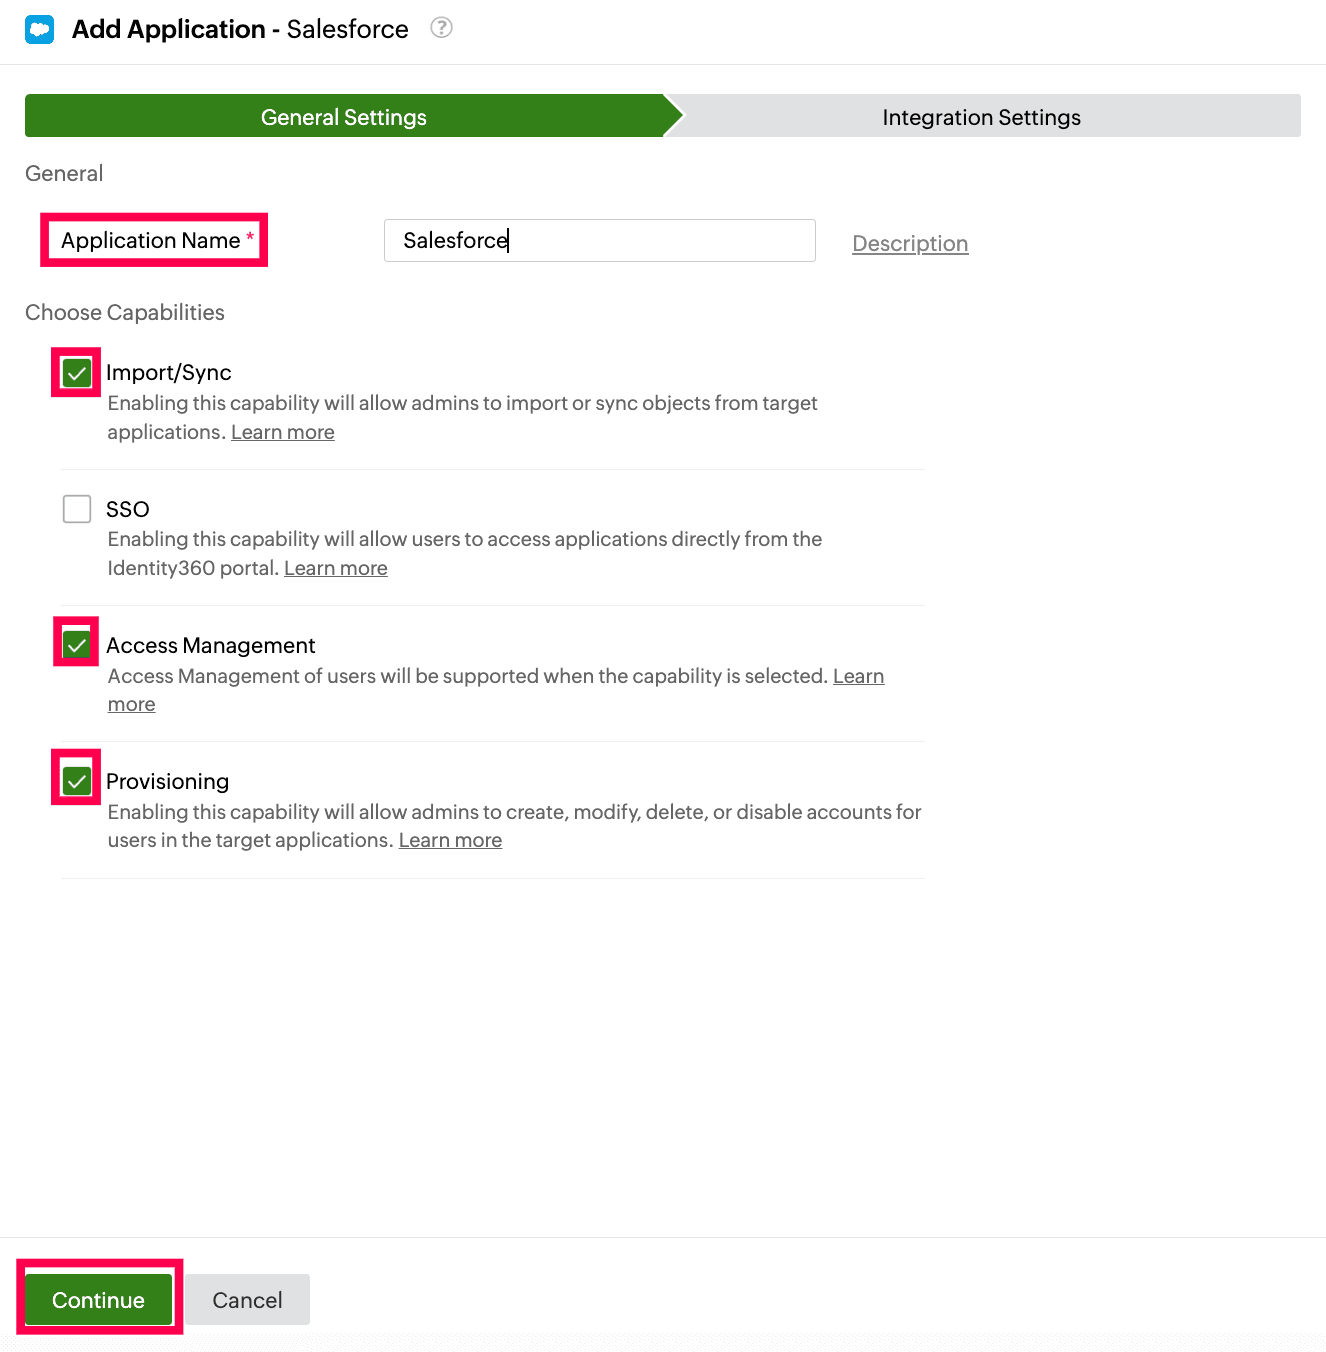 General settings of SSO configuration for Salesforce
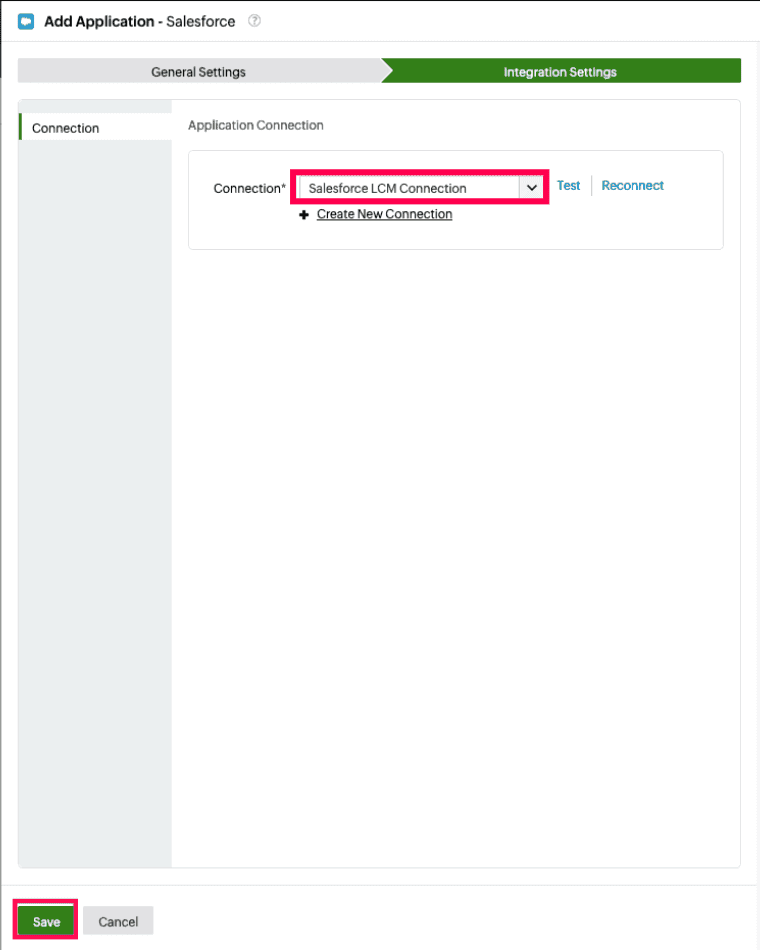 Connection selection for Salesforce
An Application Connection is a link established between Identity360 and Salesforce to automate the process of syncing, creating, or updating user accounts in Salesforce. This ensures that user accounts, profiles, and permissions are consistently managed and synchronized between Identity360 and Salesforce.
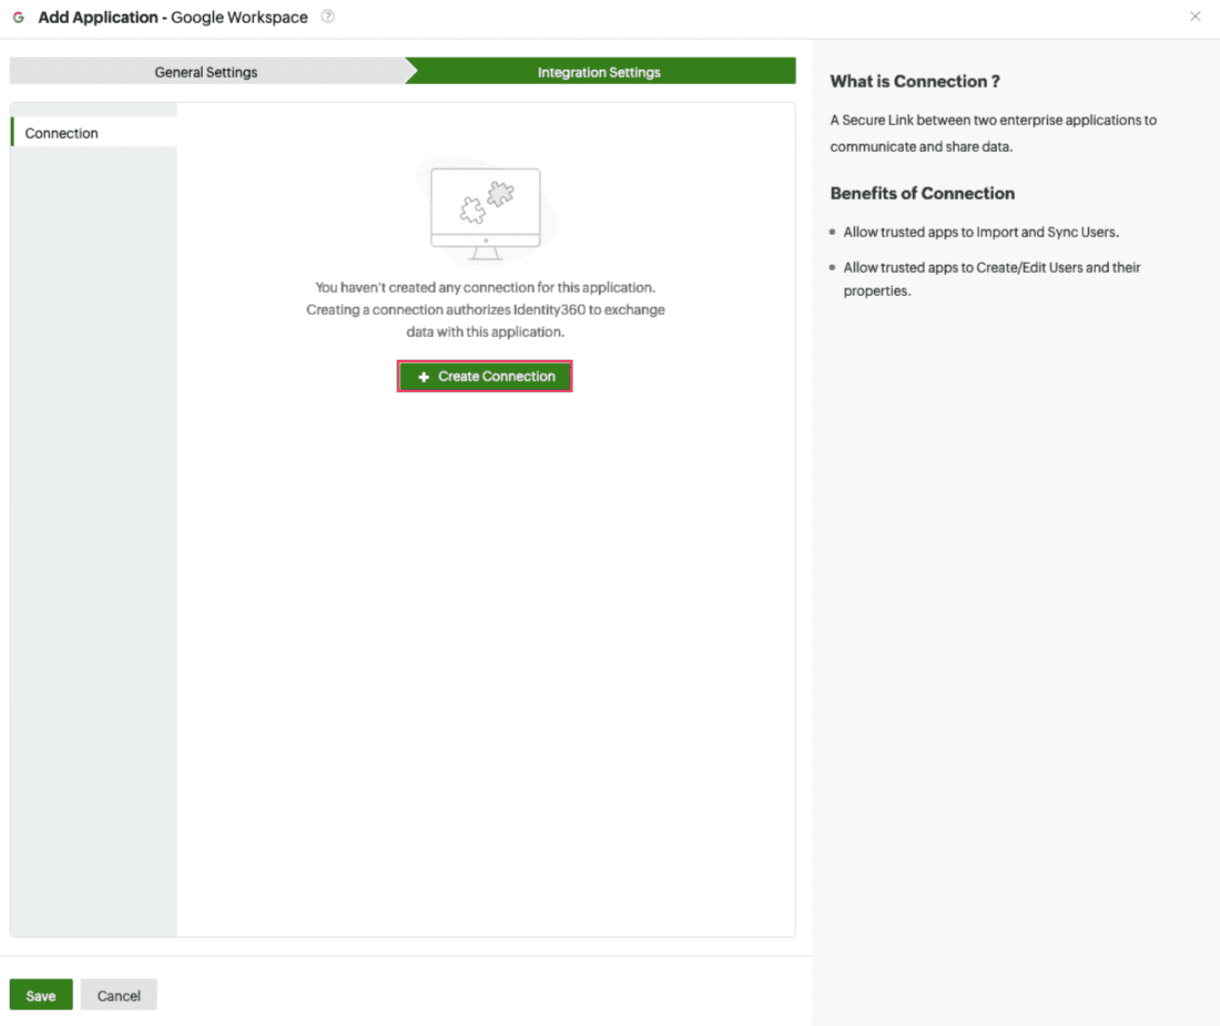 Creating a new connection in Salesforce
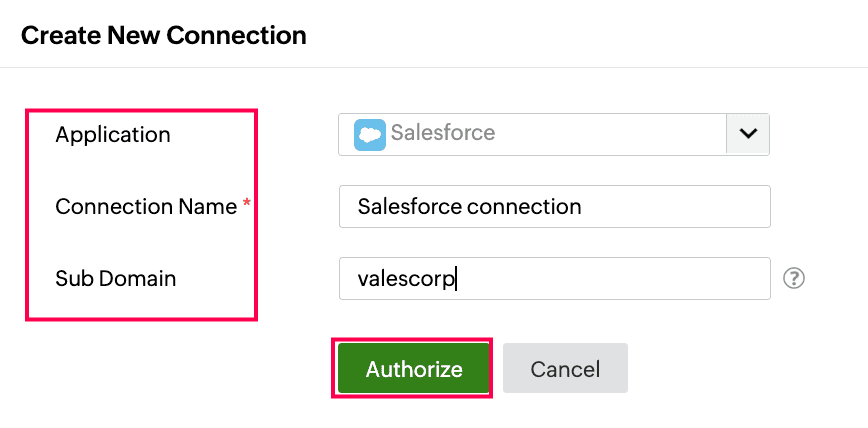 Configuring connection in Salesforce
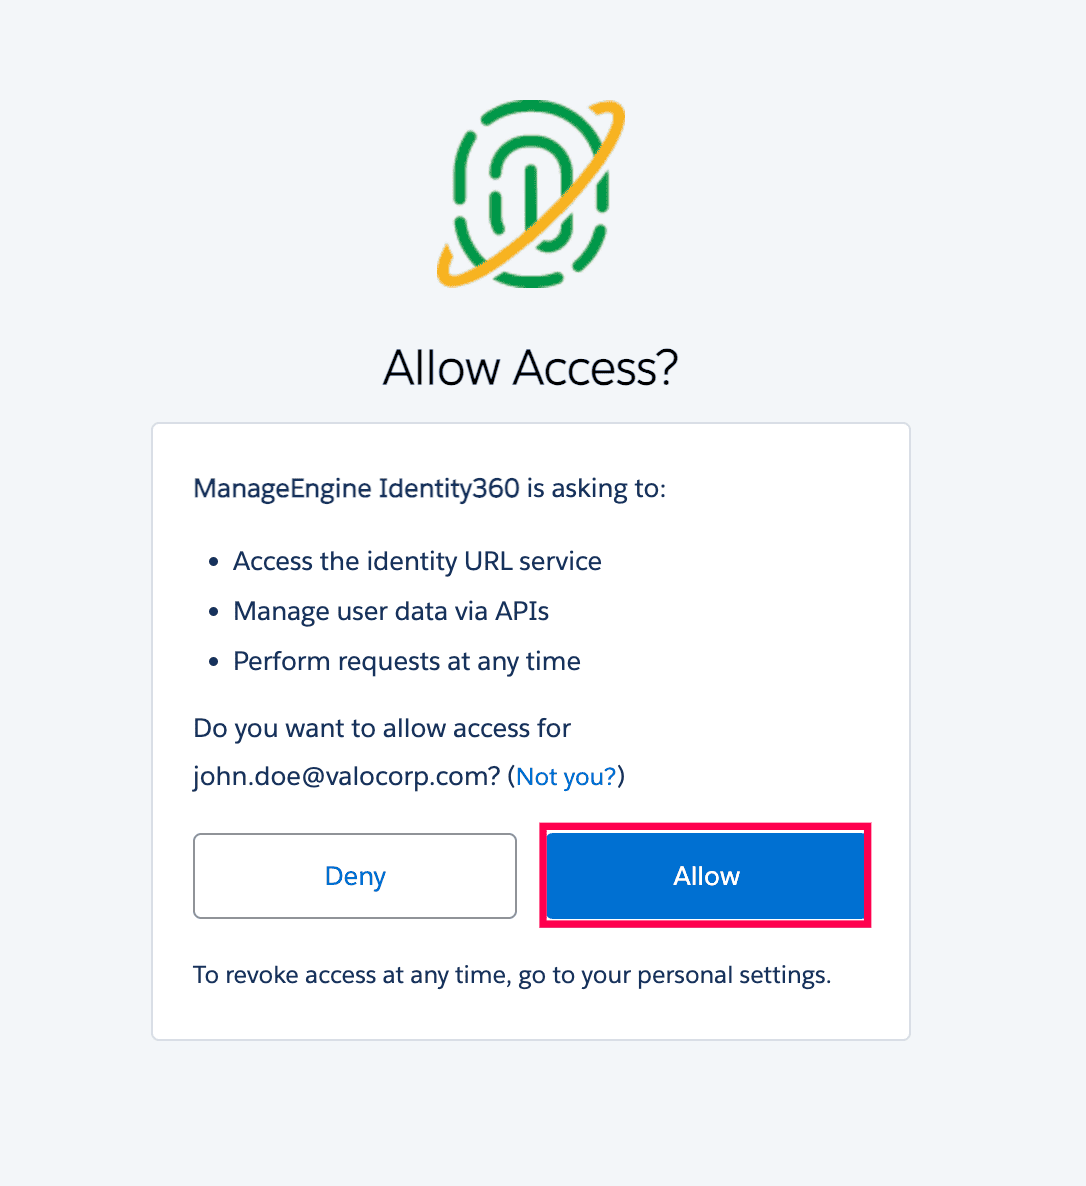 Consent to permissions during Salesforce login
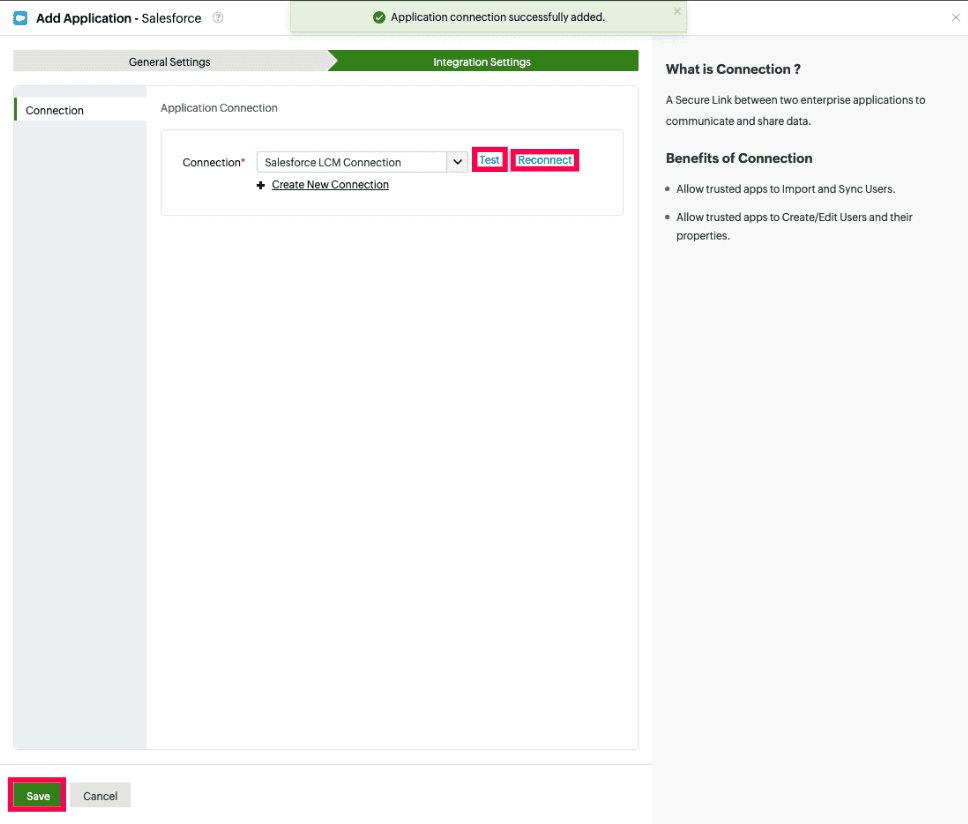 Testing the connection to Salesforce
You have successfully configured provisioning for Salesforce, ensuring user accounts are automatically provisioned to the application.