How to install MSI with MST files in client computers?
Applications like MS Office must be customized with license key, components to install, etc., before deployment. The customization will be stored as an MST file, which should be given here as input. Software deployment will be done using both MSI and MST files. For more details about the MS Office MST creation refer to our Software Deployment Guide.
Steps to deploy MSI with MST files to a PC

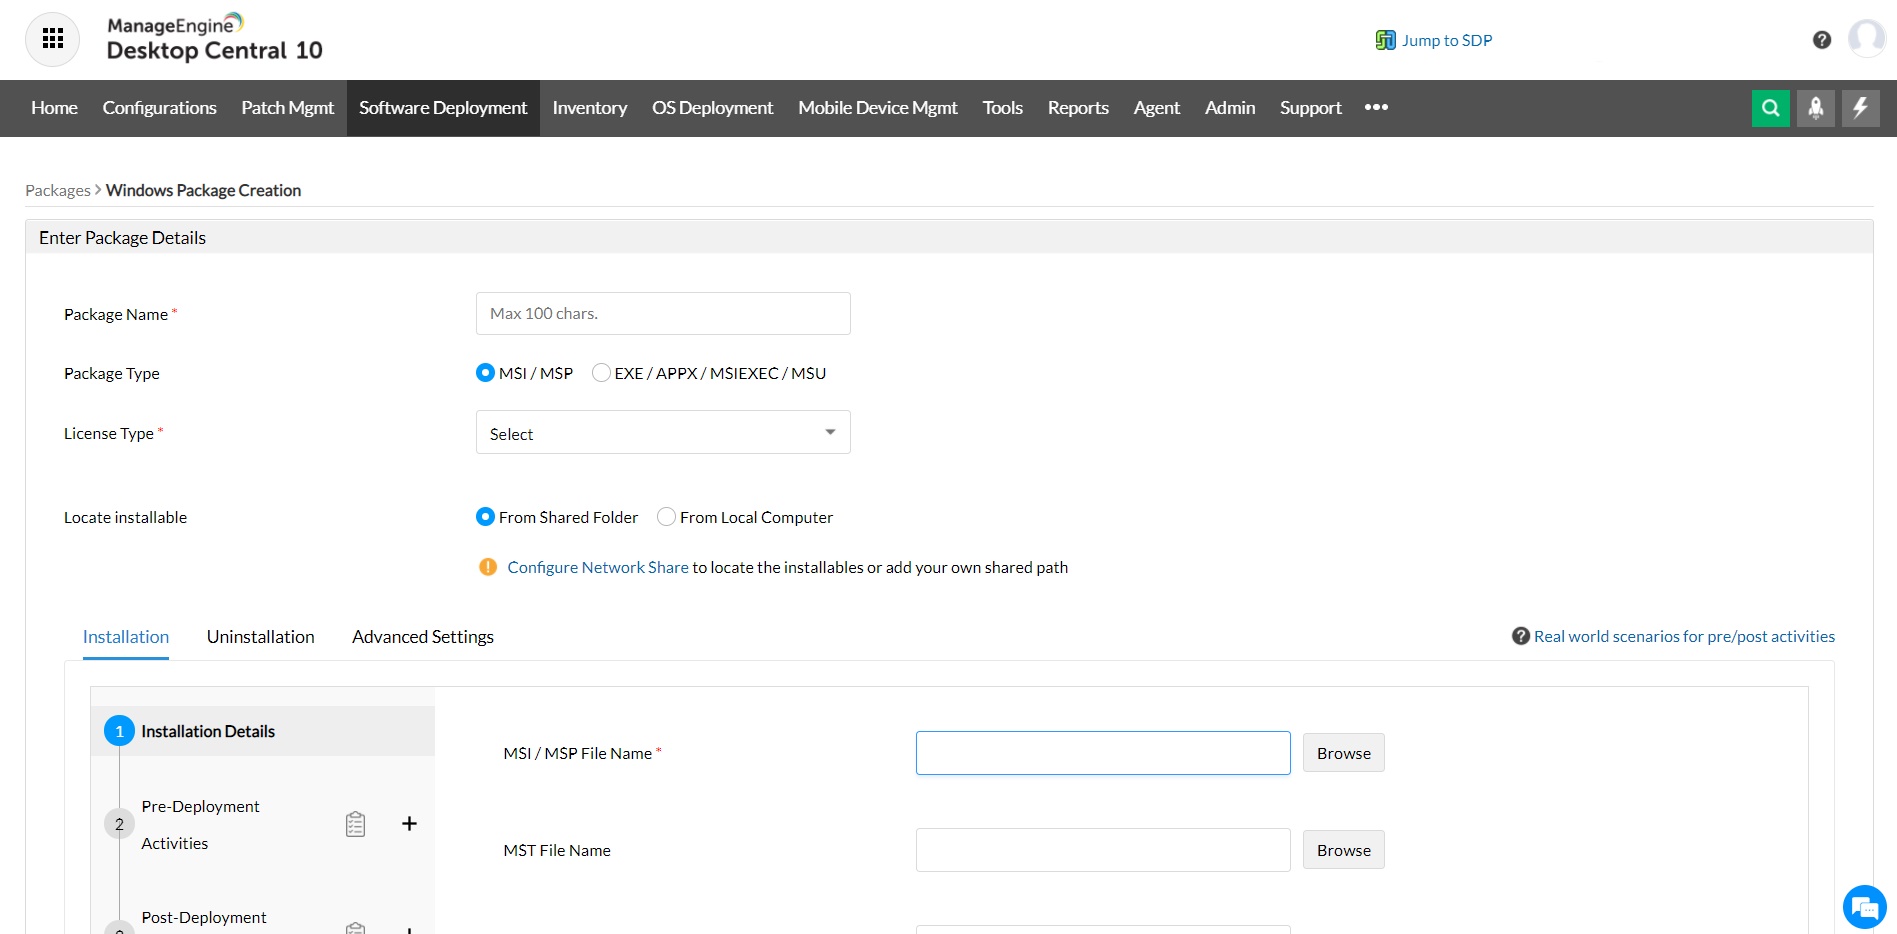
- Go to tab Software Deployment and click the Add Package button. This opens the Add Package page.
- Select the Package Type as MSI and specify the Application Name.
- Specify the MSI File Name with Network path. This path should have all the related files and the necessary read & execute permissions. For example: \\MyServer\MSIApps\Skype\skype.msi.
- Click Browse button corresponding to the MST file name with Network path field and select the MST file(s) from the Network.
Note:If you are using the copy option while deploying the application, the location of the MST file specified here should be relative to the Network Share where the MSI file is located. You can also specify the MST directly. In case of multiple MSTs, you will need to use a semicolon to separate them.
- Click Add Package button. The package will get added in the Software Repository, which you can select and deploy on specific systems of your choice.
Learn more about USB security management here.
