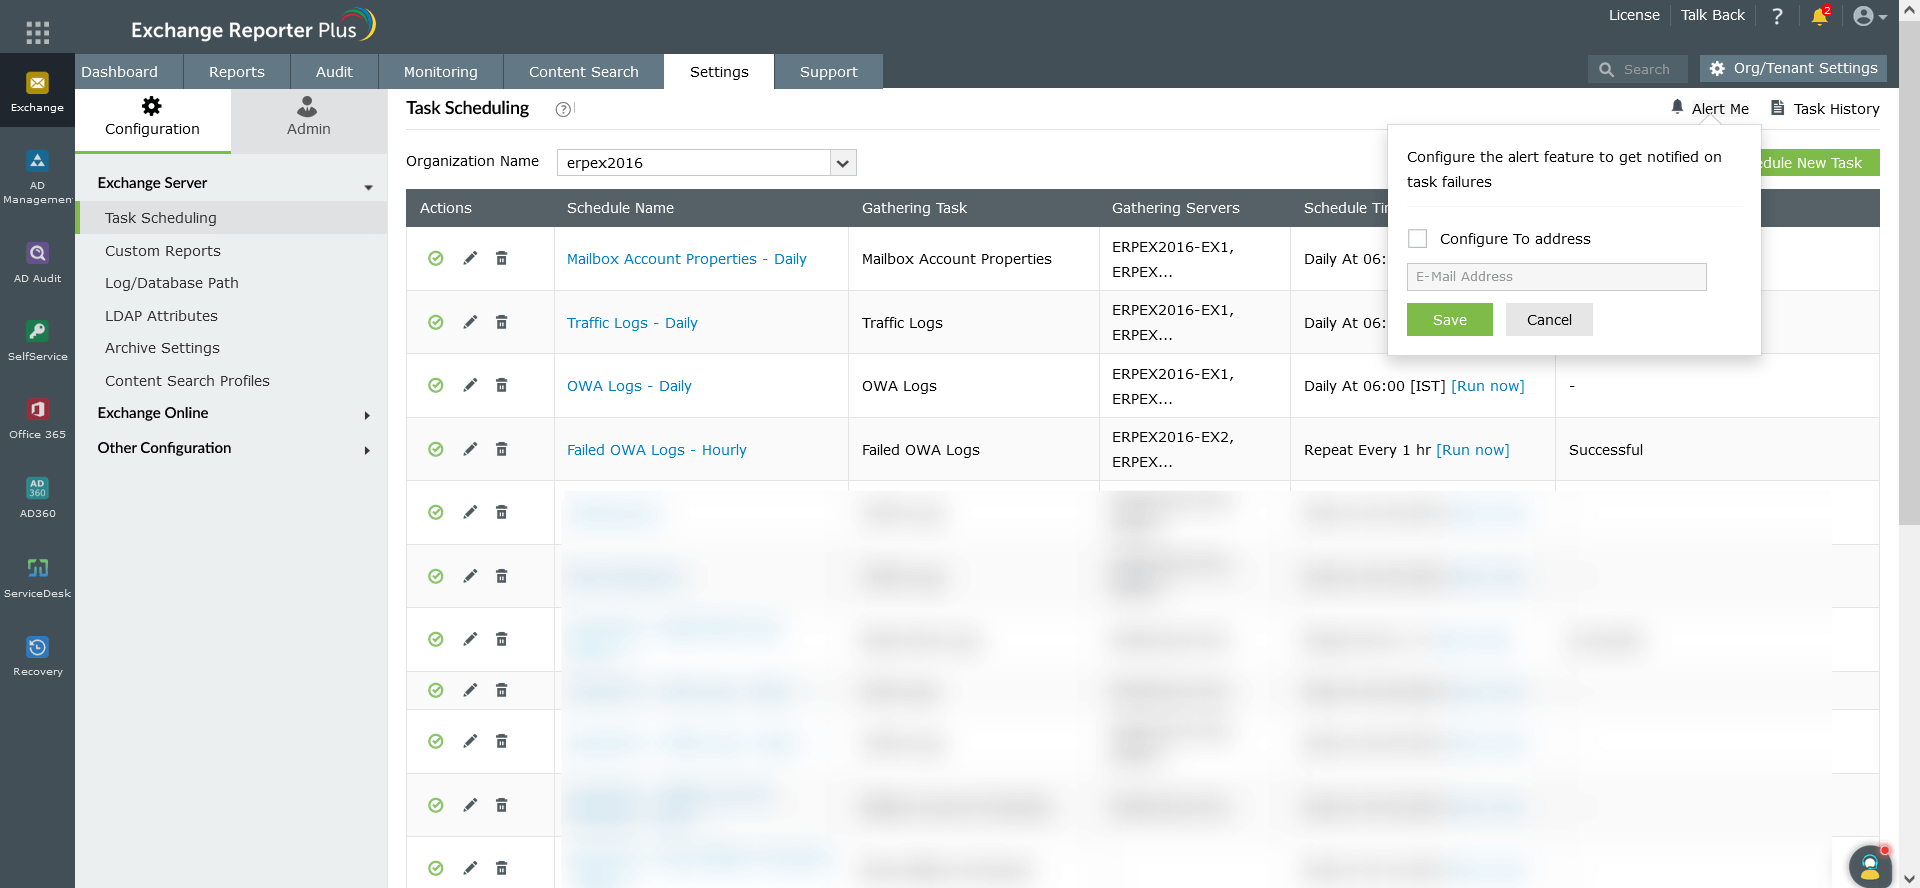
Task Scheduling
Reports in Exchange Reporter Plus are a consolidation of data collected from various Exchange and Active Directory objects. To collect data, Exchange Reporter Plus uses several built-in data gathering tasks that collect data from specific data sources. Apart from these predefined tasks, you can also add new ones.
Adding a new task schedule
To add new scheduled tasks:
- Go to the Settings tab.
- Navigate to Configuration → Exchange Server → Task Scheduling.
- Click the Schedule New Task option.
- Enter a suitable Name and Description for the schedule.
- Choose a Task from the drop-down.
- Select a suitable timing for the task schedule to run.
- In the Data Sources filed, choose the required Servers, Administrative Groups and Routing Groups and click OK.
- Click Create.
Note: There are prerequisites for scheduling OWA Logs task in Exchange Reporter Plus. Learn more. You can also configure threshold values for fetching Traffic Logs task, click here to know more.

Note: You can use the Alert Me option in the top-right corner to configure the alert that must be sent to you when a task fails. Tick the Configure To address checkbox. Enter the email address and click Save.
Enabling or disabling tasks
To enable or disable Exchange Server tasks:
- Go to the Settings tab.
- Navigate to Configuration → Exchange Server → Task Scheduling.
- Click the Organization option.
- In the list that appears, click the
 icon corresponding to the task you want to disable. If you want to enable a task, then click the
  icon.
icon.
- Choose Yes to confirm.
Editing task profiles
You can edit the existing task schedules as follows:
- Go to the Settings tab.
- Navigate to Configuration → Exchange Server → Task Scheduling.
- Select a suitable Organization from the drop-down.
- Click the
 icon corresponding to the profile you want to edit.
- Make changes in the edit window that appears, and click Update.
Checking task history
You can check the list of all tasks schedules and their execution statistics by following the steps below:
- Go to the Settings tab.
- Navigate to Configuration → Exchange Server → Task Scheduling.
- Select a suitable Organization from the drop-down.
- Click the Task History option in the top-right corner. The list of schedules appears as given in the image below.
- In case of errors, click the Troubleshoot option corresponding to the schedule to learn the probable reason.
Deleting tasks
To delete a task schedule:
- Go to the Settings tab.
- Navigate to Configuration → Exchange Server → Task Scheduling.
- Select a suitable Organization from the drop-down.
- Click the
 icon corresponding to the tasks you want to delete.
- Choose Yes to confirm.
Apart from these options, you can also click the Run Now option next to a task schedule to fetch the most recent data.
