Installing OpManager Plus on Windows
Steps to install:
- Download OpManager Plus for Windows.
- Execute the downloaded OpManager_plus.exe to install and follow the instructions in the installation wizard.

- Click Next to begin the installation process. Go through the license agreement and click Yes to proceed to the next step.
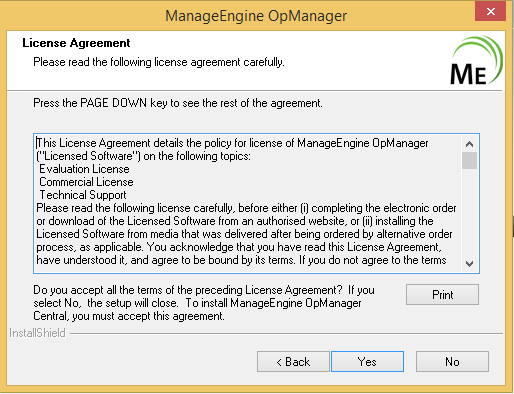
- In the subsequent steps of the wizard, select the OpManager Plus Edition (30day trial or Free), language and the directory to install OpManager Plus. Proceed to the next step.
- Select the Program folder to add the OpManager Plus shortcuts and click Next.
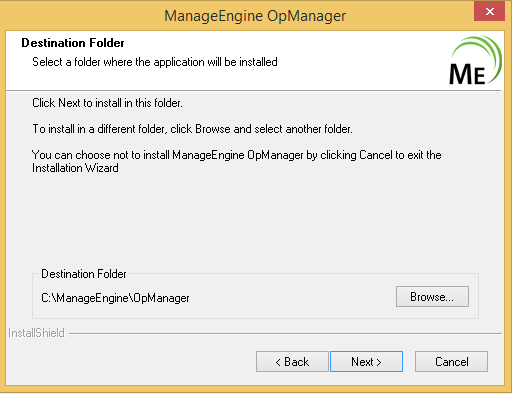
- Specify the port number to run OpManager Plus Web Server and click Next.
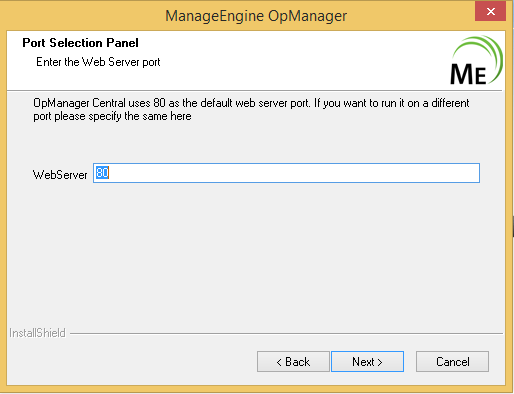
- Register for technical support by supplying your contact information such as name, email id etc.
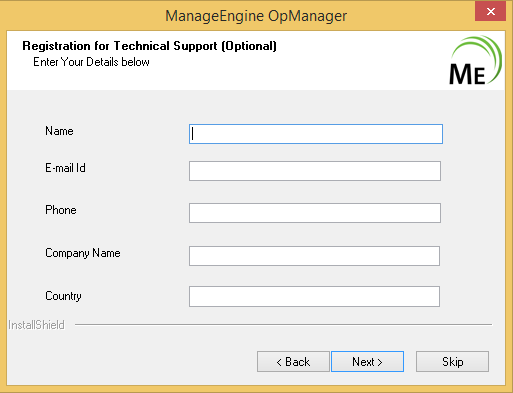
- Verify the installation details and click Next.
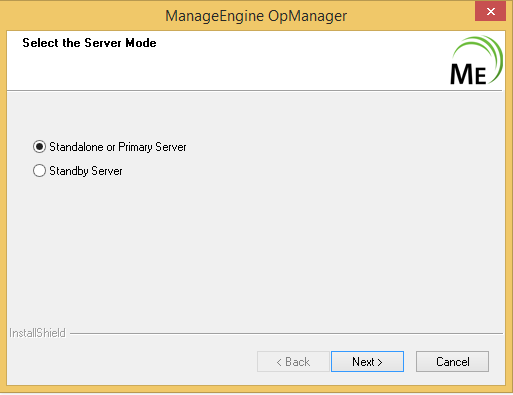
- Select the Server Mode i.e., Primary or Standby server and click Next.
- If the Server Mode is selected as Standby, then enter the Primary webserver host, port and login details and complete the installation.
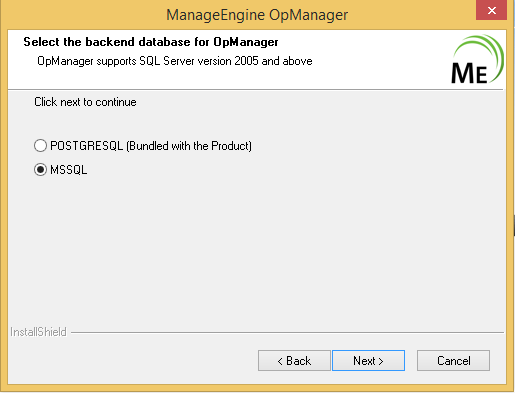
- Select the database. OpManager Plus supports both, PostgreSQL and MSSQL as database and click Next.
- Click Finish to complete the installation process.
Installing OpManager Plus on Linux
Prerequisites:
- If OpManager Plus is installed in Debian machines, make sure that the iputils-ping package is installed.
This is required because OpManager Plus uses the options of the Ping command provided by the iputils-ping package. Debian OS has two different packages, netkit-ping (installed by default) and iputils-ping. If iputils-ping package is not installed, OpManager Plus will not be able to ping any of the managed devices and also itself and hence reports the status of all devices to be down. - Sometimes, you might encounter errors such as database connection not getting established or the server not starting up. To workaround these issues, comment the IPv6 related entries in the etc/hosts file.
- Check if the DNS resolves properly to the IP Address on the system in which OpManager Plus is installed. Add an entry to etc/host file with ipaddress and host name if there is trouble starting OpManager Plus.
Now, to install OpManager Plus on Linux machines, follow the steps given below:
- Download OpManager Plus for Linux.
- Login as root user.
- Assign the executable permission to the downloaded file using the following command:
chmod a+x OpManagerPlus.bin - Execute ./OpManagerPlus.bin. The installation wizard pops up.
- Click Next to begin the installation process. Go through the license agreement and proceed to the next step.
- In the subsequent steps of the wizard, select the OpManager Plus Edition (Professional or Free), language, the directory to install OpManager Plus, and the port number to run OpManager Plus Web Server. Proceed to the next step.
- Verify the installation details and click Next.
- Click Finish to complete the installation process.
It is recommended to install OpManager Plus in the opt folder. By default, OpManager Plus is installed in the/opt/ManageEngine/OpManagerPlus directory.
Installing OpManager Plus with Kingbase DB
...
