How to prevent sharing data from Office 365 apps in iOS devices ?
Description
In case of iOS devices, when an app is distributed using Mobile Device Manager Plus it is considered as a corporate app. This ensures that the data from this app cannot be shared with the apps that are not managed by Mobile Device Manager Plus. This means that the corporate data in these apps are completely secure. Whereas, when Office 365 apps like MS Word are distributed to devices, these apps by default behave as personal apps. This means that the restrictions applied on these apps will not work.
Steps
Along with distributing the apps to devices, we can distribute certain configurations to the apps. These configurations dictate the apps to treat which accounts as personal and which as corporate accounts. In the case of Office 365 apps, along with the app, the User Principal Name details are also distributed to the devices. So, when the user configures the app, if the User Principle Name matches the one distributed by MDM, then the app treats this said account as a work account, else it is a personal one. If it is considered as a corporate account, then all the selected restrictions will be applied to the apps as configured in Azure portal described below.
Follow the steps given here to distribute app configurations to devices:
Microsoft Intune Configurations
- Login to https://portal.office.com using your Office 365 credentials. Click on Subscription, under Billings in the left pane. Confirm if you have subscribed for Enterprise Mobility Suite Direct and Office Enterprise E3 or Office 365 Business Premium. If not, subscribe to the same.
- Login to https://portal.azure.com, and click on More Services and search for Intune. Select Intune App Protection.
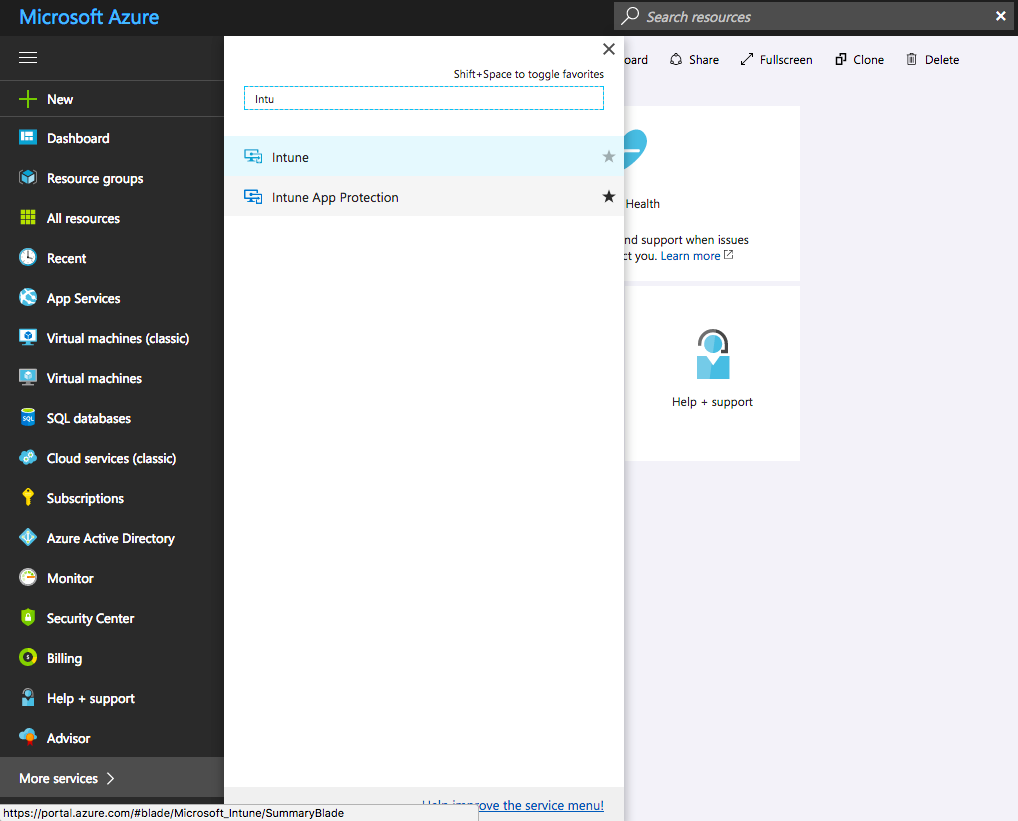
Create New Policies
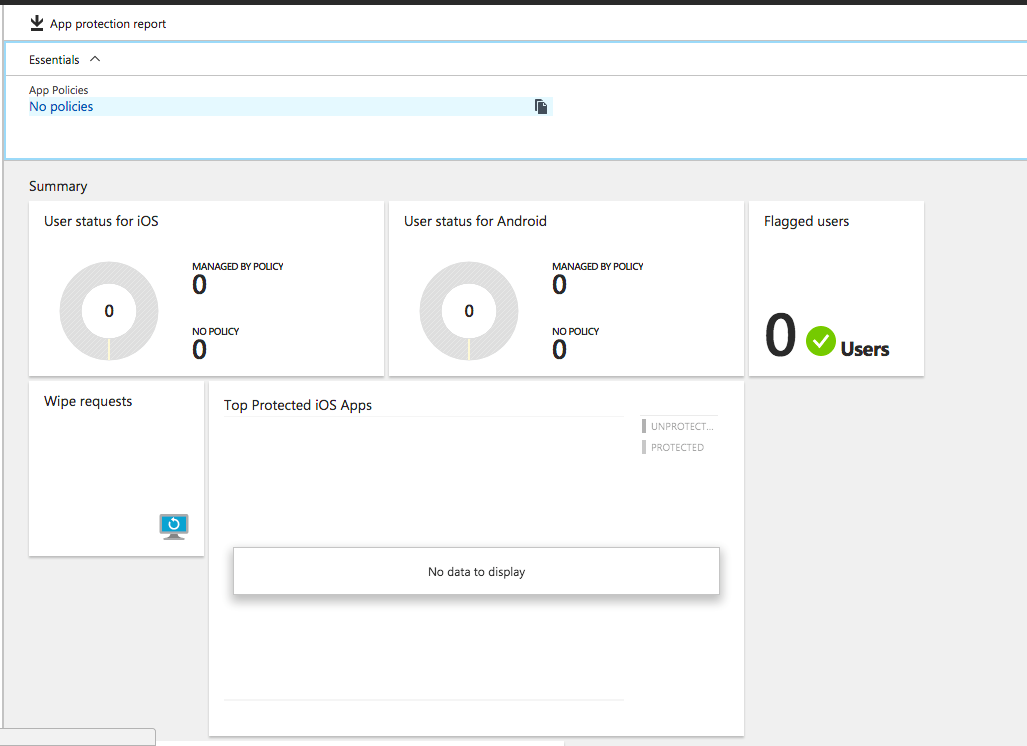
- Click on App Policies to create to policies.
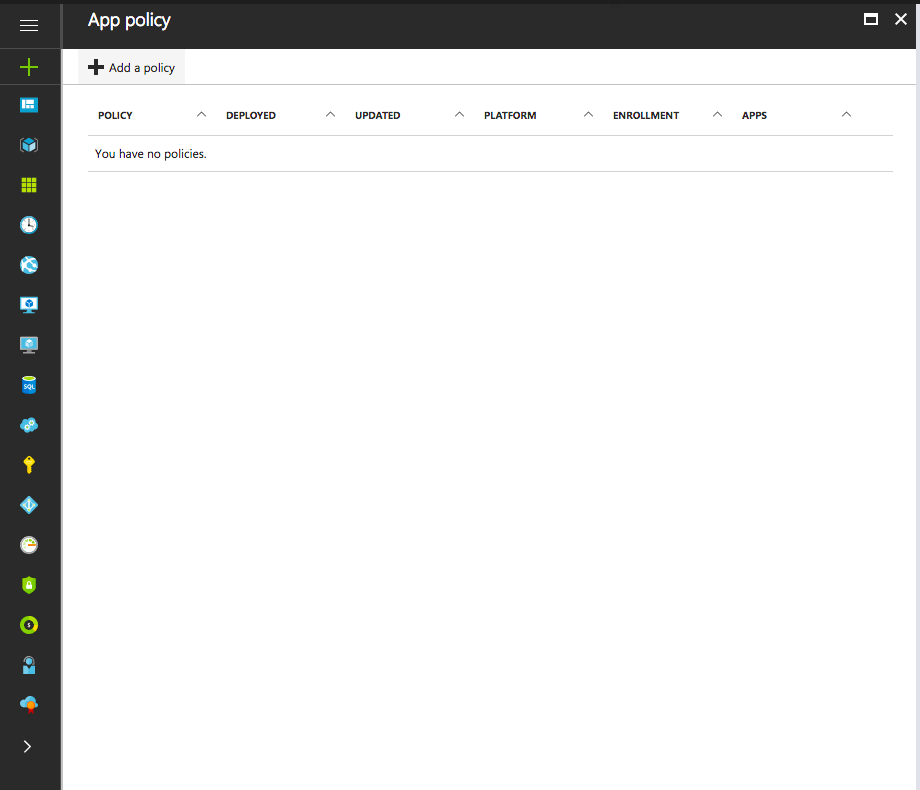
- Click on Add a New Policy to create a new policy.
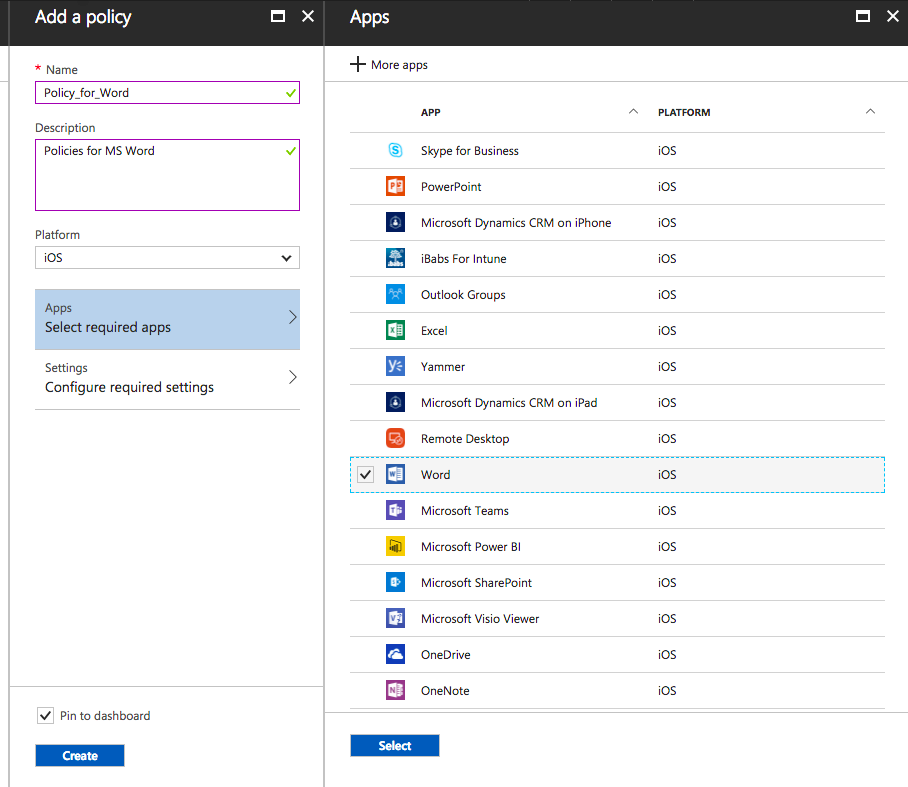
- Provide a Name, Description and Platform for the policy you are creating.
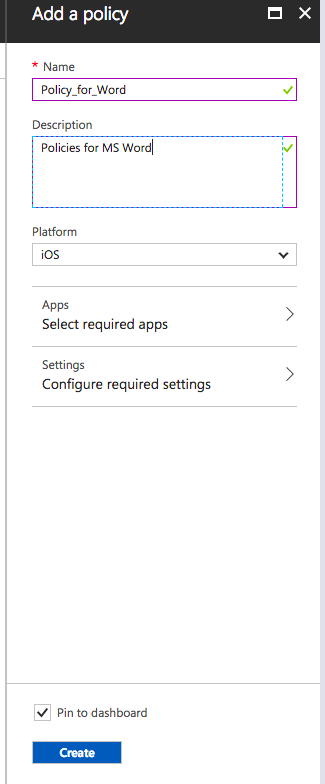
- Click on Select Required Apps and select the required apps, to which the policy is to be applied.
- Click on Configure required settings and make the required changes.
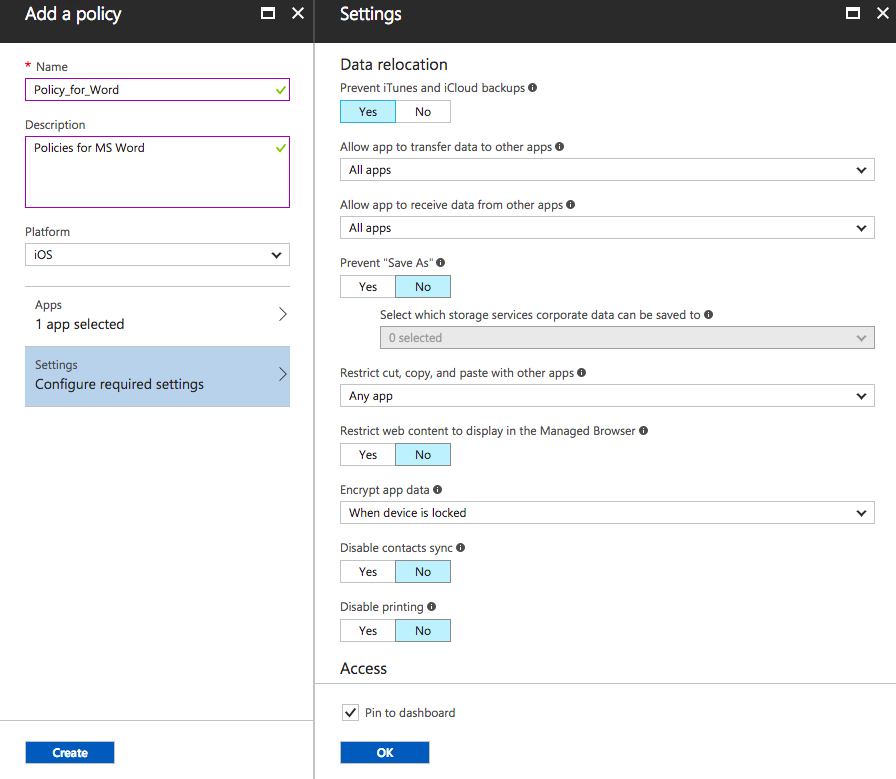
- Click on Create after making all the required changes.
Distribute the Policy to users
- Click on the policy, to distribute it to the users in your AD.
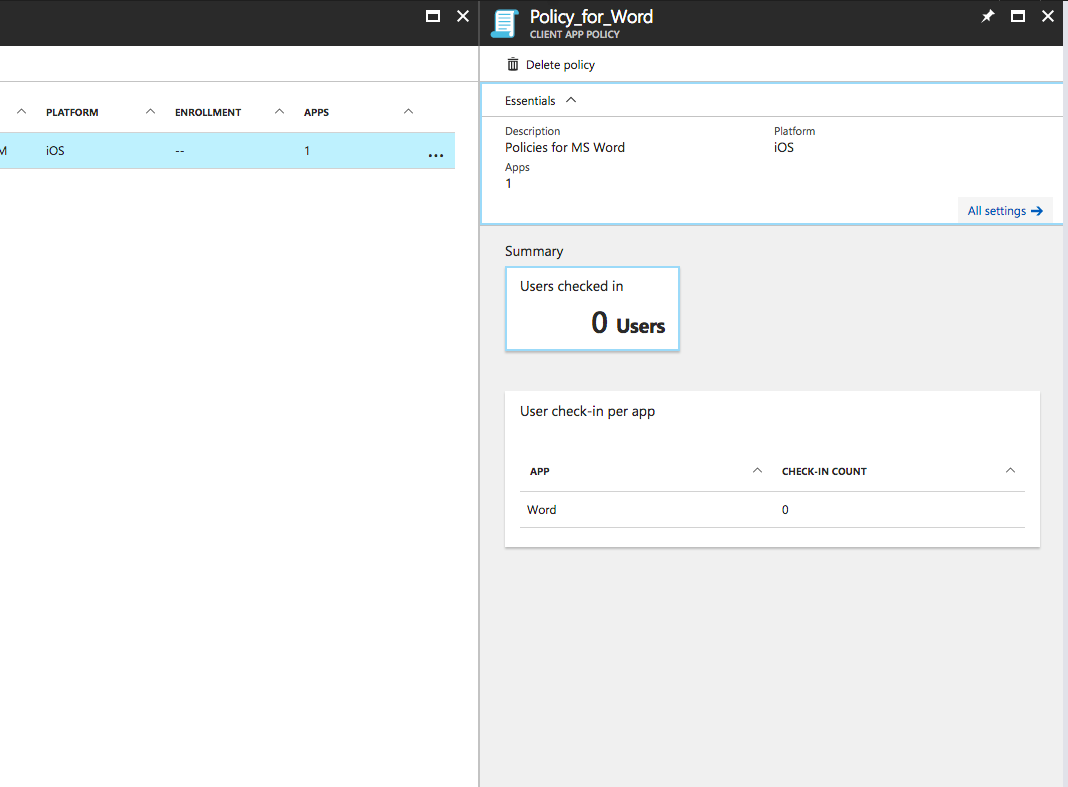
- Click on All Settings and select Assignments.
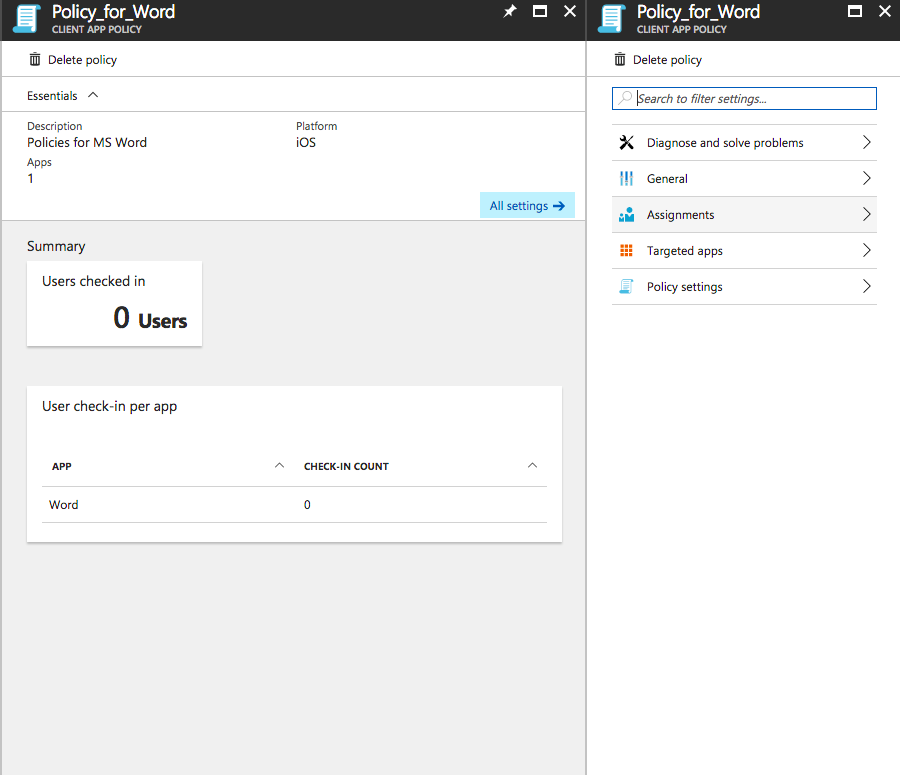
- Click on Select Groups to add new AD groups to which the policy is to be distributed.
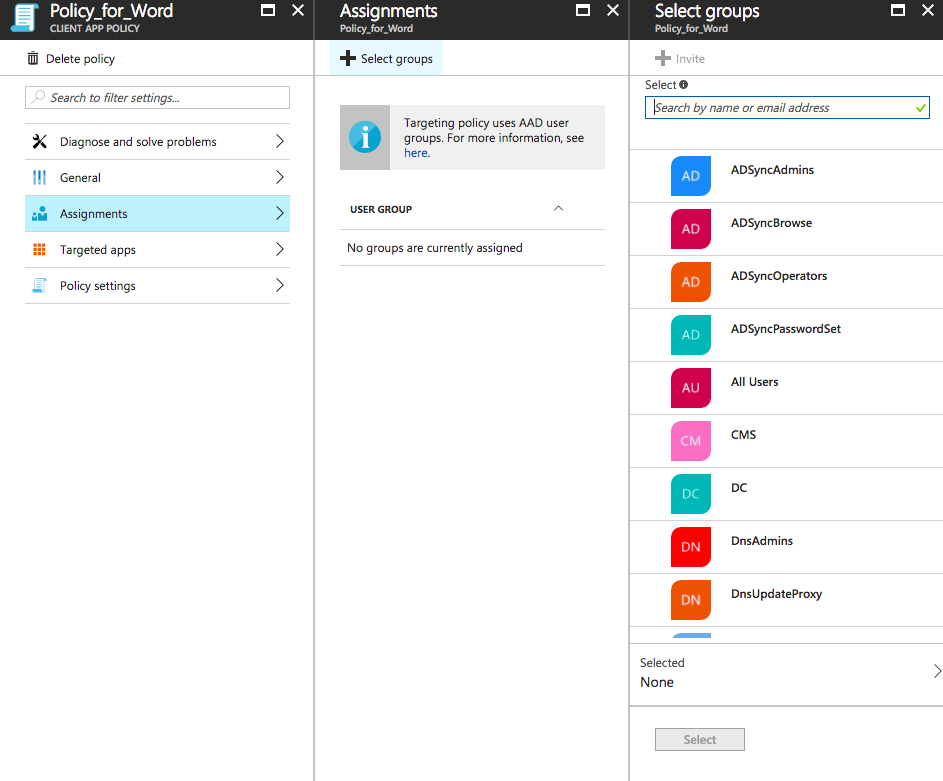
- Select all the groups and click on Select.