How to install Mac Agents using Intune
Description
To successfully install Mac agent using Intune, follow the steps given below:
Prerequisites
- Login to the product web console and navigate to Agent -> Computers -> Download Agent.
- Choose the appropriate remote office and select the operating system as Mac.
- Navigate to the folder where the agent is downloaded and extract the zip file and locate UEMS_MacAgent.pkg and serverinfo.plist file.
- Rename serverinfo.plist to com.manageengine.ems.plist
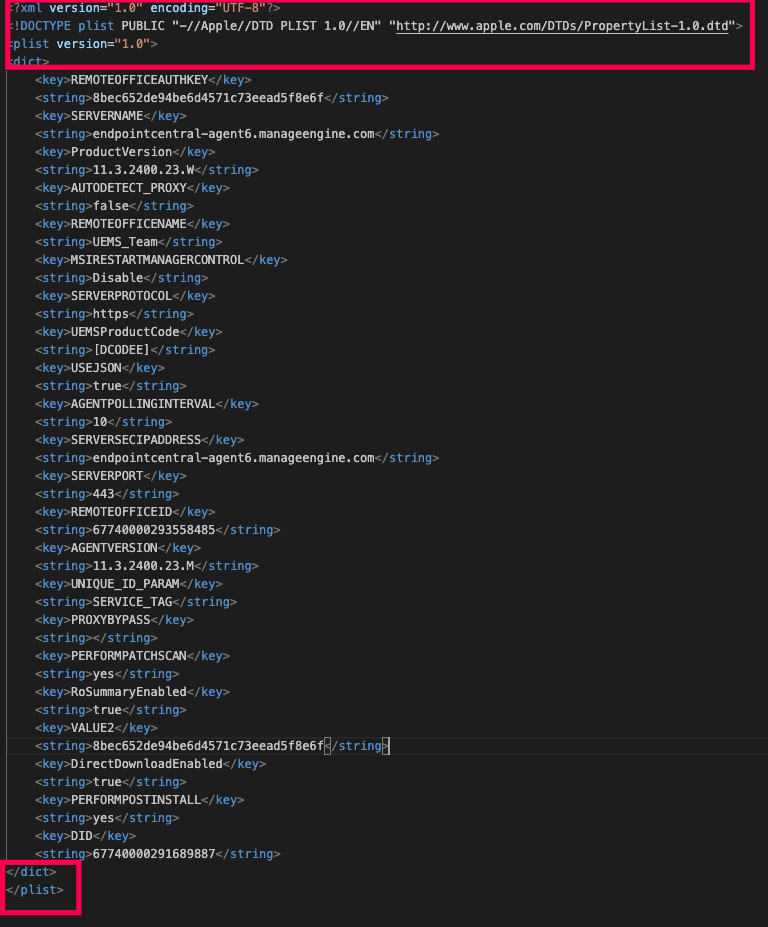
- Open com.manageengine.ems.plist file and remove the outer content from bottom and top of the file shown below in image:

Steps to Deploy com.manageengine.ems.plist:
- In the Intune console, Select Devices > Configuration profiles > Create profile.
- Specify the following properties:
- Platform: Select macOS
- Profile: Select Templates > Preference file.
- Click Create.
- In Basics, enter the name and description. Select Next.
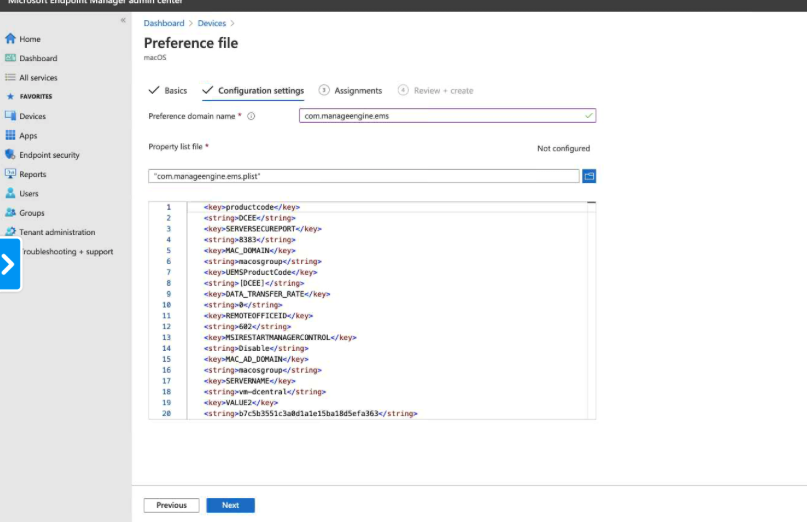
- In Configurationsettings, configure the following settings:
- Preference domain name: com.manageengine.ems
- Property list file: Upload com.manageengine.ems.plist
- Click Next.

- Assign the Profile to the devices or group and click Create.
Steps to deploy UEMS_MacAgent.pkg
- Now to add pkg, Select Apps > All apps > Add. In the Select app type panel, under the Other app types, select Line-of-business app.
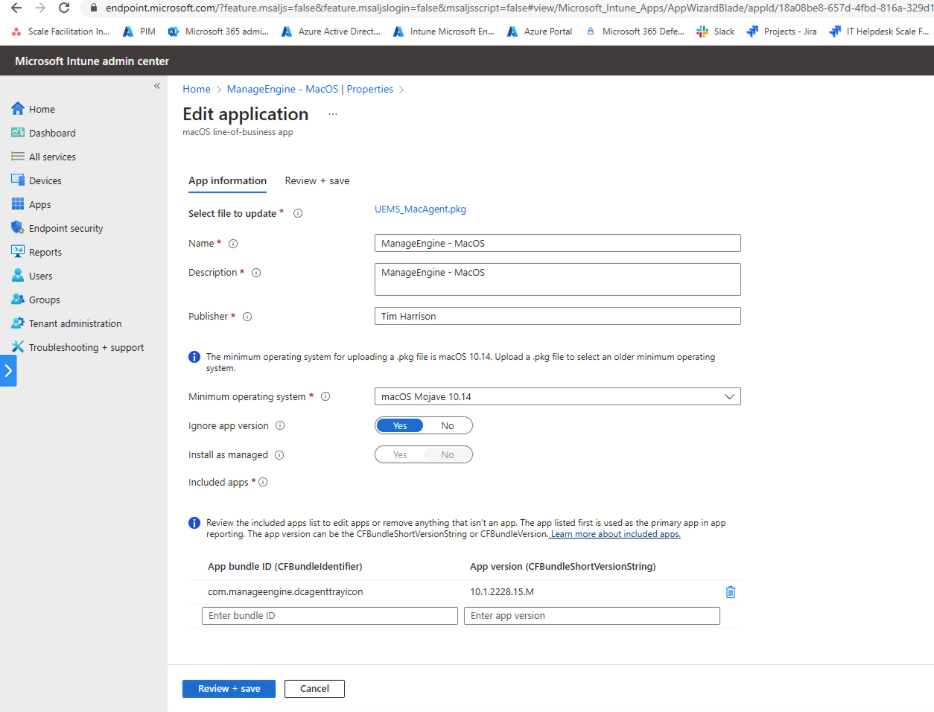
- Under App information, update the following details:
- Upload UEMS_MacAgent.pkg.
- Set ignore app version as yes.
- Delete all app bundle ids except com.manageengine.dcagenttrayicon.

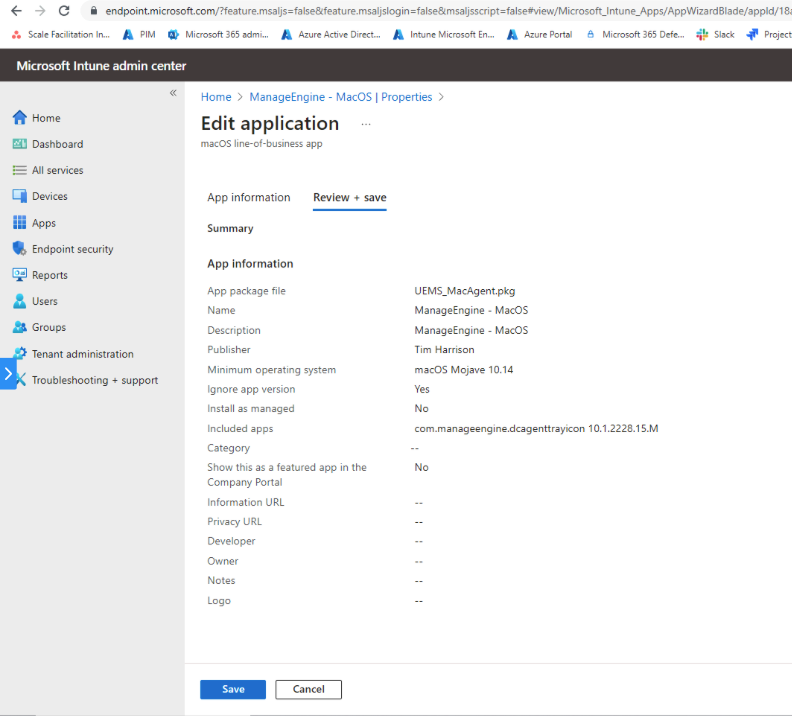
- Review the create application in Intune as shown in the image below:

- Assign the App to the devices or group and click Create.
The pkg will find the preference plist deployed before and will install successfully.


