Email Verification
Once email verification is enabled, users can enter the verification code sent to their email address to prove their identity.
Prerequisites
- The email server must be configured. To do so, log in to the ADSelfService Plus admin portal and configure your email server under Admin > Product Settings > Mail / SMS Settings.
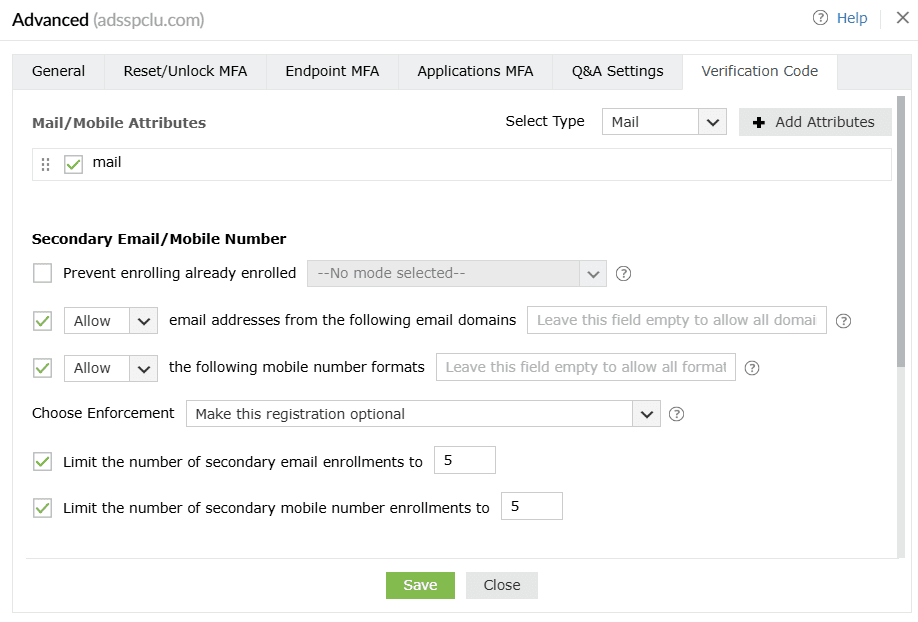
- The email attributes must be configured. You can do this under Configuration > Self-Service > Multi-factor Authentication > Advanced > Verification Code.
Steps to configure email verification
- Navigate to Configuration > Self-Service > Multi-factor Authentication > Authenticators Setup.
- From the Choose the Policy drop-down, select a policy.
Note: ADSelfService Plus allows you to create OU- and group-based policies. To create a policy, navigate to Configuration > Self-Service > Policy Configuration > Add New Policy. Click Select OUs/Groups and make selections based on your requirements. You need to select at least one self-service feature. Finally, click OK > Save Policy.
- Click Email Verification.
- From the Select Type drop-down, choose from the listed options which will be used for email verification:
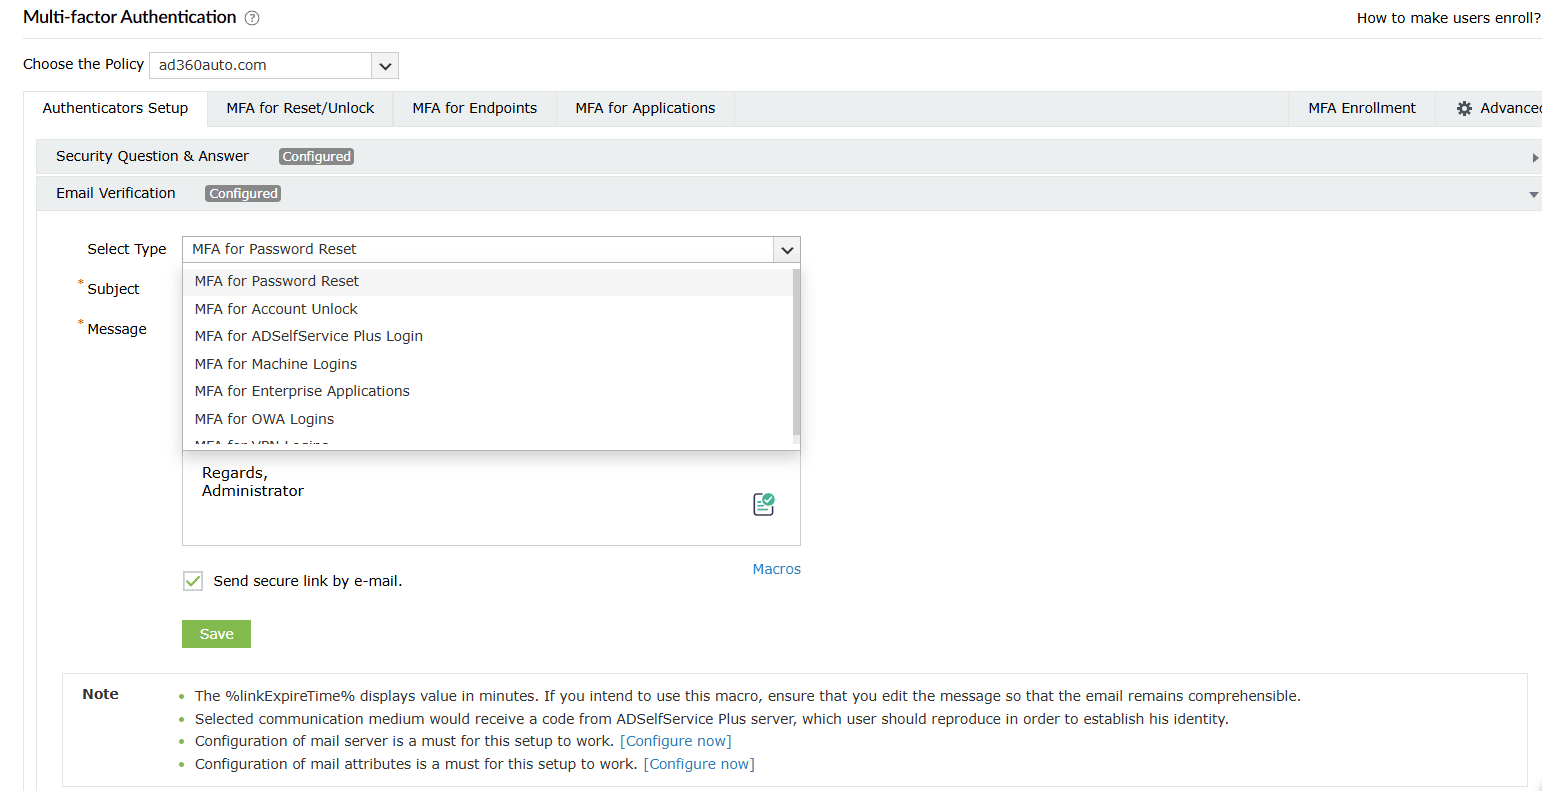
- MFA for Password Resets: For when the user performs self-service password resets
- MFA for Account Unlocks: For when the user performs self-service account unlocks
- MFA for ADSelfService Plus Logins: For when the user logs in to the ADSelfService portal
- MFA for Machine Login: For when the user logs in to a Windows, macOS, or Linux machine physically or remotely
- MFA for Cloud Applications: For verification when the user accesses their enterprise applications
- MFA for OWA Login: For when the user attempts to access the Outlook on the web portal
- MFA for VPN Login: For when the user attempts to access the corporate network through a VPN
- Select Send secure link by e-mail to send the authentication link to users' emails instead of sending the verification code. Users simply need to click the authentication link to prove their identity.
Note: The Send secure link by e-mail option only works for password self-service actions (password resets and account unlocks) through a web browser or the login agent, not for ADSelfService Plus' iOS and Android mobile apps.
- Click Save.
Tip: Click the Macros button to use the listed macros in the Message.
Don't see what you're looking for?
-
Visit our community
Post your questions in the forum.
-
Request additional resources
Send us your requirements.
-
Need implementation assistance?
Try OnboardPro
 ADManager Plus
 ADAudit Plus
 Exchange Reporter Plus
 M365 Manager Plus