Customizing the Dashboard
The Dashboards home page can be customized as per your requirements by adding reports as widgets and grouping them under the respective tabs (Helpdesk, Problem & Change, Assets) available in the dashboard by following the steps mentioned in this page.
The Dashboards home page can be customized as per your requirement by adding new dashboards, widgets, and organizing widgets. Widgets can be grouped under the existing dashboards (Helpdesk, Problem & Change, Assets, Business Dashboard), or the newly added dashboards.
- Adding a Dashboard
- Adding and Organizing Widgets
- Dashboard Settings
- Adding Report Widgets to the Dashboard
- Editing Report Widgets Settings
Adding a Dashboard
Apart from the dashboards available by default such as Helpdesk, Problem & Change, Assets, and Business Dashboard, new dashboards can be added as per the requirement. For eg, You can create a dashboard to display data across Helpdesk, Problem&Change, and Assets in one place. Reports summary, Requests status by priority can be made to be displayed in a single dashboard. An organization's intranet or another resource page can be added as an external widget in a dashboard by giving the URL of that page.
To add a new dashboard, click New > New Dashboard.
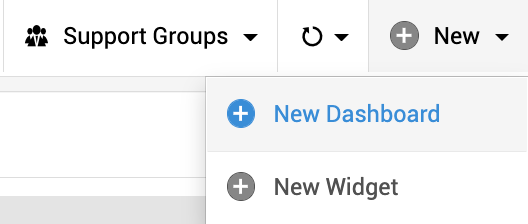
- Enter a name and description for the dashboard.
- Select the Create Executive Dashboard checkbox if you want to create a dashboard with only the helpdesk and external widgets. Executive dashboards can be shared with the technicians and requesters alike whereas the normal dashboards can be shared only with technicians.
- Select the widgets you want to add to the dashboard. These widgets could be from helpdesk, problems&change, and assets.
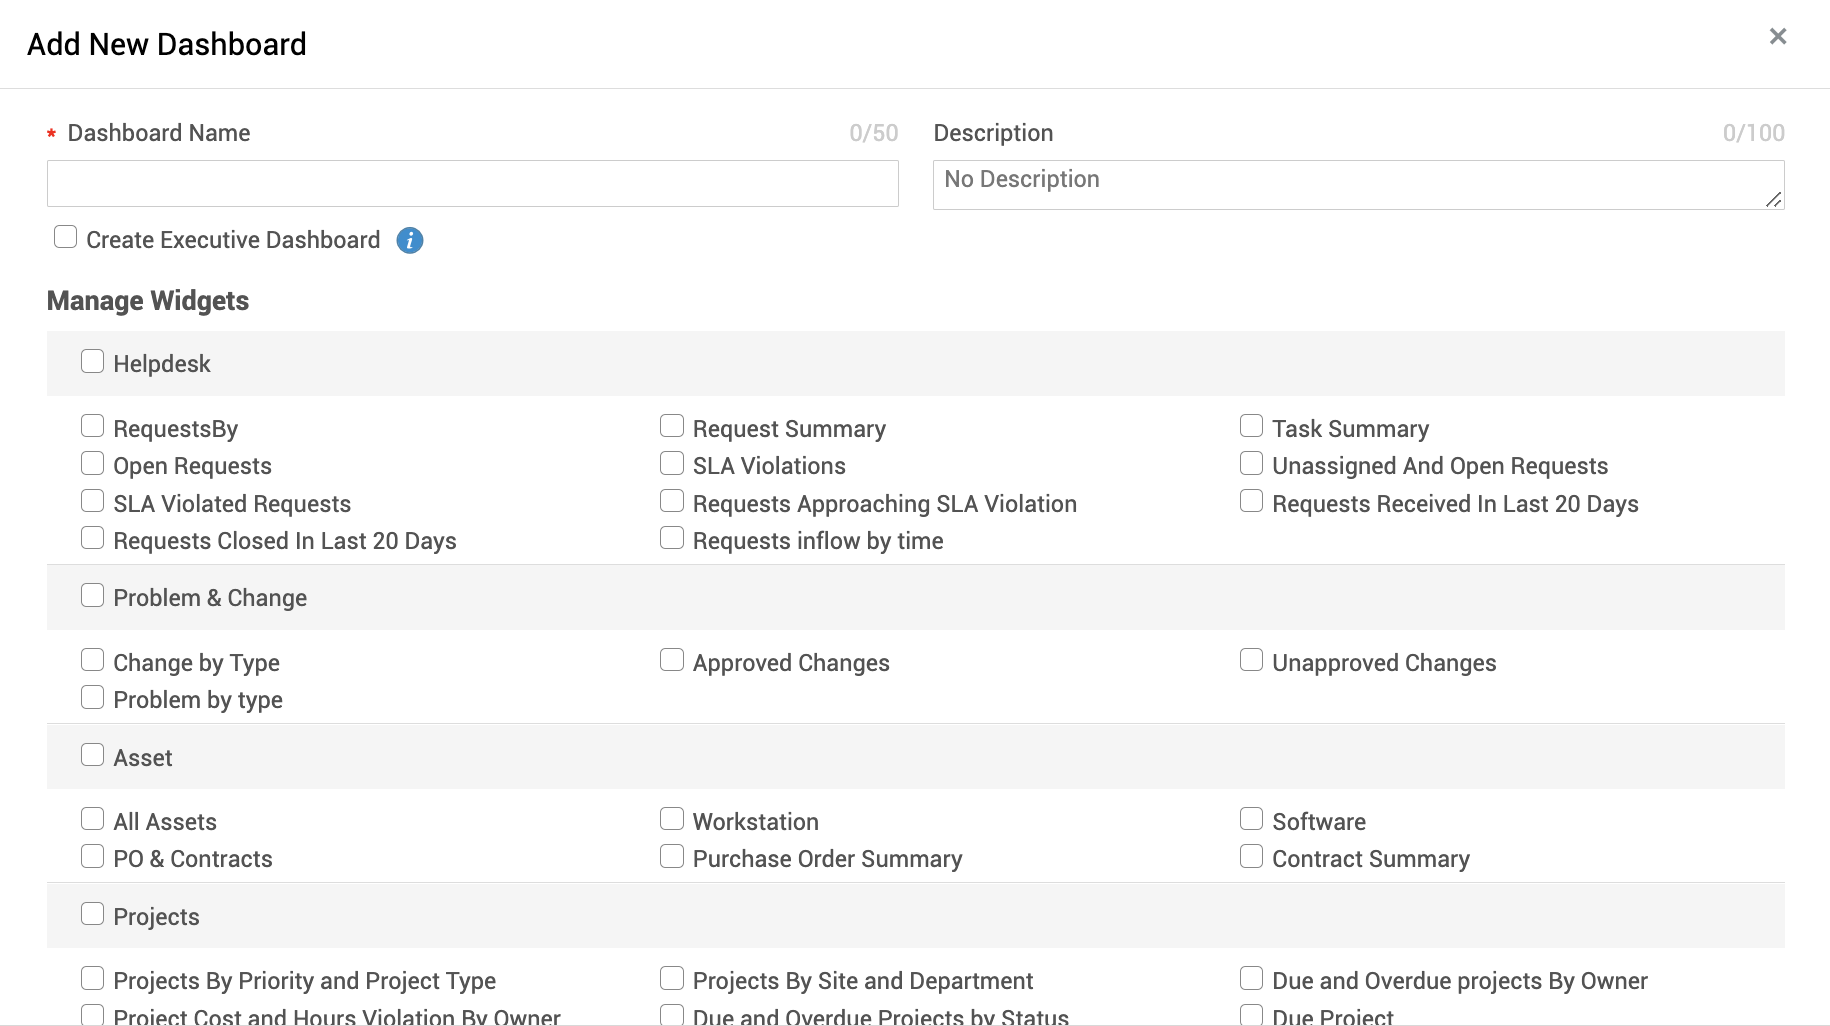
- If any custom report is added to the dashboard from the reports tab, those custom reports will be listed under the custom report widgets and can be added to the new dashboard by clicking on the checkbox.

- If you want to add external links such as a resource page, an intranet, etc. as a widget, click External Widgets and add a name and enter the URL.
- Click the plus icon to add more external widgets to the dashboard.
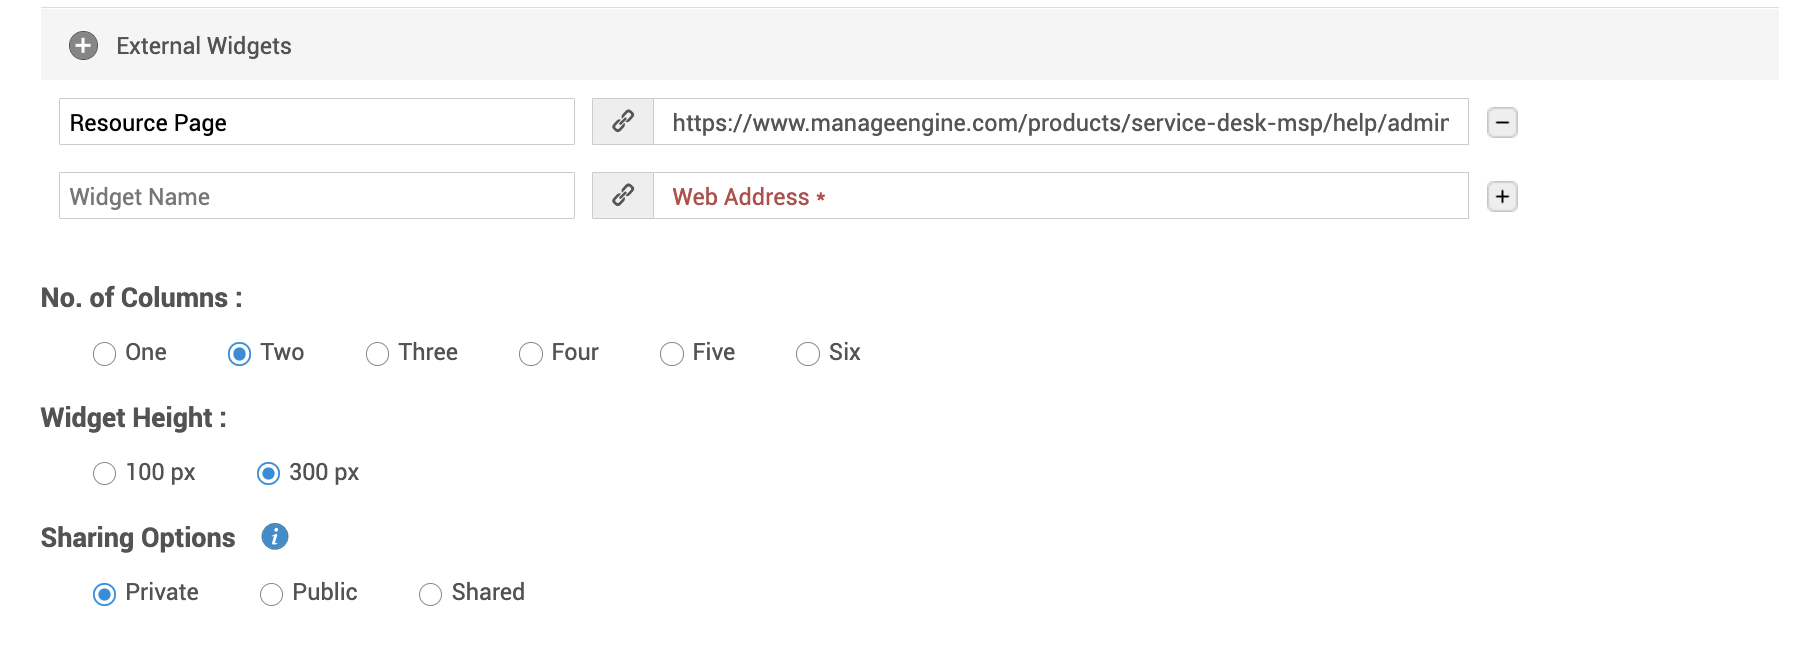
- Select the number of columns to be displayed on the dashboard. The widgets will be arranged according to the columns you select.
- Select the sharing options of the dashboard by clicking on the respective radio button. Select Private to hide the dashboard from the public view.
- Select Public to show the dashboard in the public view.
- Select Shared to show the dashboard to the selected technicians. To select the technicians, enter the username/email of the technician.
- You can also give access to the dashboard based on organization roles such as Department Heads, Regional Managers, etc.
- Choose the roles in the organization roles field.

- Click Save.
Editing a Dashboard
The dashboards can be edited and updated from time to time. To edit a dashboard,
- Click Dashboard options on the top right corner and select Edit Dashboard.
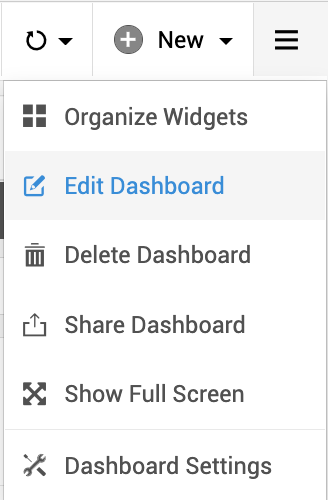
- Remove or add widgets, rename the dashboard, or add a new description.
- Click Save.
When a dashboard is edited, the current configuration will be lost. Rearrange and resize widgets to suit the new set of widgets.
To delete a dashboard,
- Click the dashboard you want to delete.
- Go to the settings menu.
- Click Delete Dashboard.
Adding and Organizing the widgets
New widgets can be added to the dashboard. A maximum of 20 widgets can be added to a single dashboard.
To add new widgets to the dashboard, click New > New Widget.
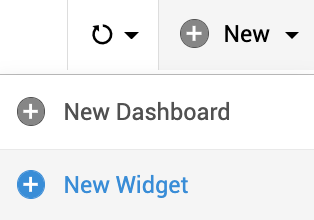
- Select the widgets you want to add. It will get added to the dashboard once you click on the widget name.

- If you want to add external widgets click the Existing Widgets tab.

- Enter a name and the URL. Click Add.
- Click Save Configuration to save it.
To organize the widgets,
- Click Organize widgets.
- You can drag and drop the widgets to a new position.
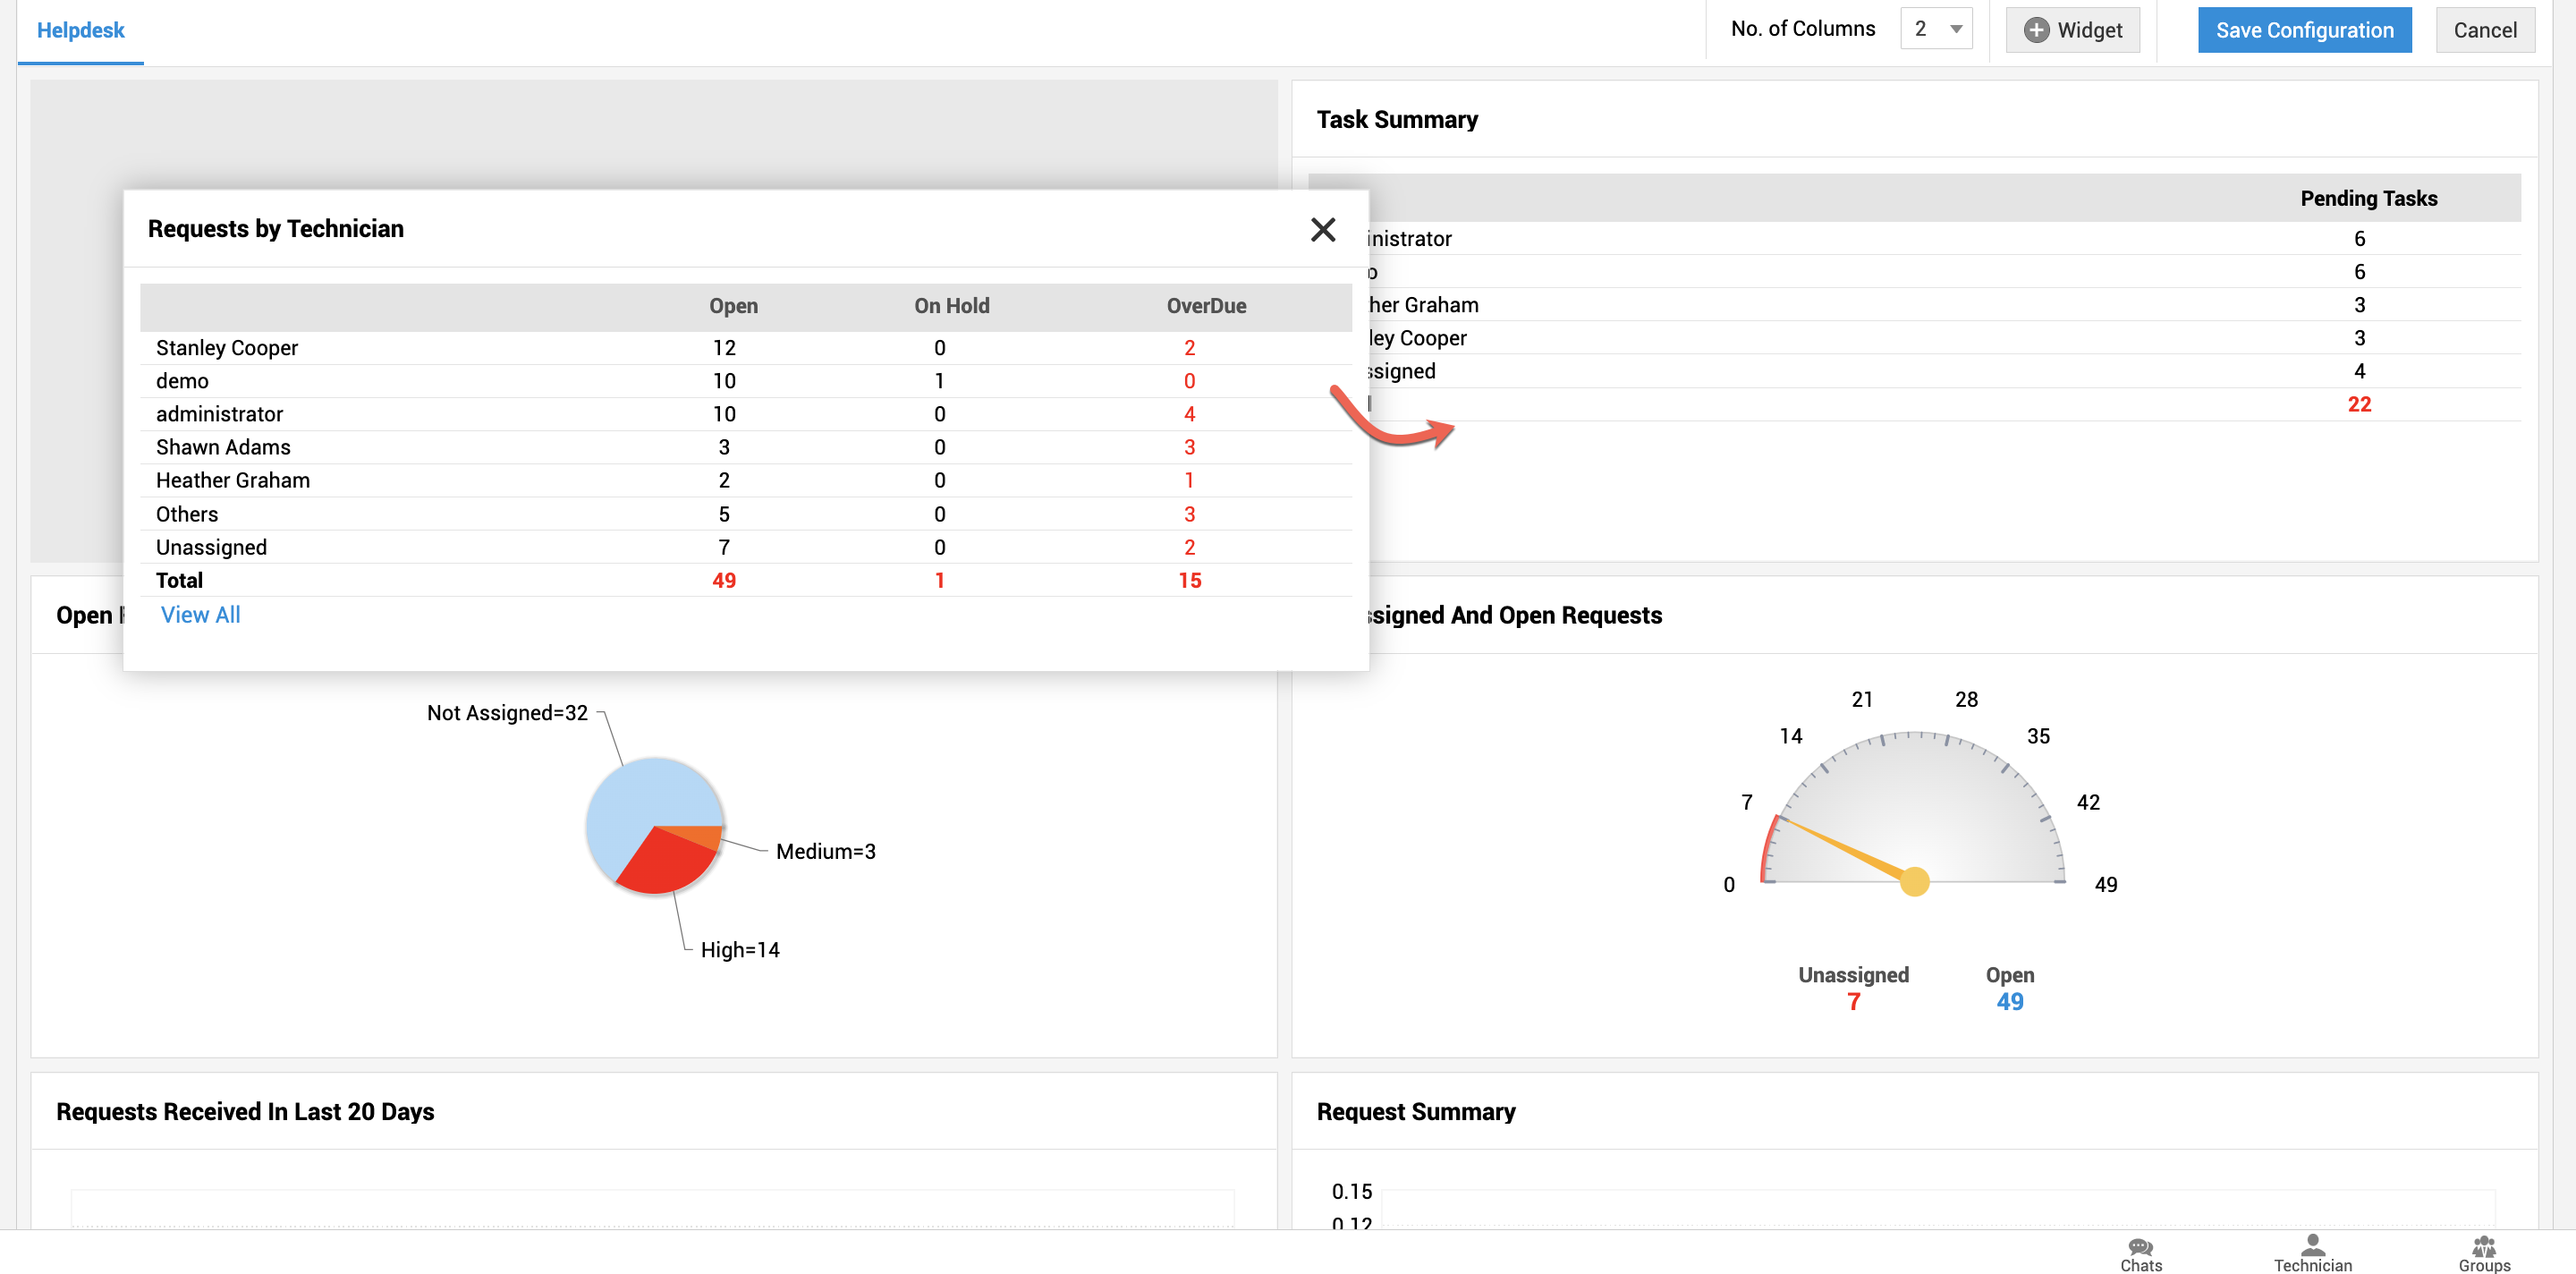
- You can also drag and resize the widgets.
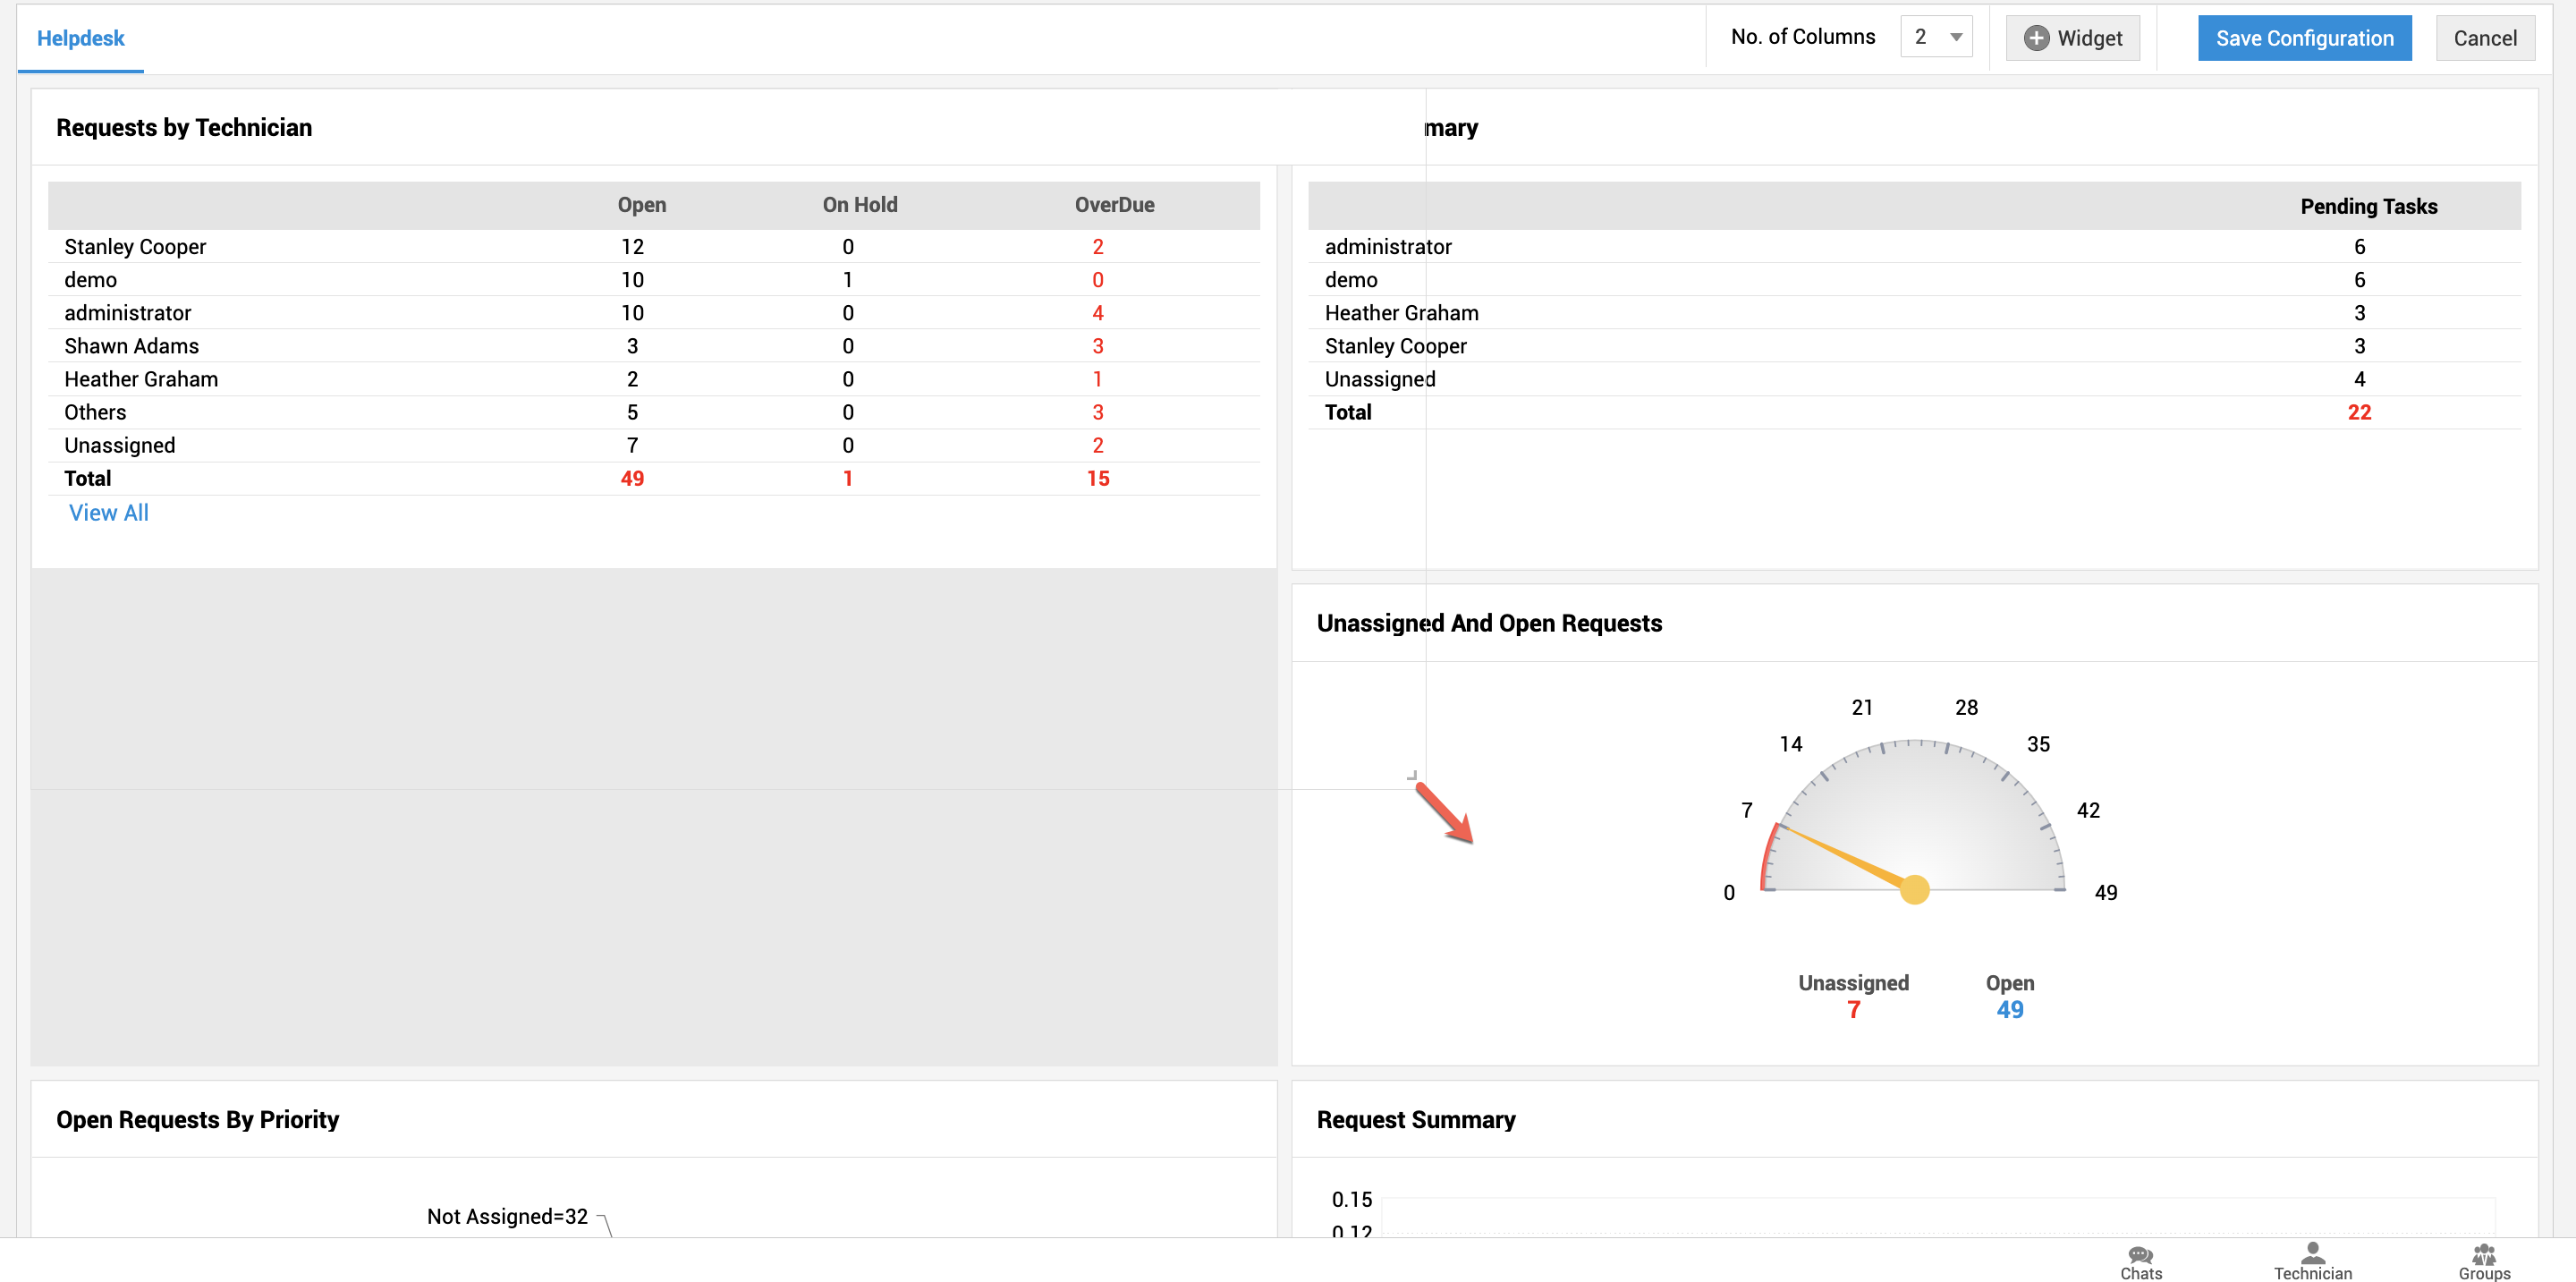
To delete a custom widget,
- Click the settings icon and select Organize widgets.
- Click the remove widget icon in the top right corner of the widget.
Adding Report Widgets to Dashboard:
Report widgets can also be added to the dashboards. To add reports as widgets to dashboard,
-
Select report (which is to be added to the dashboard) from the Reports tab (Example: Request Status by Priority)
-
Click Add to Dashboard button available in the report's details page

- Add to Dasboard pop up opens up. Specify the following details.
- Choose the tab (Helpdesk, Problem & Change, Assets) under which Reports widget is to be added
- Decide whether the widget should be made public (visible to everyone) or should be kept private (visible only to you)
- Provide suitable description for the widget and click Add button
Editing Report Widget Settings:
To edit custom widget settings, do the following:
-
Select report (appearing as custom widget in the dashboard) which is to be edited (Example: Request Status by Priority)
-
Click Edit Widget Settings button available in the report's details page

-
Edit Widget Settings pop up opens up.
-
Edit the details as per your requirements (example: change the widget form public to private/private to public (or) change the tab to which the widget belongs etc)
-
Click Update Settings button
Dashboard Settings
The dashboard's background color, layout, dashboard order can be configured with this setting.
To access this setting,
- Click on Dashboard options on the top right.
- Select Dashboard Settings.
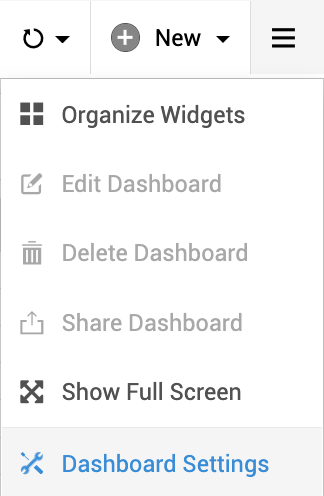
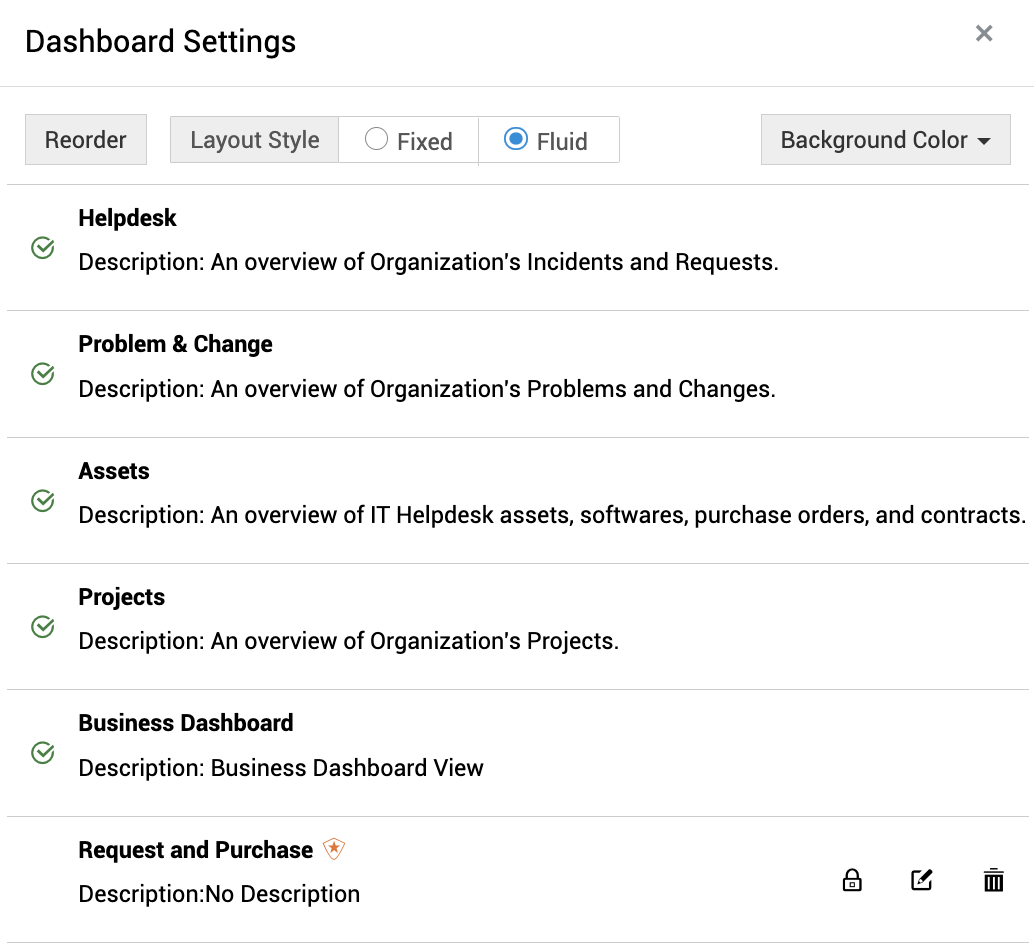
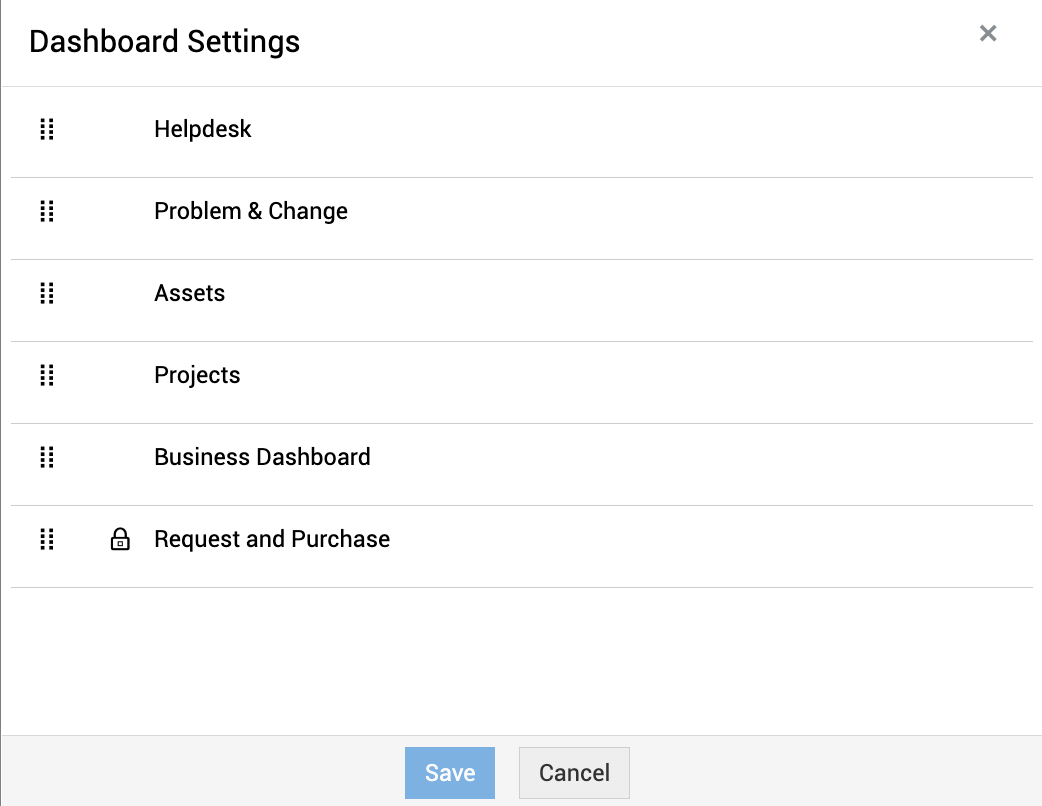
- Select Reorder to change the order of the dashboards.
- Enter a number for each dashboard according to the order they should appear.
- You can also drag and drop fields to reorder.
- Select a layout style: Fixed or Fluid. Fixed would fix the dashboard size to a constant width. Fluid allows the dashboard to occupy the full screen.

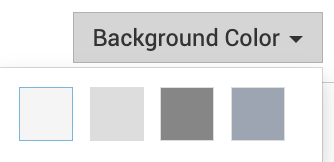
- Click Background color to change the background color of the dashboards page.
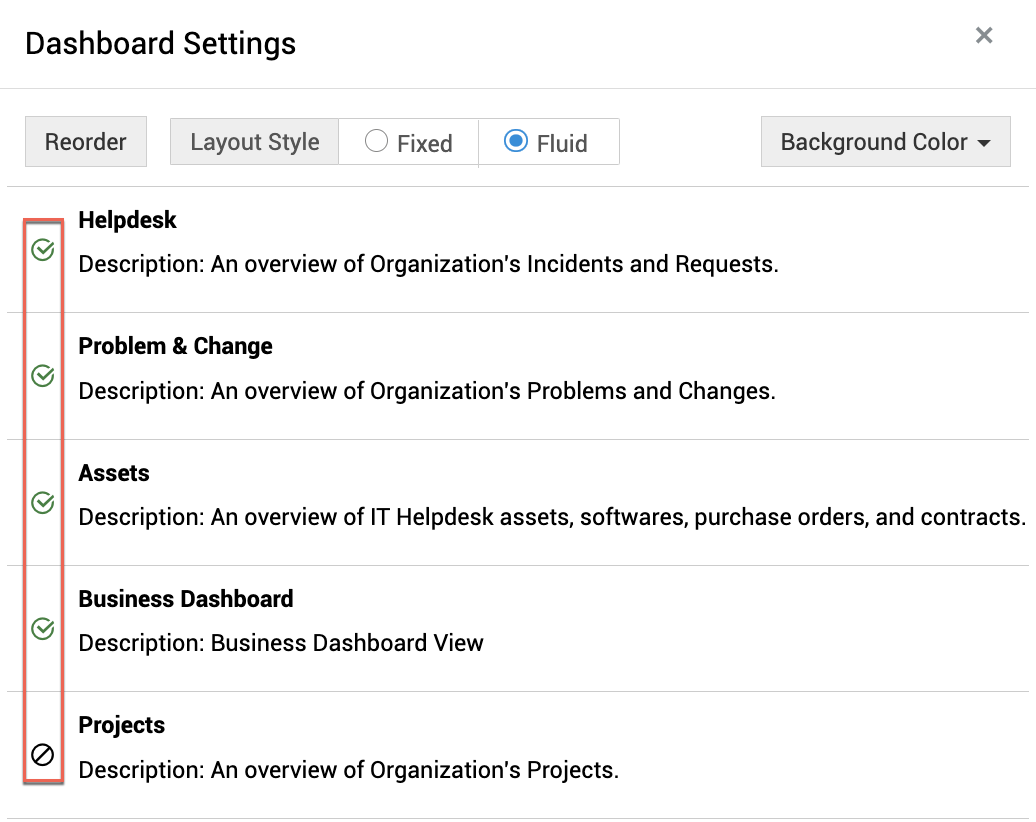
- Check/Uncheck the tick mark to show/hide the dashboard.
- Click the edit icon to edit the dashboard.
- Click the delete icon to delete the dashboard.
-
Widgets available by default in the dashboard cannot be deleted/edited
-
Upto 20 Widgets (including the ones available by default) can be added under each tab (Helpdesk, Problem & Change, Assets)
-
Only Matrix-based (or) Chart-based reports can be added as widgets to the dashboard
-
Only technicians with SDAdmin, SDSiteAdmin and SDCo-ordinator roles can create/edit/delete Custom Widgets in the Dashboard
-
Custom Widgets cannot be deleted directly edited from the dashboard. To edit a custom widget, the respective report must be accessed

