RecoveryManager Plus supports an SSL connection to ensure the security of data transferred between the browser and the product server. Protecting data transferred during remote access requires a secure connection between the web browser and the RecoveryManager Plus server. Connections between the RecoveryManager Plus server and end-user machines, VPNs, and cloud applications must also be secured. For these, you must enable the HTTP/HTTPS option under the Connection settings, and install an SSL certificate in RecoveryManager Plus.
The process consists of three steps:
Note: If you already have an SSL certificate, skip to Step 3.
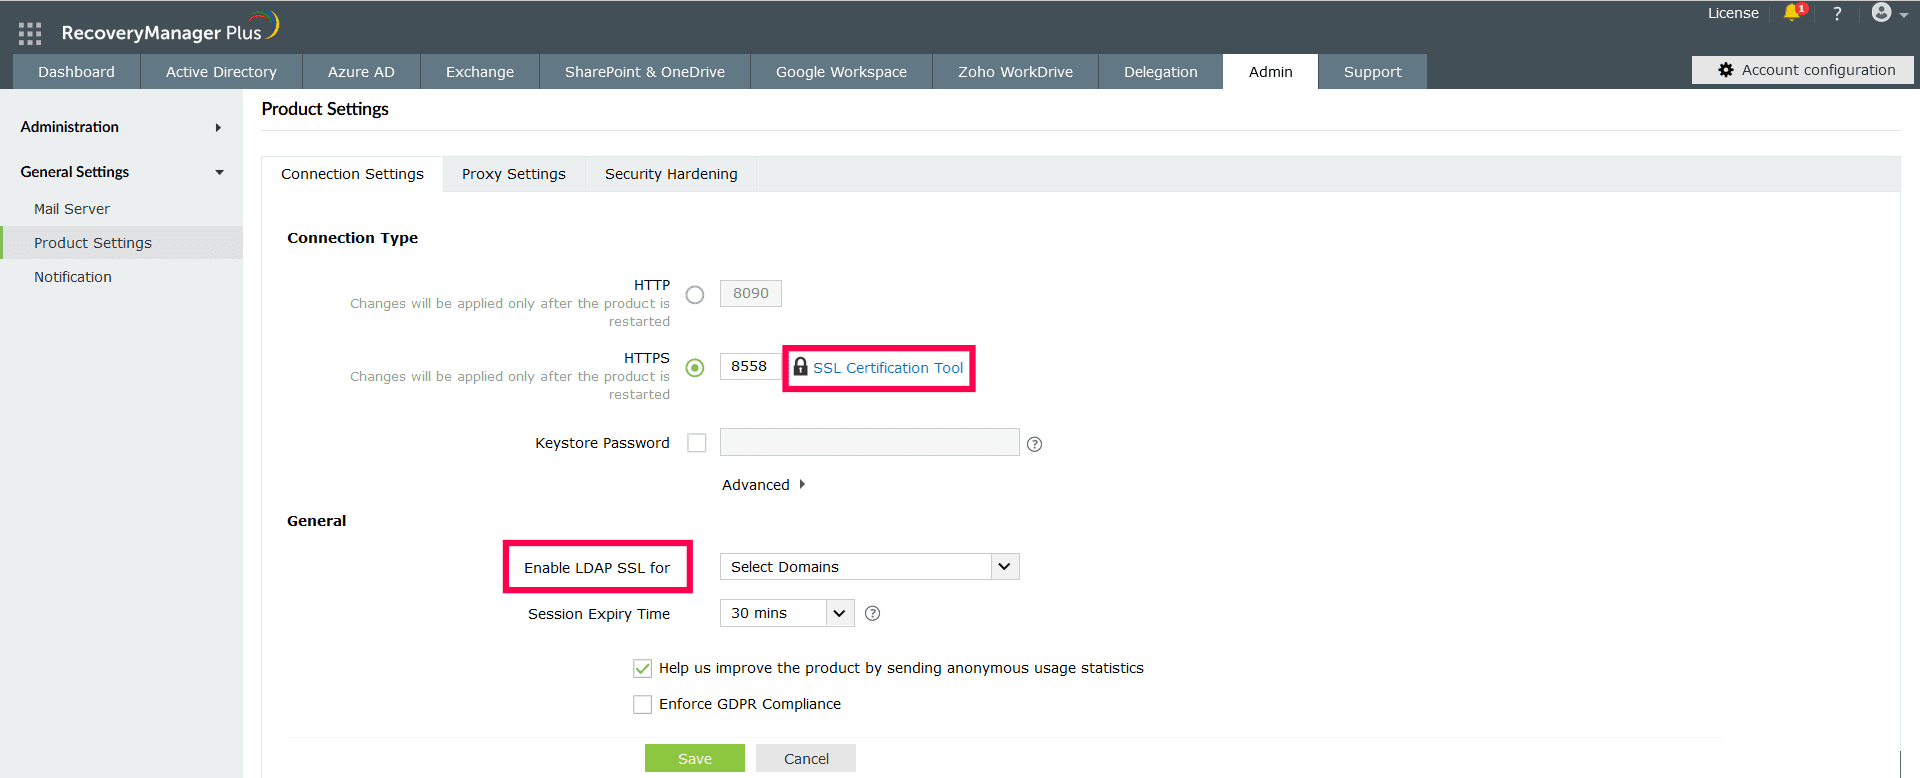
Note: For the changes made under Connection Settings to take effect, you must restart the RecoveryManager Plus.
| Common Name | The name of the server in which RecoveryManager Plus is running. |
| SAN Names | The names of the additional hosts (sites, IP addresses, etc.) to be protected by the SSL certificate. |
| Organizational Unit | The name of the department that you want to display in the certificate. |
| Organization | The legal name of your organization. |
| City | The city name as provided in your organization’s registered address. |
| State/Province | The state or province as provided in your organization’s registered address. |
| Country Code | The two-letter code of the country in which your organization is located. |
| Password | A password that consists of at least six characters to secure the keystore. |
| Validity (In Days) | The number of days for which the SSL certificate will be considered valid; if no value is provided, it will be set to 90 days. |
| Public Key Length (In Bits) | The public key length. The default value is 2,048 bits and its value can only be incremented in multiples of 64. |
After all values have been entered, you can select either of these two options:
This method enables you to generate the Certificate Signing Request (CSR) file and submit it to your certificate authority (CA). Using this file, your CA will generate a custom certificate for your server.
This option enables you to create a self-signed certificate and apply it instantly to the product. However, self-signed SSL certificates come with a drawback. Anyone accessing the product secured with a self-signed SSL certificate will be shown a warning that says the website is not trusted, which may cause concern.
If you want to apply the self-signed certificate, follow the steps given below:If you already have a SSL certificate, select the Apply Certificate option and follow the steps listed below.
Note: Only Triple DES encrypted private keys are currently supported.
Fill this form, and we'll contact you rightaway.
Our technical support team will get in touch with you at the earliest."
