Custom mail template for Email Notification Profiles
This page will help you customize the template for mails through Email Notification Profiles.
Note: This feature is available from version 125430.
IMPORTANT! The custom template will be rendered to emails sent from
Email Notification Profiles. Ensure there is no vulnerable content present. Kindly use at your own discretion.
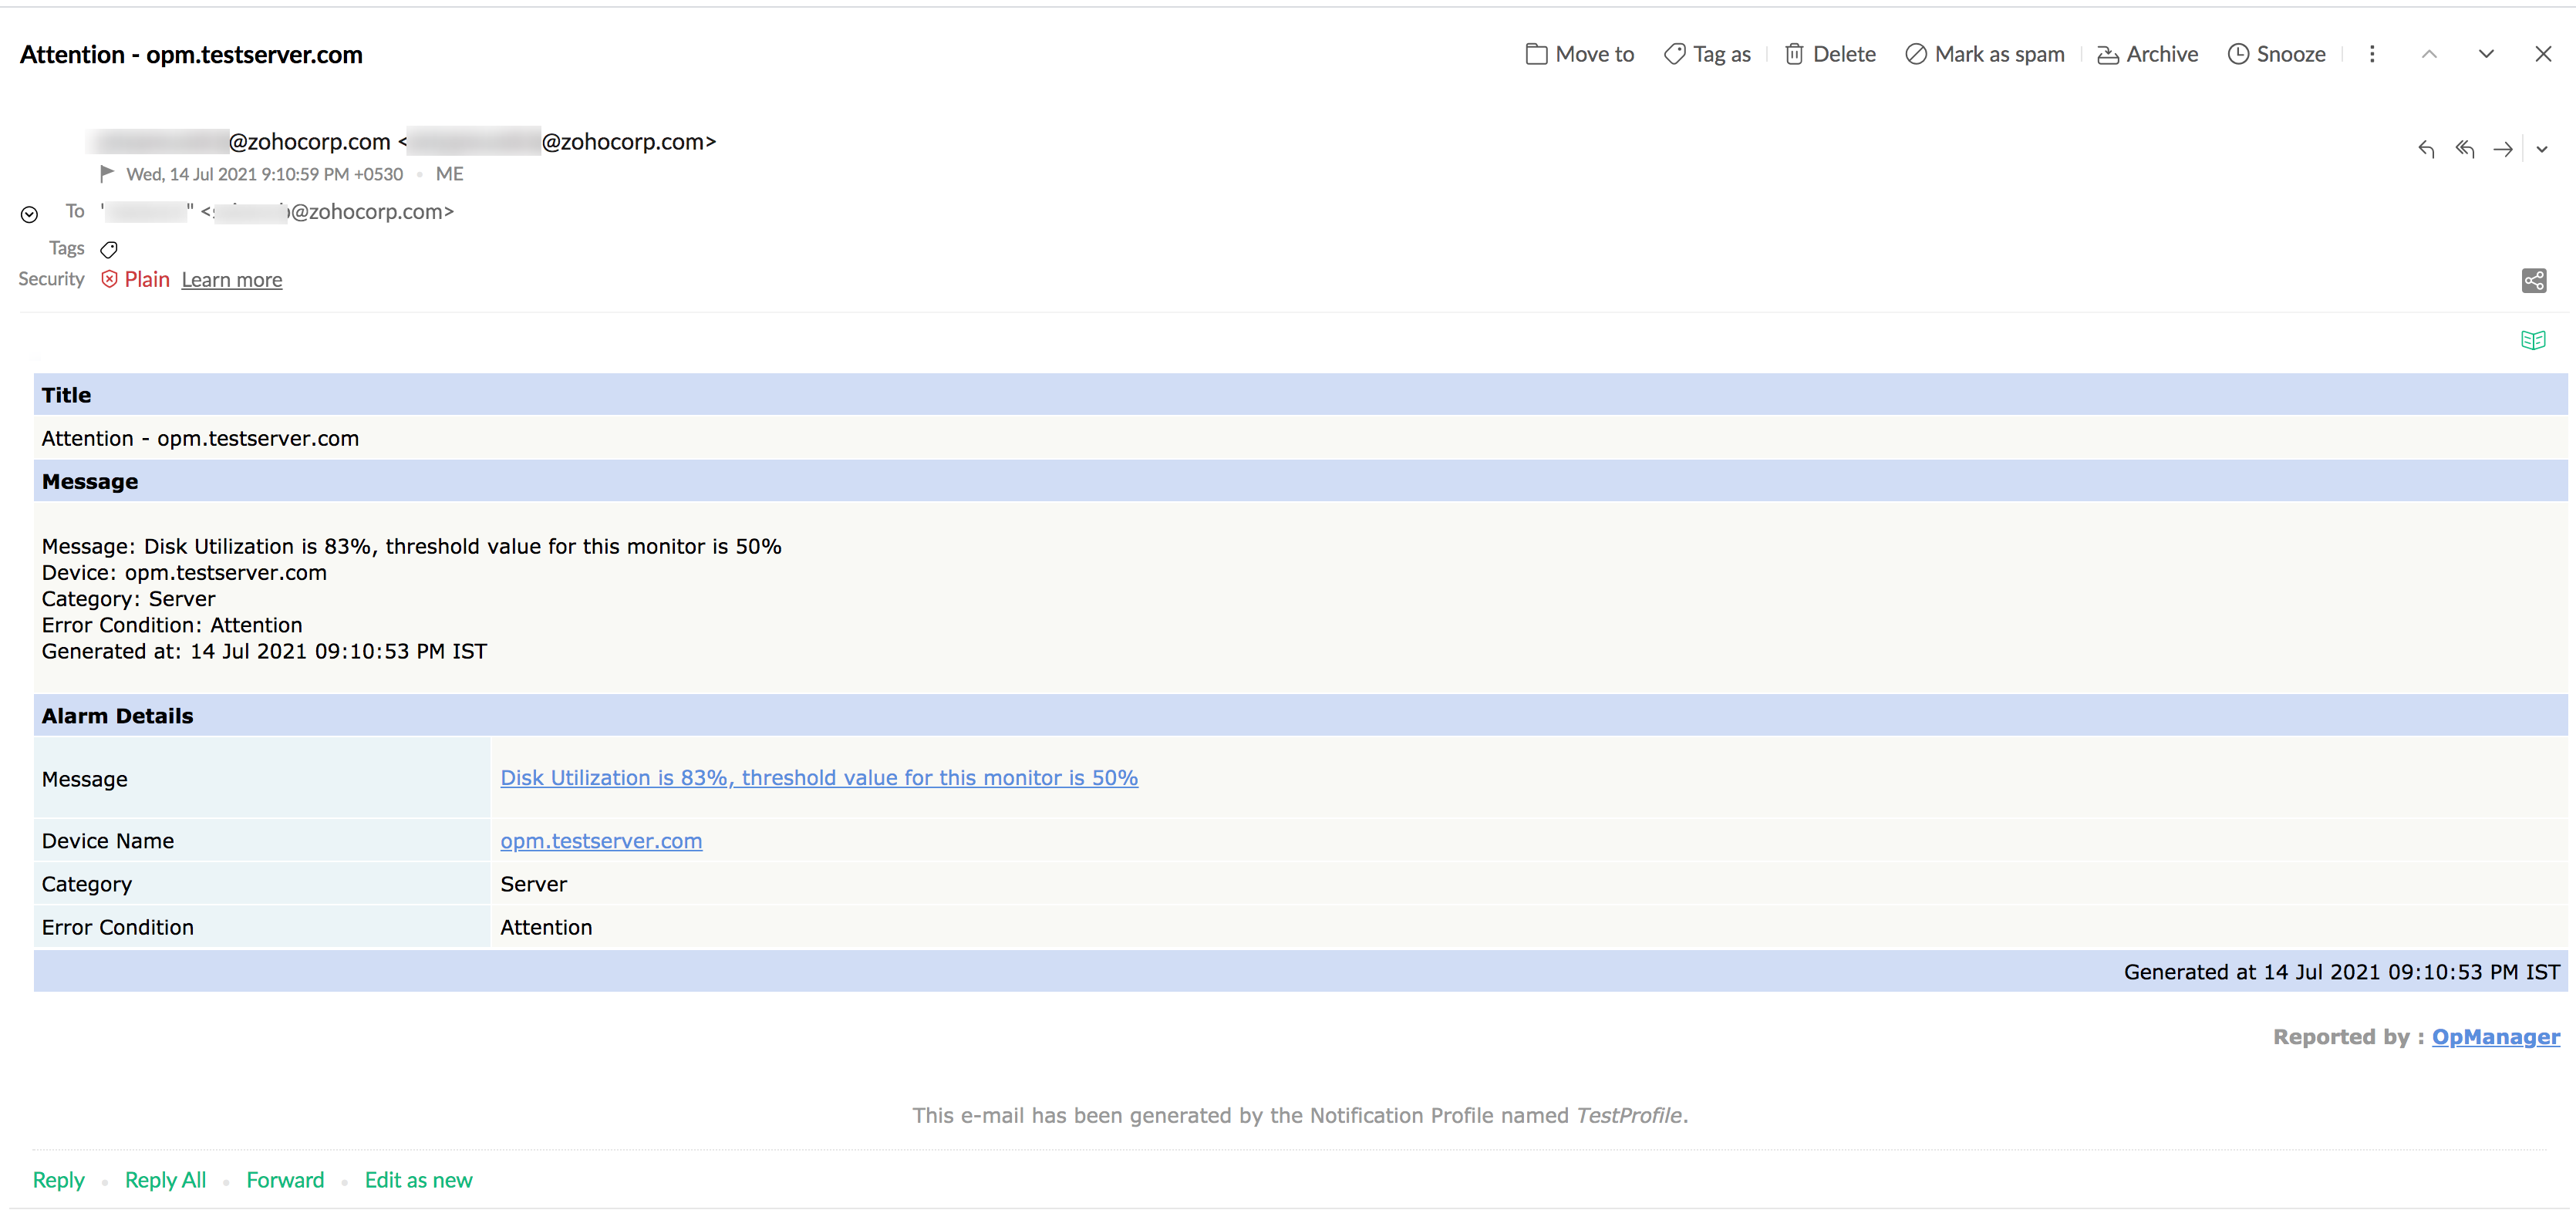
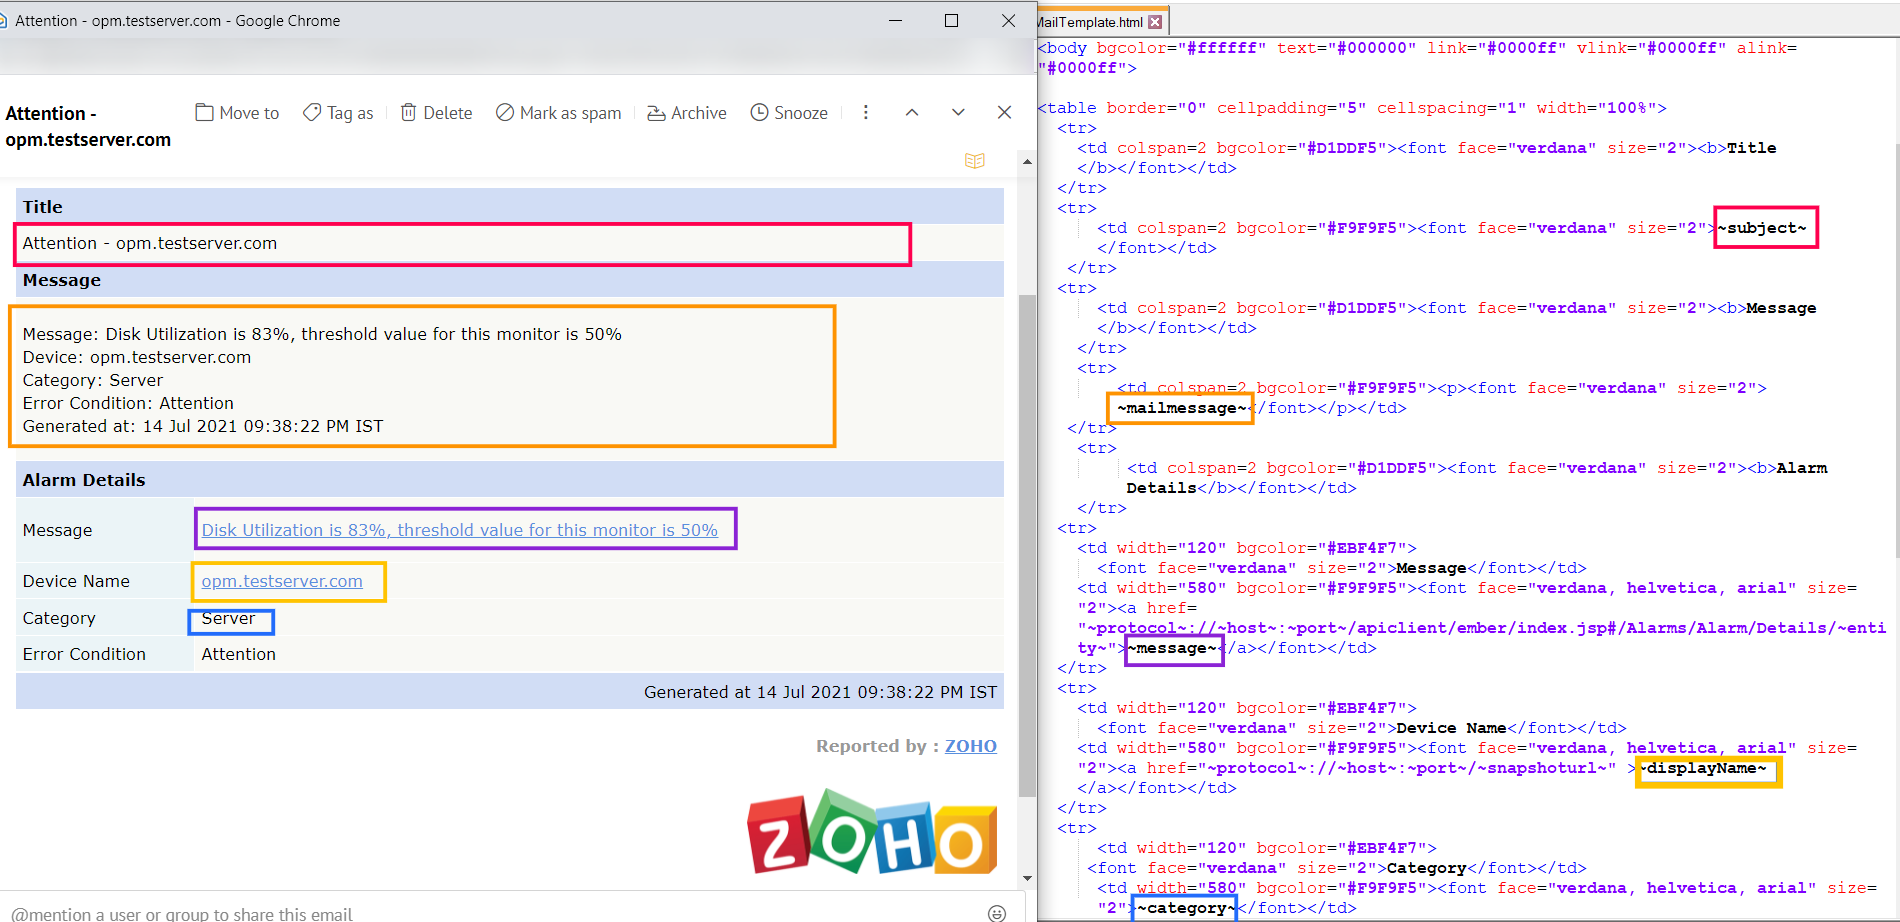
Given below is an image of an email following the default template for mails received from Email Notification Profiles.
Note:
- Customization can be made in customMailTemplate.html file and placed under <Product_Home>/conf/OpManager directory
- Check if the html files are rendered properly by opening them in a browser.
- Customization will apply only when the Mail Format option in the Email Notification Profile is selected as HTML or BOTH.
- Click TestAction in the edit Notification Profile window to ensure the new template's correctness.
- If you wish to undo the changes and revert to the default mail template, remove customMailTemplate.html and restart the product.
- Make a copy of the <Product_Home>/conf/OpManager /mail.html file under the same directory, and rename the copy as customMailTemplate.html.
- Edit the customMailTemplate.htmlfile using text editor, make the below changes and save the file.
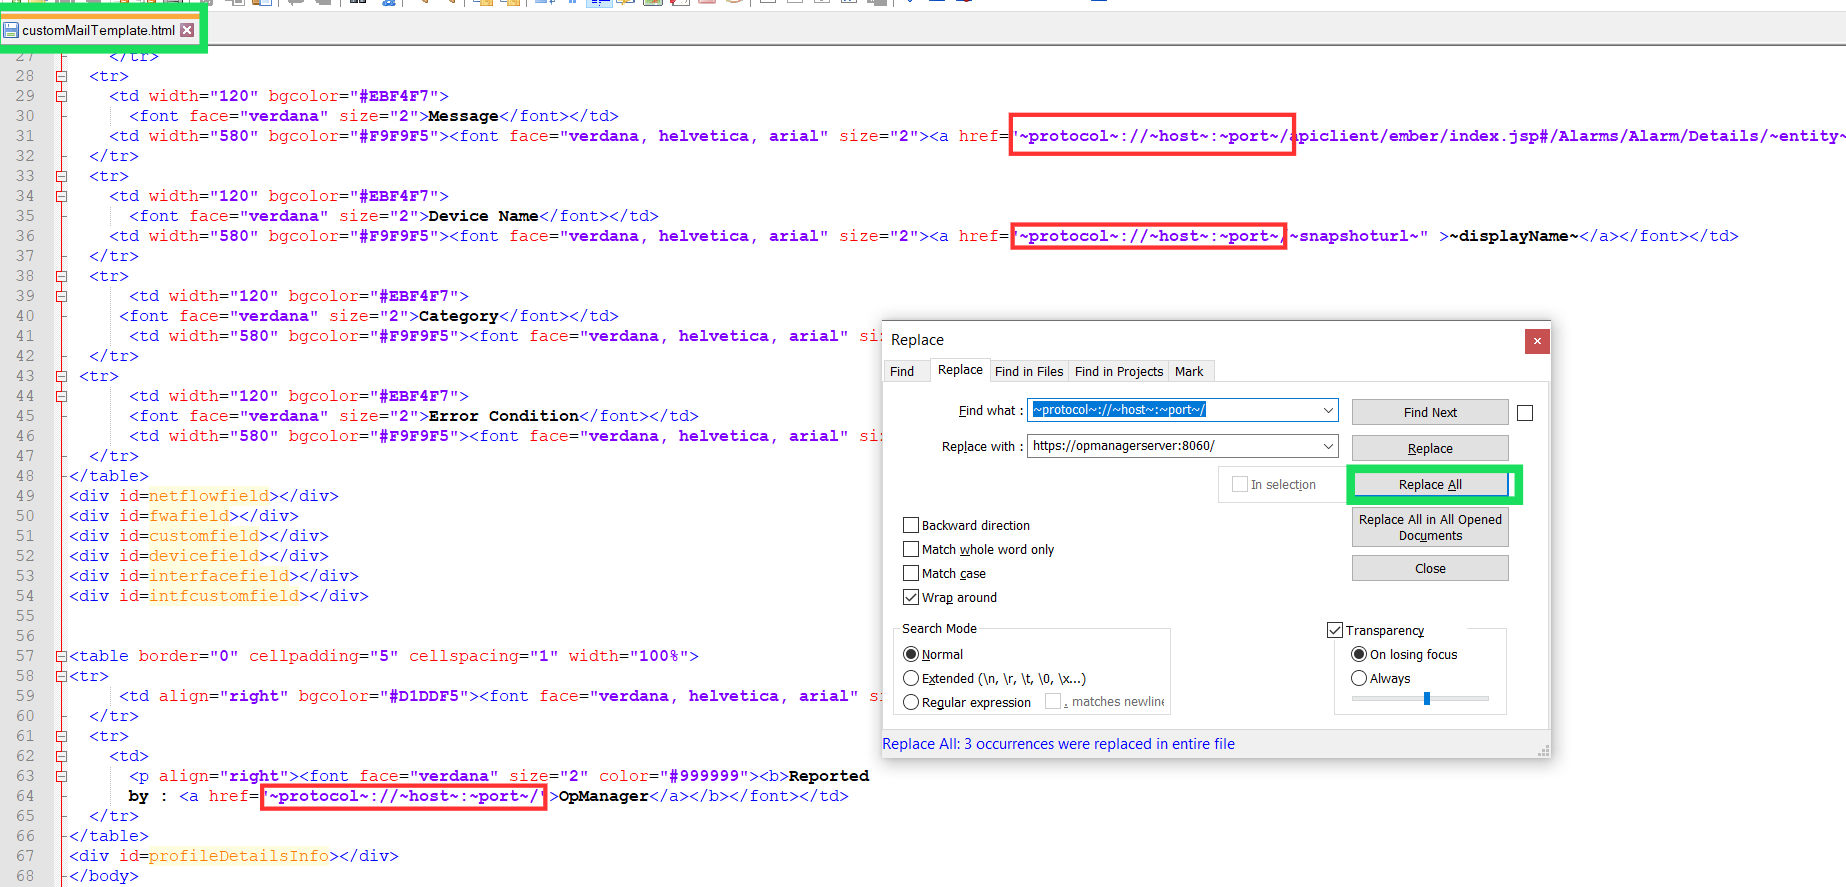
- Search for ˜protocol˜://˜host˜:˜port˜/ in the file and replace with the required host details. For example: http://servername:8060/
Note: Do the same for all occurances in the file.
- Restart the product.
- Make a copy of the <Product_Home>/conf/OpManager /mail.html file under the same directory, and rename the copy as customMailTemplate.html.
- Edit the customMailTemplate.html file using text editor, make the below changes and save the file.
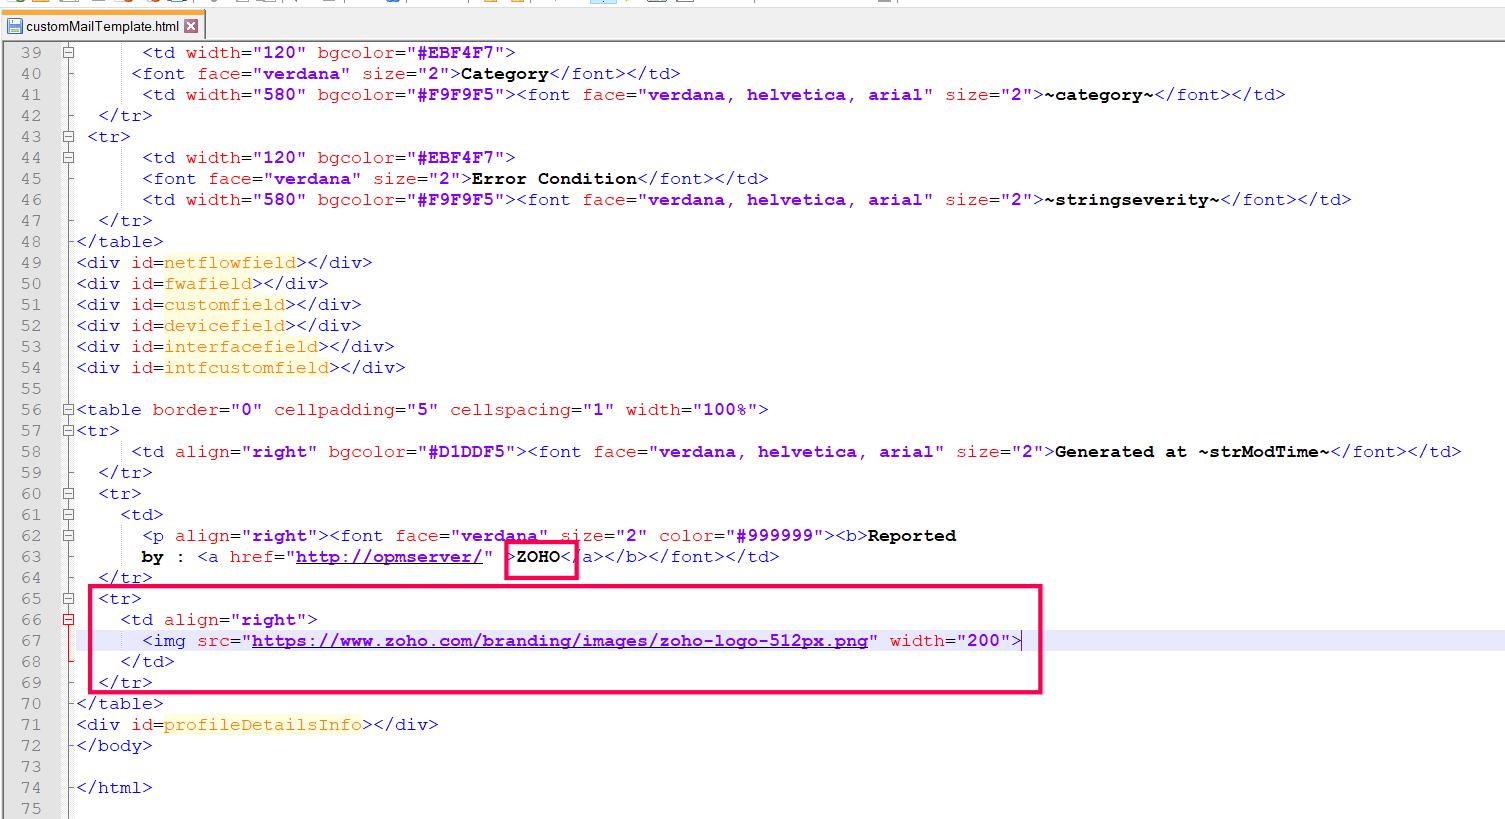
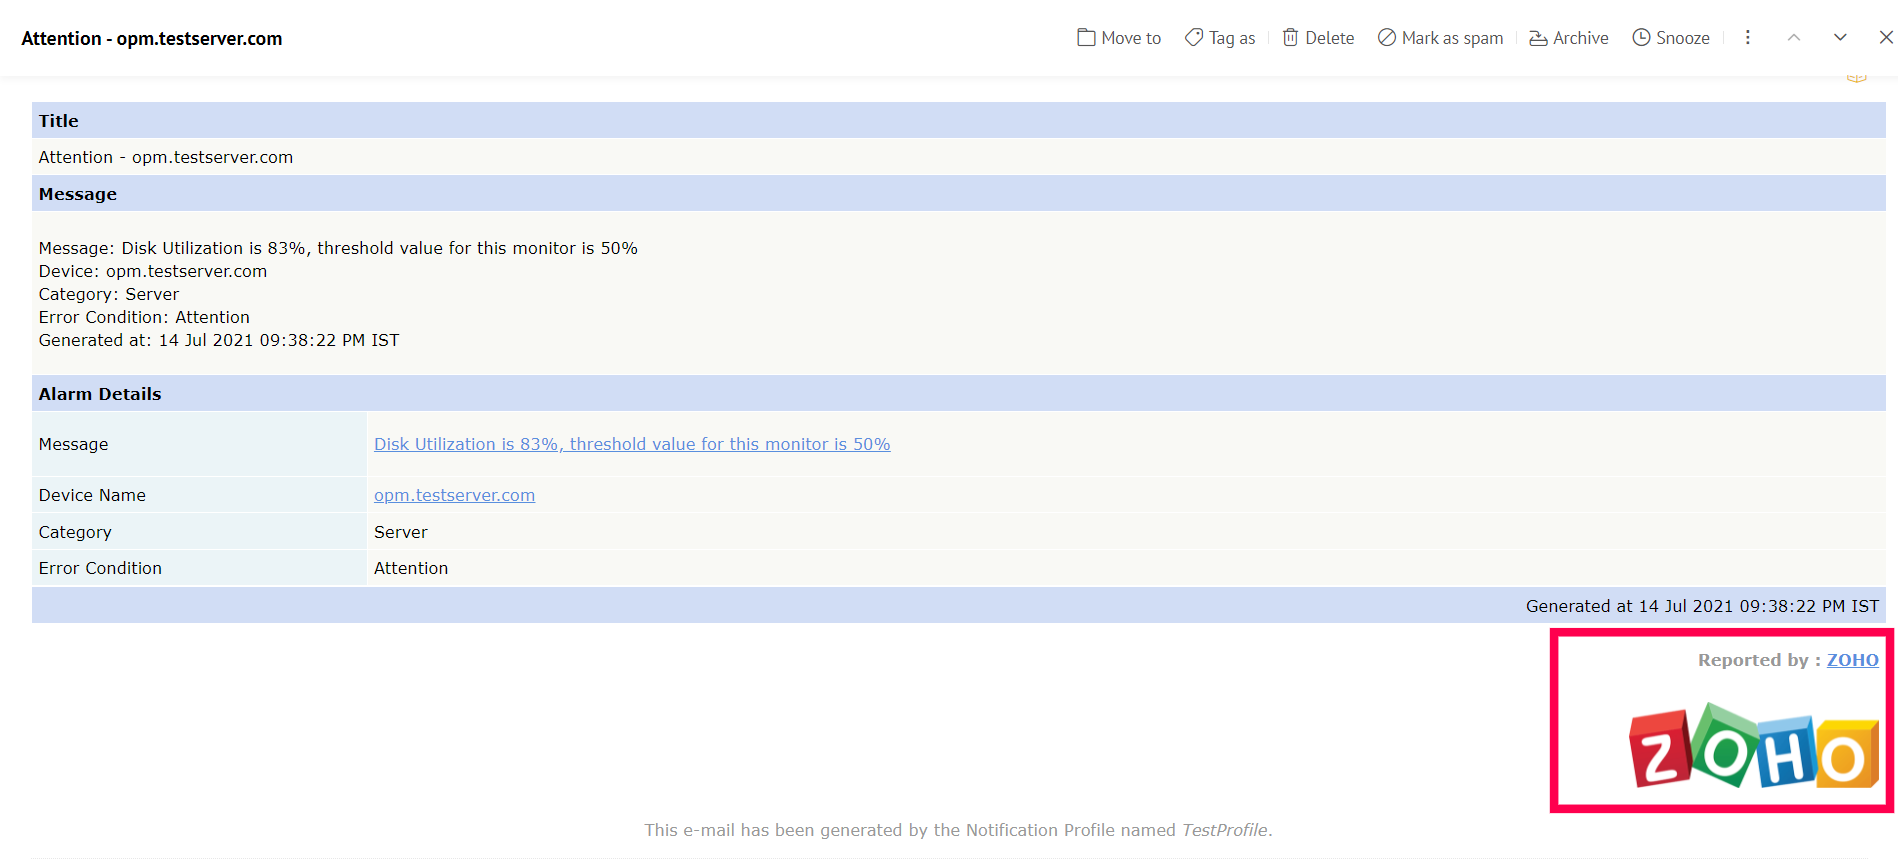
- To include the company name, search for OpManager or "~product~" in the file and replace it with the required brand name.
- To include logo, Add
![]() html tag with logo image source with proper syntax wherever you wish to place the logo.
html tag with logo image source with proper syntax wherever you wish to place the logo.
- Restart the product.
- Use the mail.html file under <Product_Home>/conf/OpManager as reference and create your custom mail template with the help of the key guide given below.
- Save your created template as customMailTemplate.html under <Product_Home>/conf/OpManager
- Restart product.
Key Guide:
Below is the list of available keys that can be used in the email template (customMailTemplate.html) to append the details of the alarm that triggered the profile. You can place the required keys from the list to the html file wherever necessary.
| Key |
Description |
| ˜subject˜ |
Replaced by the content of the Subject field in the Notification Profile. |
| ˜mailmessage˜ |
Replaced by the content for the Message field in the Notification Profile. |
| ˜displayName˜ |
Replaced by the display name of the source/device of the alarm. |
| ˜message˜ |
Replaced by the message of the alarm. |
| ˜category˜ |
Replaced by the category name of the source/device of the alarm. |
| ˜stringseverity˜ |
Replaced by the severity of the alarm that triggered the profile. |
| ˜strModTime˜ |
Replaced by the generated time of alarm that triggered the profile. |
| ˜protocol˜ |
Replace by the protcol(http/https) where the product is running. |
| ˜host˜ |
Replaced by the hostname where the product is running. |
| ˜port˜ |
Replaced by the port number where the product is running. |
| <div id=profileDetailsInfo> |
When the HTML div is added to the template, it will be replaced by the name of the Notification profile that sent the email.
|
| #F9F9F7 |
Replaced by the color of the alarm severity. |
![https://www.manageengine.com/network-monitoring/help/images/Custom-email-template-1.png Custom mail templates for email notification profiles in OpManager: Using available keys to make alarm customisations]()

