Configuring SAML authentication settings for Okta
To configure Okta IdP,
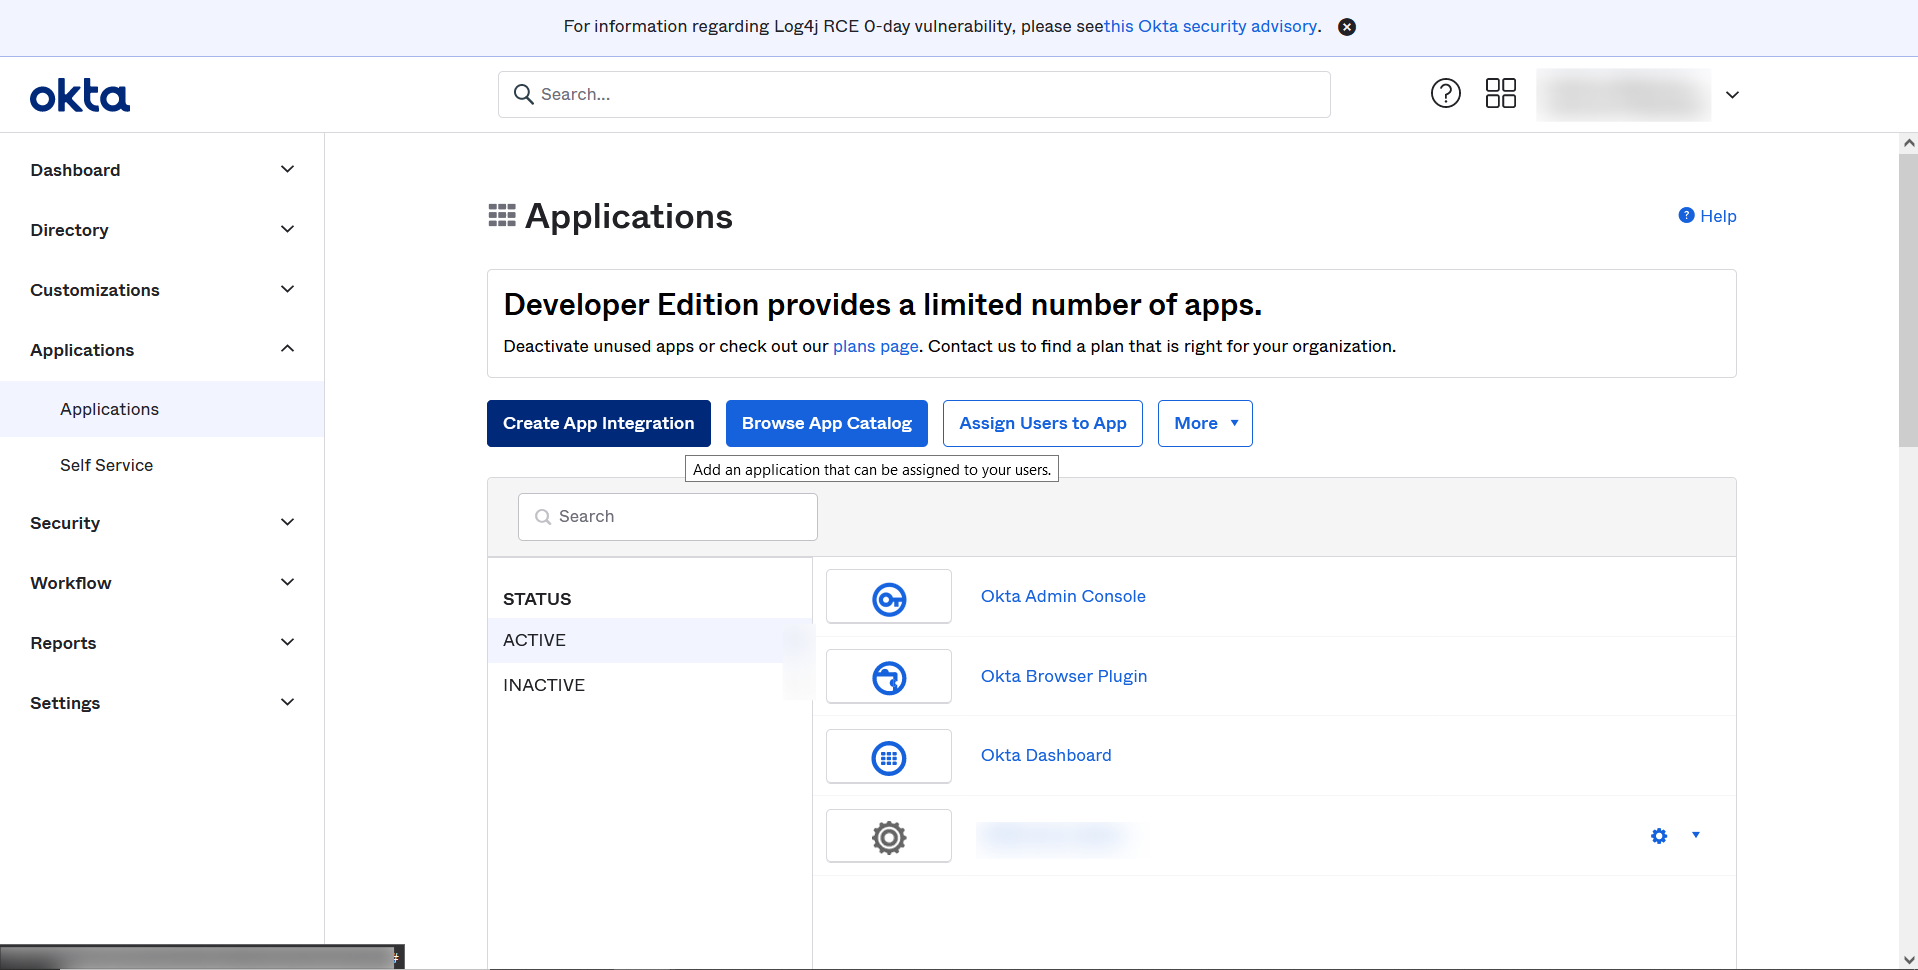
- Go to www.okta.com. Login to Okta. Click on the Admin tab and navigate to Applications.
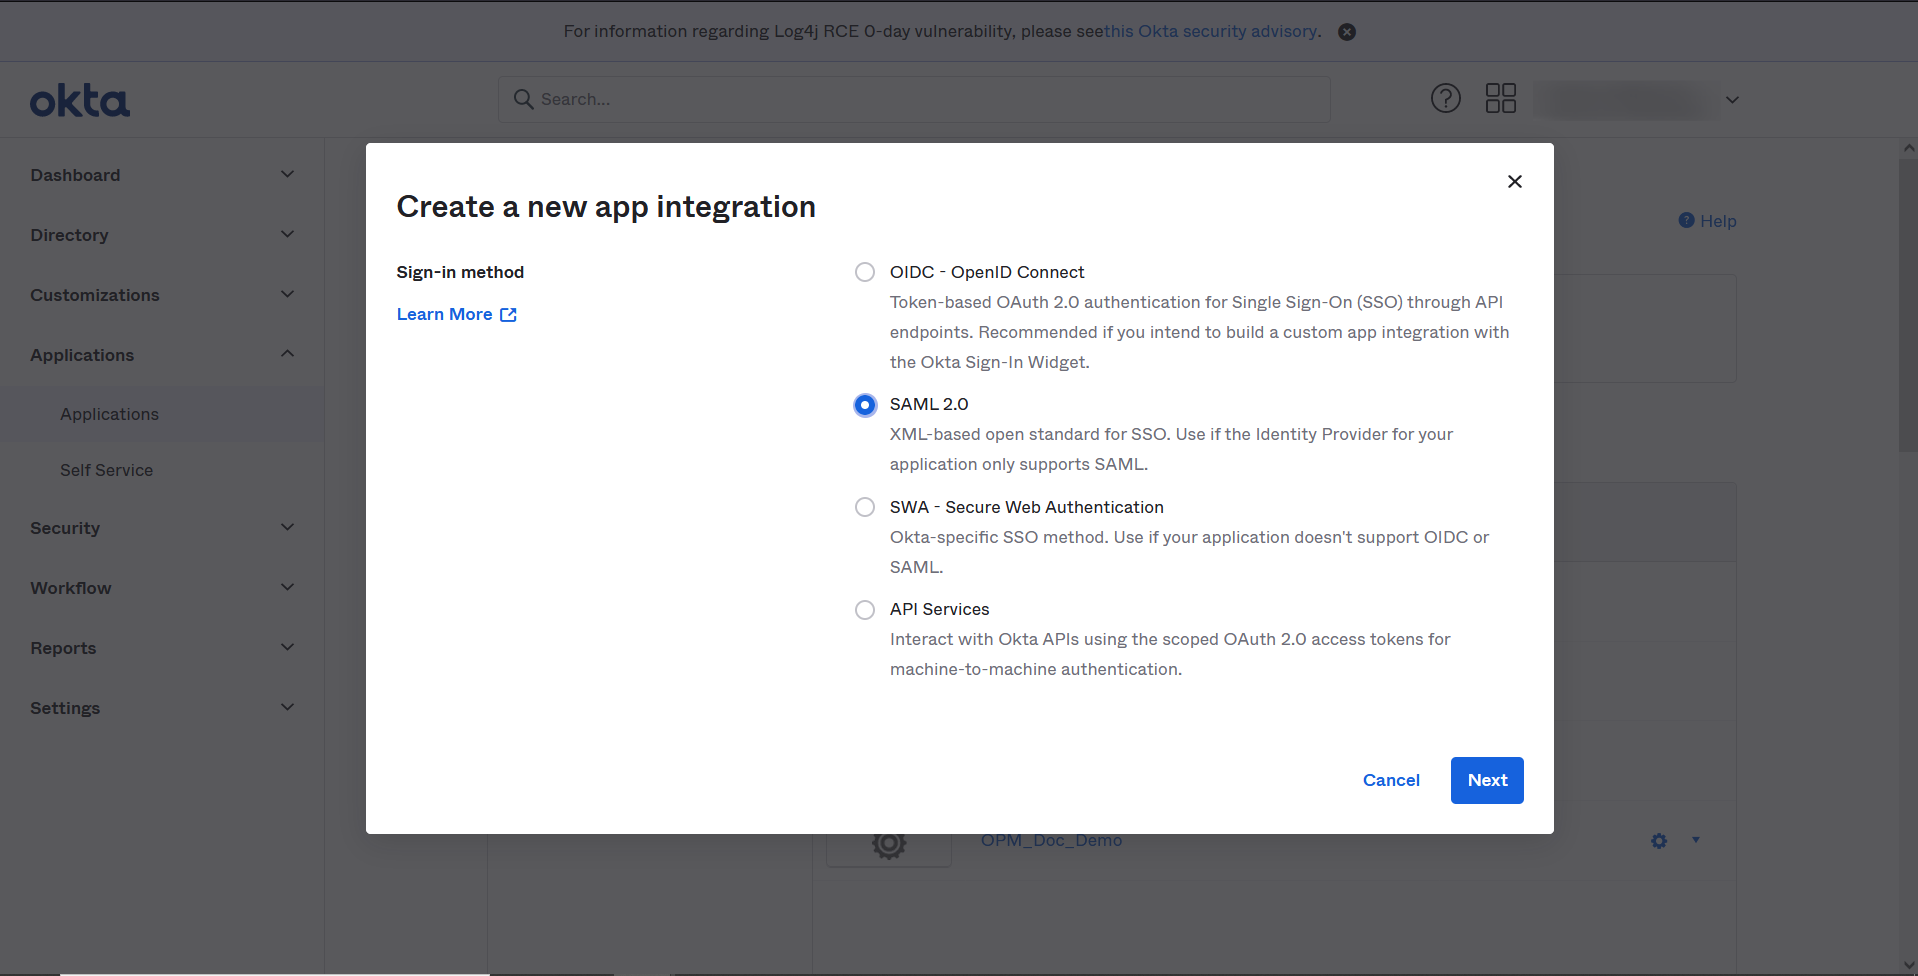
- Click on Create a new app integration and select SAML 2.0. Click Next.
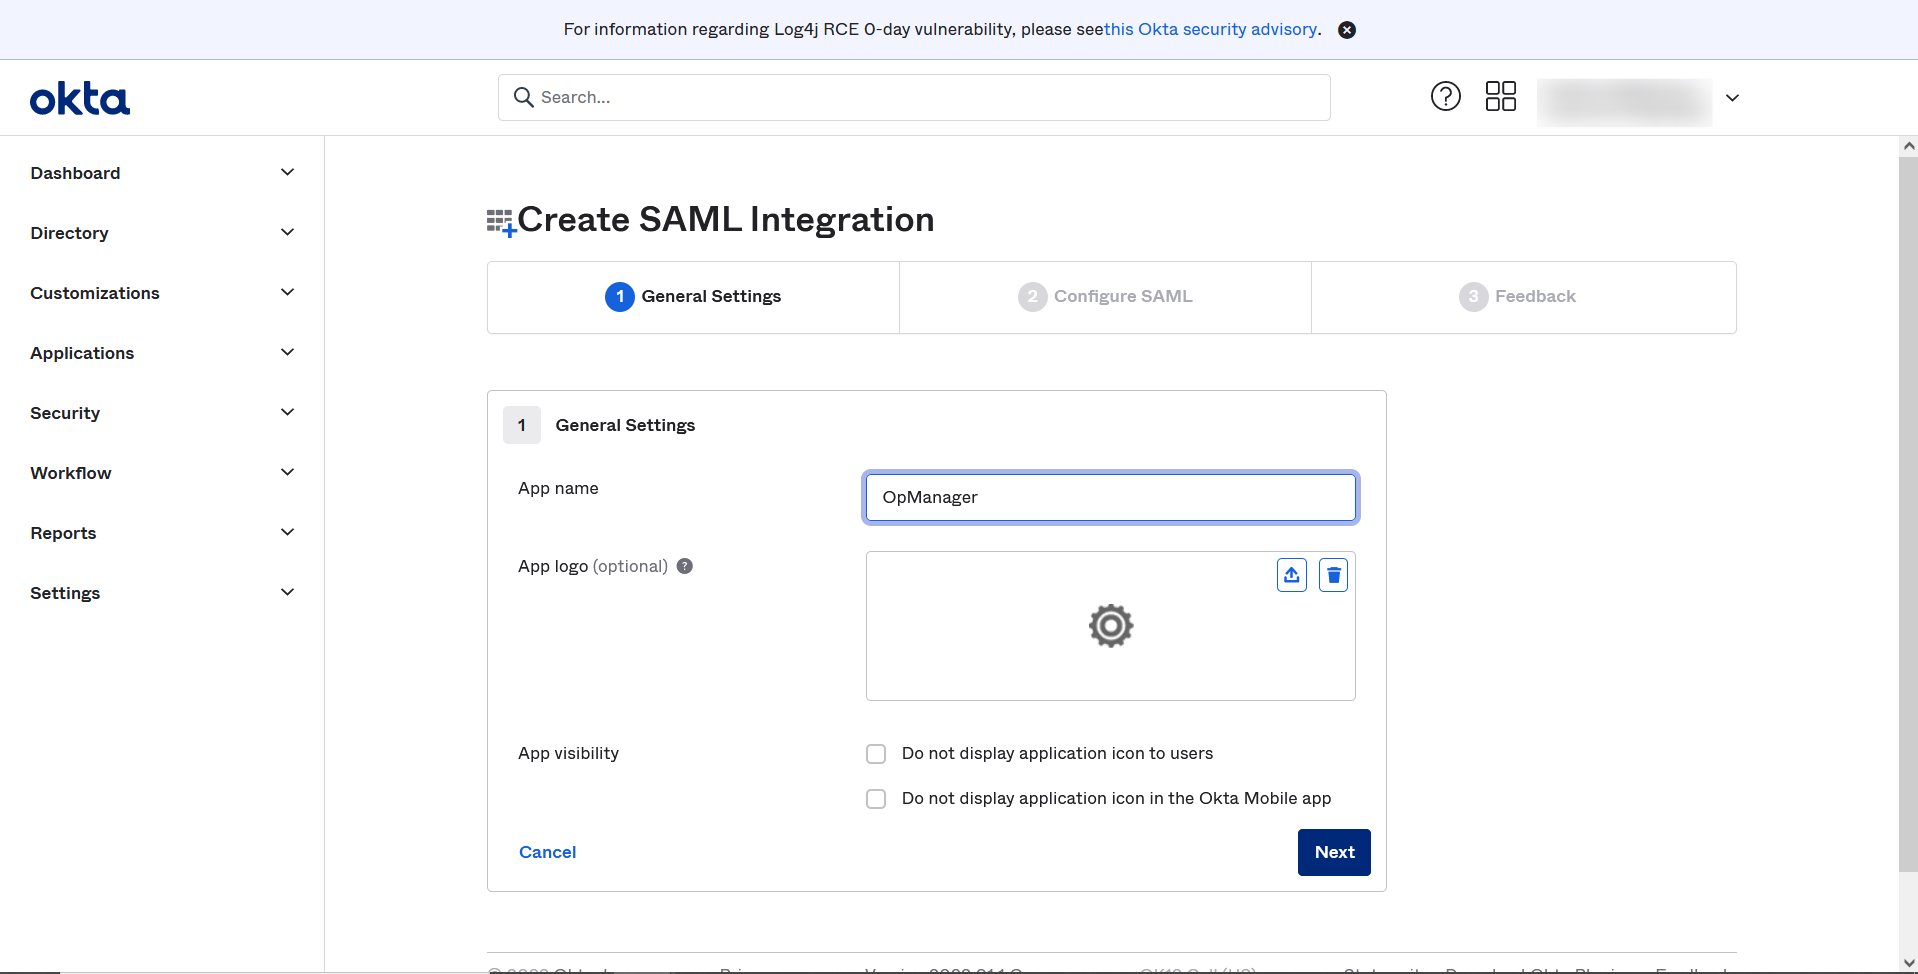
- Enter the Service Provider's name, in App name, that is, OpManager and click on Next. .
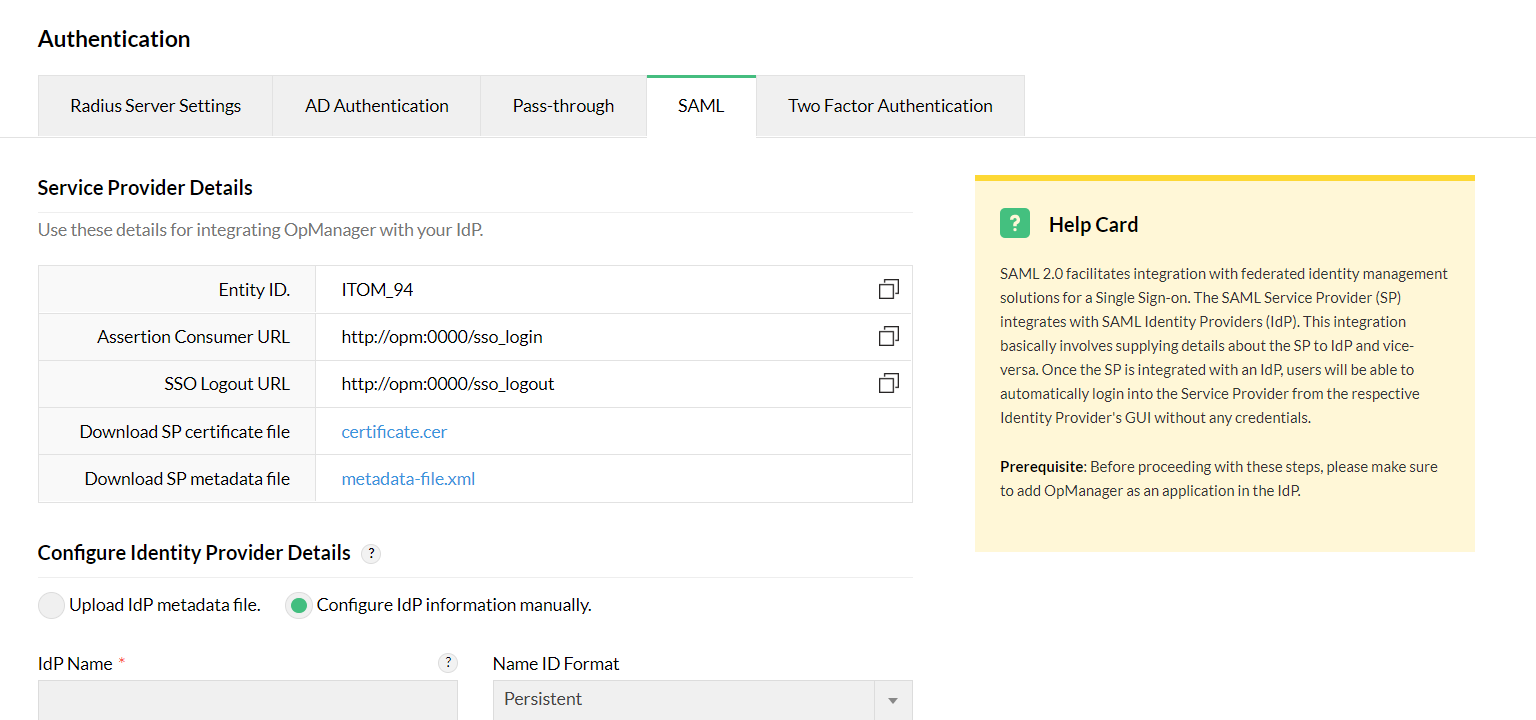
- Now, go to OpManager and navigate to Settings -> General Settings -> Authentication -> SAML. Under 'Service Provider' details, copy the Entity ID and the Consumer Assertion URL.
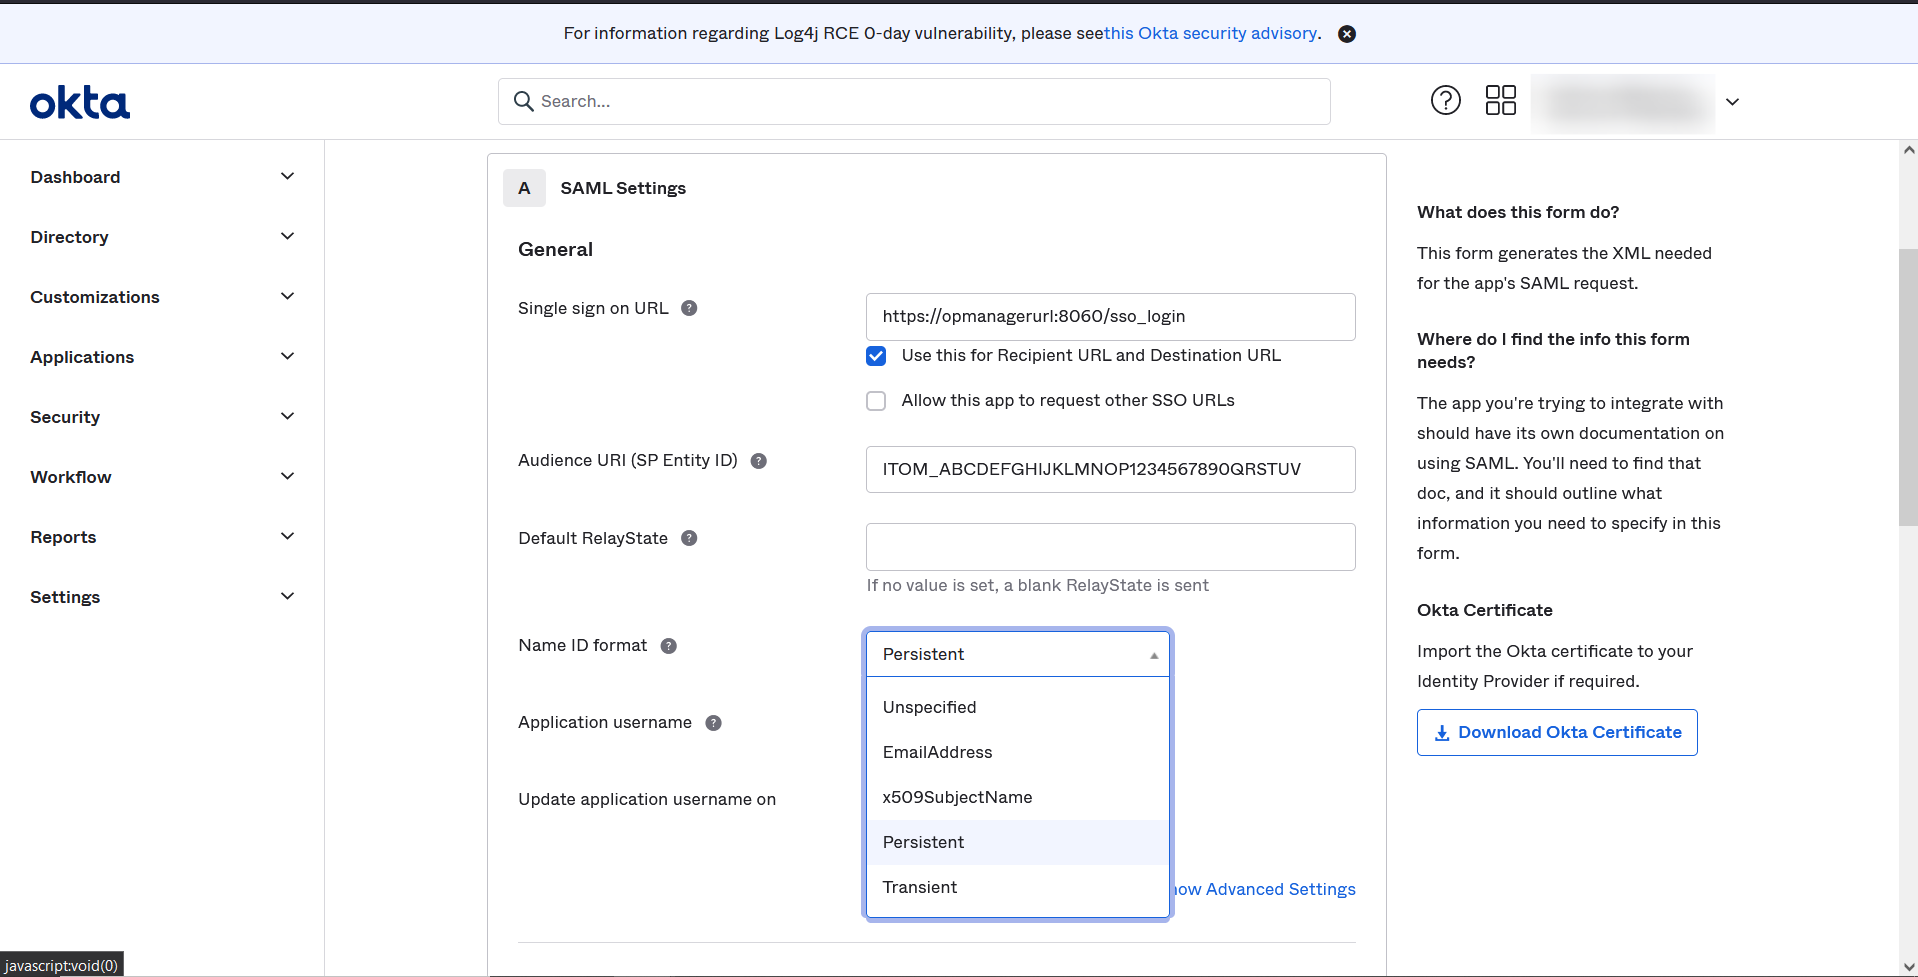
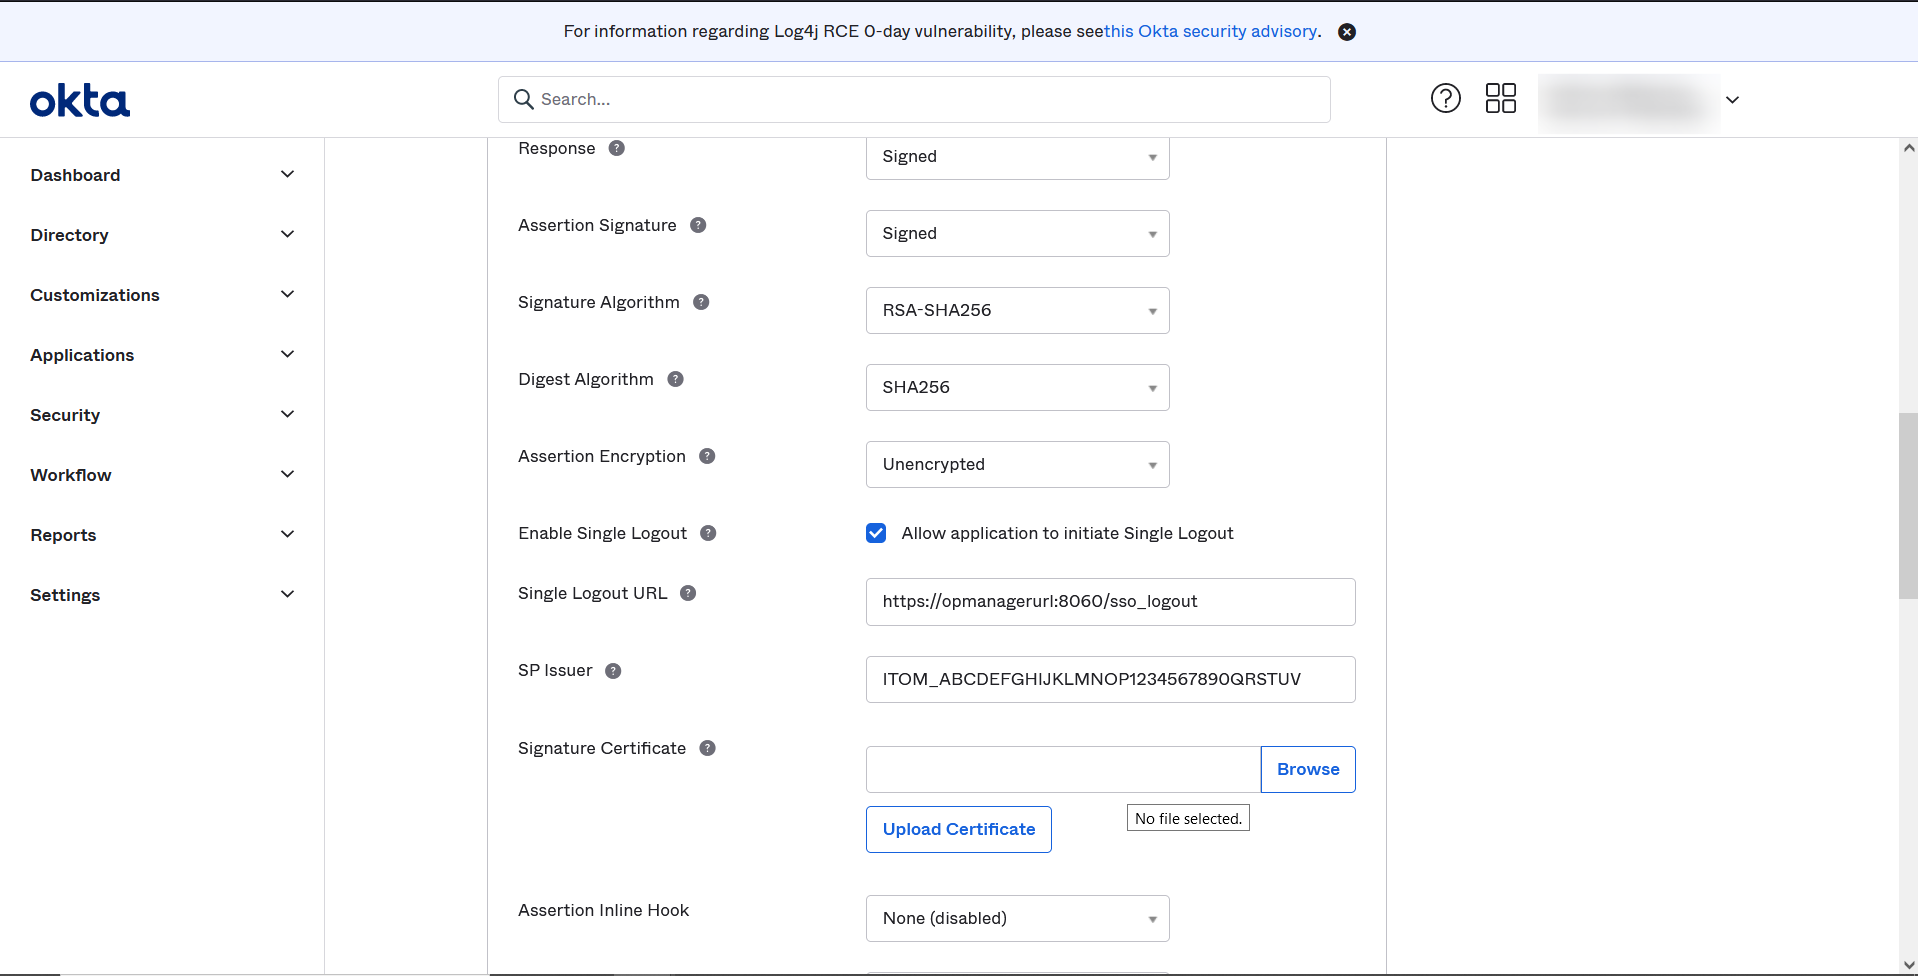
- Back in Okta, select the Name ID format as Persistent or Transient and enter the details copied from OpManager's SAML section. Upload the Signature Certificate.
- Single logout is optional in Okta. Enable Single Logout and provide the necessary details if needed.
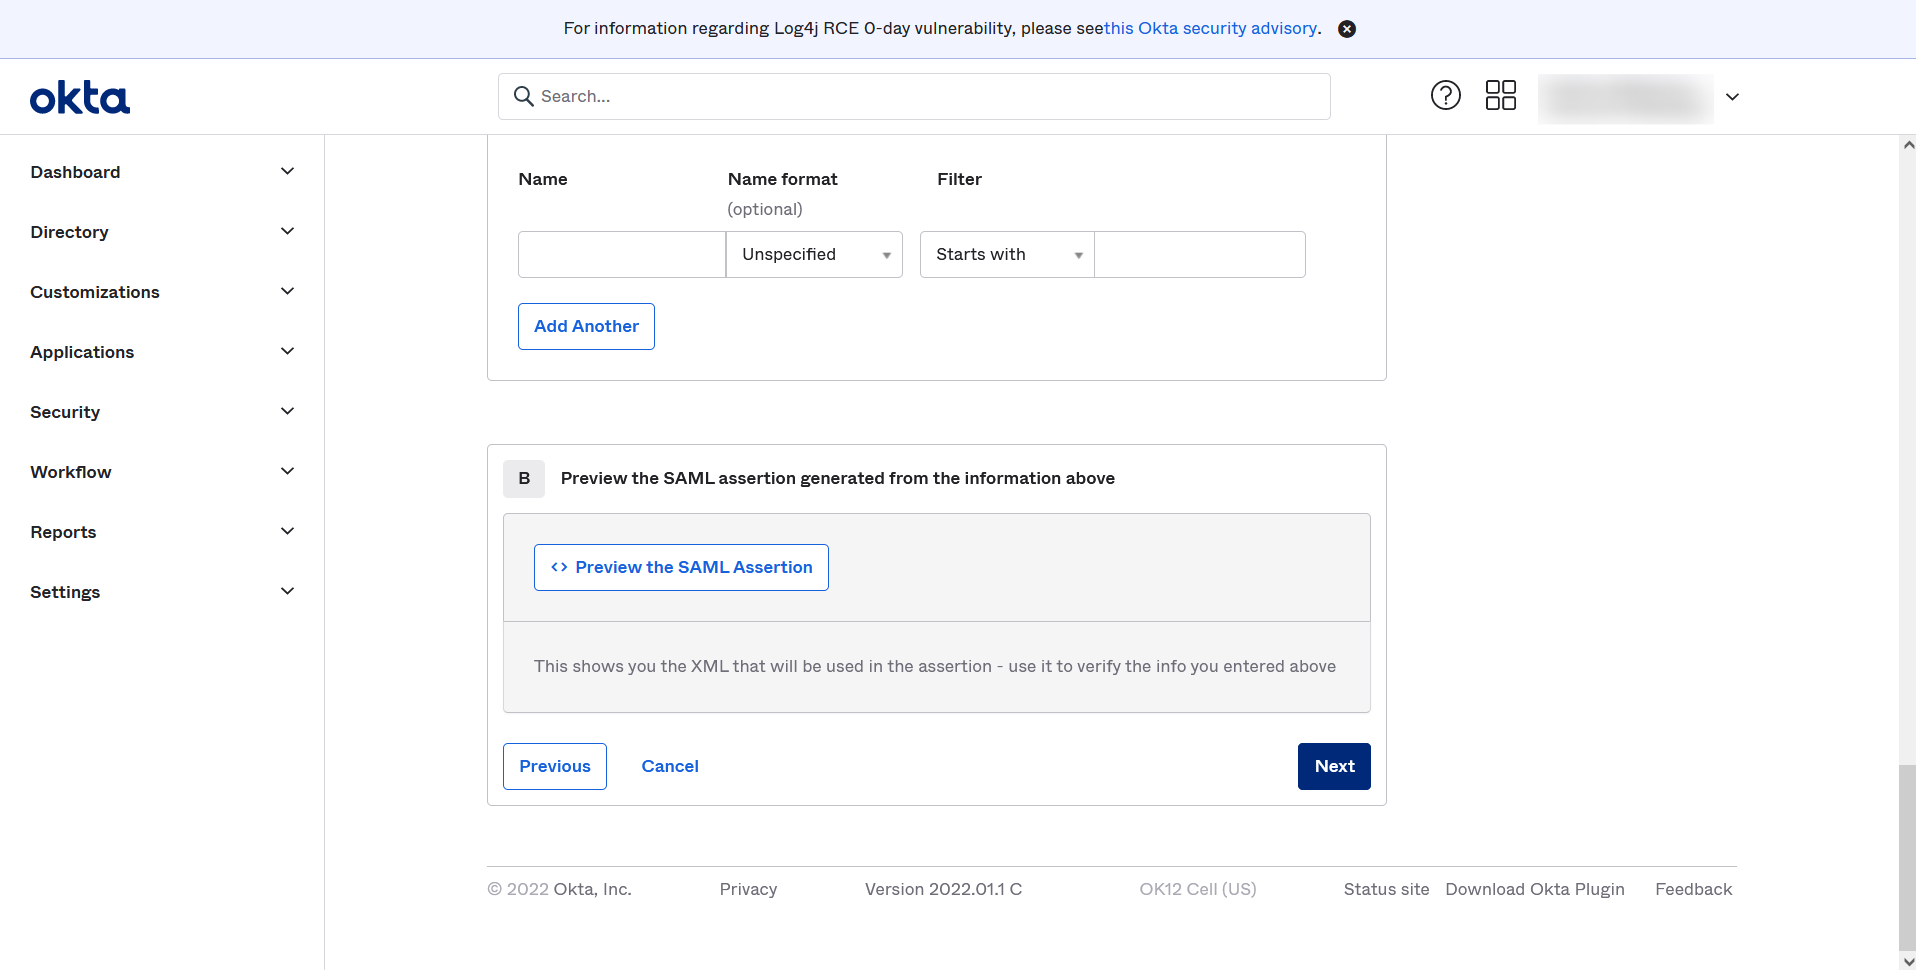
- Click Next.
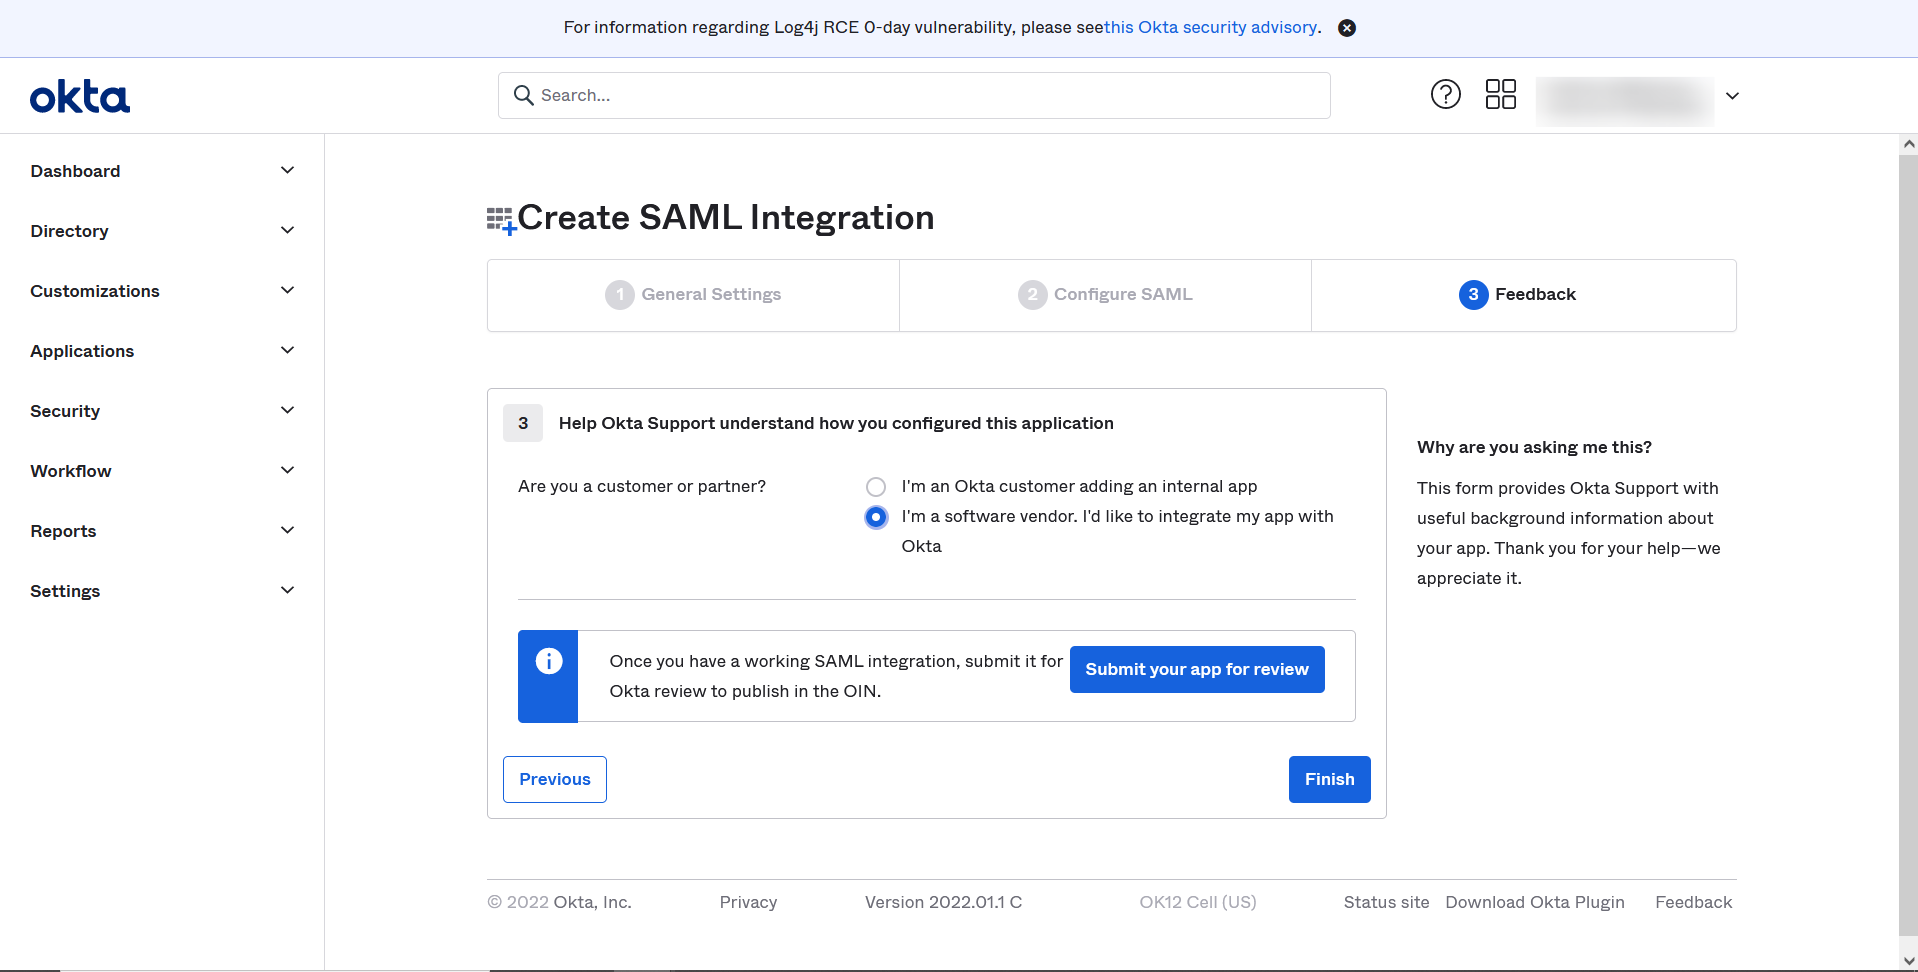
- Choose ‘I’m a software vendor. I’d like to integrate my app with Okta’ and click Finish.
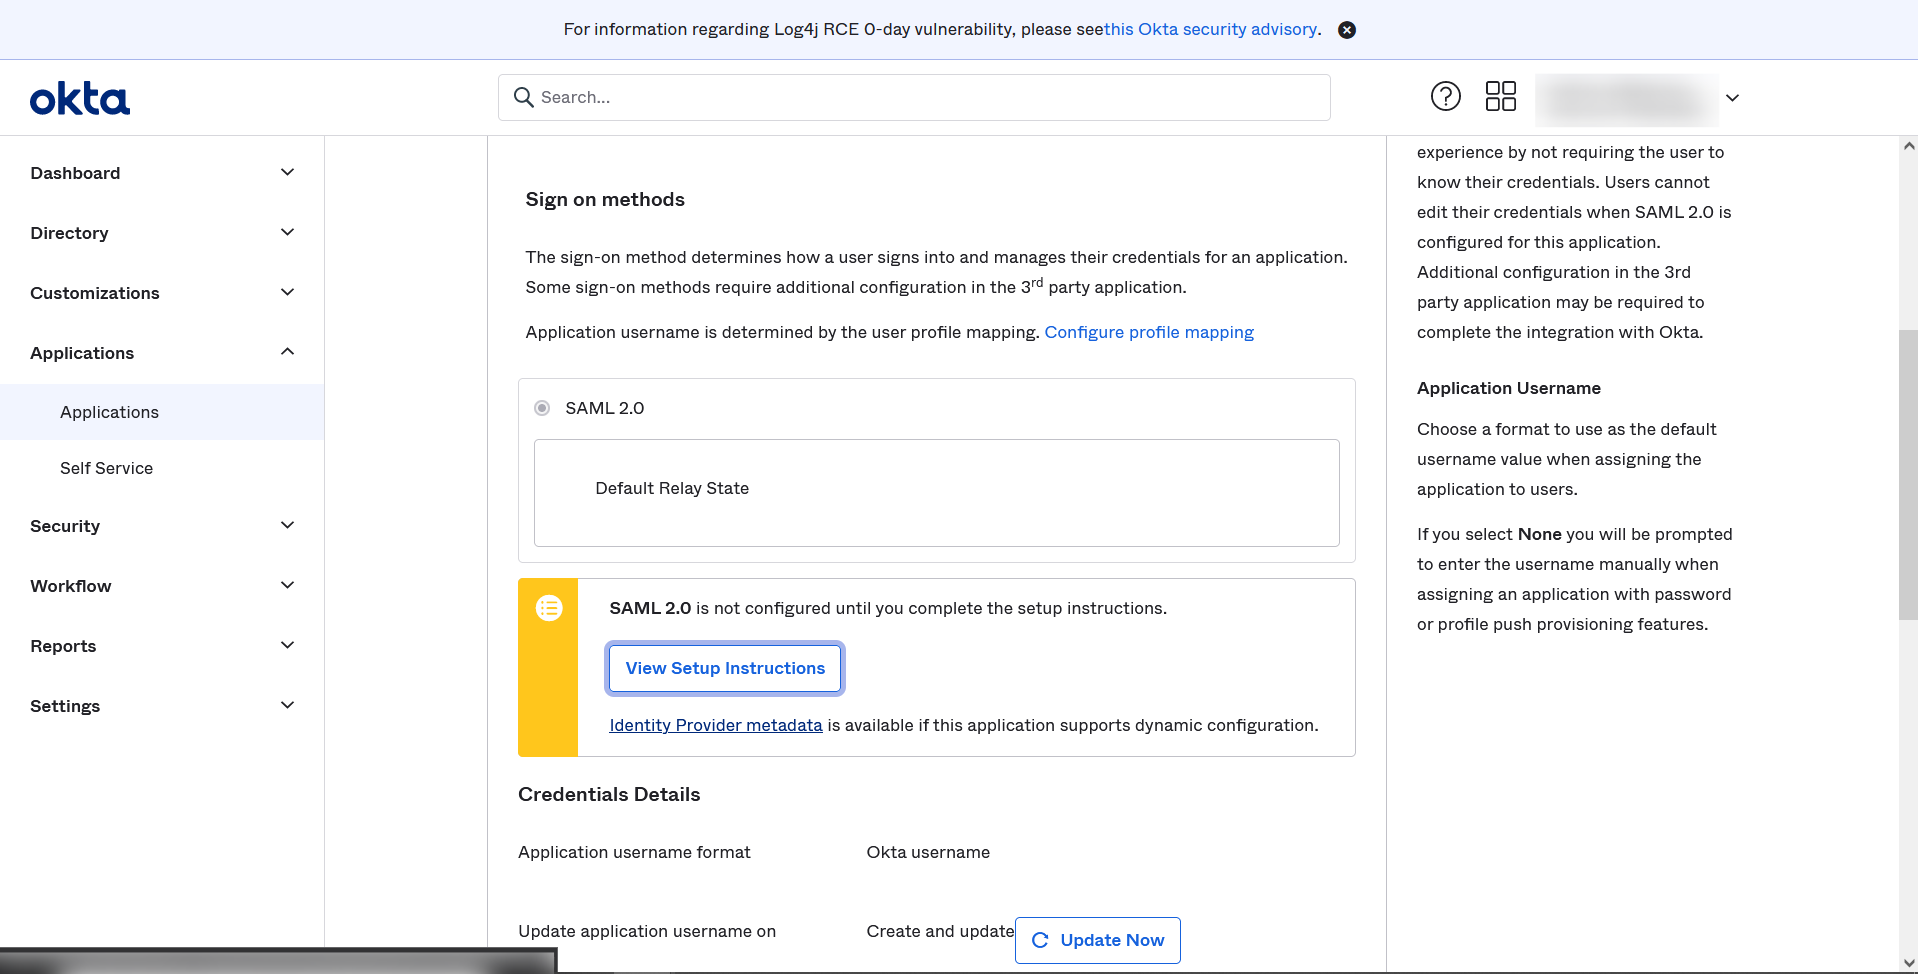
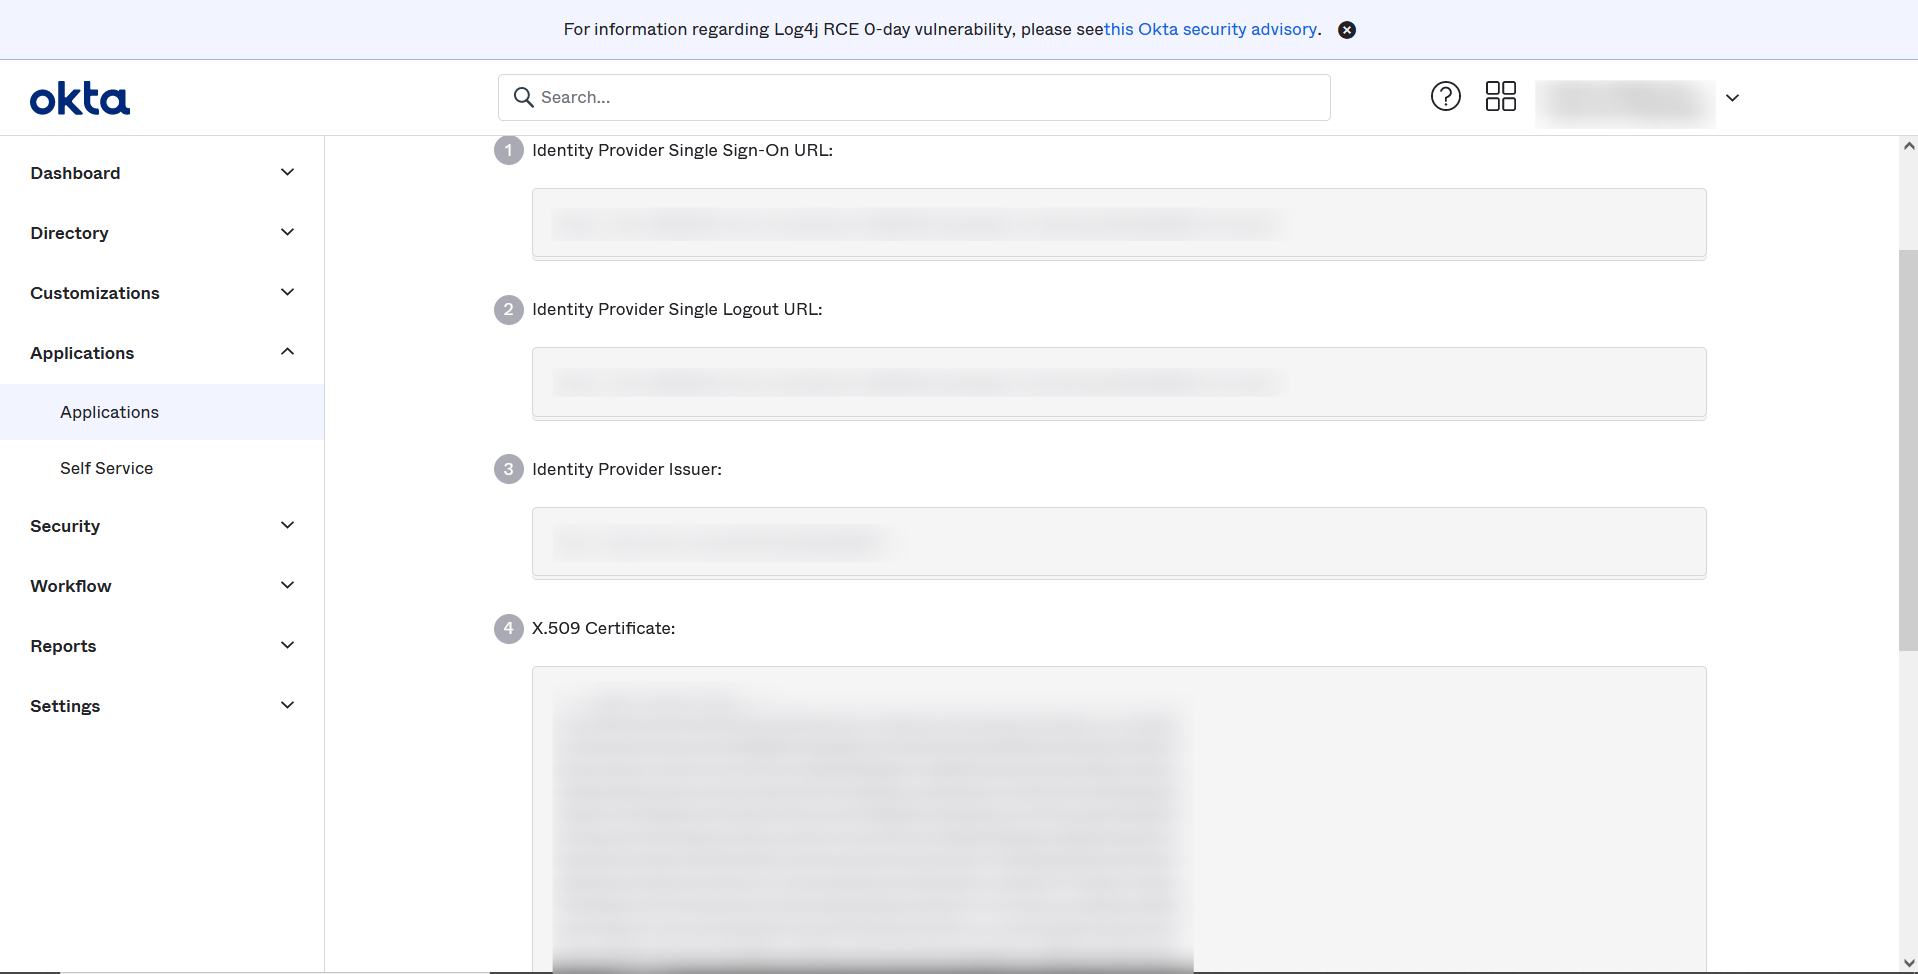
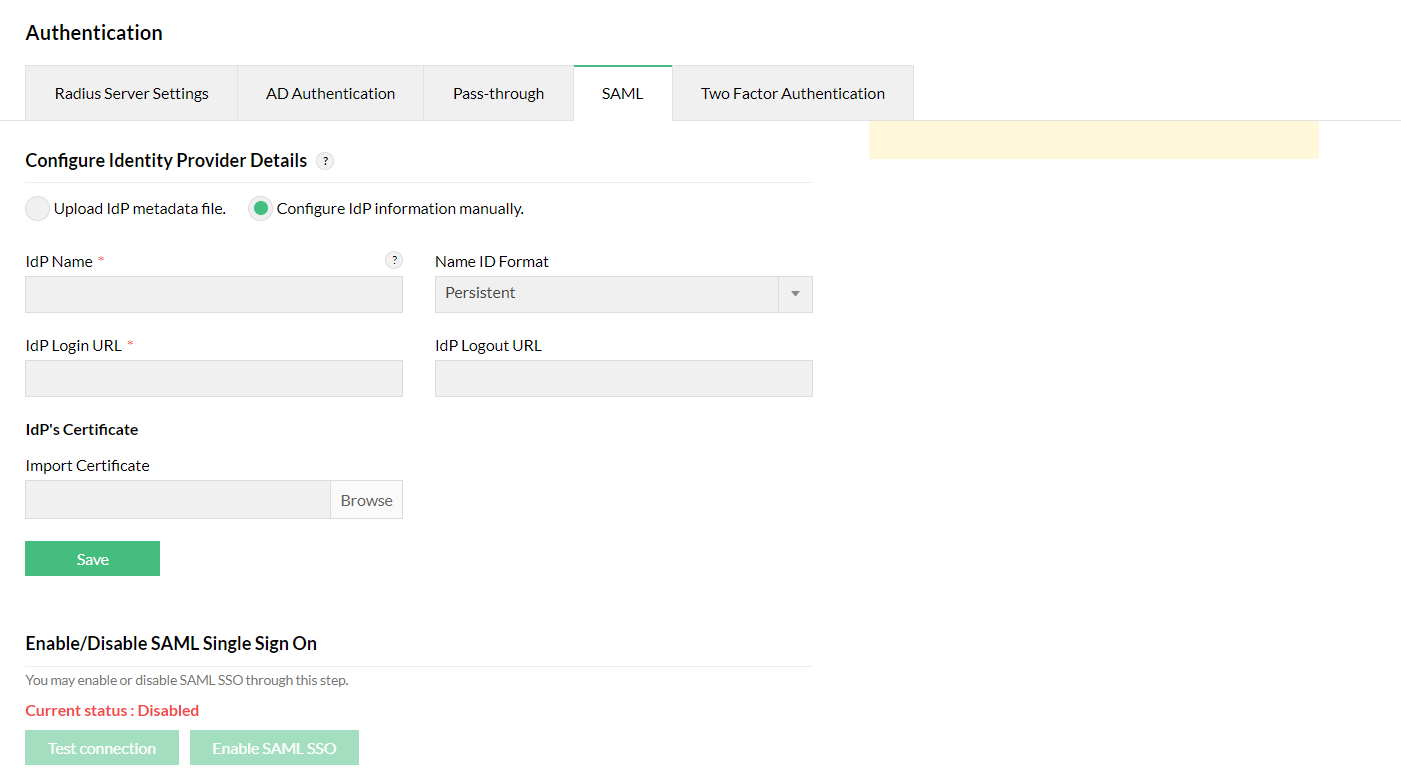
- Under Applications tab, select Applications and click on View Setup Instructions. Copy Identity Provider Single Sign-on URL, Identity Provider Single Logout URL, Identity provider Issuer, and X.509 Certificate and paste them in OpManager.
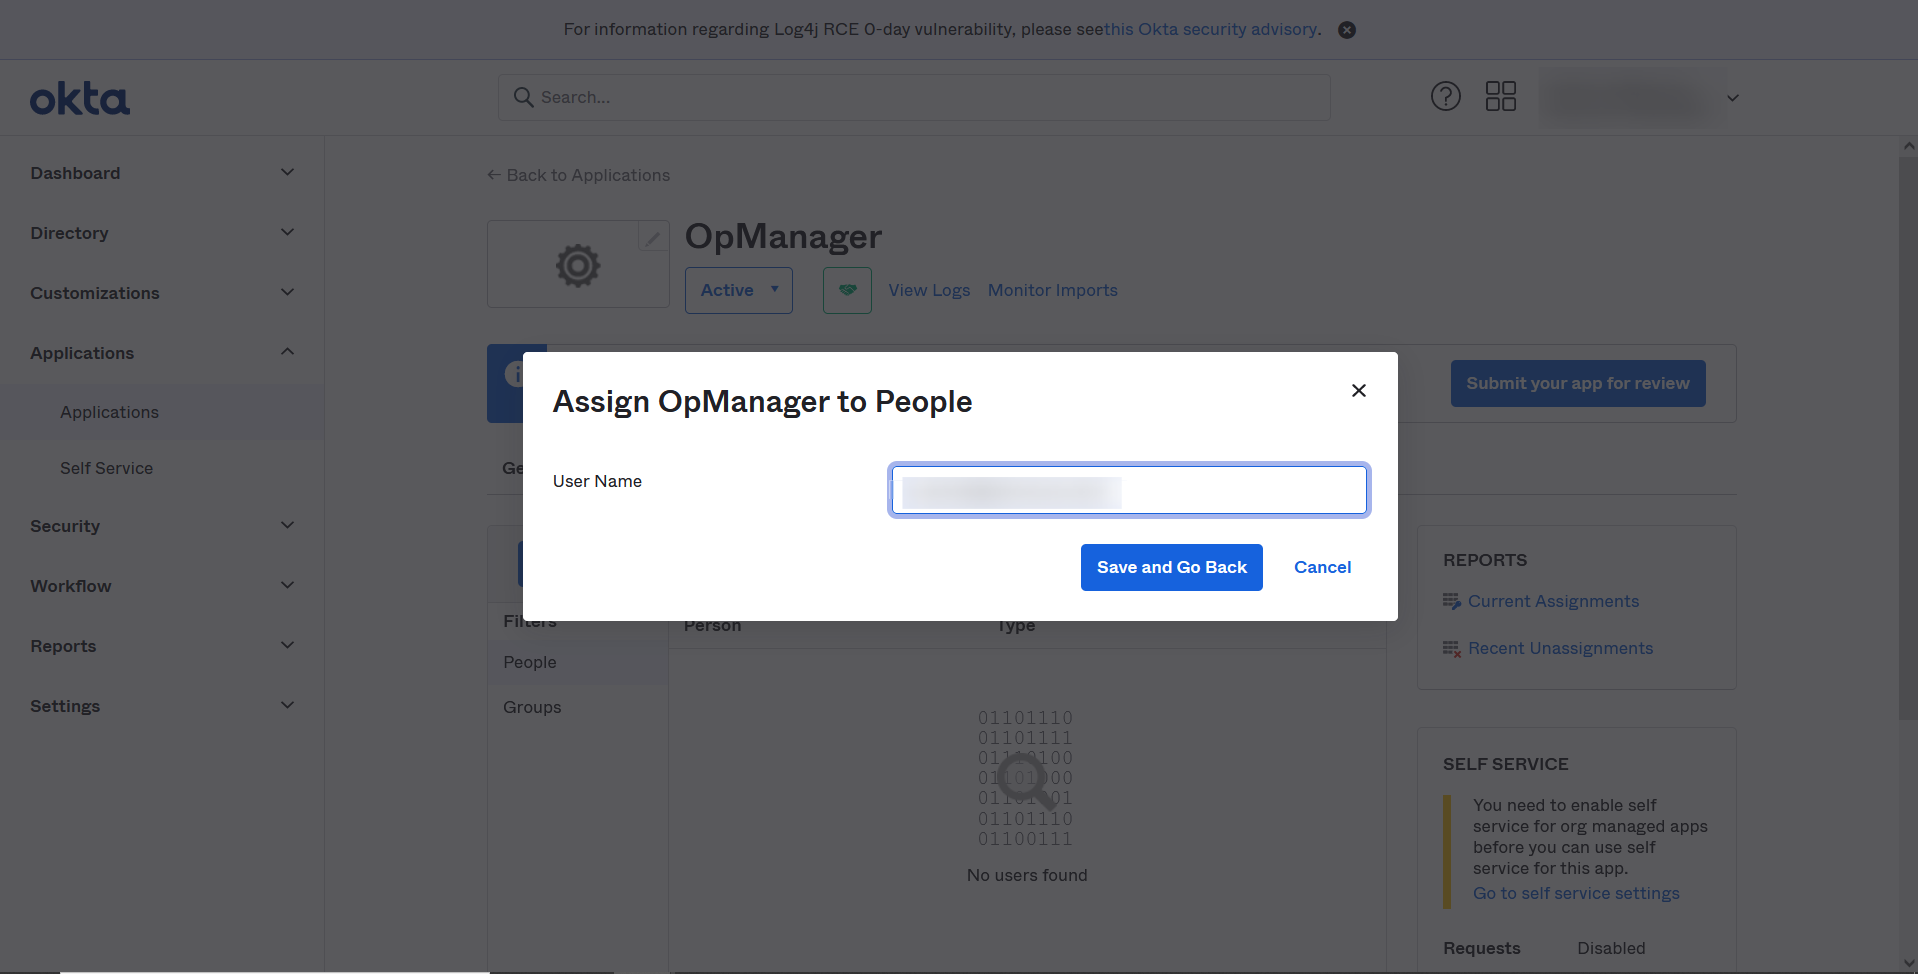
- Now go to Applications tab, click on Assign and select Assign to People.
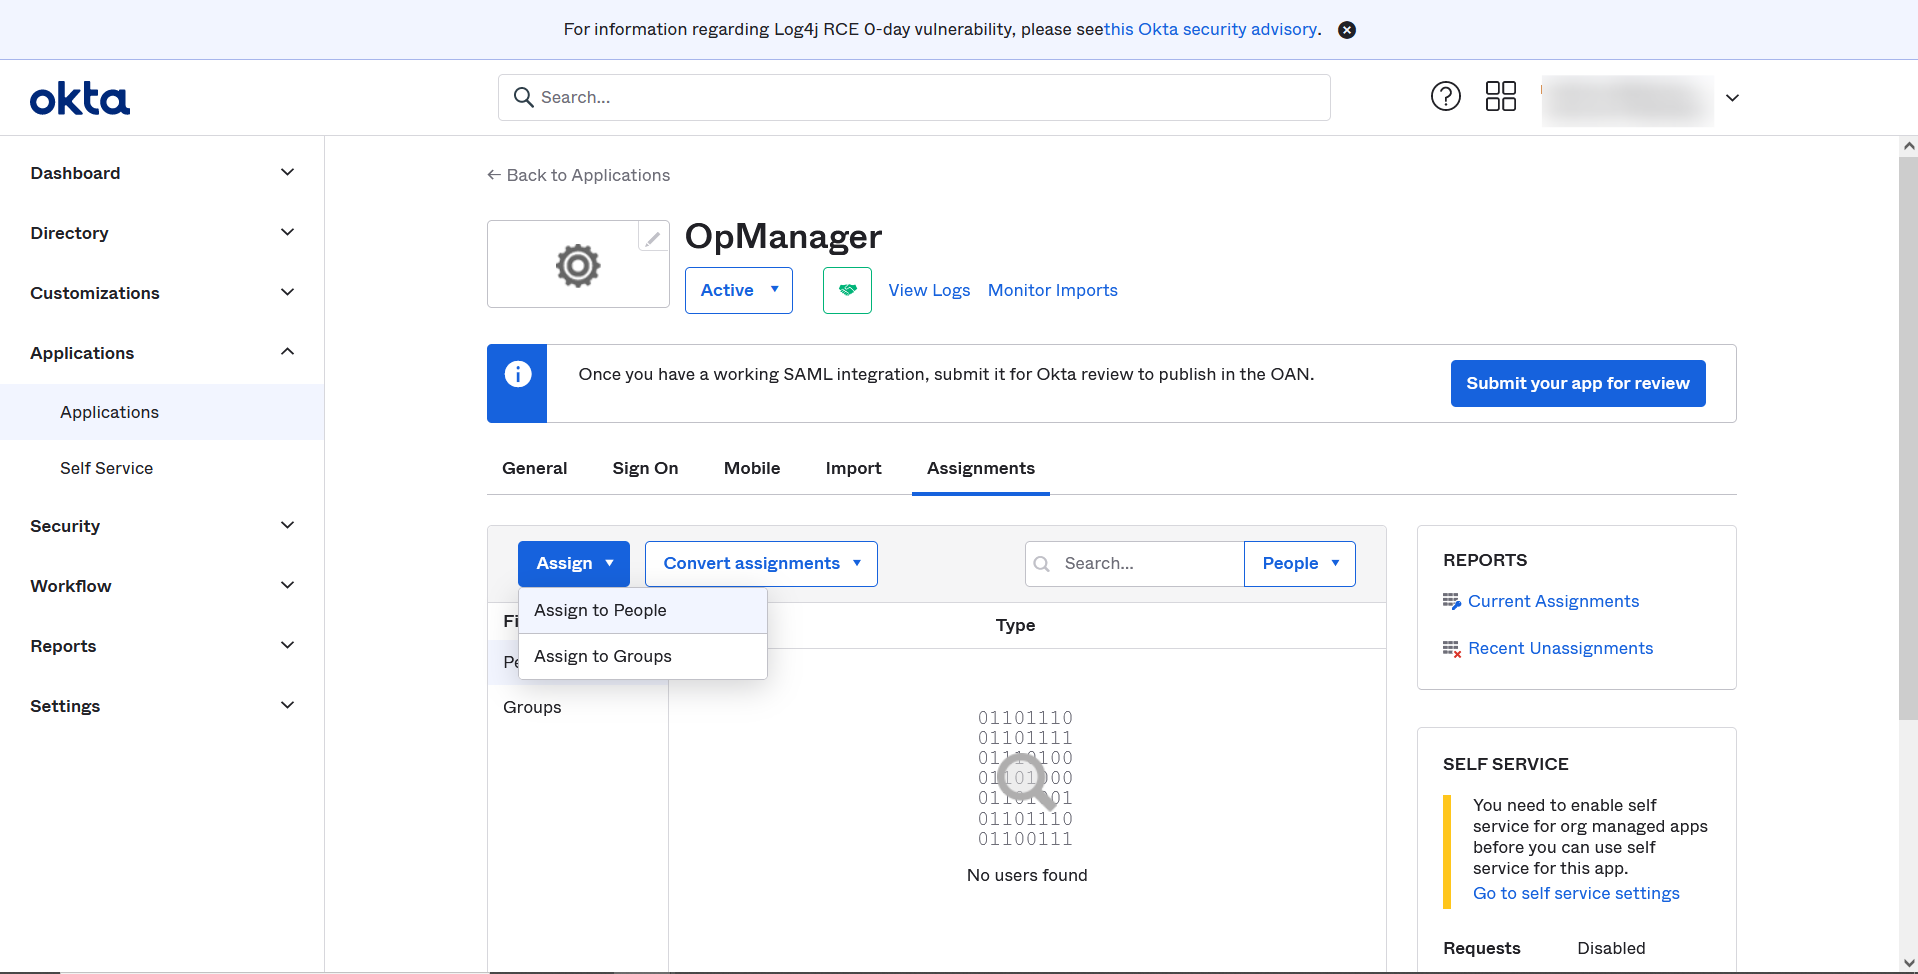
- Assign OpManager to the selected Users and select Save and Go back
Once the above said configurations are done on the IdP side, the required IdP details needs to be configured in OpManager. Click here for steps to configure IdP details in OpManager.
Once the configurations are done on both sides, SAML authentication via Okta will be enabled in OpManager. In OpManager's login portal, choose to Login with Okta and enter the necessary credentials to login.