How to move ADManager Plus to a new server?
Objective: To move ADManager Plus from its current server to a new server.
Points to noted before moving ADManager Plus to a new location:
- Do not uninstall ADManager Plus from the current server until the installation on the new server works perfectly.
- If the operating system on the new server is Windows Server 2008 or Windows 7, turn off User Account Control since this setting will allow only an administrator to install the product.
To turn of UAC, navigate to Control Panel > User Accounts > User Accounts > Turn User Account Control Off.
- If you are planning to restore the old database to the new server, it is recommended that you update your current instance of ADManager Plus to the latest build using the appropriate service pack. In the new server, download and install the latest version of ADManager Plus.
Note:
- If you cannot update to the latest build of ADManager Plus, please contact support@admanagerplus.com to get the ADManager Plus build that is of the same version as your current instance. Install this new build in the new server and start the migration process.
- To find the build number of your current ADManager Plus installation, log in to ADManager Plus, and click on the License link located in the top right corner. You can find the build number in the License Details pop up that appears.
- The following steps are applicable only if your ADManager Plus installation uses pgSQL database.
- The product migration steps for ADManager Plus running builds older than 7140 are here.
There are two ways in which the migration can be achieved:
Method 1: Move the existing ADManager Plus installation from the current location to a new location/server
Method 2: Download and install ADManager Plus on the new server, then restore the database backup taken from the old instance.
1) Move the existing ADManager Plus installation from the current location to a new location/server
Following the below steps will migrate the license and data (configuration)
- Stop ADManager Plus. (Go to services.msc > Stop "ManageEngine ADManager Plus" service).
- Stop the database. (Open a command prompt using Run as administrator > Navigate to <Installation Directory>\ManageEngine\ADManager Plus\bin > Execute StopDB.bat
- Close the command prompt and Copy the entire ADManager Plus folder to the new server or drive. Make sure you verify the folder size on both servers.
- Now Open a command prompt on the new server [Using Run as Admin] > Navigate to <installation-directory>\ManageEngine\ADManager Plus\bin > Execute wrapper.exe -i ..\conf\wrapper.conf to install ADManager Plus as a service.
- Execute initPgsql.bat
- Start ADManager Plus service by going to Services.msc > 'ManageEngine ADManager Plus' Service > Start the service
Note: If you are using MS SQL server as backend DB and if the MSSQL is running in a remote computer make sure to download and install SQL native client, command line utilities, and ODBC Driver in the new machine on which ADManager Plus is running.
2) Download and install ADManager Plus on the new server, then restore the database backup taken from the old instance.
Database backups help you thwart accidental data loss that might happen during server migration, product update, etc.
Steps to backup and restore ADManager Plus' database:
- Stop ADManager Plus by navigating to Start > ADManager Plus > Stop ADManager Plus.
Note: If you have installed ADManager Plus as a Microsoft Windows service, stop the service by navigating to Start > Run > services.msc > ManageEngine ADManager Plus > Stop.
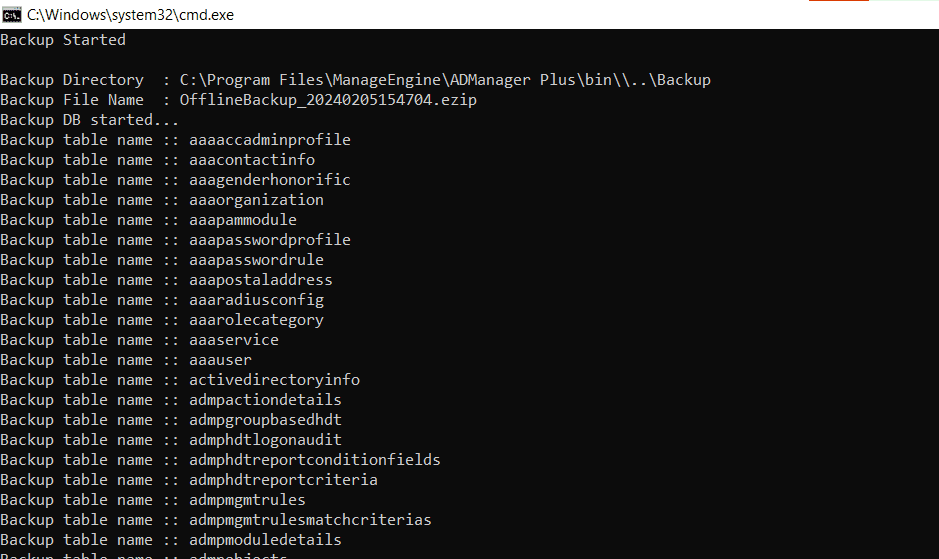
- Navigate to <Installation Directory>\ADManager Plus\bin and execute the backupDB.bat file to back up the database of your current installation. This will create a folder called Backup inside ADManager Plus' installation folder (<Installation Directory>\ADManager Plus\Backup). The Backup folder will contain your database backup file (e.g., OfflineBackup_20161129235853.ezip).
Note:
- You can also do this by running Command Prompt as an administrator, navigating to <Installation Directory>\ADManager Plus\bin, and executing the backupDB.bat file.
- ADManager Plus uses a CryptTag value as its default database backup file password for enhanced protection, and this can be found in the customer-config.xml file.
- Make a copy of the following folders and files:
- The Archive, ES, and esdata folders from the installation folder of your existing ADManager Plus instance (<Installation Directory>\ADManager Plus).
- The customer-config.xml file of your existing ADManager Plus instance from the <Installation Directory>\ADManager Plus\conf folder.
- Now, download and install the latest build of ADManager Plus from here.
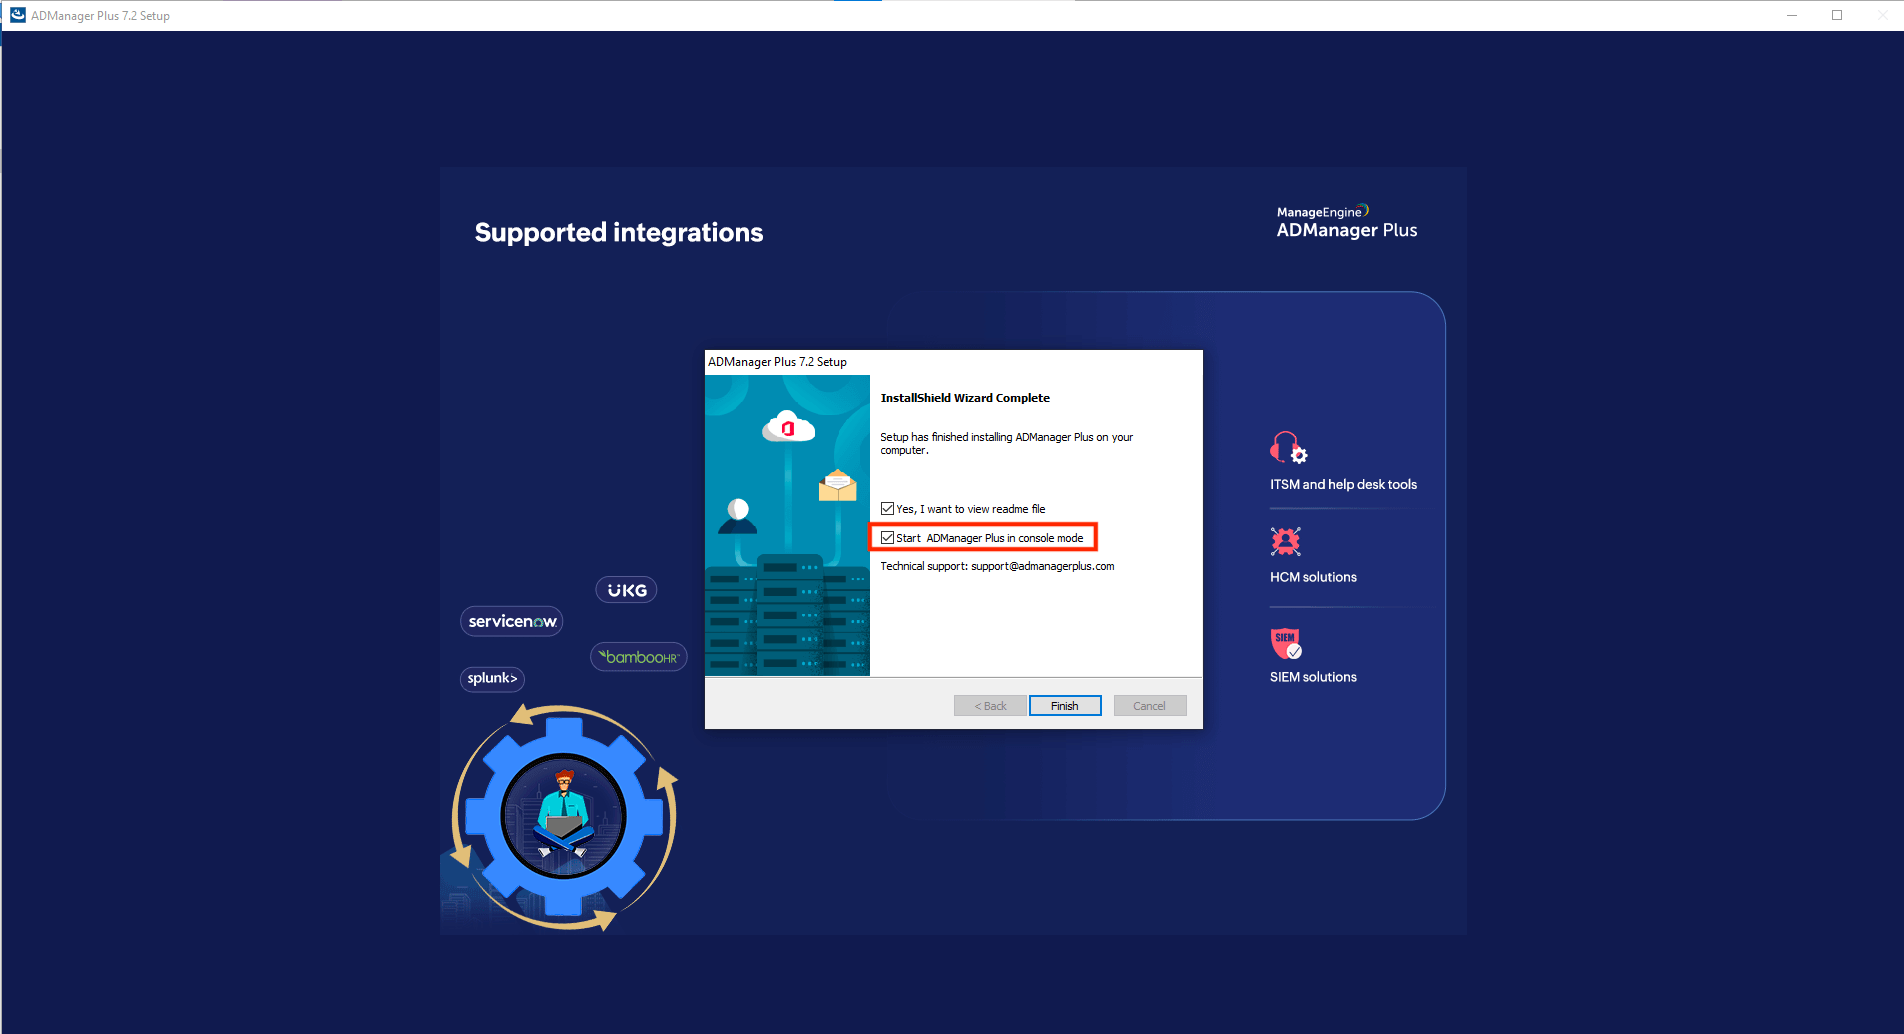
Note: Do not start the product after installation. This can be done by unchecking the Start ADManager Plus in console mode option in the setup window.

- Paste the copied Archive, ES, and esdata folders in the installation folder of your new ADManager Plus instance (<Installation Directory>\ADManager Plus).
- Replace the new customer-config.xml file with the copied customer-config.xml file in the conf folder (<New Installation Directory>\ADManager Plus\conf).
- Obtain the database backup file from the Backup folder of your old instance and paste it in the bin folder (<Installation Directory>\ADManager Plus\bin) of your new ADManager Plus instance.
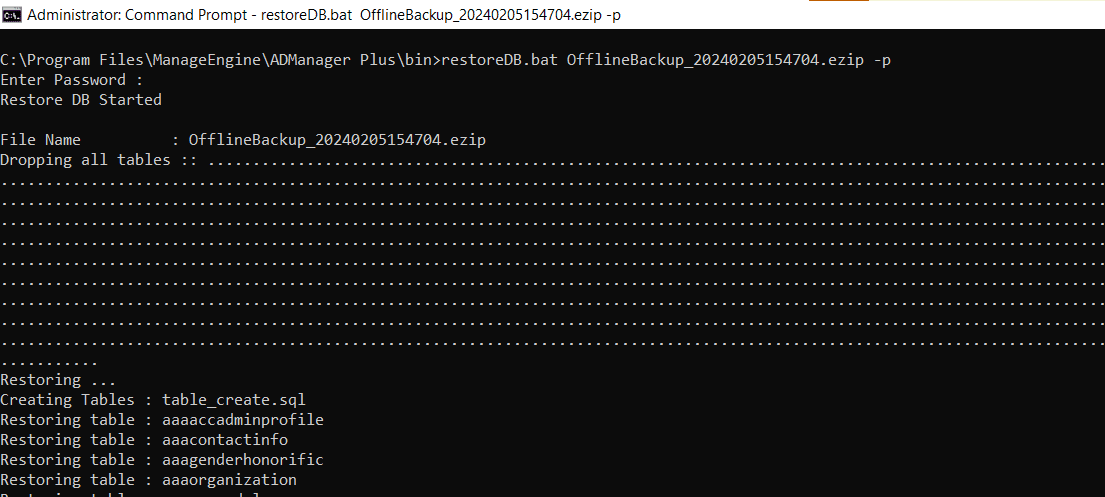
- Restore the database backup by running Command Prompt as an administrator, navigating to <Installation Directory>\ADManager Plus\bin and executing the batch file, restoreDB.bat, in the following format:
restoreDB.bat backupFileName -p
(e.g., restoreDB.bat OfflineBackup_20230215191814.ezip -p)
Note:
When you are prompted for a password, copy and paste the CryptTag value from the customer-config.xml file of your old instance. The CryptTag value is the default database password and is used only when a password is not specified in the Security and Privacy settings of ADManager Plus.

- Now start the product.
- Apply the original license file sent to your email from licensing@manageengine.com. You can also obtain the license file, AdventNetLicense.xml from the License folder present in <Installation Directory>\ADManager Plus\lib of your old instance.
How to migrate older builds of ADManager Plus to a new server
If you are using builds older than 7140 of the product, then follow these steps to migrate the product to a new server.
- Stop ADManager Plus and the database by:
Navigating to Start > All Programs > ADManager Plus > Stop ADManager Plus or if you have installed ADManager Plus as an NT Service, then Start > Run > services.msc > ManageEngine ADManager Plus > Stop the service. To stop the database, go to <Installation Directory>\ManageEngine\ADManager Plus\bin and execute the stopDB.bat file.
- Once you have stopped the database, make a backup of the old instance's database. Go to <Installation dir>\ADManager Plus\bin > right-click the backupDB file > select the Run as administrator option to execute the backupDB.bat file using the Command Prompt.
Note:
- A folder named Backup will be created under the <installation dir> (e.g., C:\Program Files\Manage Engine\ADManager Plus), which will contain the database in a compressed file format (e.g., OfflineBackup_20230215191814.ezip).

- Now, download the required version of the product and install it on the new server. If you are installing the build on the existing server, then follow the steps given below.
- Open File Explorer. In the menu bar, click View > Show > select Hidden items. Go to C:\Program Files(x86)\InstallShield Installation Information. Rename the following folder, {CC00BC3F-40AE-49A7-BA63-FE2F93D20585}, to {CC00BC3F-40AE-49A7-BA63-FE2F93D20585}_bak. You also have to rename the existing ADManager Plus folder to ADManager Plus_old.
- Once the folder is renamed, download and install the required version of the product on the existing server.
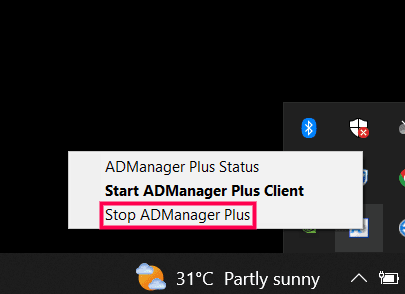
- After installing the product, start it once in console mode and shut it down by navigating to the system tray icon > Stop ADManager Plus.

- Copy the DB backup file from the backup folder (<installation directory>\ADManager Plus\backup) along with the Archive, ES, and esdata folders from the existing ADManager Plus installation folder (<Installation Directory>\ADManager Plus).
- Once you have installed the new instance, do the following:
- Paste the DB backup in the bin folder of the new instance.
- Paste the archive, ES, and esdata folders in the installation folder of the new instance (<installation dir>\ADManager Plus).
- Restore the backup, which is located in the bin folder, by opening the Command Prompt with the ADManager Plus service account, navigating to <New Installation Directory>\ADManager Plus\bin using the cd <drive name>: command, and executing the command given below:
restoreDB.bat <backup file name> -p
For example: restoreDB.bat OfflineBackup_20210116225934.ezip -p
- The password to open the backup folder will be the reverse string of the filename. For example: 43952261101202_pukcaBenilffO

- Now, from the same Command Prompt window, run the command below to install the new instance as a service.
wrapper.exe -i ..\conf\wrapper.conf
- Finally, start the product using Run > Services.msc > ManageEngine ADManager Plus > Start.
Select a language to translate the contents of this web page:


