
Security Assertion Markup Language (SAML) is the de facto open standard used for exchanging authentication and authorization details between the Service Provider and the Identity Provider. The exchange of details is done through digitally signed XML documents containing user data. Central Server on-premises offers support for SAML 2.0 authentication. By enabling this feature, users can login to Central Server on their desktops and mobiles (Central Server Mobile App) via a Single Sign-On (SSO) service, which supports SAML authentication.
Service Provider - The application providing a specific service which authenticates and authorizes users by security assertions requested by SSO. For example: CRM, Endpoint Server, etc..
Identity Provider - The entity which maintains and manages the user's credentials. For example: Okta, OneLogin, etc..
Single Sign-On service - A service provided by Identity Provider, that has a centralized login system in which the user enters the credentials once, after which, the authentication and authorization details are passed to different service providers to grant access to the user.
The main advantage of SSO is that it has centralized authentication, thereby eliminating the need for users to remember multiple passwords to access different applications.
When a user tries to login to access the Service Provider, the user will be redirected to SSO login page. Upon entering the credentials, the SSO will pass the information to the Service Provider. Further, the Service Provider will decide based on the authentication and authorization details provided by the SSO, whether or not to grant access to the user.
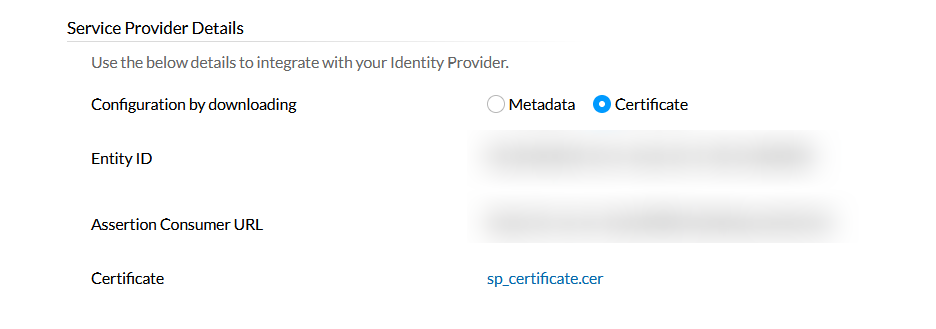
After logging in, go to the Admin tab, and select SAML Authentication. Here, you can find the details that are provided by Central Server to be entered in IdP's side. 
Note: Steps to change the default ACS URL:
1. Open <Installation_directory>/UEMS_CentralServer/conf/websettings.conf
2. In a new line, type saml.fqdn.name=FQDN_Name
3. Save the websettings.conf file
For example: saml.fqdn.name=dc.com
4. Restart the Central Server server
5. Reconfigure SAML Authentication
where FQDN_Name is the new FQDN, without the port.
Both Entity ID and the Assertion Consumer URL will be present in the Metadata XML.
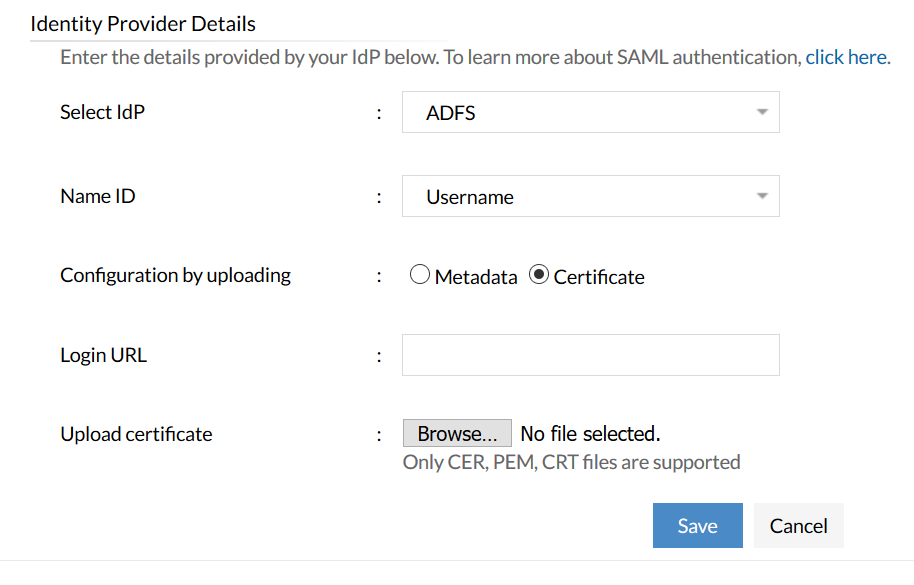
After logging into the product console, go to the Admin tab, and select SAML Authentication. At the bottom, you have to enter the IdP's details. 
Note: The Federation Metadata XML file from IdP, that contains the information mentioned above, can be uploaded to Central Server.
Note: All the SAML configuration and authentication steps discussed for Central Server also applies to Patch Manager Plus and Vulnerability Manager Plus.