Working with Exchange Reporter Plus
This section goes over:
- Starting Exchange Reporter Plus
- Accessing Exchange Reporter Plus
- Logging in to Exchange Reporter Plus and changing the default password
- Stopping Exchange Reporter Plus
- Adding Exchange Server, an Office 365 tenant, and Skype for Business Server
Starting Exchange Reporter Plus
Once Exchange Reporter Plus is successfully installed, a shortcut will be added to the desktop. To start Exchange Reporter Plus:
- Double-click the desktop icon. Exchange Reporter Plus will open in a web browser (when the product is installed as an application).
- It can also be started by clicking Start and searching for Exchange Reporter Plus → Start Exchange Reporter Plus.

- If Exchange Reporter Plus is installed as a Windows service, then start it using the Windows Services Manager (services.msc) tool.
- Click on the Windows icon.
- Search for services.
- Choose ManageEngine Exchange Reporter Plus Service.
- Click on Start the service.
Accessing Exchange Reporter Plus
- Double-click the desktop icon to open Exchange Reporter Plus in a web browser (when installed as an application).
- Alternatively, open any of the supported web browsers, and type http://<hostname>:<port number> in the address bar.
- Hostname: IP address or hostname of the machine where Exchange Reporter Plus is installed.
- Port number: The port number used by Exchange Reporter Plus. By default, it is 8181. If you have changed the port number during installation or later, use that port number instead.
- If the product has already been started as an application using the ExchangeReporter.bat file, you can launch it by right-clicking the system tray icon of Exchange Reporter Plus and selecting Start Client.
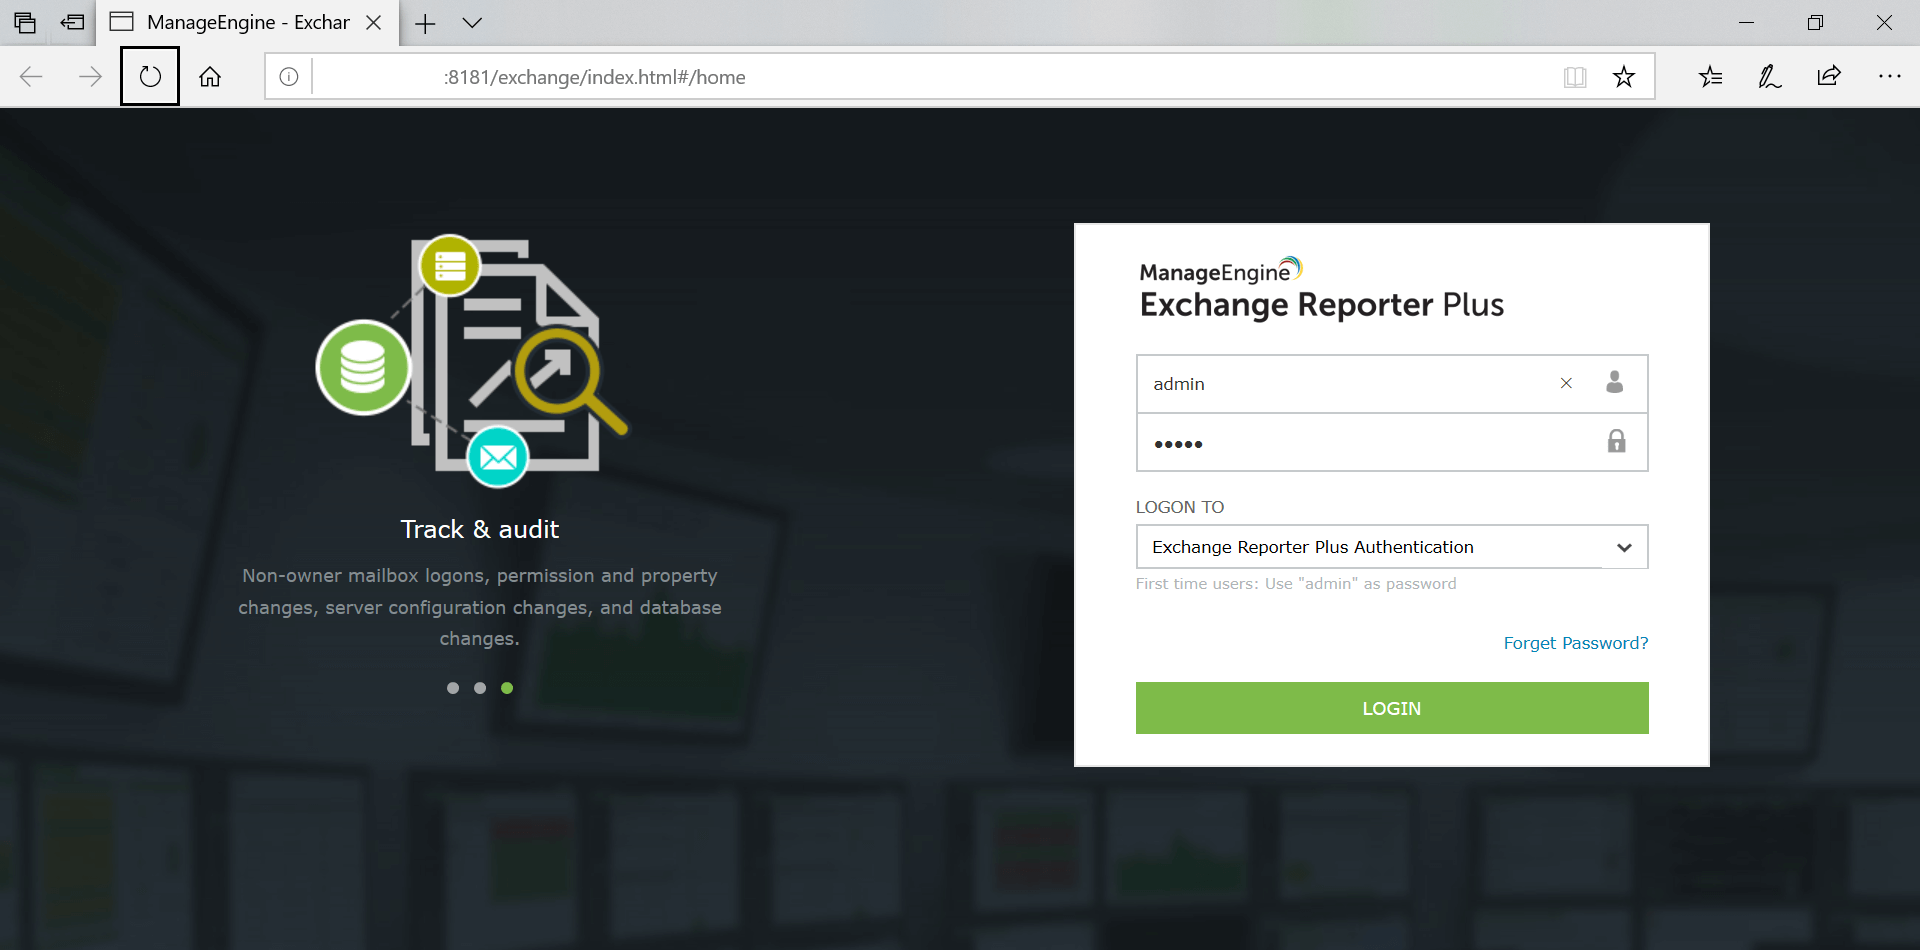
- Enter your credentials and login authentication type.
- You can use the domain user credentials, and select either domain or Windows authentication mode.
- If you choose to use product authentication, you must have added the user either as an admin or operator before.
To learn more about the authentication methods and users who have access to the product, refer to the Delegating access to technicians section in the Quick Configuration guide.
Logging into Exchange Reporter Plus and changing the default password
- In the login screen of Exchange Reporter Plus, enter the Username and Password.
Note: If you’re logging in to Exchange Reporter Plus for the first time after installation, use admin as both the username and password.
- Click Login.
Tip: It is recommended to change the default credentials.
You can change the default password by following the steps below:
- Go to Settings → Admin → Utilities → Technicians.
- Under the Actions column, click the edit icon next to the admin account.
- Click Edit Password.
- Enter the new password, then enter again to confirm it.
- Click Save.
Stopping Exchange Reporter Plus
- Click Start and search for Exchange Reporter Plus → Stop Exchange Reporter Plus.
- If the product is running as a Windows service, you can stop it using the Windows Services Manager (services.msc) tool.
- Click on the Windows icon.
- Search for Services.
- Choose ManageEngine Exchange Reporter Plus Service.
- Click on Stop the service.
Adding Exchange Server, an Office 365 tenant, and Skype for Business Server
Once Exchange Reporter Plus is installed, you need to configure Exchange Server, an Office 365 tenant, and Skype for Business Server that you would like to monitor.
Note: Exchange servers will be auto-discovered when the product is installed in the same forest as the server.
Adding Exchange Server
- Go to Org/Tenant Settings in the top-right corner.
- Select the Exchange Server tab
- Enter the Global Catalog Server, User Name, and Password.
- Enable LDAPS Connection if required.
- Click on Save.
- You can select a default organization and keep adding new organizations by choosing the Add New Organization option in the top-right corner.


Adding an Office 365 tenant
- Go to Org/Tenant Settings in the top-right corner.
- Select the Exchange Online tab.
- If you are configuring your first tenant, click Configure using Microsoft 365 Login. Otherwise, choose Add New Tenant, then click Configure using Microsoft 365 Login.
- Click Proceed in the pop-up that appears.
- You will be redirected to the Microsoft 365 login portal. Enter the credentials of a Global Administrator account.
- Click Accept.
- An application and service account for Exchange Reporter Plus will be created automatically. You will now see a page that displays the list of permissions the application needs. Please note down the application name, which is shown at the top.
- Go through the list and click Accept.
- You will now be redirected to the Exchange Reporter Plus console, where you can see that the tenant has been configured successfully.

Adding a Skype for Business Server
- Go to Org/Tenant Settings in the top-right corner.
- Select the Skype Server tab
- Enter the Global Catalog Server, User Name, and Password.
- Enable LDAPS Connection if required.
- Click Save.
- You can select a default forest and keep adding new forests by choosing the Add New Forest option in the top-right corner.


