How to upload Log files?

    It is crucial for our support team to have access to your log files depending on the complexity of the issue you encounter. Our experts may request log files, a comprehensive description of the problem, and, when necessary to ensure a smoother and more satisfying user experience.

    This document covers the steps to send the required logs. It can be done either via the NetFlow Analyzer UI or manually.

    Uploading the logs from the UI

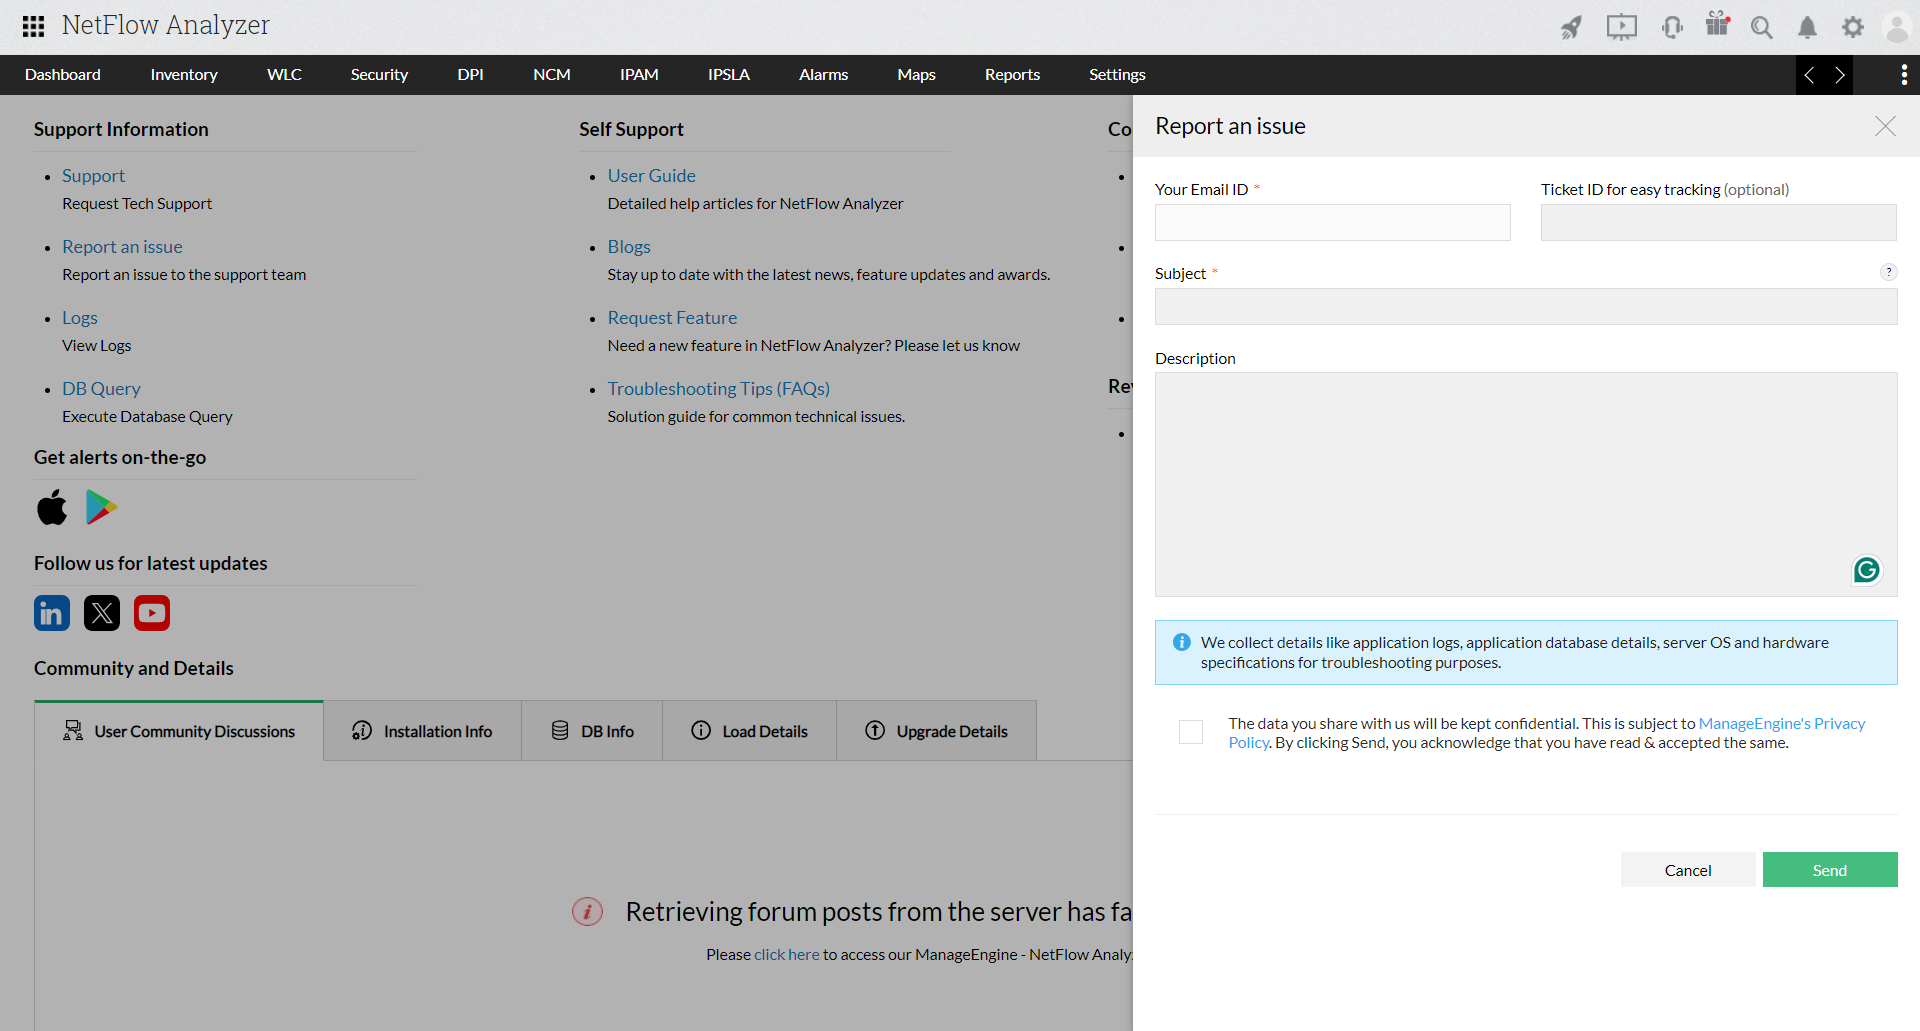
    To upload via the NetFlow Analyzer UI for versions 127243 and above,

    • Click on the Support ( ) icon on the top right.
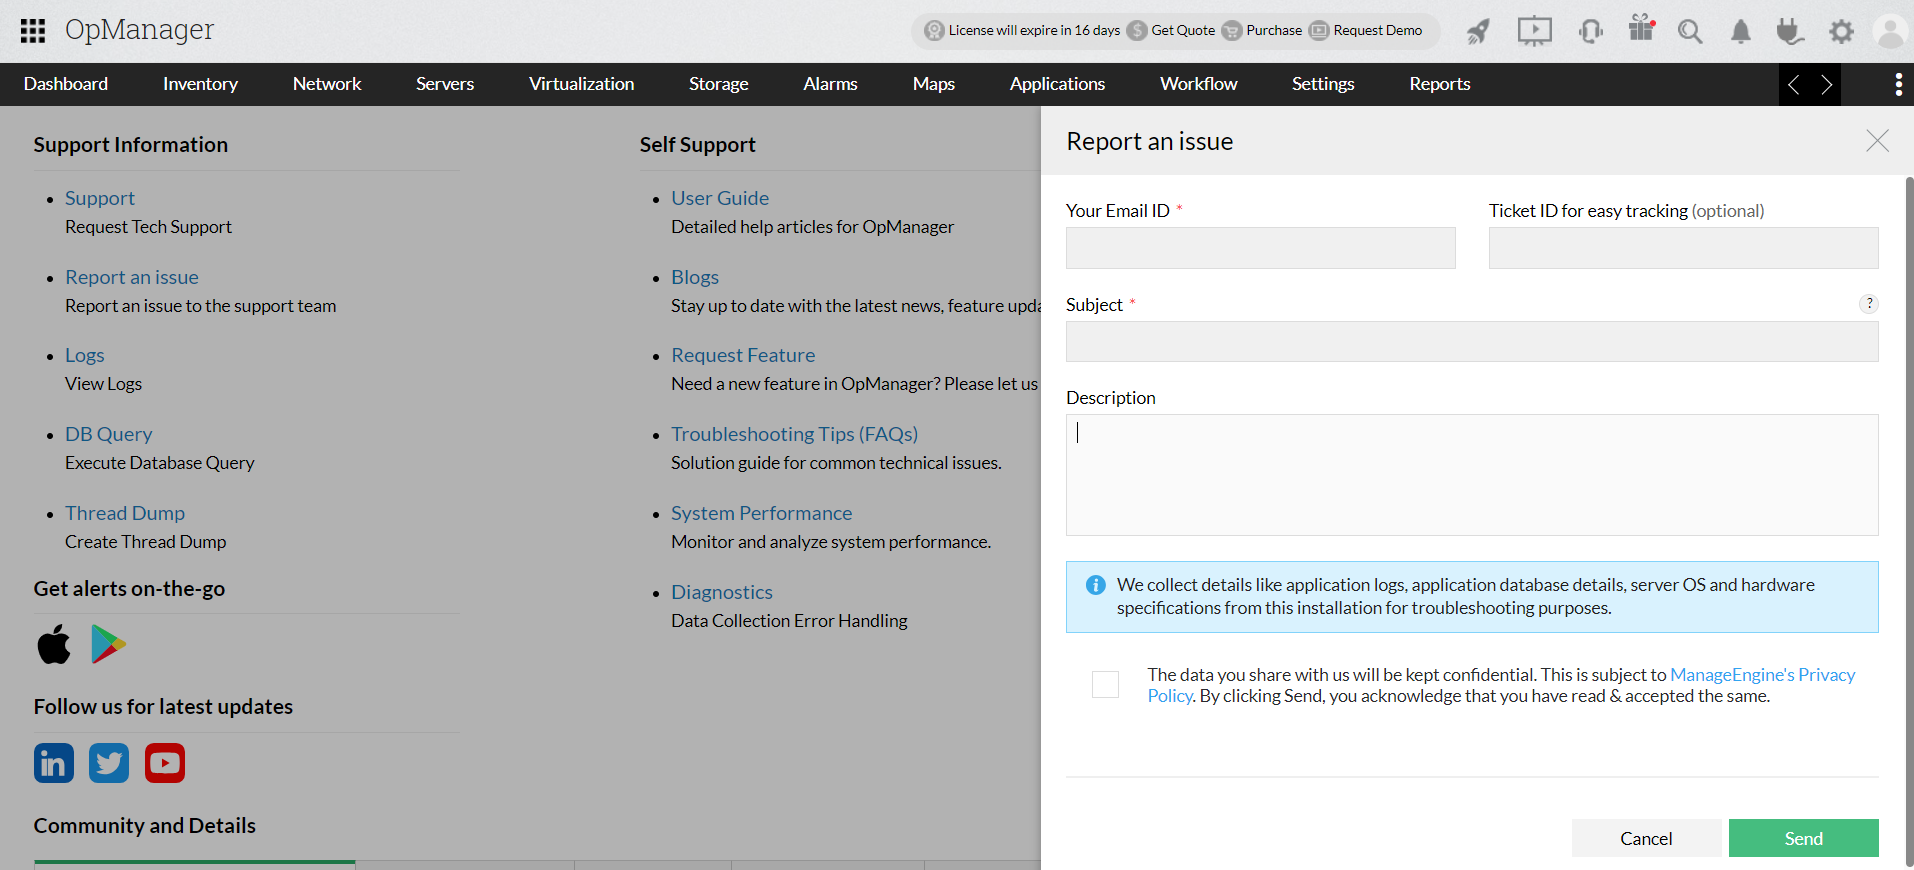
    • Select Report an issue, and enter the required details in the form.
    • Click Send, the file will be uploaded in the background.

    For versions below 127243,

    • Click on the Support( ) icon on the top right.
    • Select Create SIF (Support Information File), and enter the required details in the Form.
    • Click Generate Support Information File, and the file will be generated in the background.
    • Click Send to upload the File

    Manually compressing and uploading the log files

    Before compressing the logs folder, stop NetFlow Analyzer completely. Manually sending the log files involves two stages,

    • Compressing the logs
    • Sending it to the NetFlow Analyzer support

    To compress the log files,

    • Go to <OpManagerHome> directory.
    • Compress the Logs folder into a zip file.

    To Upload the log files,

    • After compressing the log files, go to the customer file upload form.
    • Enter the mandatory fields like the Email address and Ticket - ID.
    • Click on Add files and select the compressed log file to upload it.

    Your log files have been uploaded and sent to the support team successfully.