How to configure NetFlow Generator for server traffic monitoring
NetFlow Generator is a functionality that can be configured with the Network Packet Sensor agent. It captures the data packets coming from non-flow exporting devices and converts them into NetFlow packets. This helps you monitor server traffic, prioritize the traffic for critical applications, and plan bandwidth upgrades with usage reports.
To start with monitoring the server traffic, you need to have met these prerequisites and installed Network Packet Sensor. You can then configure the agent as NetFlow Generator with the following steps.
Installing Network Packet Sensor in Microsoft Windows
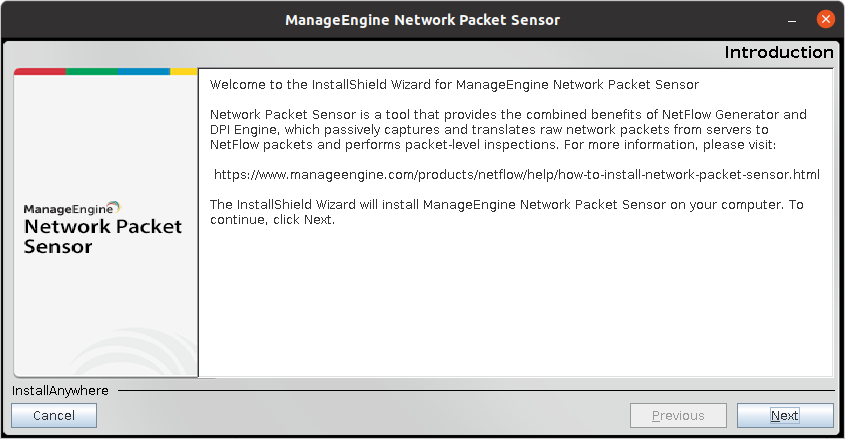
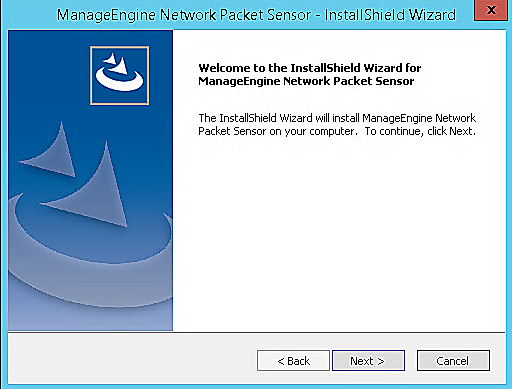
- Launch Network Packet Sensor installation (.exe) file and click Next to start the installation
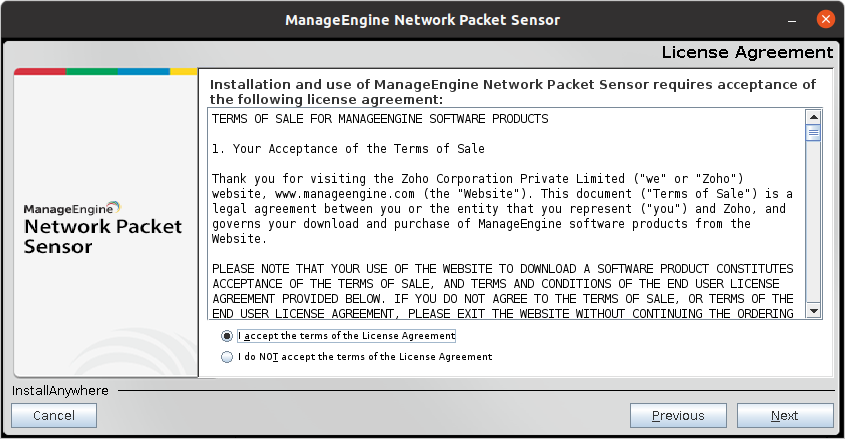
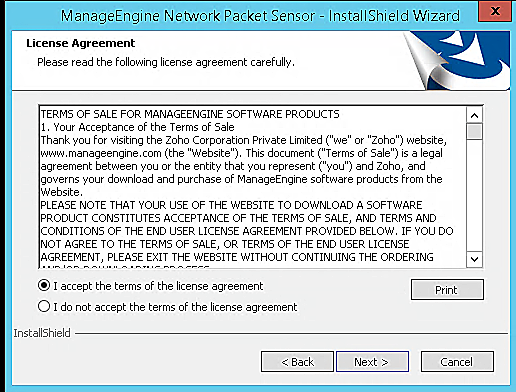
- Verify and Accept the license agreement and click next
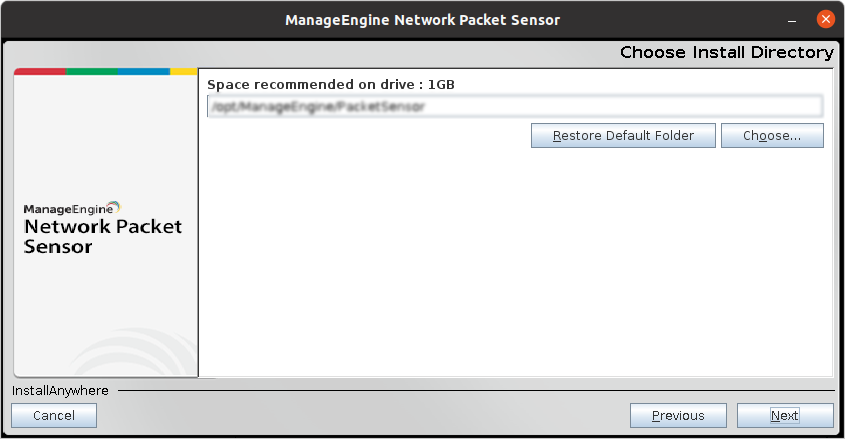
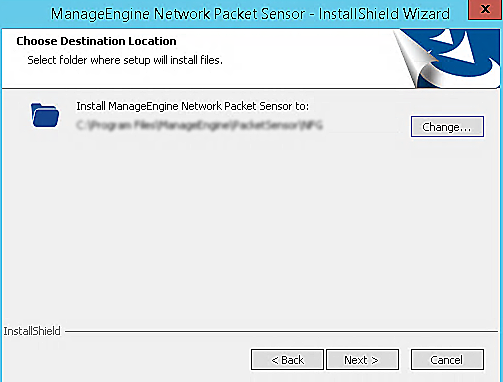
- Choose the destination folder location (optional) or click Next to continue
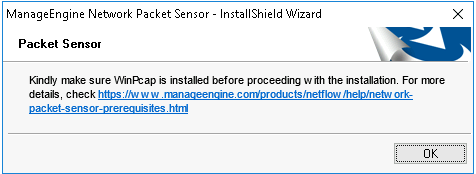
- A pop up message to verify the pre-requisites will appear. Click OK to proceed, if the prerequisites are met
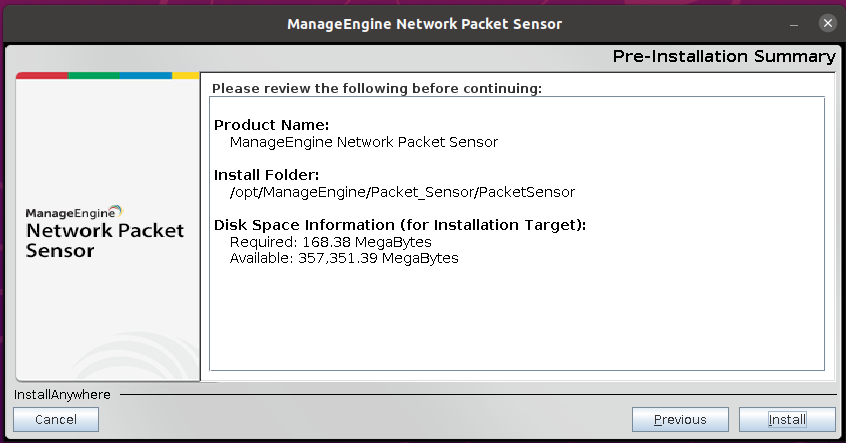
- Review the installation path details shown and then click Next
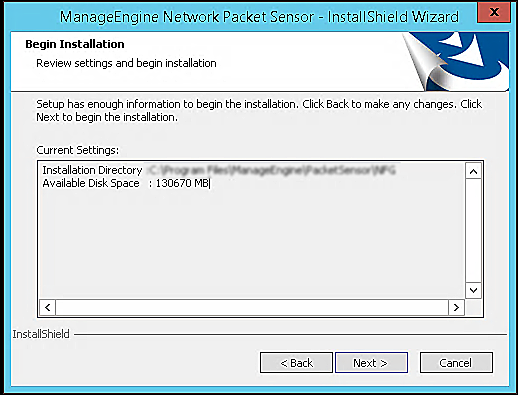
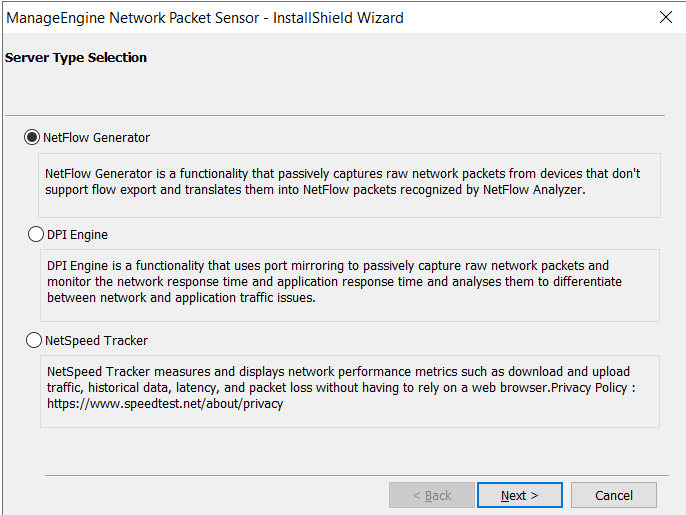
- Select the operation as NetFlow Generator and click Next
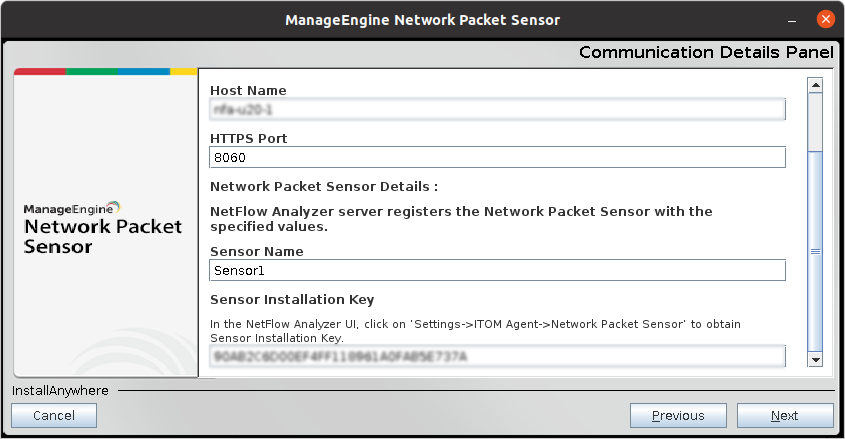
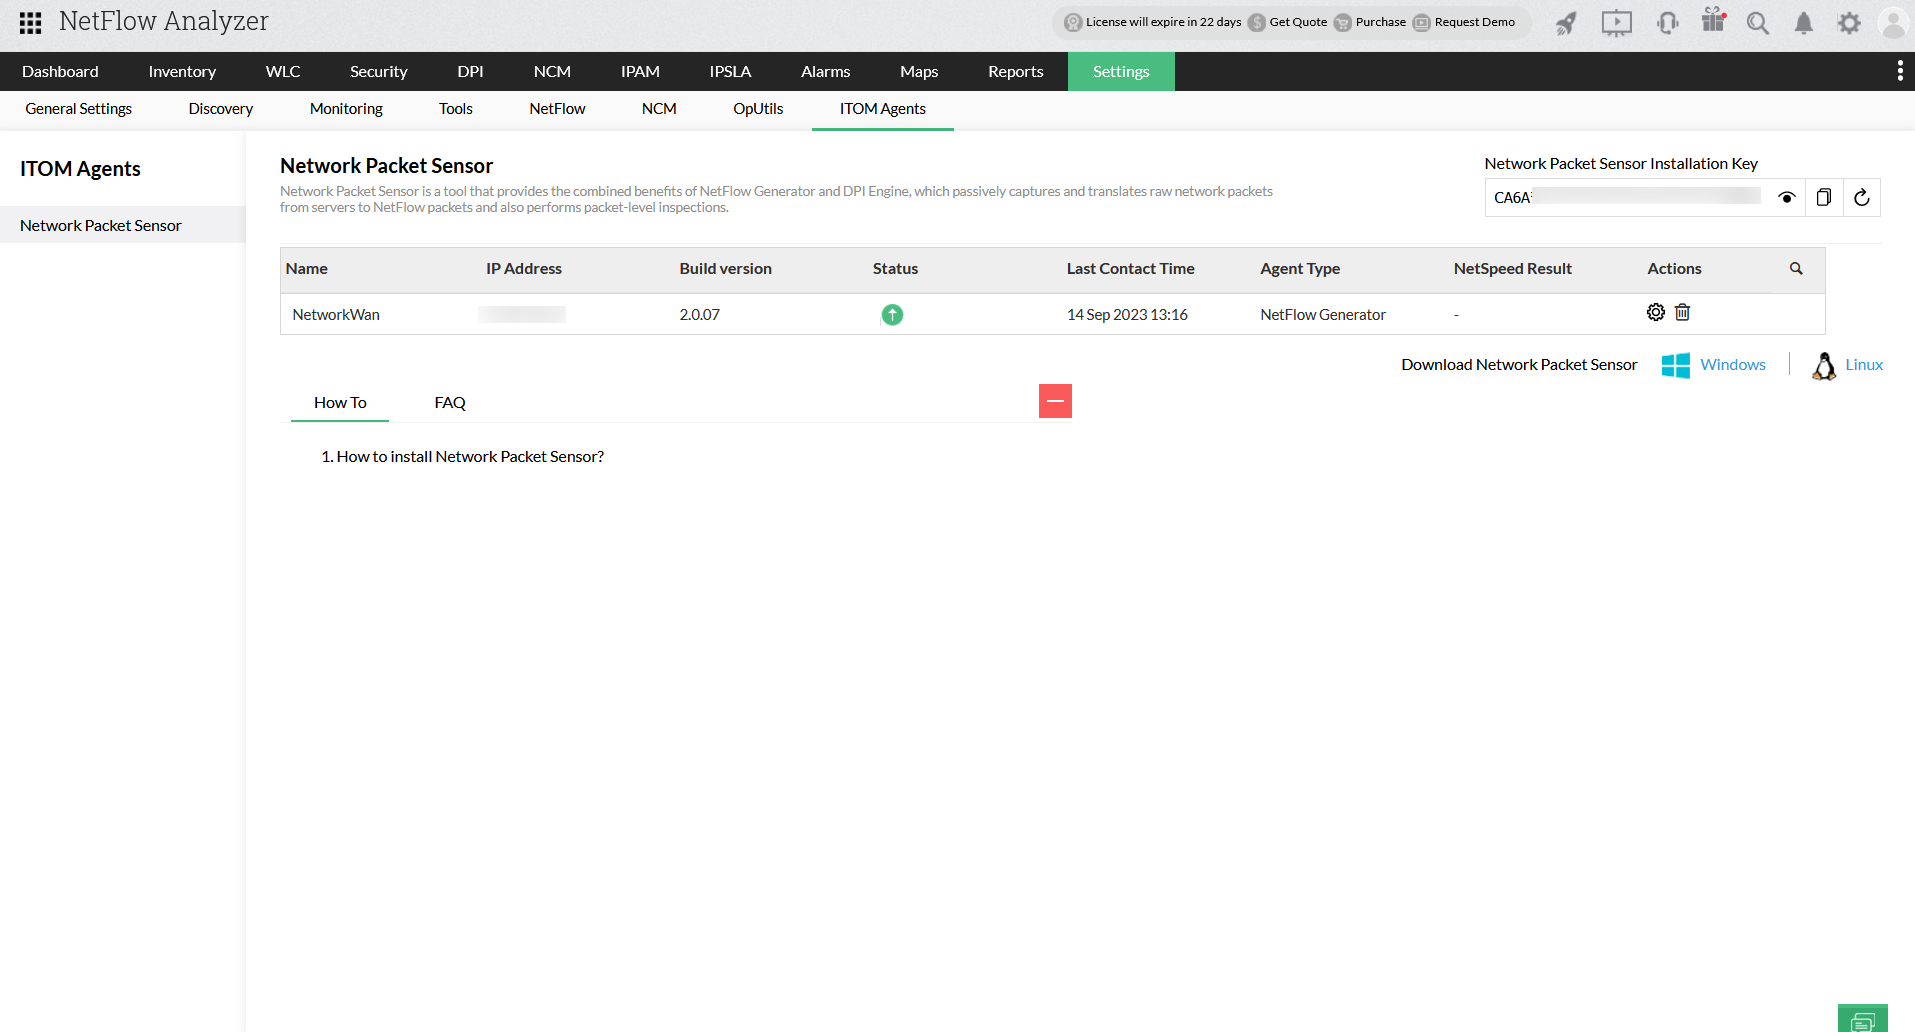
- In the communication panel, enter the Host name, HTTPs Port, Sensor Name and Sensor Installation Key. You can copy the Sensor Installation Key details from the NetFlow Analyzer GUI under Settings > ITOM Agent > Network Packet Sensor.
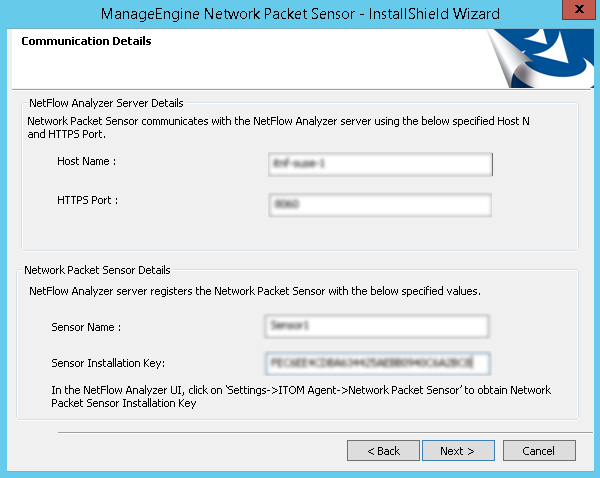
| Host Name |
Host name of the server in which NetFlow Analyzer is running |
| HTTPs Port |
Port Number that NetFlow Analyzer runs on |
| Sensor Name |
Device name for Network Packet Sensor |
| Sensor Installation Key |
The Key displayed in NetFlow Analyzer GUI |
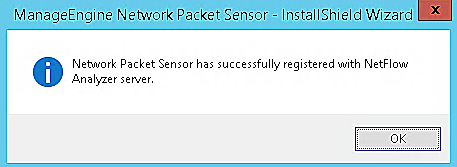
- Once the communication between NetFlow Analyzer and Network Packet Sensor is complete, a message "Network Packet Sensor has successfully registered with NetFlow Analyzer server will pop up. Click ok to proceed
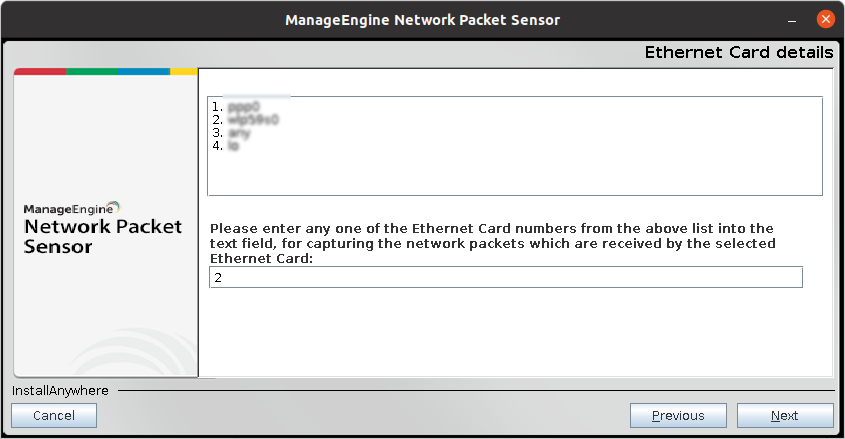
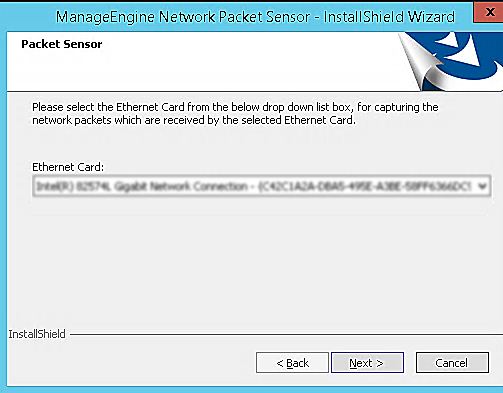
- Select Ethernet Card whose network traffic needs to be monitored
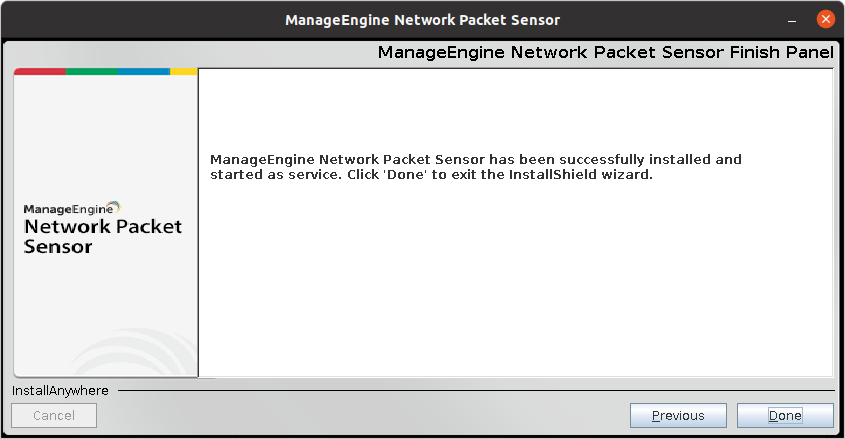
- Click Finish to close the installation wizard, and launch the application
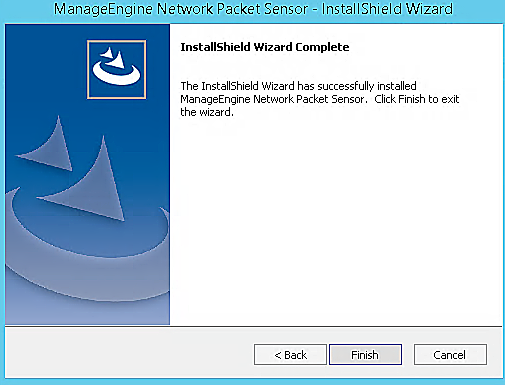
Once the installation is complete, Network Packet Sensor will run as a service in the background.
Installing Network Packet Sensor in Linux (Console)
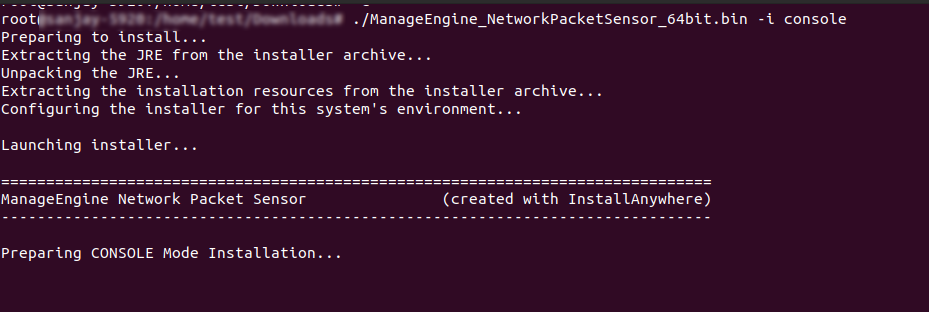
- To launch the installer, type the following commands
chmod +x ManageEngine_NetworkPacketSensor_64bit.bin
./ManageEngine_NetFlowGenerator_64bit.bin-i console
where ManageEngine_NetworkPacketSensor_64bit is the name of the downloaded BIN file
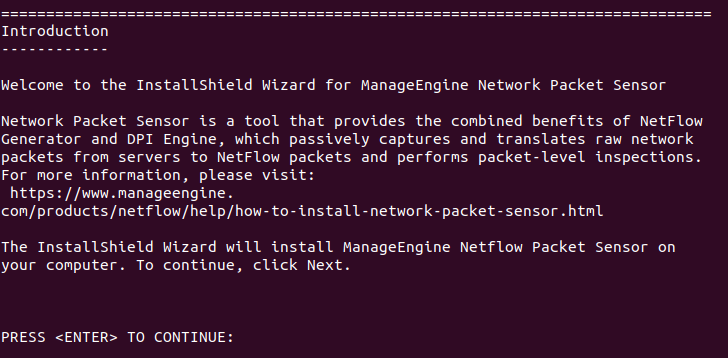
- Once the introduction appears, press Enter to continue
- Now the license agreement part is displayed, press Enter to continue
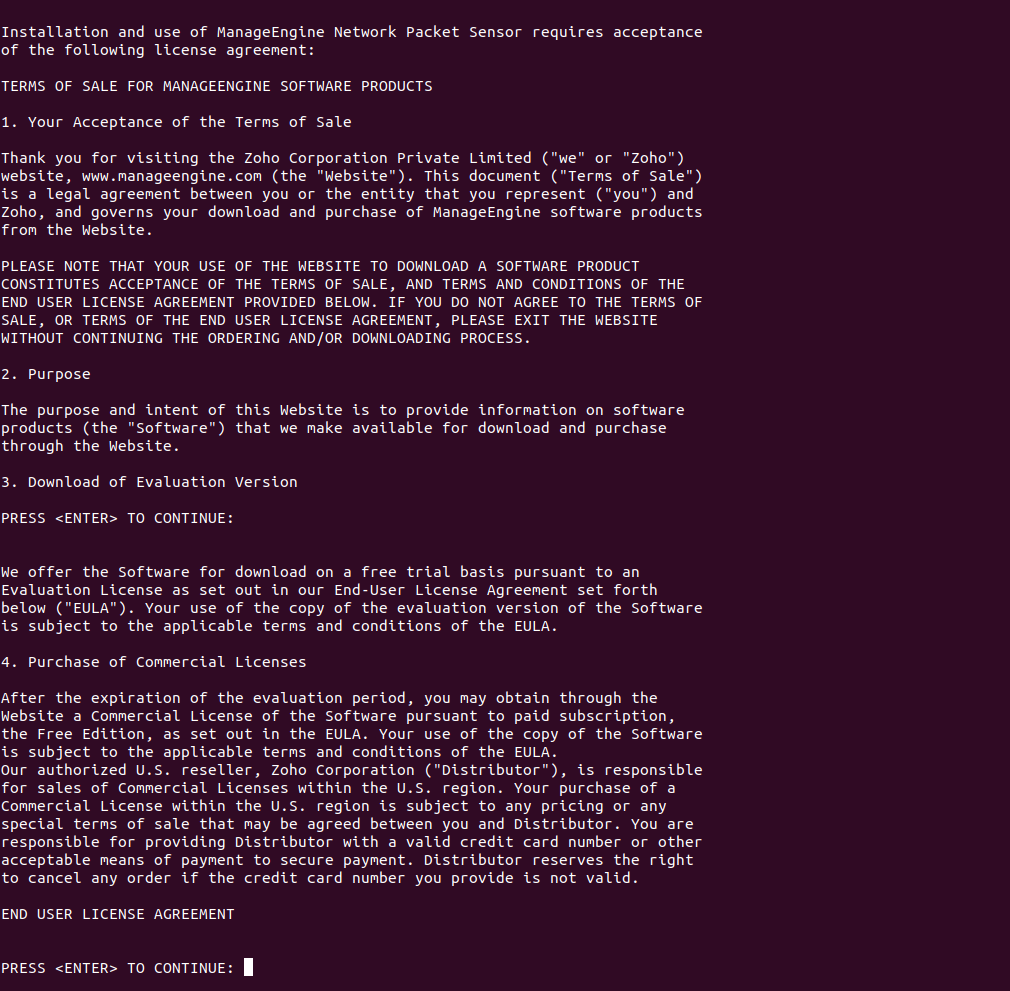
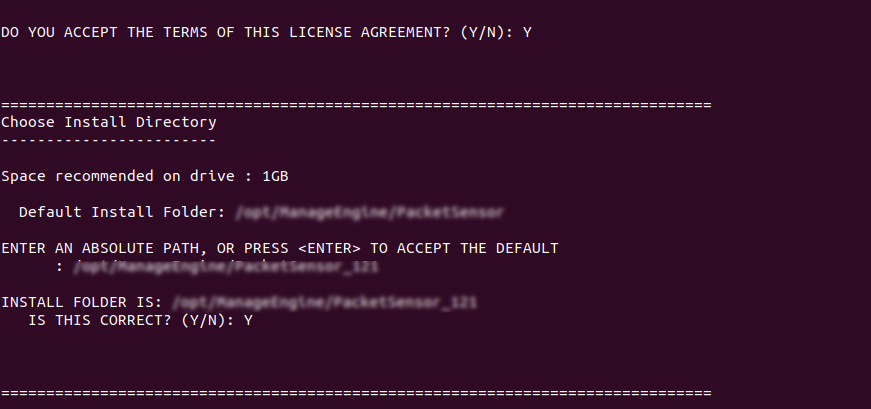
- Verify the installation folder, and type "Y" to continue
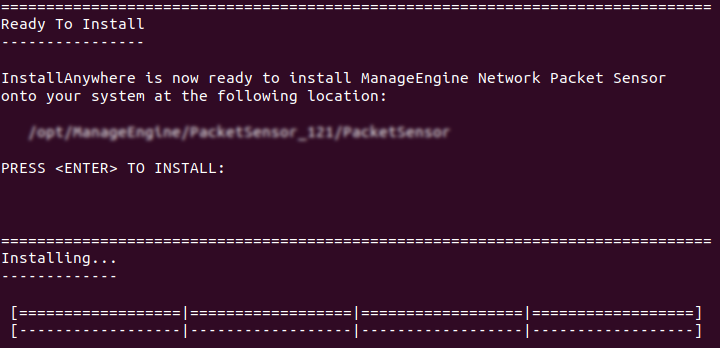
- After confirming the pre-installation summary, press enter to start installing
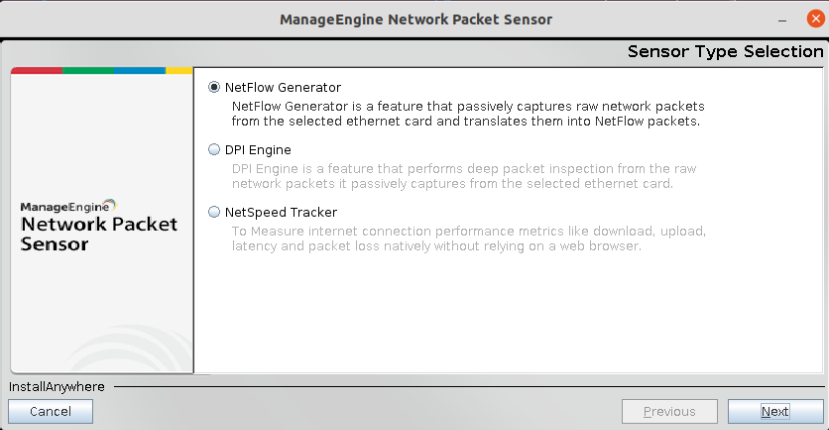
- Select the operation as NetFlow Generator and enter the number of your choice or press to accept the default.

- In the communication details section, type in the following details
| Host Name |
Host name of the server in which NetFlow Analyzer is running |
| HTTPs Port |
Port Number that NetFlow Analyzer runs on |
| Sensor Name |
Device name for Network Packet Sensor |
| Sensor Installation Key |
The Key displayed in NetFlow Analyzer GUI |
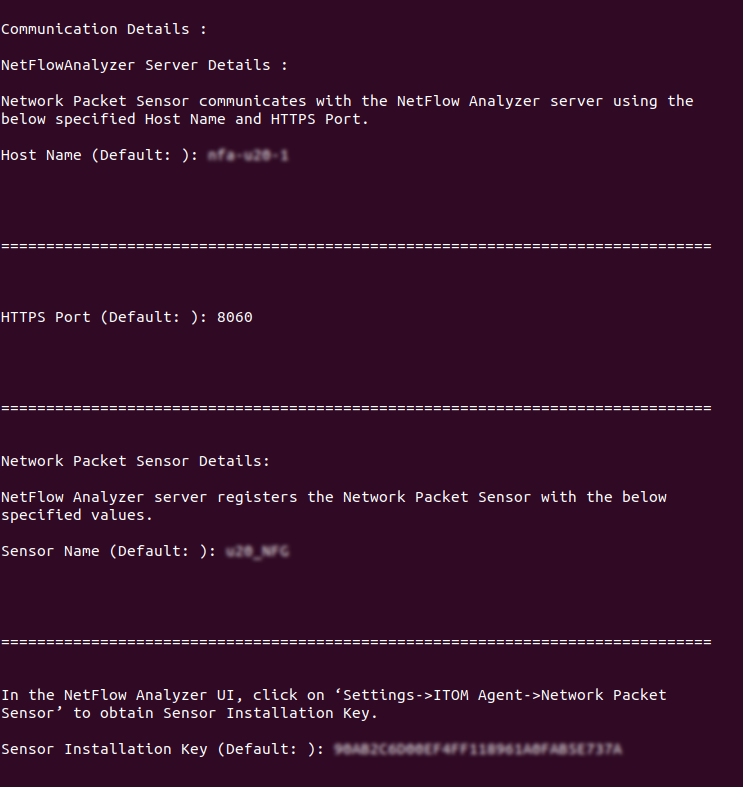
- Once the installation key is verified and communication with NetFlow Analyzer server is established, Ethernet card details will be shown, select the Ethernet card option number to be used for capturing network packets, from the displayed options
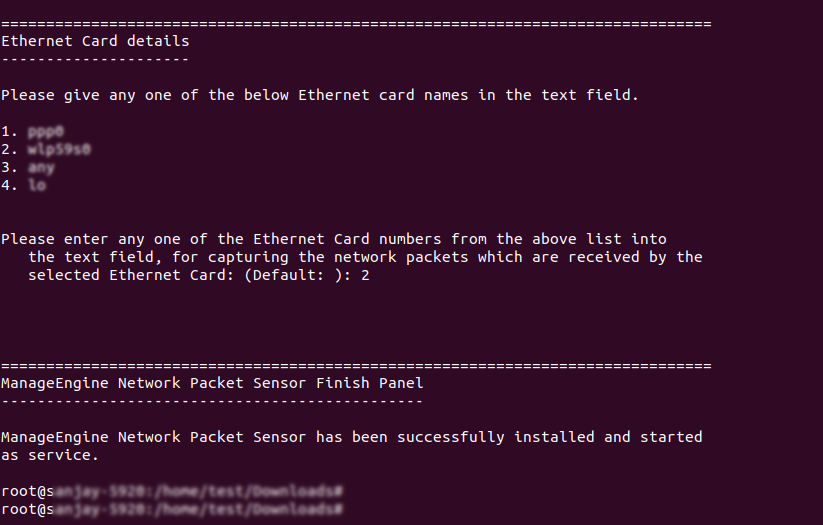
- Once this is done, the installation will complete and the Network Packet Sensor will start running as a service.
Installing NetFlow Generator in Linux(GUI Mode)
Starting Network Packet Sensor as a service in Windows
- Open Services in taskbar and double click ManageEngine Network Packet Sensor that you intend to start.
- Click the Start button.
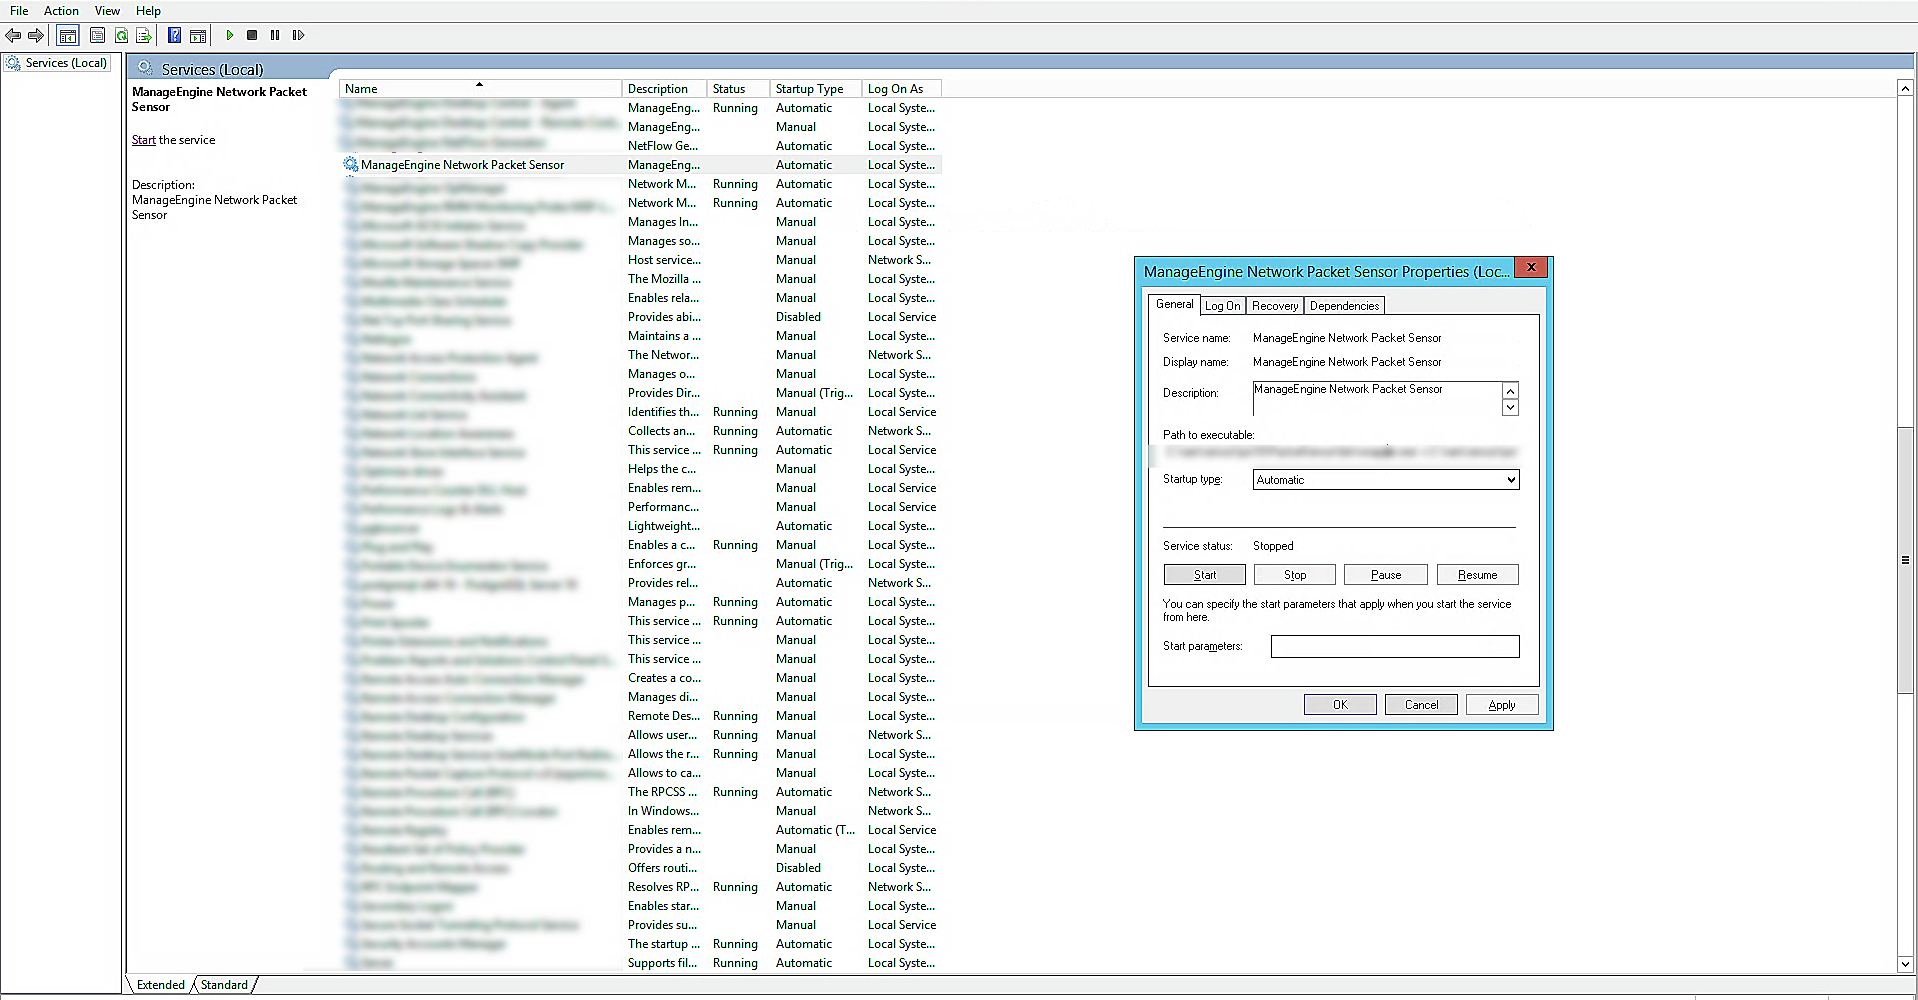
Once the steps are complete, ManageEngine Network Sensor will start running on the device.
Stopping Network Packet Sensor as a service in Windows
- Open Services in taskbar and double click ManageEngine Network Packet Sensor that you intend to stop.
- Click the Stop button.
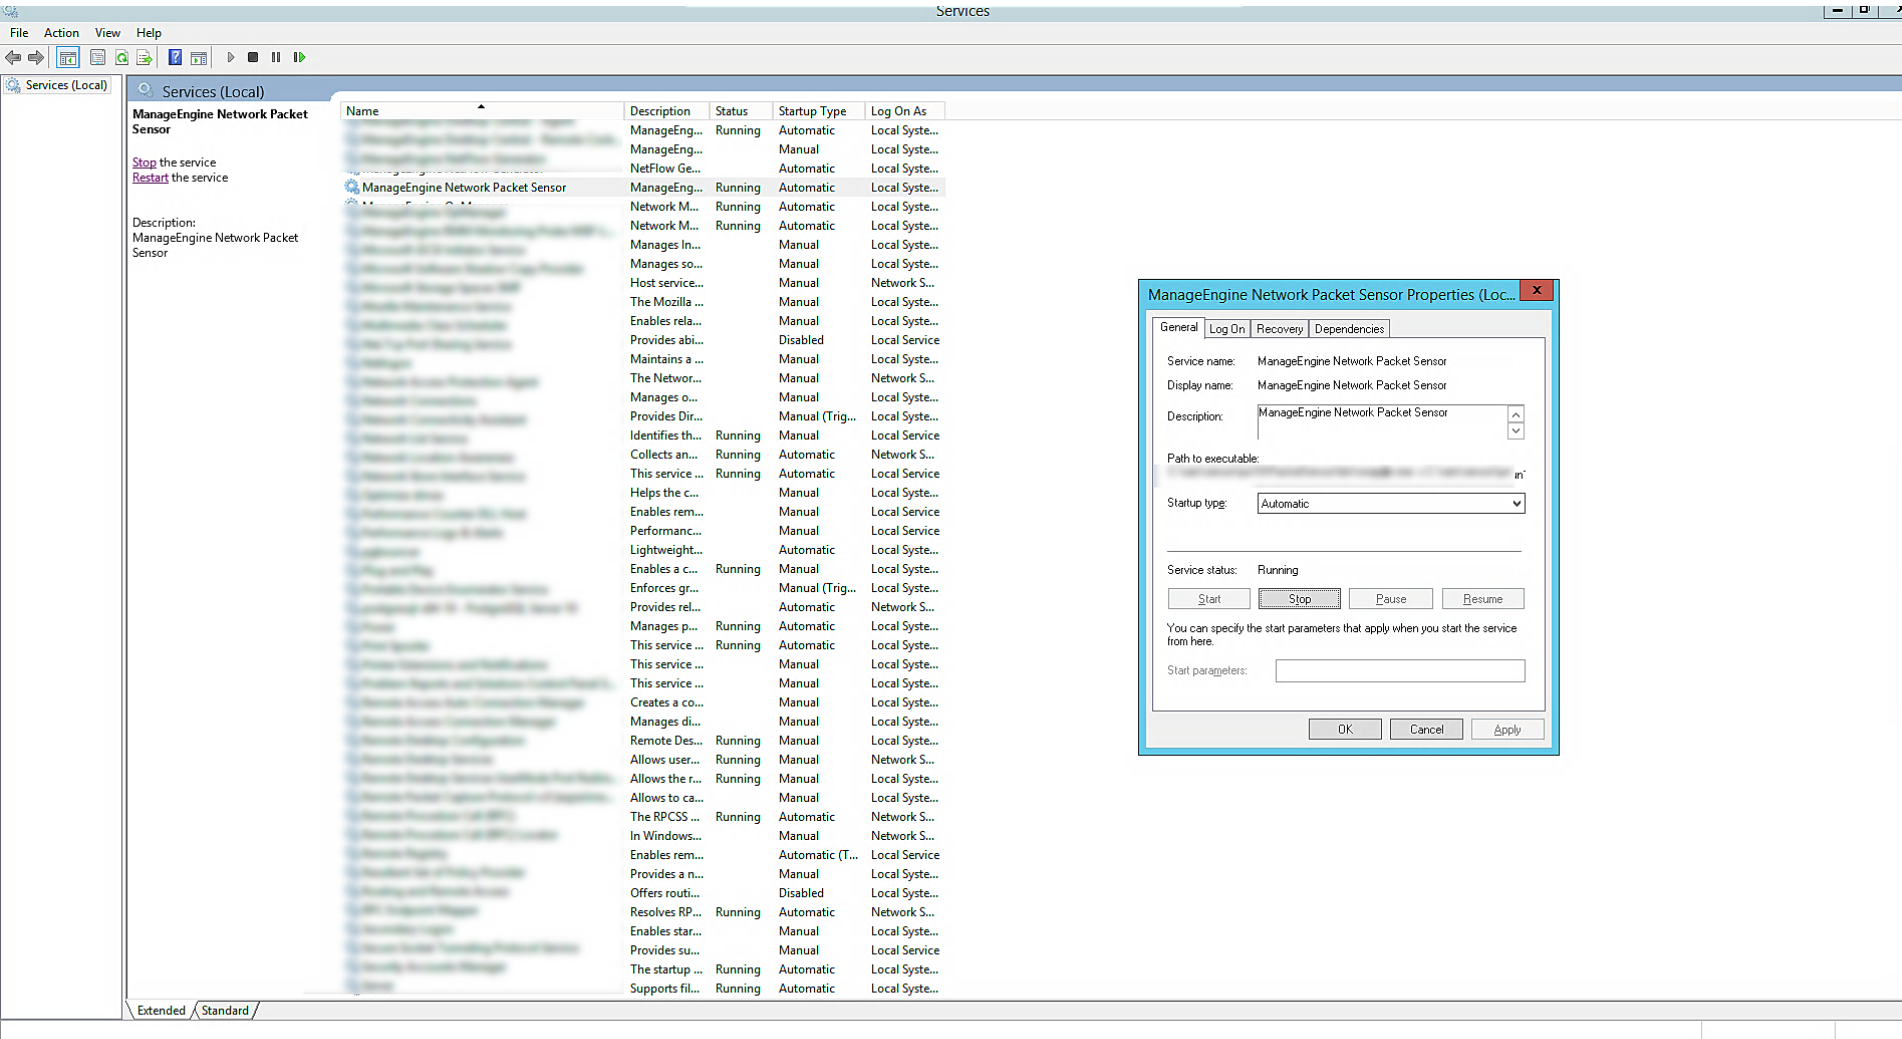
Once the steps are complete, ManageEngine Network Sensor will stop running on the device.
Uninstalling Network Packet Sensor as a service in Windows
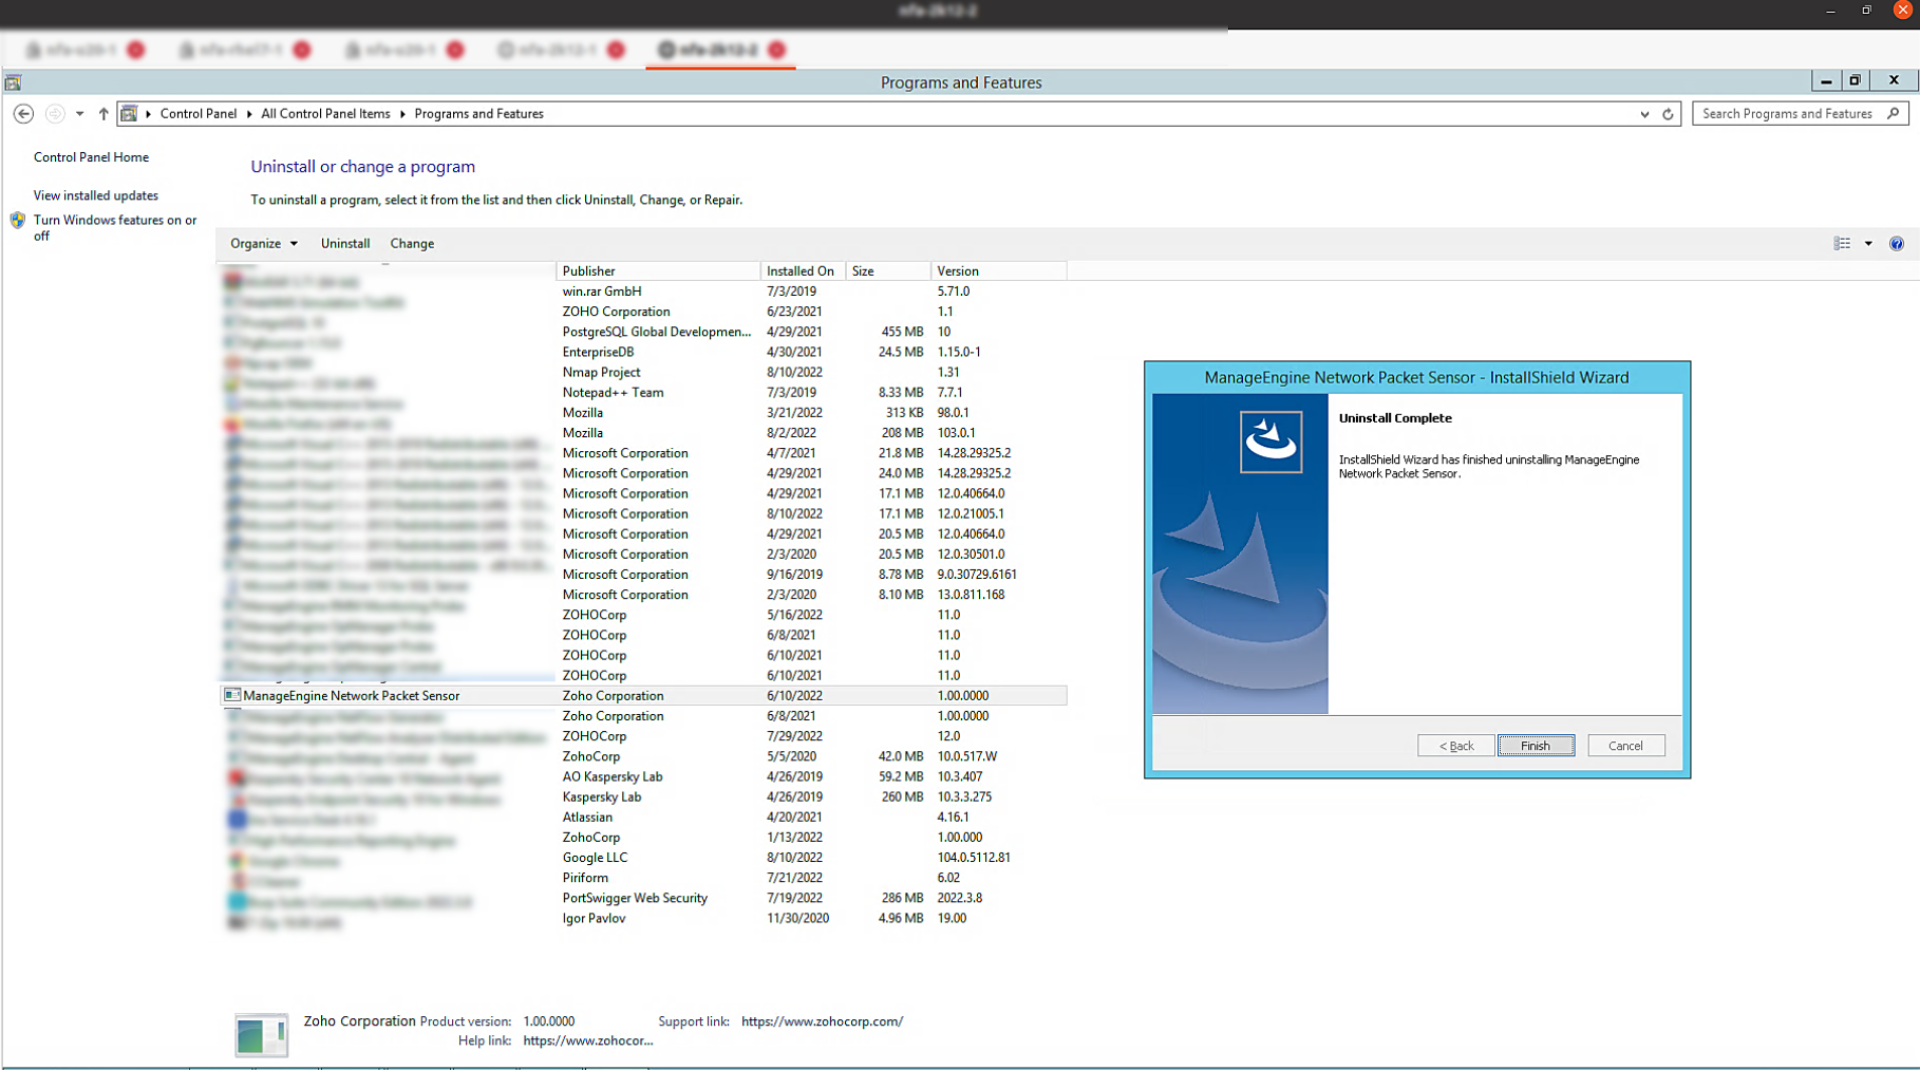
- Open Control Panel and navigate to Add/Remove programs in which Network Packet Sensor is listed.
- Click the ManageEngine Network Packet Sensor program and click Uninstall or right click on the ManageEngine Network Packet Sensor program and click Uninstall.
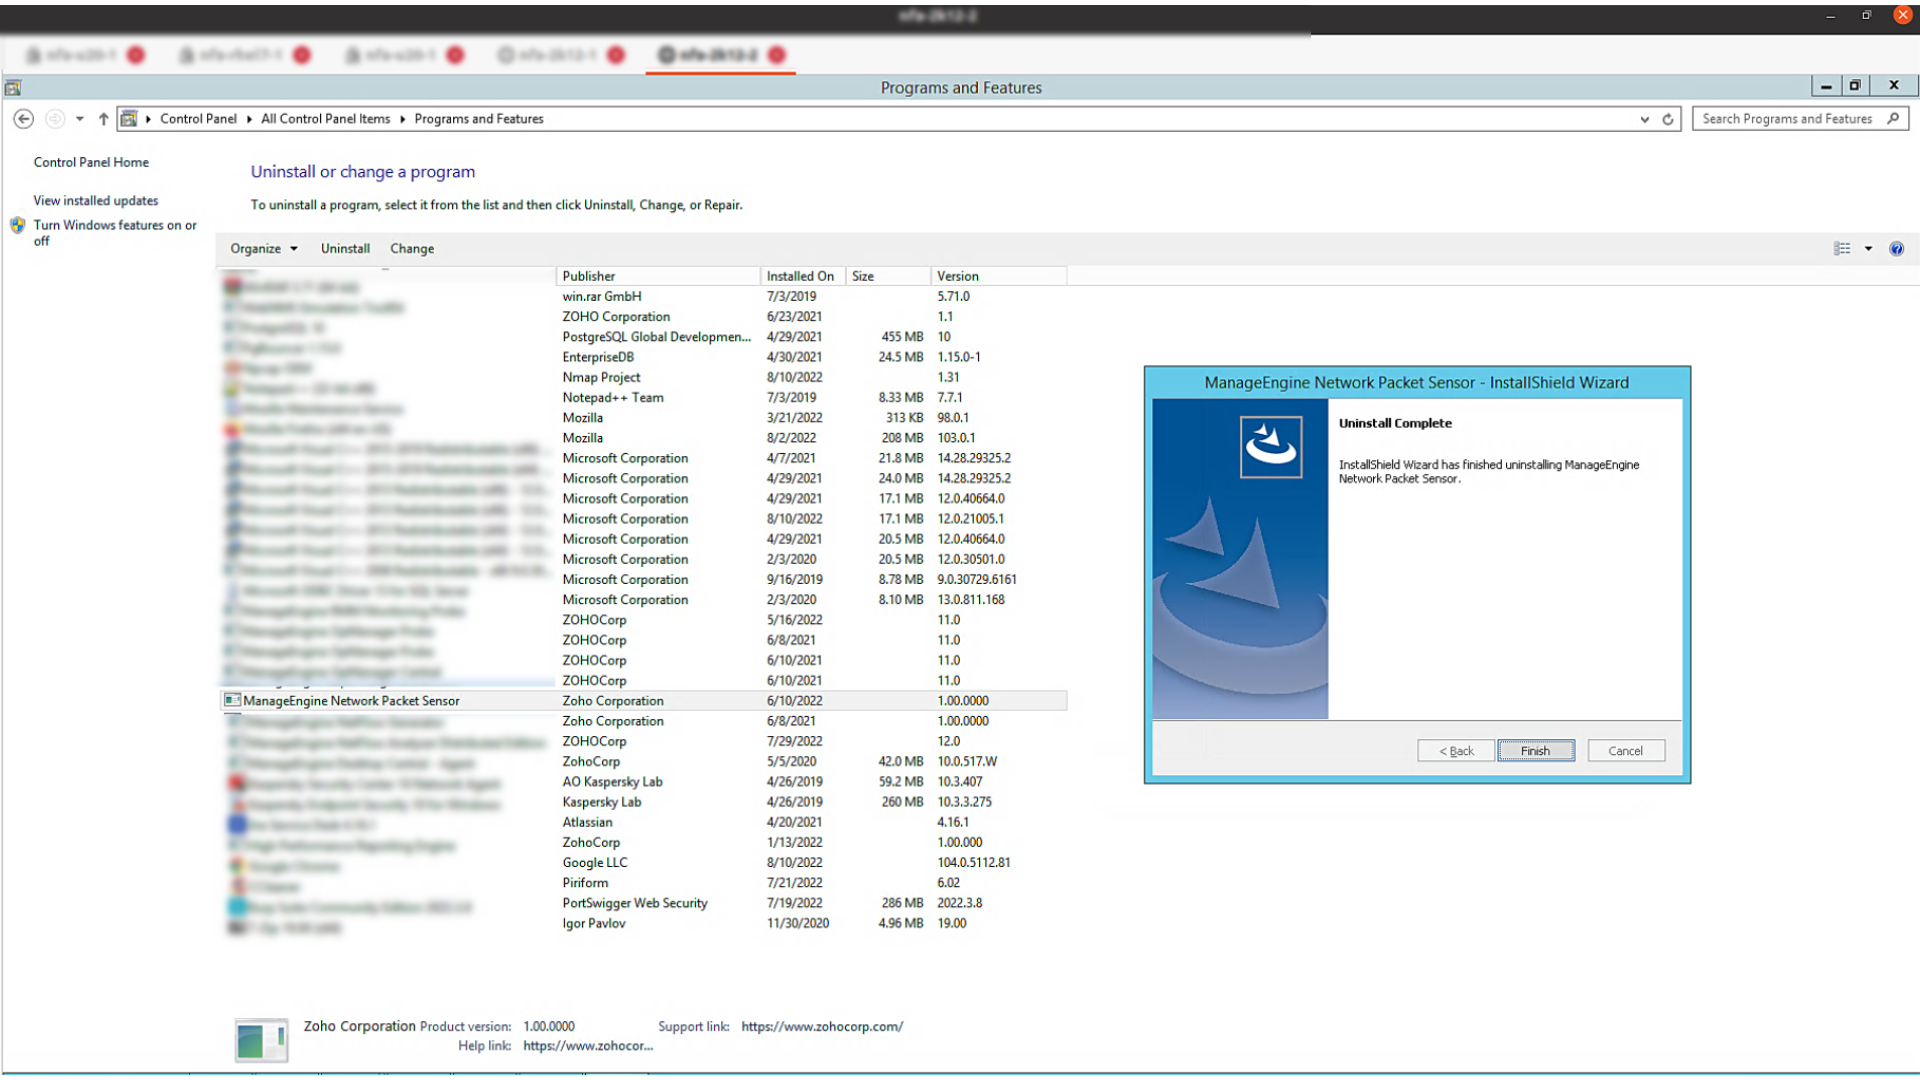
Once the steps are complete ManageEngine Network Packet Sensor will be uninstalled from the device.
Starting or stopping Network Packet Sensor as service in Linux
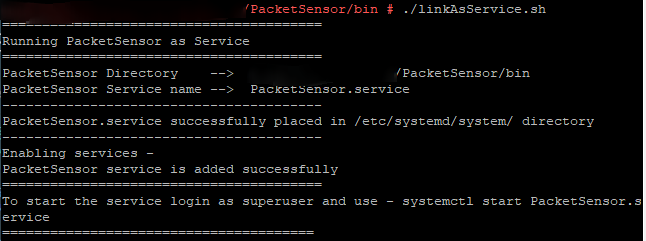
- Execute .linkAsService.sh from PacketSensor/bin with root login
- Start Network Packet Sensor by executing systemctl start PacketSensor.service or /etc/init.d/PacketSensor.service start files, depending on your OS version.
- Check the status of Network Packet Sensor by executing the systemctl status PacketSensor.service or /etc/init.d/PacketSensor.service status commands.
- Network Packet Sensor will now start as a service and start showing server traffic data.
- To stop Network Packet Sensor, execute the systemctl stop PacketSensor.service or the /etc/init.d/PacketSensor.service stop commands.
Uninstalling Network Packet Sensor as a service in Linux
- Open installed folder PacketSensor /bin directory.
- Type the following command ./SensorService stop and type Delete the folder.
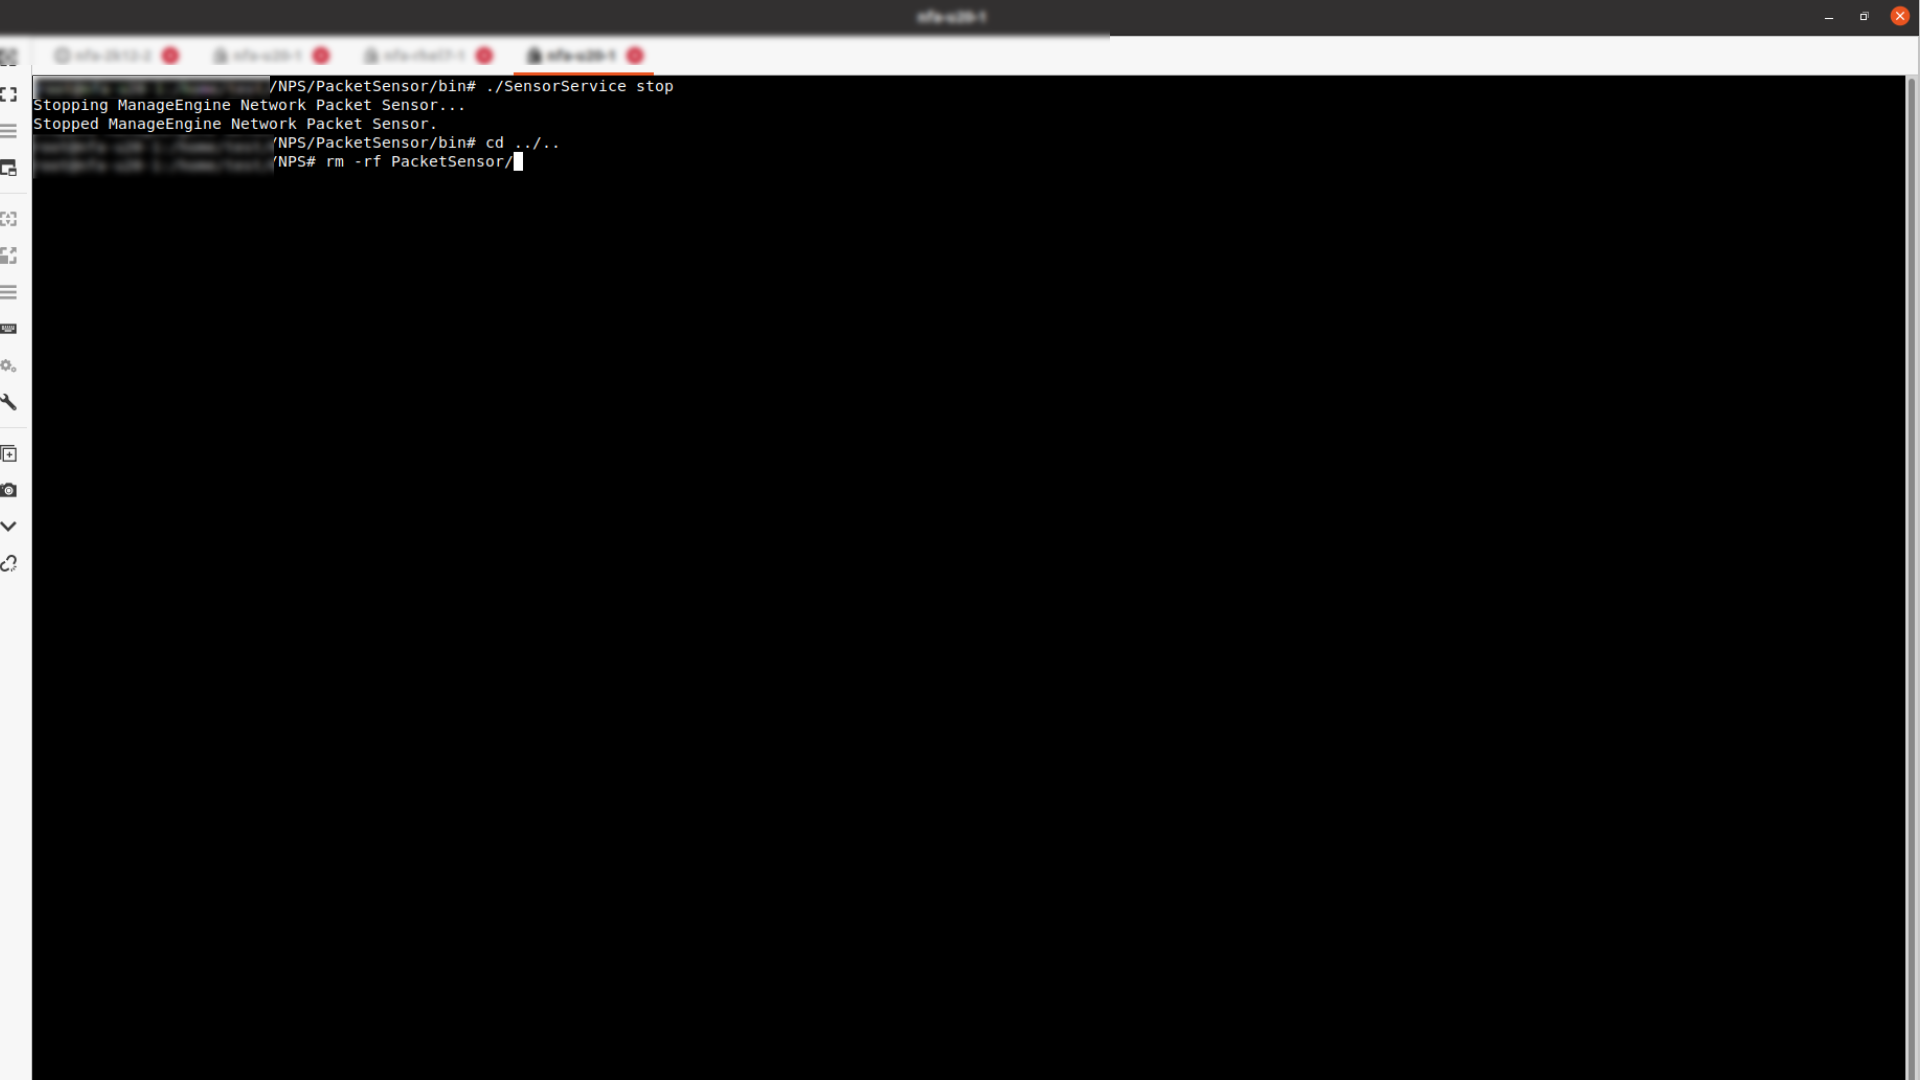
Network Packet Sensor will be removed from your device.
Network Packet Sensor post installation
Thank you for your feedback!


