Additional Fields
Password Manager Pro allows you to add custom fields to the 'Add Resource/Add Account' windows, thereby enabling you to attach any additional information about the resources and accounts such as EOL dates, serial numbers etc. Additional fields are also useful while creating dynamic groups in Password Manager Pro, since you can use the custom values stored to provide criteria expressions for the groups. You can create around 20 custom fields individually for both resources and accounts.
This document walks you through the following topics:
1. Creating Additional Fields
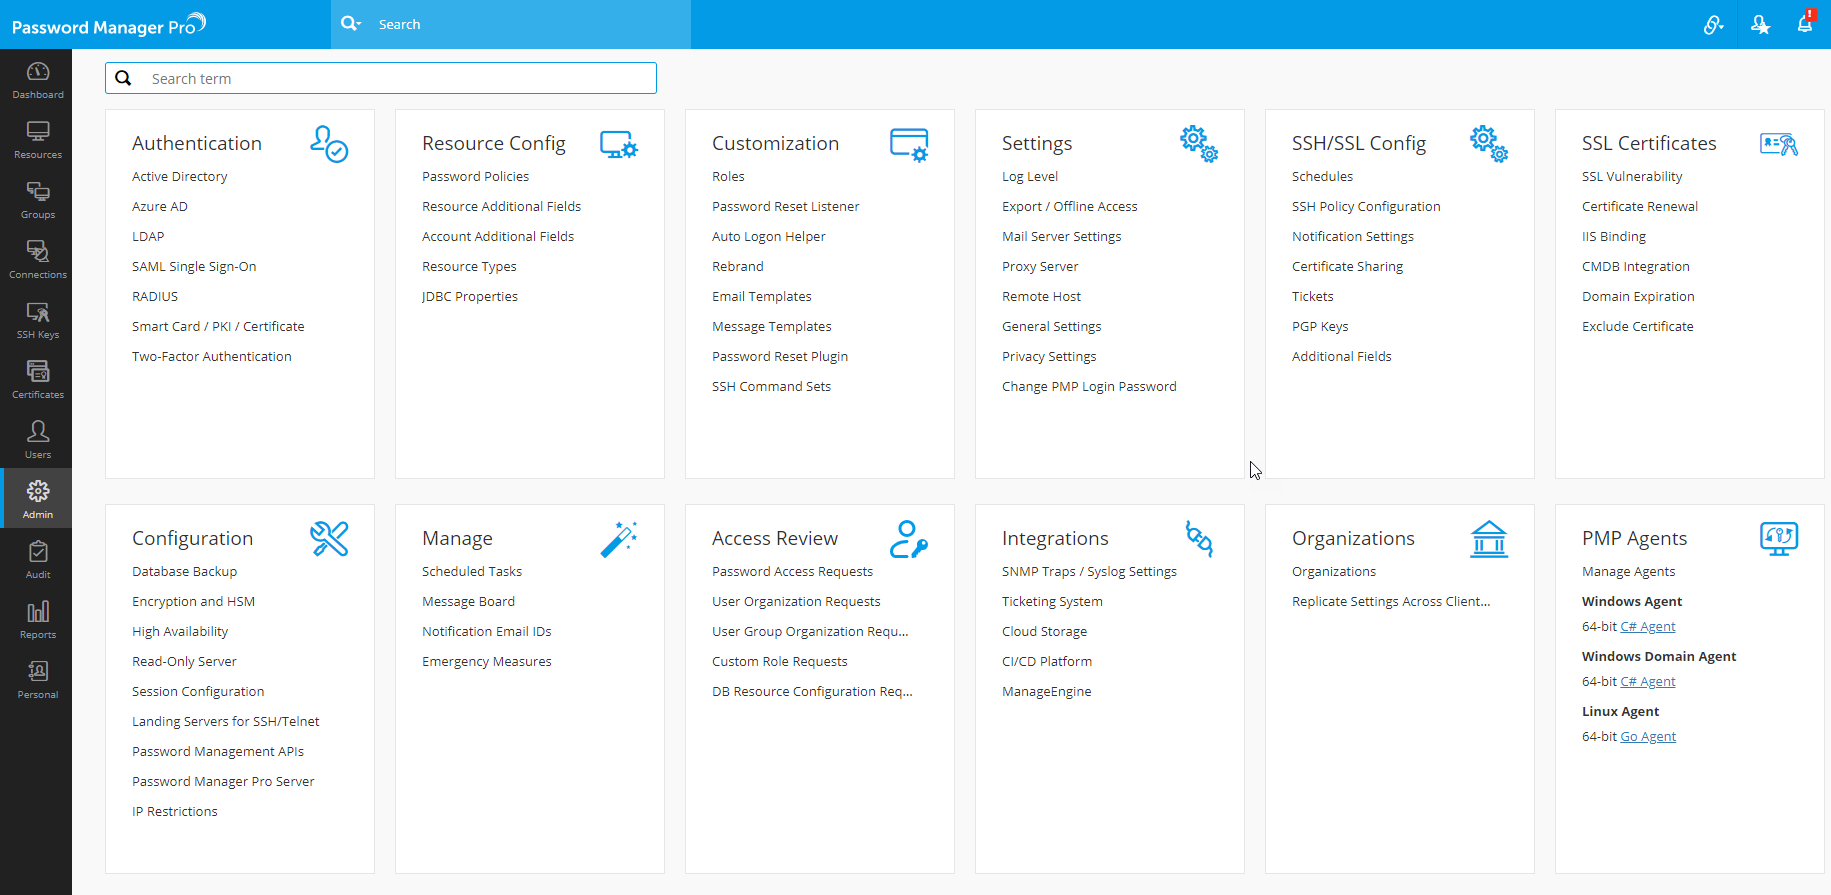
These fields can be globally created from "Admin >> Customization >> Resource / Account Additional Fields" (or) "Resources >> Resource Actions >> Customize Resource Attributes (applicable only for resource additional fields)".
Through the Admin tab:
Through the Resource tab:
The different types of additional fields available are,
- Character/List - For text inputs.
- Numeric - To store numerical inputs.
- Password - To store password inputs. The values entered here will be treated the same as the predefined password field and will not be shown in plain text in the GUI. Additionally, you can also specify separate password policies for this field; a password generator icon will also be present beside the field to help generate values according to the defined policy.
- Date - To store date and time inputs.
- File - To store file-based inputs.
Once you have added the desired details for the new column field, click "Save". You can find the newly added column in the 'Add Resource' window.
2. Enabling Additional Fields (for Specific Resource Types)
When you create an additional field of the type 'Character/Numeric/Password/Date', the fields are typically created globally for all resource types and take effect immediately. However, you can also choose to display those fields in the 'Add Resource' (or) 'Add Account' window only for specific resource types. To enable this setting, you have to disable the fields for the other resource types.
To do this,
- Navigate to "Admin >> Customization >> Resource Types".
- Then click the "Edit" icon against the required resource type for which the additional field should be disabled.
- In the dialog box that opens, uncheck the checkbox against the additional field and click "Save".
Alternatively, when you create a custom field of the type 'File', it does not take effect automatically for both resources and accounts. You need to specify for which resource types you would like to have this additional field. To do this,
- Navigate to "Admin >> Customization >> Resource Types".
- Then click "Edit" icon against the required resource type.
- In the pop-up form that opens, select the checkbox against the field 'File' and click "Save".
- Show/Hide Columns - Customize 'Resources' tab view when there are various additional fields, users can customize their Resources tab by choosing to display only preferred columns. This can be carried out using the 'Column Chooser'.
Apart from Show/Hide option, users can also change the sort order of the columns by simply dragging and dropping the required columns.
3. Additional Fields - Use Cases
Case 1: Adding 'BIOS Password' fields for Windows and Linux resources
Securely storing the BIOS password of Windows and Linux systems is a mandatory requirement for many enterprises. To tag this password to the resource, you can create an additional "Password" field and enable the field only for Windows and Linux resources.
Case 2: Adding EOL and EOS dates for Network Devices
Network devices such as switches, routers, and firewalls usually come with End of Life (EOL) and End of Sale (EOS) dates. To keep track of these dates, you can create an additional "Date" field and enable the field for desired network devices and other resource types.
Case 3: Securing critical accounts with a 'Severity Rating'
To mark privileged accounts that are highly critical in nature such as firewall administrative accounts and important database accounts, you can create an additional "Character" field at account-level as mentioned below:
- Navigate to "Admin >> Account Additional Fields".
- Under "Character/List" tab, create a new field with the name 'Severity Rating'. Beside 'Default Values', enter the following: High, Medium, Low. Click "Save".
Now, when you add multiple accounts under a resource, you can mark accounts of highly critical nature with a severity rating of 'High'.


