Data Deletion and Data Archiving
ServiceDesk Plus MSP lets you delete unwanted request data or archive old requests. The following doc shows how you can configure a schedule for data deletion and archiving.
Data Deletion
Data deletion lets you delete any old request data that is unnecessarily taking up space in your system memory. Enable this option to delete any active or archived requests that match your set criteria.
To schedule data deletion,
-
Go to Admin > General Settings > Data Deletion and Archiving.
-
Select the Enable scheduled data deletion option.
-
Use the criteria/rules section to set the criteria for the scheduled deletion.
For example, you can set criteria to delete all completed requests created before 1 year.
To do that select the following values under rules section; Request status is Any completed status, AND Created Date, is before 1 year.
-
If you want certain requests that match your set criteria to be left out from the scheduled deletion, you can do so by enabling the Allow exception for deletion option and setting the criteria for that.
For example, you can exempt requests from the administration department from being deleted in the scheduled data deletion. To do that, select the following values under the rules section; Column Name - Department, Criteria - is, Value - Administration. You can add multiple rules by clicking on the plus icon. Once you have set the criteria set the schedule for data deletion by specifying the hours and minutes and click Save.

Data archiving involves moving closed or resolved requests to separate storage. This activity, when done periodically, helps ensure optimum performance of your help desk.
Archived requests are removed from the active requests list because they are considered as a separate entity with unique search options and reports. Archived requests cannot be modified, deleted, or restored to the active state. Any reply to an archived request will be added as a new request.
Configuring Data Archiving
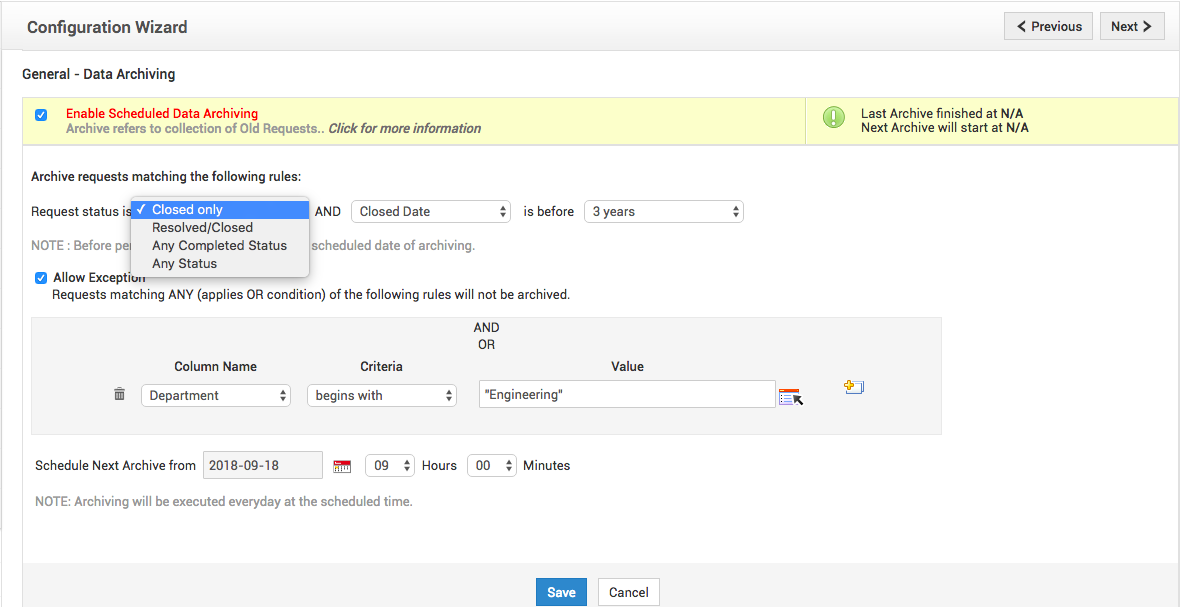
- Go to Admin>>General Settings>>Data Archiving.
- Select the Enable Scheduled Data Archiving.
- Select the criteria of the requests that must be archived.
- If there are any exceptions to the criteria selected, select the Allow Exception checkbox and configure the exceptions.
- Schedule the next archival period and save the settings, as shown in the following screenshot:

Viewing Archived Requests
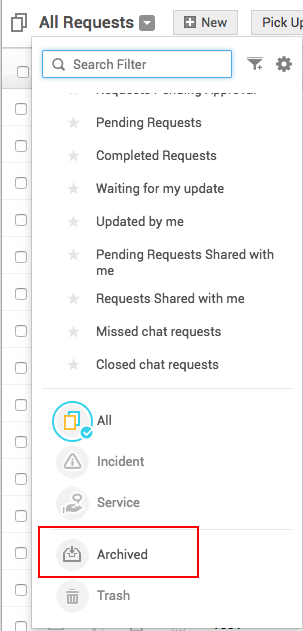
To view the requests, go to Requests and select Archived from the Requests drop-down. 
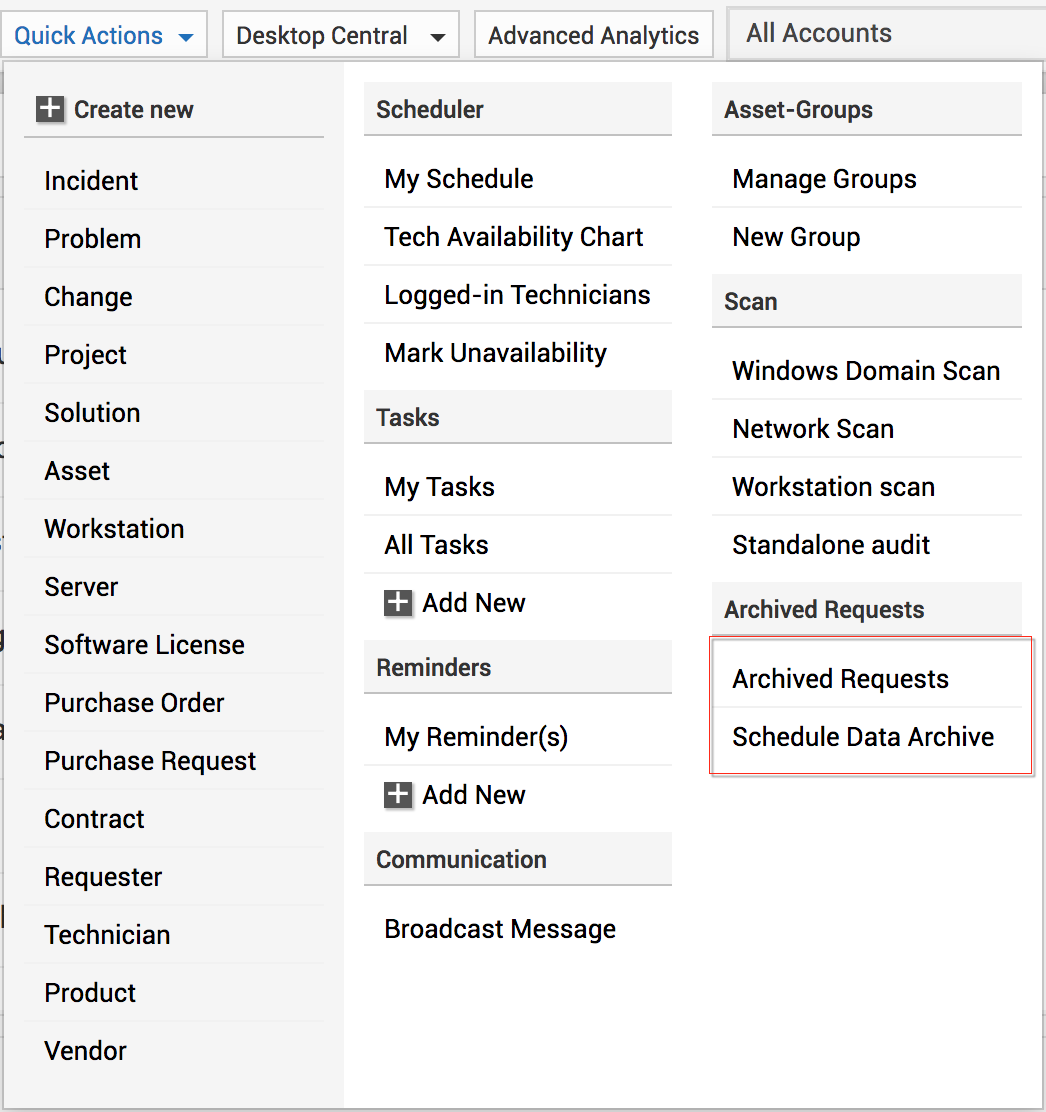
You can also view them under Quick Actions. 

