Endpoint Central MSP is a client server model which manages all the endpoints in an enterprise from a centralized location. These are the various agent installation methods available for Desktop Management.
Automatic agent installation
The agents are installed automatically in the end-user's device and the installable gets deleted after a successful installation. This is used in places where there is minimal restriction on bandwidth consumption. Agents can be automatically installed in LAN network or in a remote office having a Distribution Server.
Manual agent installation
When there are numerous roaming users which move out of the network periodically or when there is bandwidth constraints, the installable can be downloaded and placed in a shared folder.
Silent agent installation
When there is no need for manual intervention, agents can be installed in a silent manner. Silent command can also be used to install agent from any other third party tool.
Agent deployment along with OS
For enterprises which have new machines to be managed and where the required operating system has to be deployed, the agent can be deployed with the OS.
Agent installation through GPO
When an enterprise has an Active Directory Domain based setup with numerous endpoints to be managed, the agent can be installed using the Group Policy Object.
IP Range based Agent deployment
When there are numerous endpoints in a workgroup based setup in an enterprise, using IP ranges, agents can be deployed in bulk to all the devices.
Agent installer files can be easily accessed from a common central location. There is no need for transferring complete agent installer files to all devices in a network.
Agent installation for cloud based setup
The product server can be hosted in cloud using Microsoft Azure or AWS. The agents can be deployed in Azure AD and AWS instances.
Agent Installation via MDT
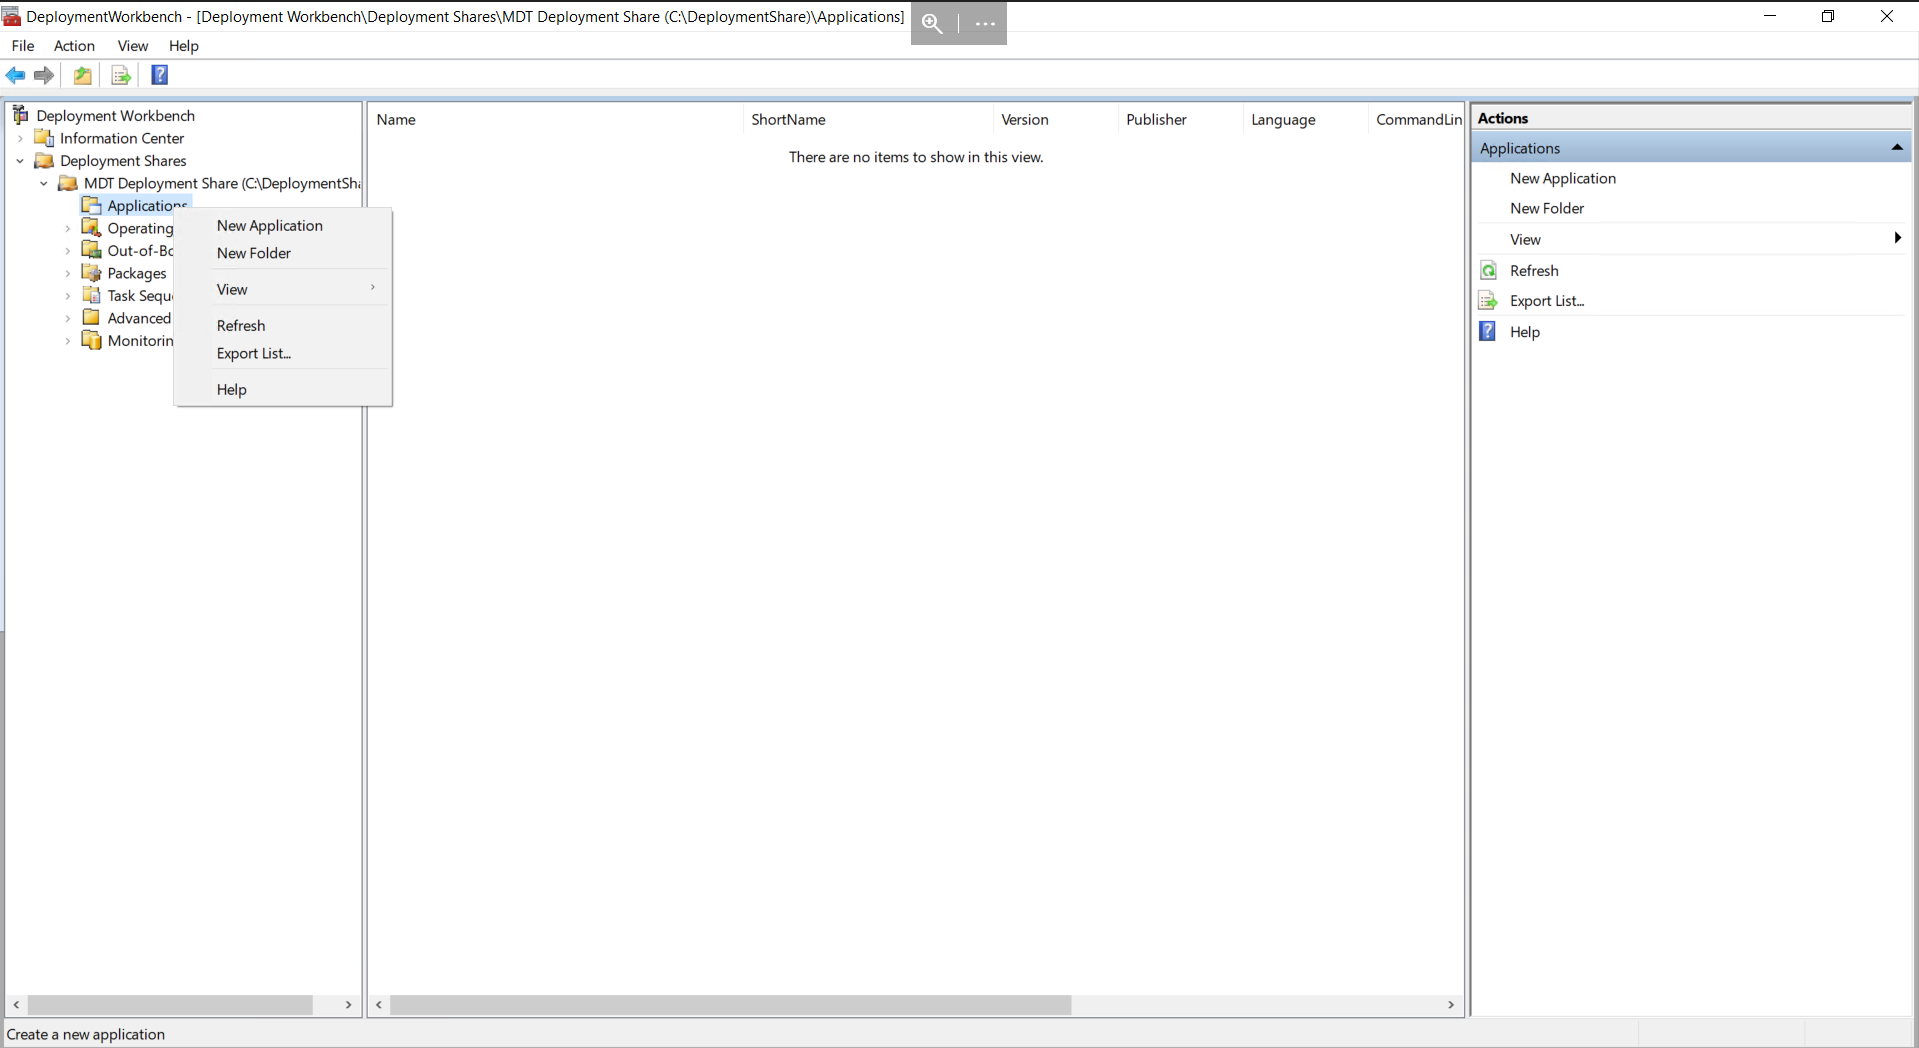
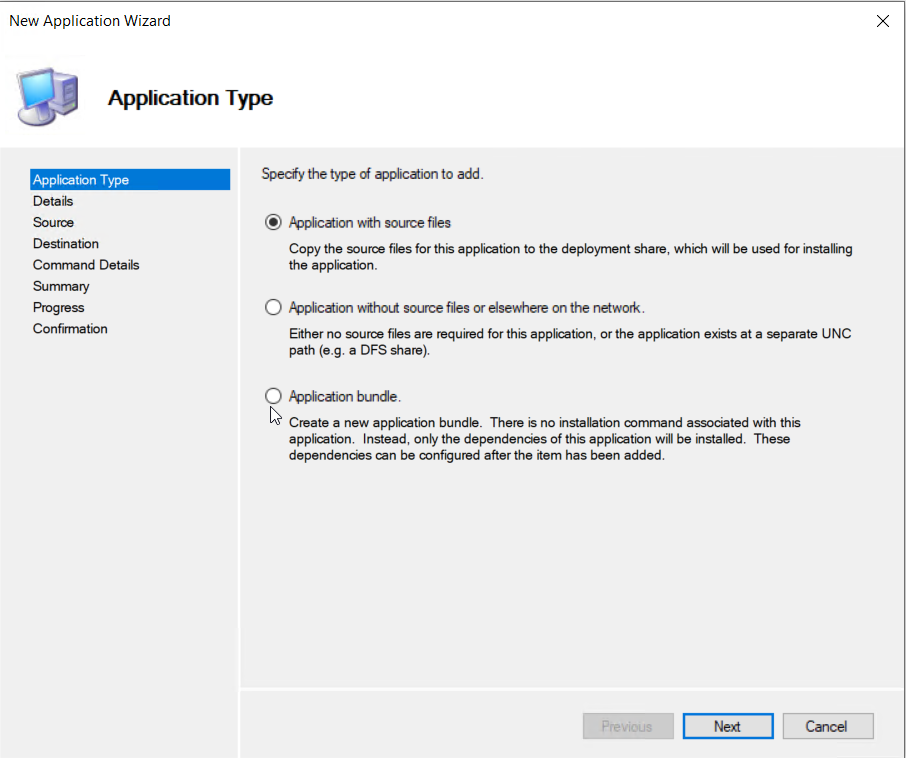
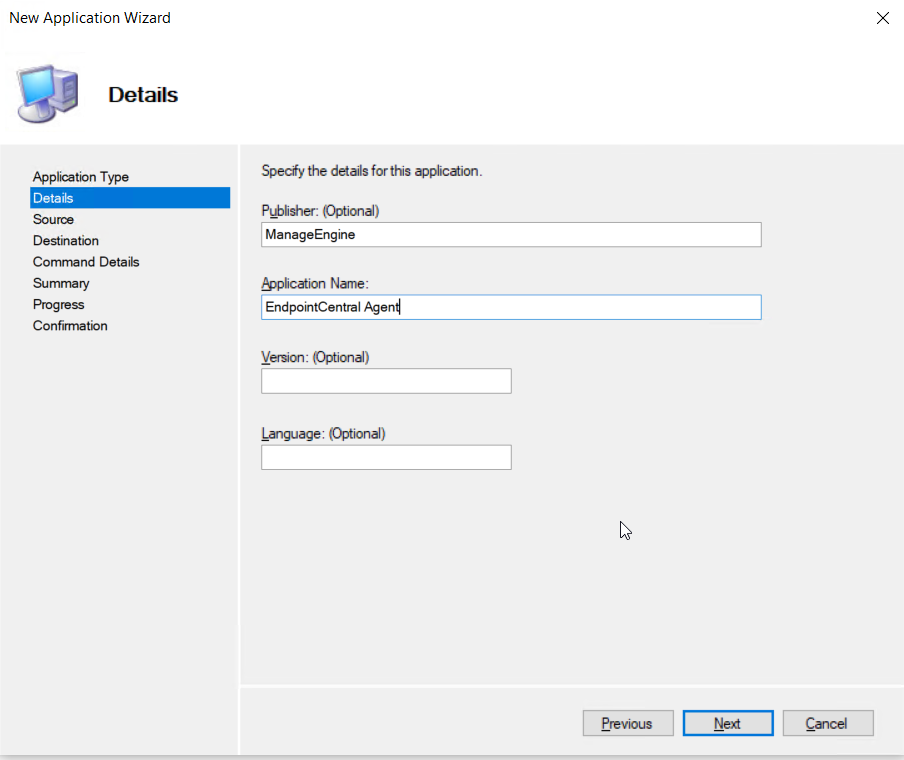
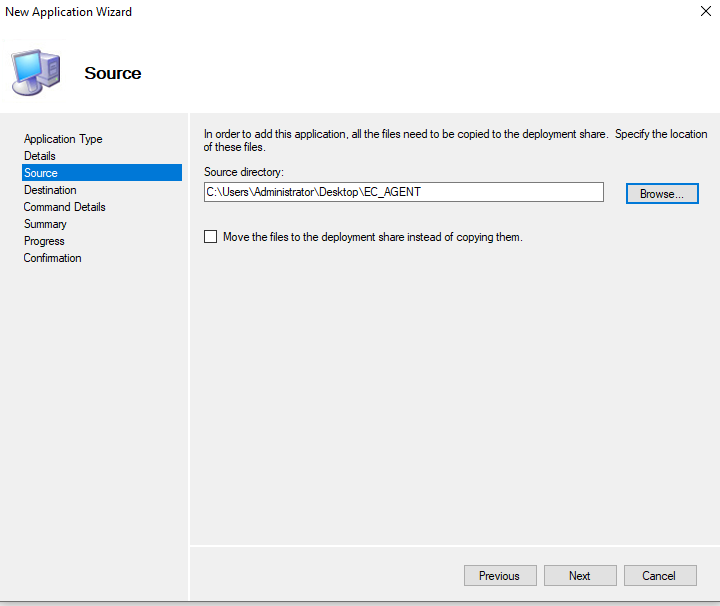
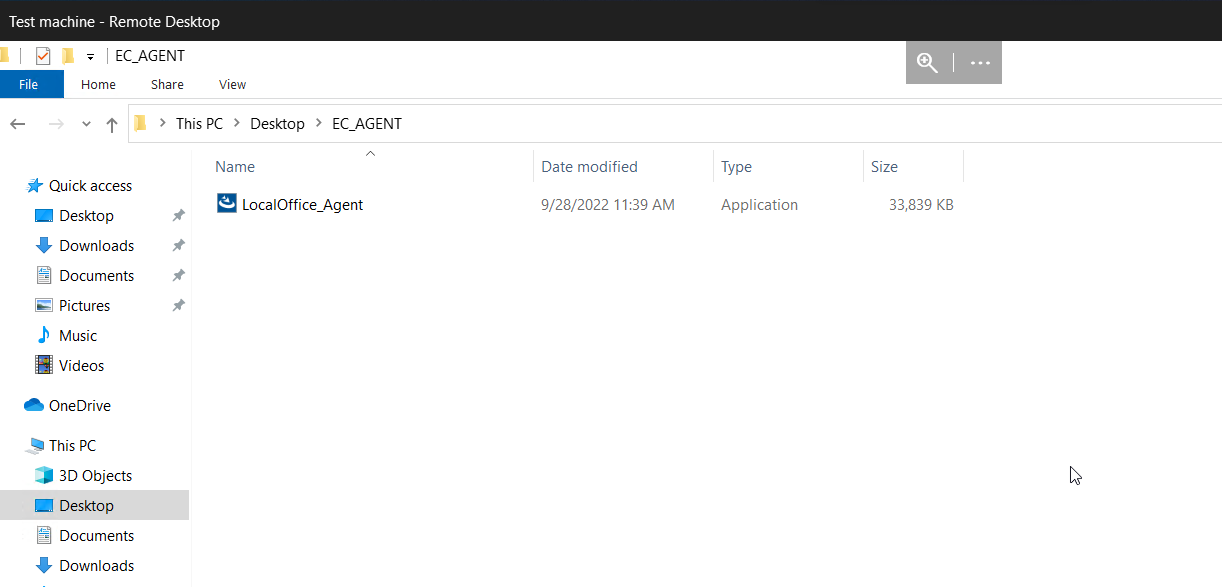
Enter a destination folder name.
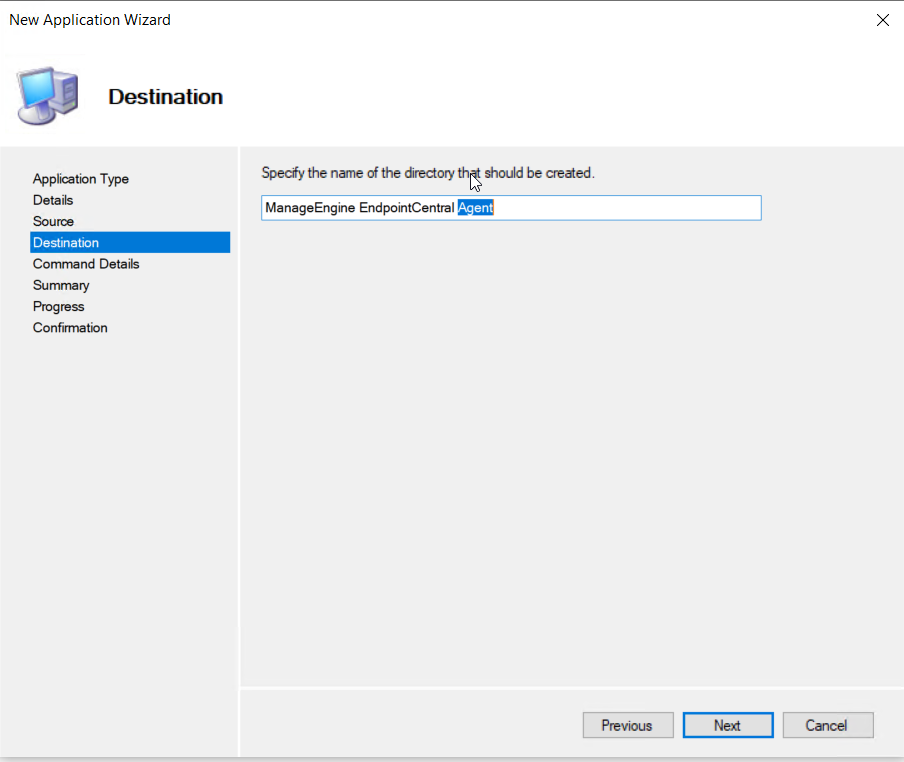
Enter the command line for silent installation:
LocalOffice_Agent.exe /silent
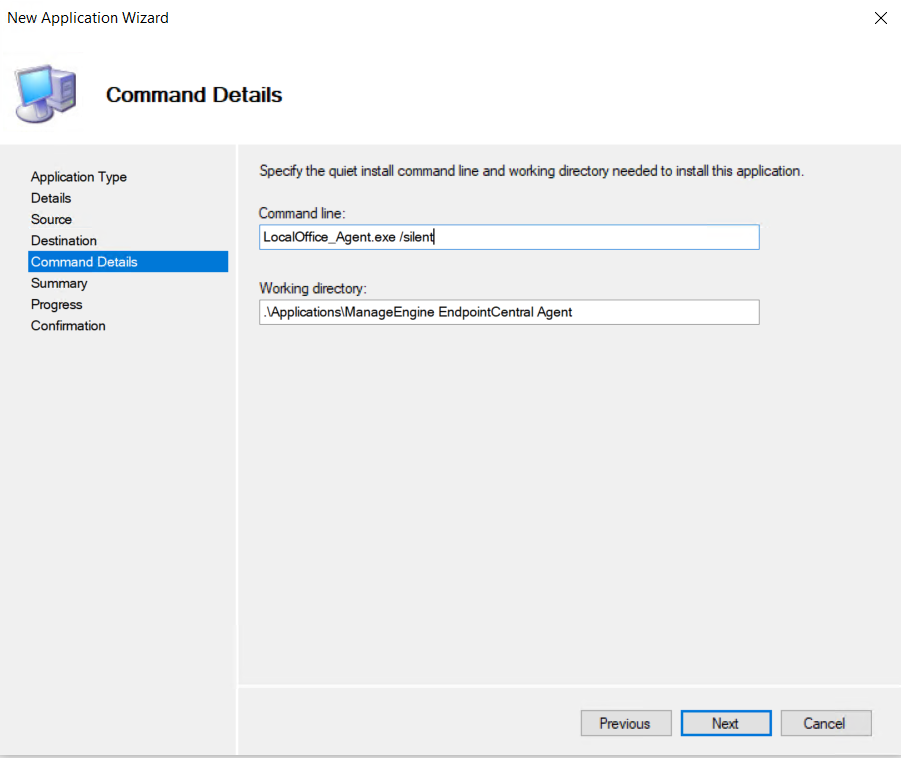
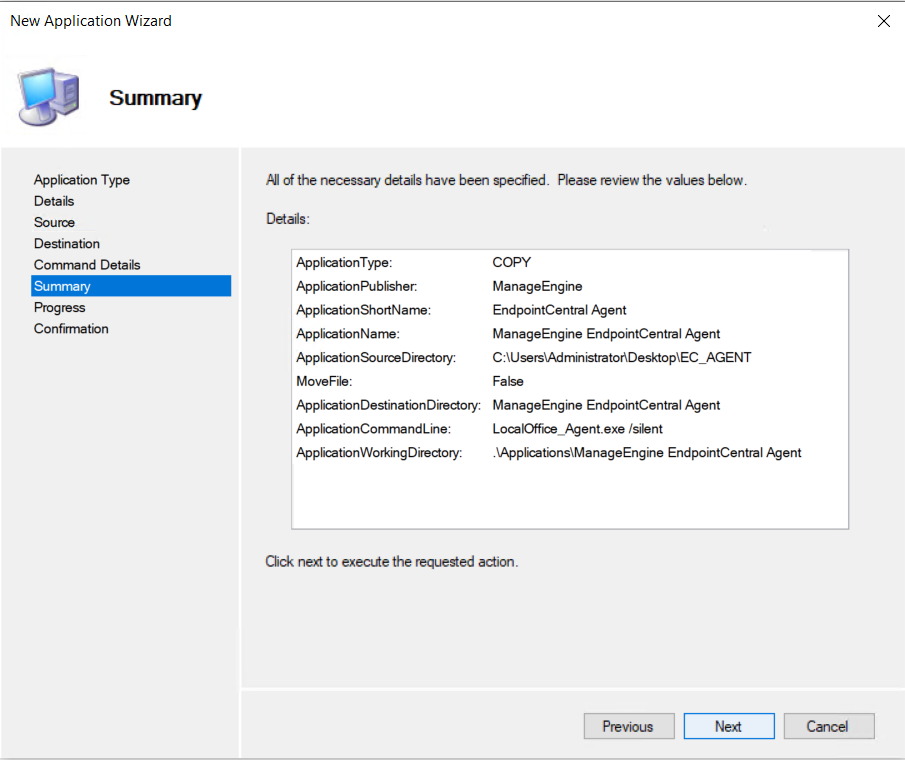
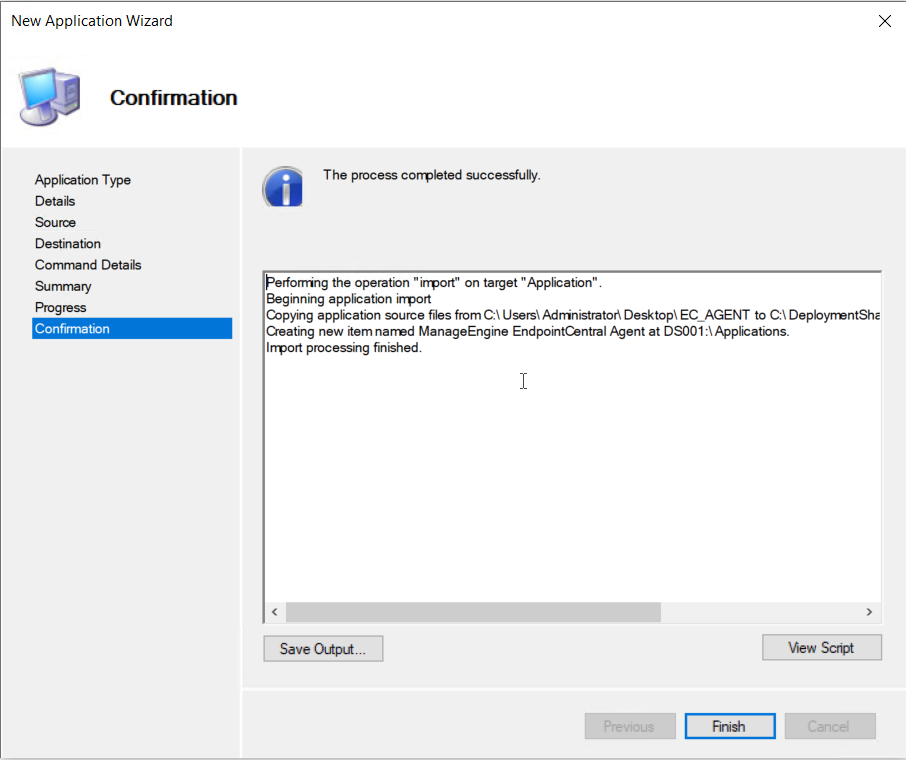
Verify the summary and click finish, the application will be added to the list of apps.

Agent installation with SCCM

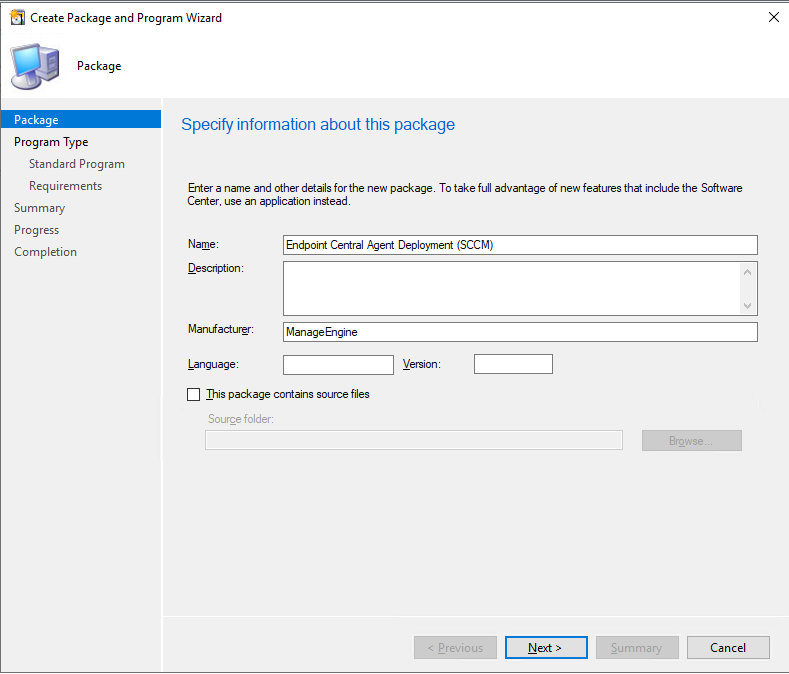
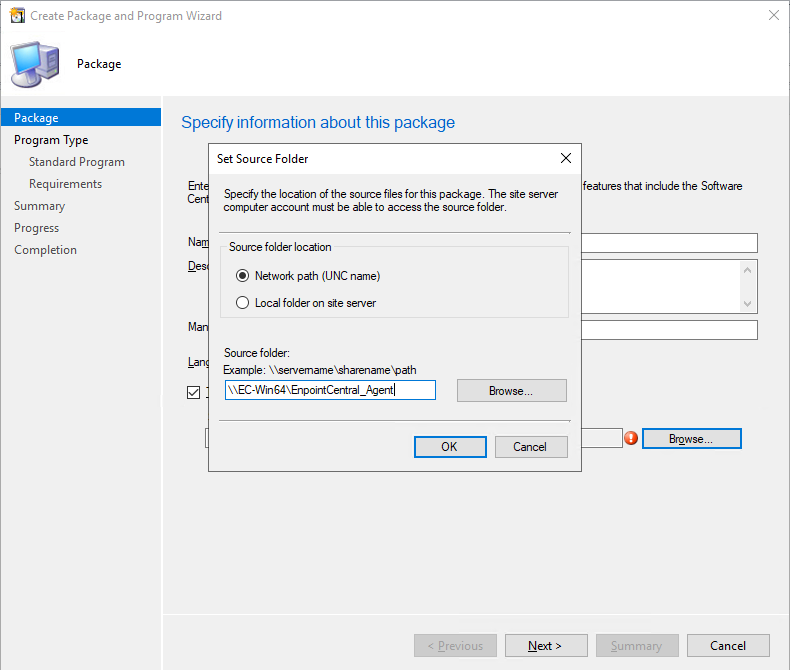
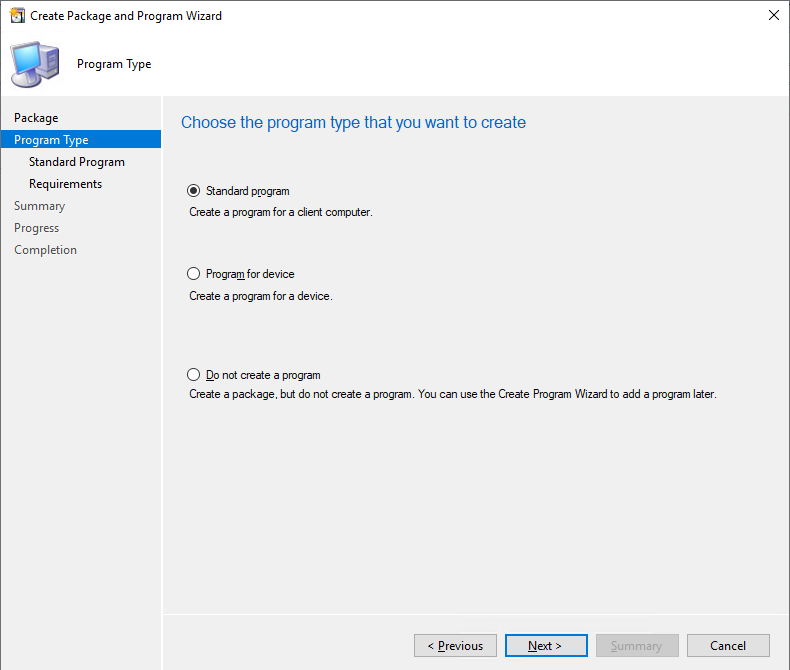
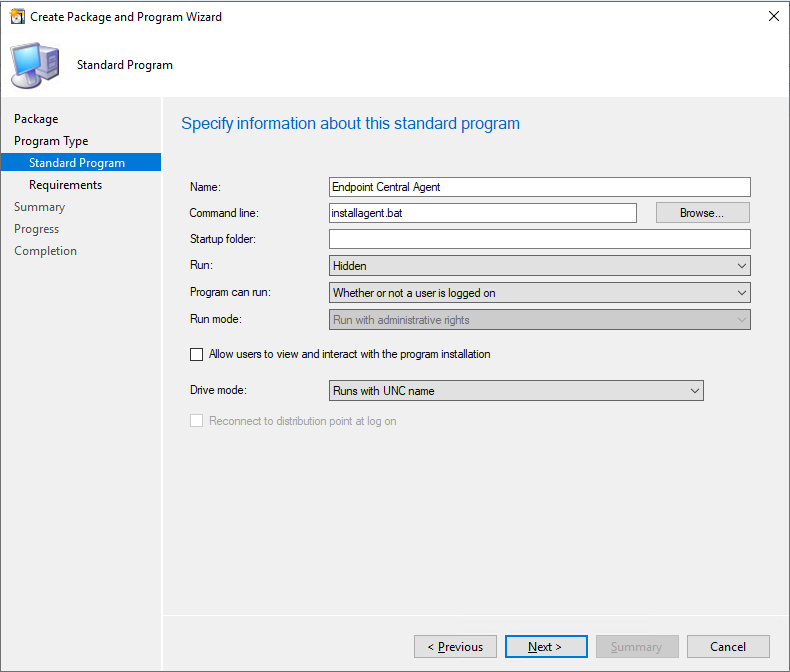
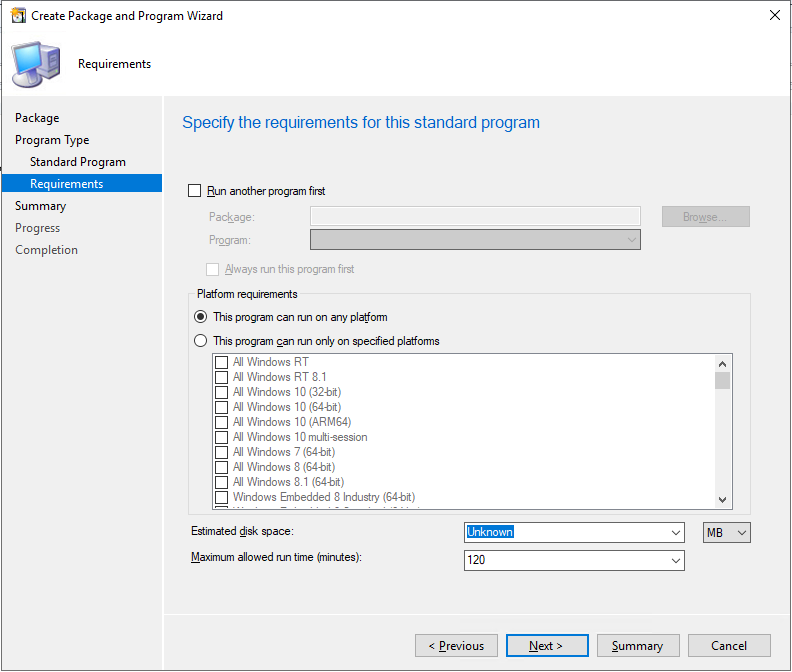
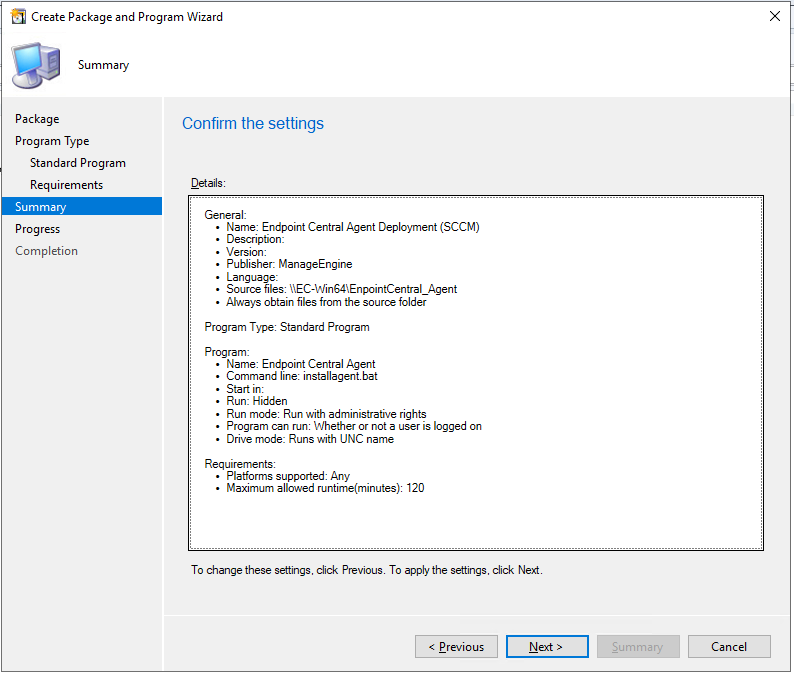
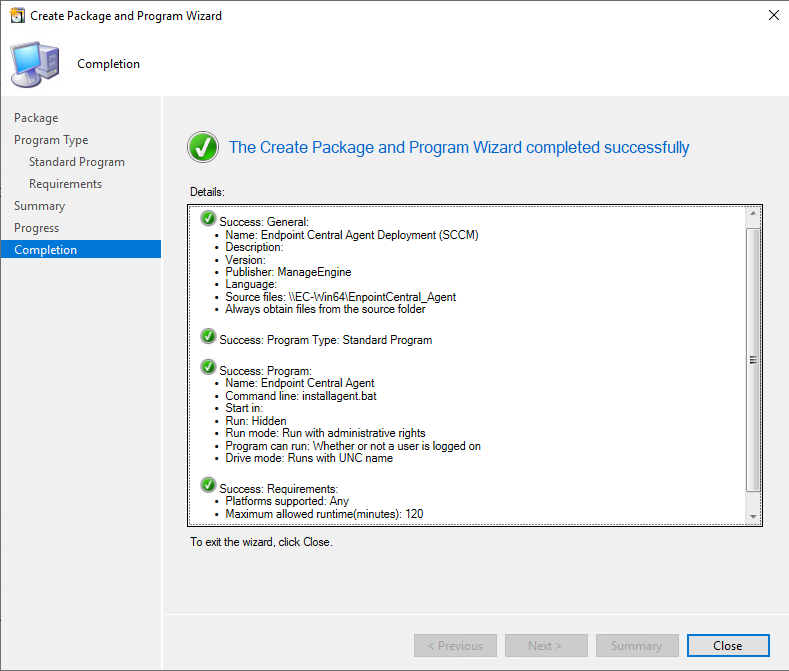
You have now successfully installed agents in target endpoints using SCCM.