Chat Settings
Live Chat enables end-users to reach out to technicians in real-time, communicate their requests and issues, and get instant solutions. Requests can be created from chat transcripts.
In addition, technicians can use Live Chat to collaborate and resolve requests quickly. To begin a chat conversation with a technician, a requester must click the Live Chat button on the lower-right corner of their home page.

The SDAdmin can configure chat settings for requesters and technicians separately.
To learn specific topics, visit the following links:
Configuring Chat Settings
- Go to Admin > Helpdesk Customizer > Chat settings.
Requester Chat Settings
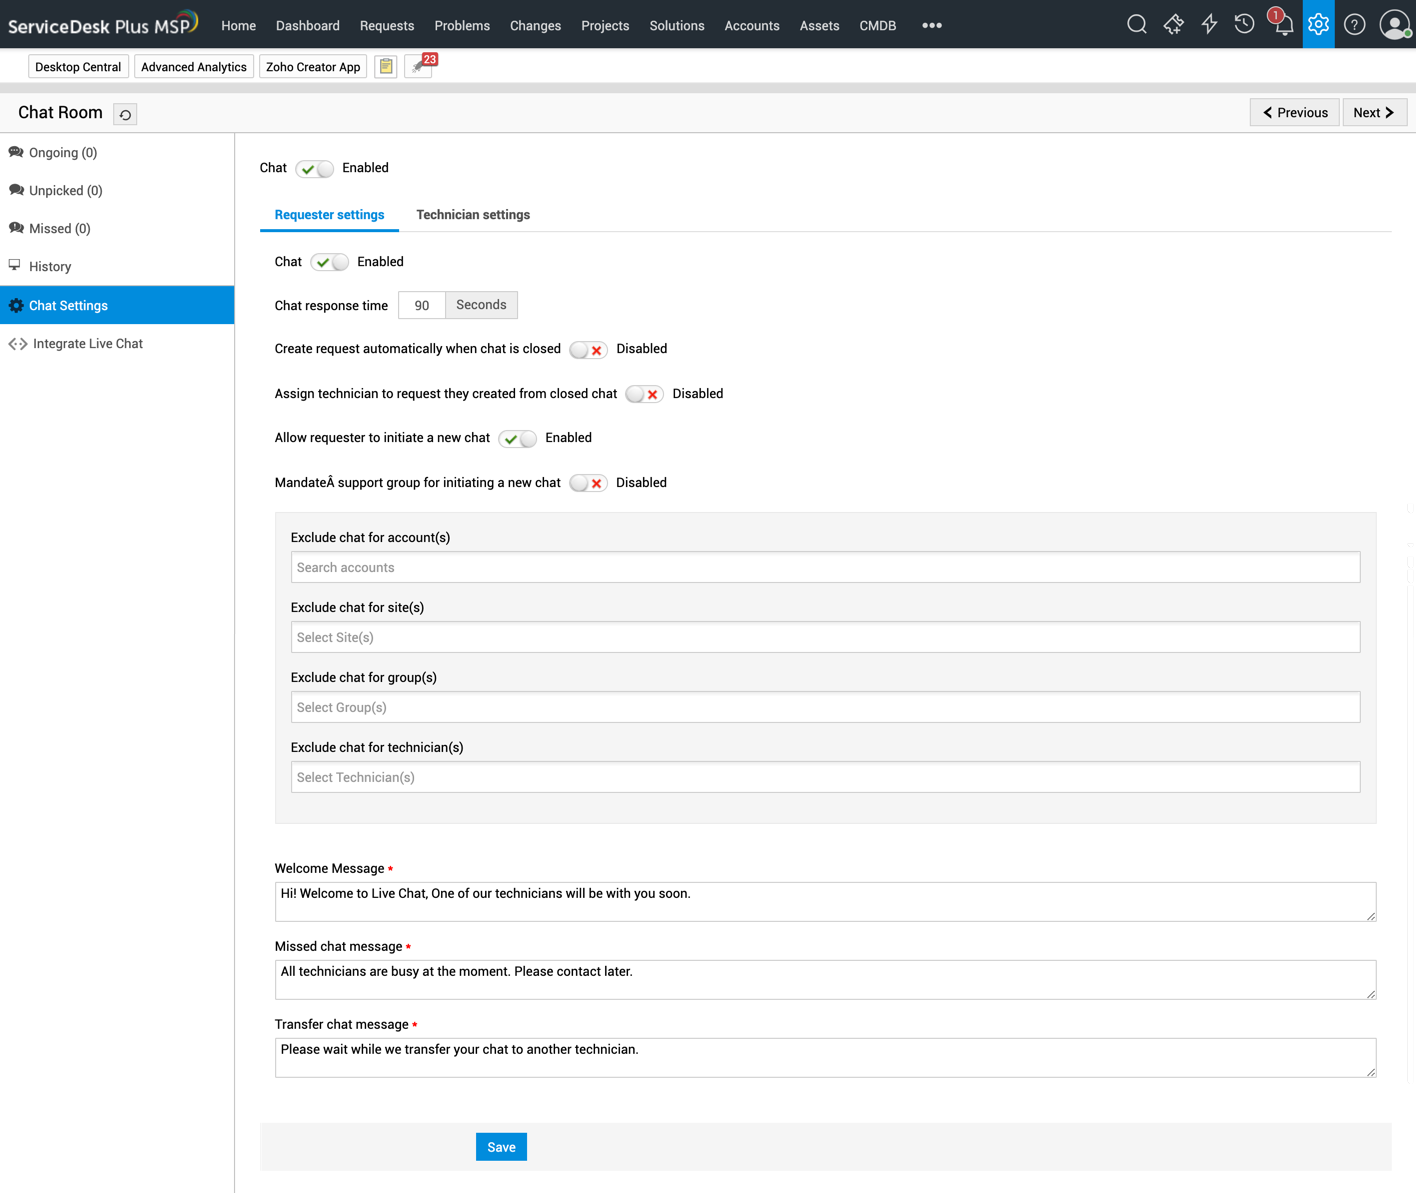
Under Requester Settings, enable the Chat option.
Using the following options, customize the requester chat to suit your business workflows and click Save:
-
Chat response time: Specify a time (in seconds) within which the requester initiating a chat must be connected with one of your support agents. A chat that is left unpicked beyond this duration will be listed under Missed Chats.
-
Create request automatically when chat is closed: This option automates request creation after each chat closure.
-
Assign technician to request they created from closed chat: This option assigns the technician who picked a chat to the request raised from the chat.
-
Allow requester to initiate a new chat: Enable this option to allow requesters to initiate chat for new request creation. If this option is disabled, requesters can chat with technicians only regarding their current requests.
-
Mandate support group for initiating a new chat: This option mandates the requester to choose the support group before initiating a chat, thus ensuring that chat notifications are sent only to the intended group technicians.
-
Chat Criteria: Define criteria to include or exclude specific sites, groups, user groups, or technicians from responding to chat requests. For example, you can exclude senior technicians from responding to chats when various levels of technicians handle requests based on complexity or set up specific technicians to handle chats.
-
Welcome Message: Specify the message to be displayed for requesters in the chat window when they initiate a chat.
-
Missed Chat Message: Specify the message to be displayed in the requester's chat window when the chat is left unpicked.
-
Transfer Chat Message: Specify the message to be displayed in the requester's chat window when the chat is transferred to another technician.
To learn how the chat window looks and works for requesters, click here.
Technician Chat Settings
Under Technician Settings, enable the Chat option.
- Enable the Collaborators chat option to allow technicians viewing a request to chat with each other.
- Click Save.

To learn how the chat window looks and works for technicians, click here.
Live Chat for Requesters
When a requester initiates a chat, the predefined Welcome Message will be displayed in the chat window. Based on the chat settings configured by the SDAdmin, the requester can initiate a new request creation process or track current requests. The group selection is essential for quick resolution of requests.
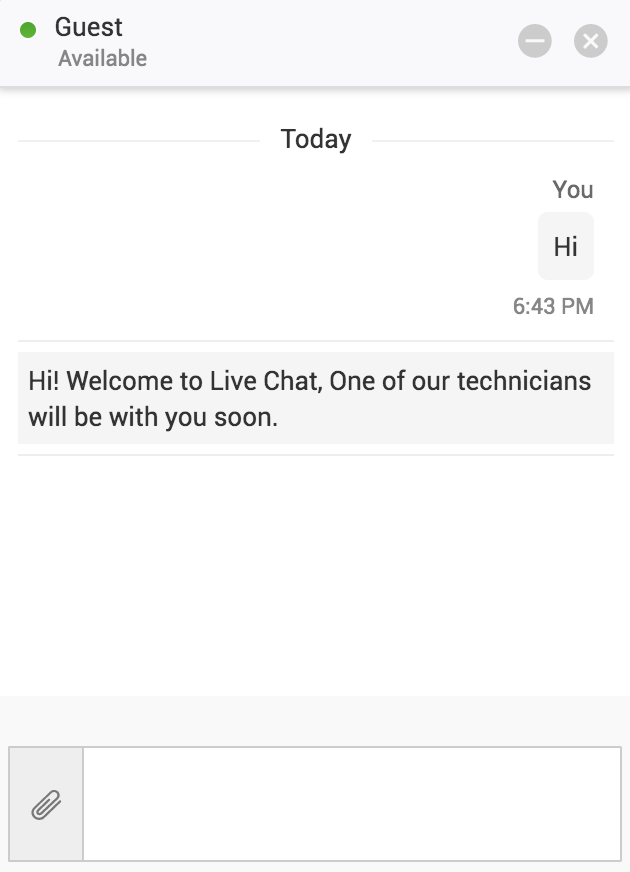
The requester can use the attachment icon to attach multimedia files like images, audio, videos, PDFs, and text documents. If a chat is left unpicked beyond the specified time, the Missed Chat Message will be displayed for the requester.
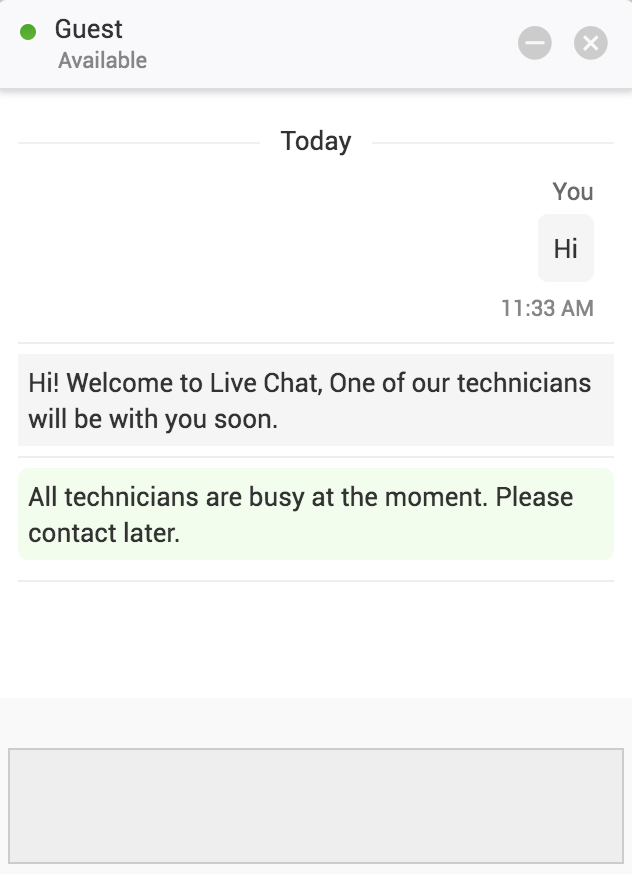
The requester can also close a chat before a technician picks it up by clicking the Close button. The chat will be listed under Missed Chats, which the SDAdmin can view in the Chat Room.
Live Chat for Technicians
Using Live Chat, technicians can provide technical support to requesters in real time. Live Chat also enables technicians to collaborate and resolve requests quickly.
Requester-Technician Chat
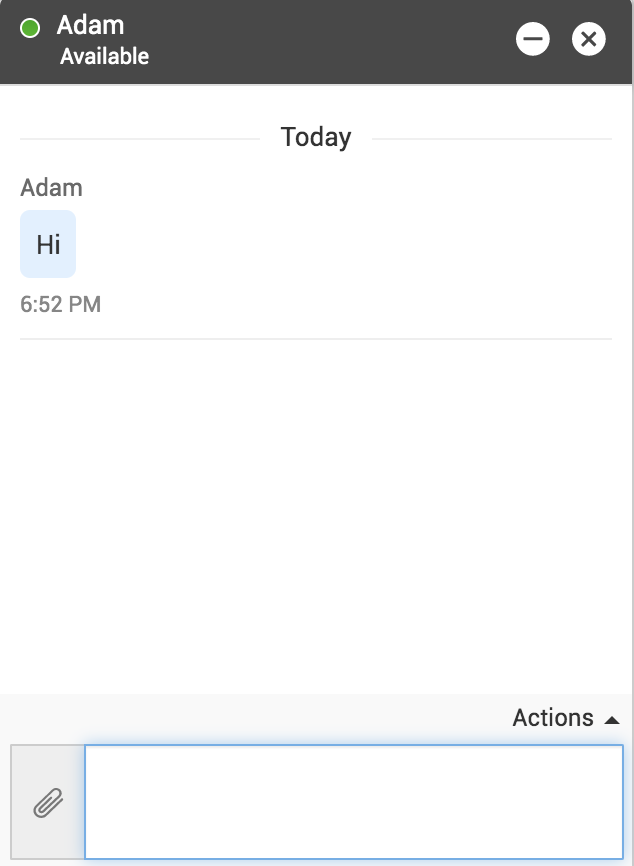
When a technician receives a chat request, the technician must pick up the chat within the specified chat response time. The following screenshot shows the technician's chat window when a new chat arrives:
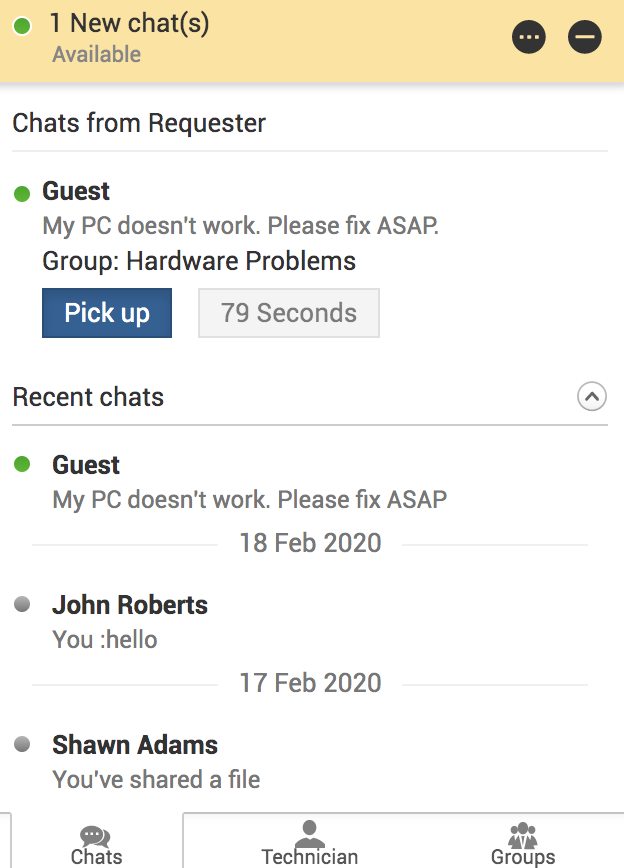
When the technician accepts the chat request, the Actions button on the top-right corner of the chat window becomes available. Using this button, the technician can set a title to the conversation, add notes, add attachments, transfer the chat to another technician, or even end the session.
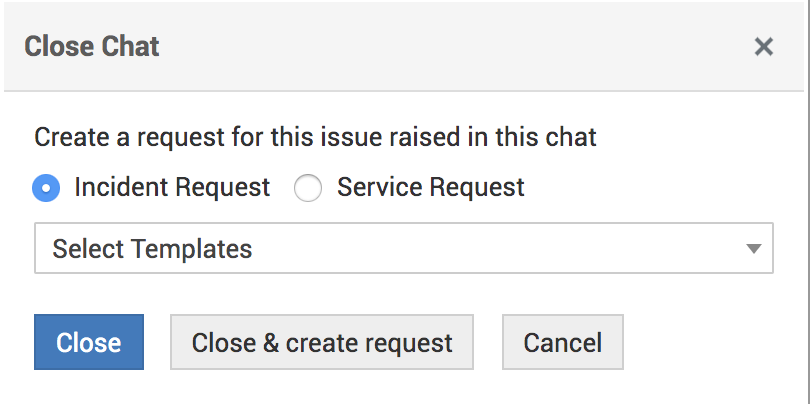
By clicking End Session, the technician can either close the chat or create a request from the chat. To raise a request, the technician must choose between incident and service request, select a template, and click Close & create request.
The request form will open where the technician can fill out the required information and add the request.
Technician-Requester Chat
From the request details page, technicians can initiate a chat with the requester to discuss the request.
Technicians can initiate a chat only if the requester has valid login credentials.
To initiate a chat,
- From the requests list view, select a request on which you want to have a conversation with the requester. This opens the request details page.
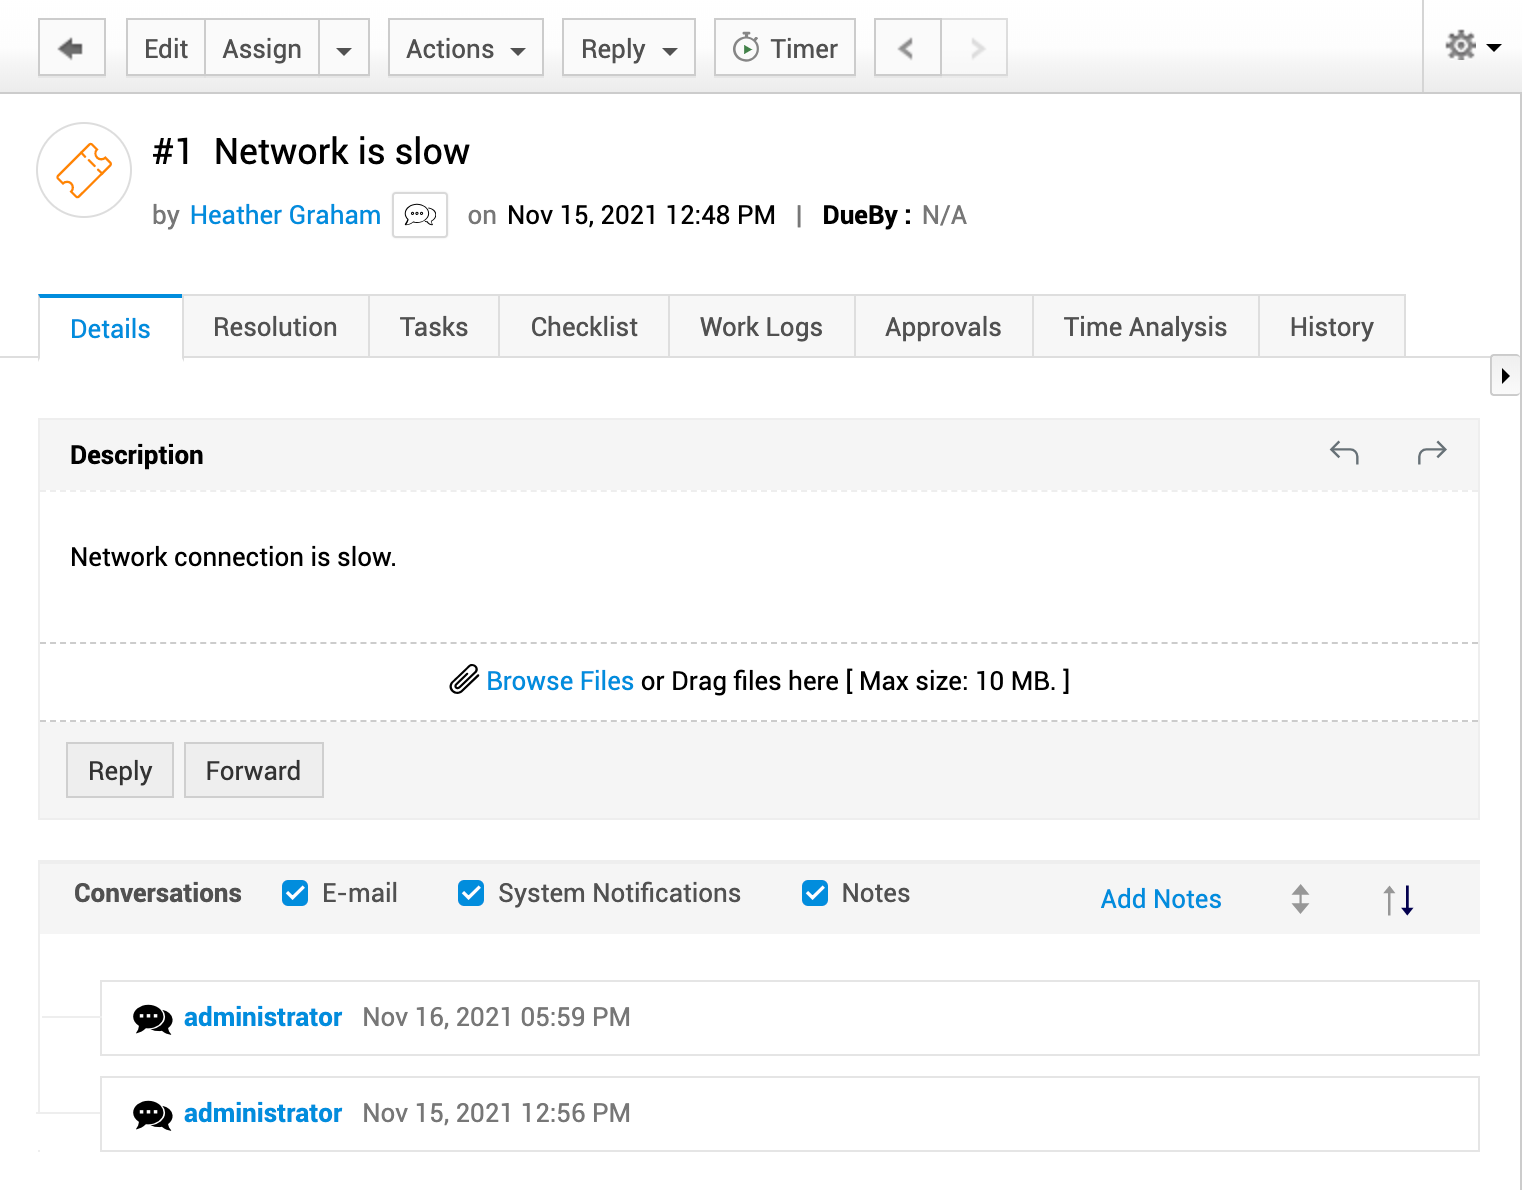
- Click the chat icon
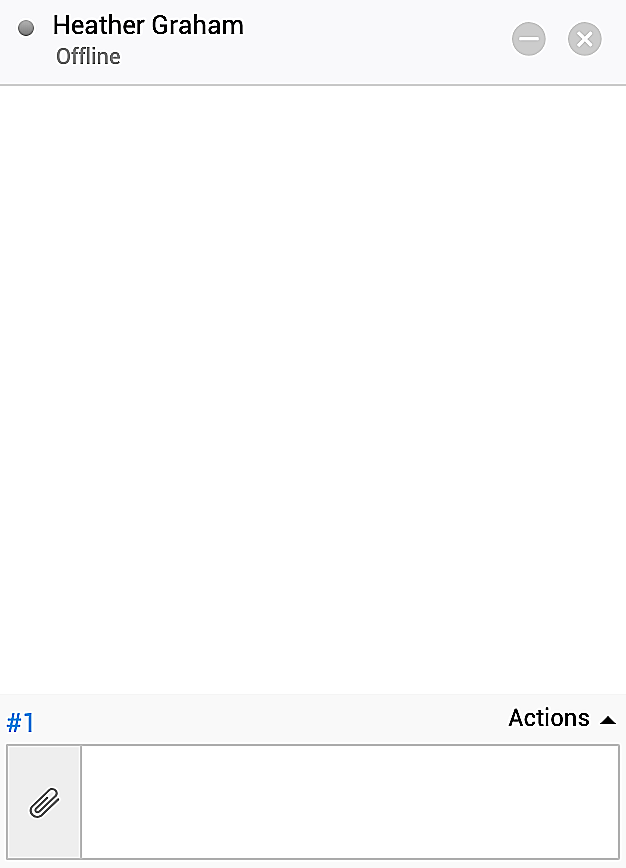
 beside the requester name. A chat window opens as shown in the screenshot below:
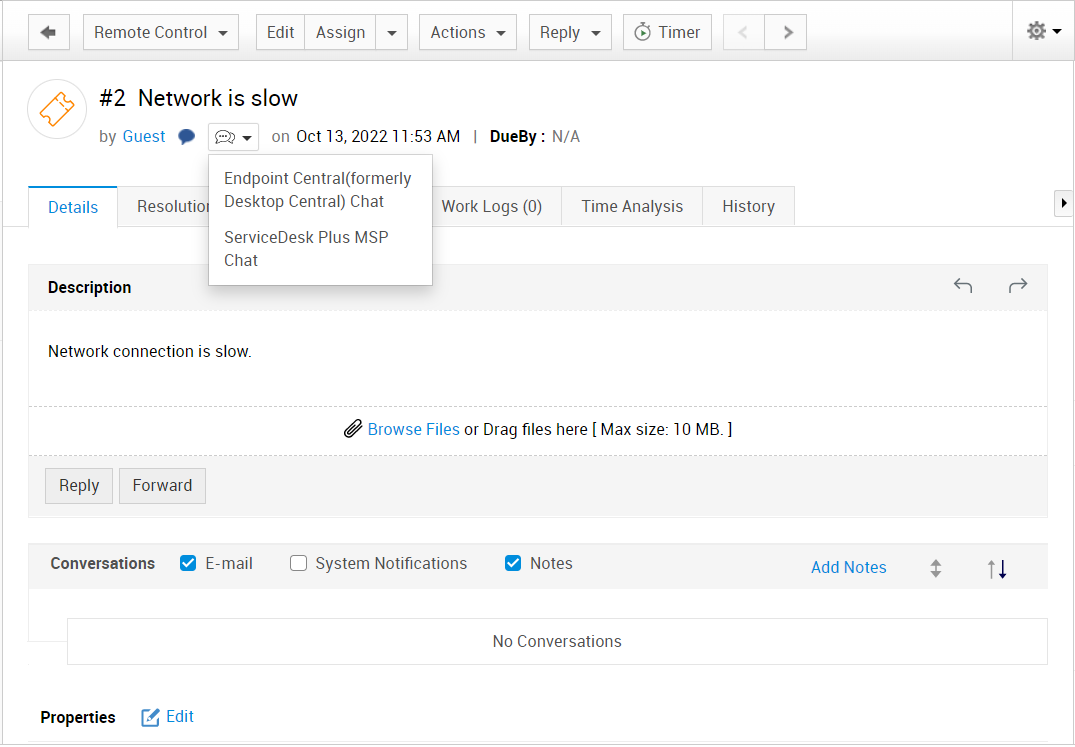
If your help desk is integrated with ManageEngine Desktop Central, a drop-down lists options to initiate ServiceDesk Plus MSP chat and Desktop Central chat. Choose ServiceDesk Plus MSP chat.
You can open the request details page from the chat window anytime by clicking the request ID in the chat window.
Close the chat window to end a request chat. When a request chat is closed, the chat content will be appended to the request conversation as a system notification for future reference.
Only one technician can initiate a chat with the requester at a time. The ongoing chat must be closed so that a different technician can initiate a chat with the requester.
Actions
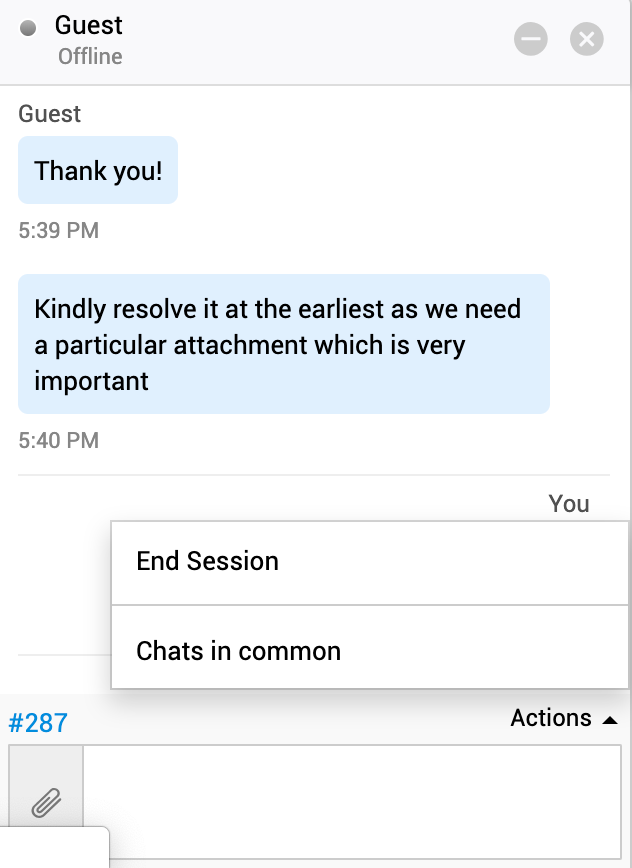
Technicians can perform the following actions from the chat window:
- Open request details page: Click the request ID in the chat window to open the details page of the corresponding request.
- End chat: Close the ongoing chat by clicking Actions > End Session.
- View chats in common: Click Actions > Chats in common to view other ongoing chats in common with the user.
Technician-Technician Chat
Private Chat
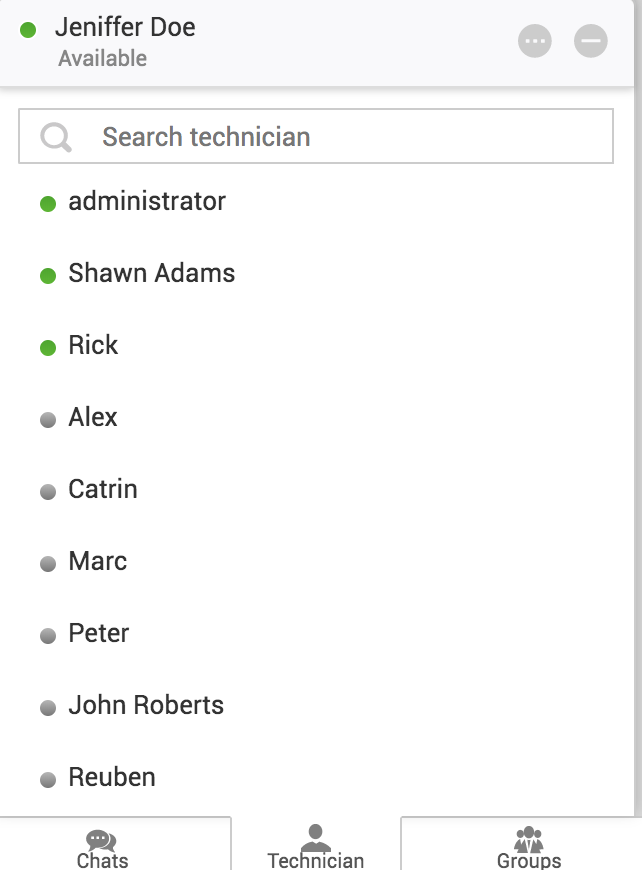
A technician can have a private chat with another technician.
To initiate a private chat with another technician, click the Technician chat from the footer. Select the required technician from the list of technicians available and start the conversation.
From the private chat window, you can view other group chats and collaborator chats with the same technician.
Click Actions > Chats in Common from the chat window. The chats in common will be listed as shown in the screenshot below:
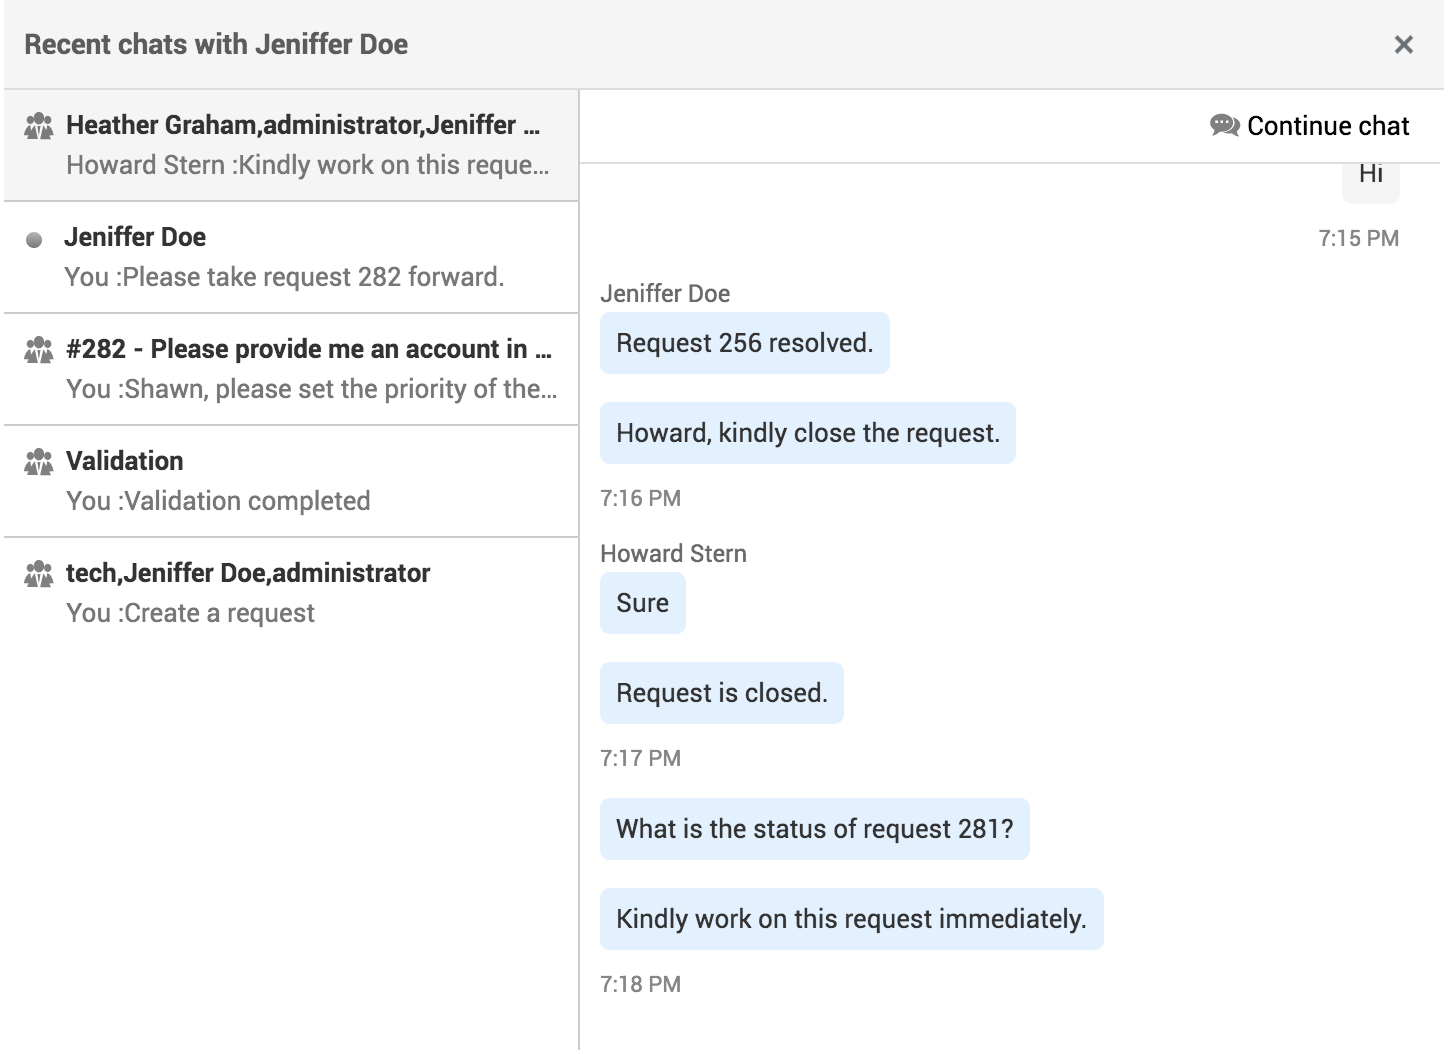
To open one of the group chats listed, click the chat and click Continue chat.
Group Chat
You can add a third technician to a private chat and convert it into a group chat.
-
Open the chat window of the required technician.
-
Click Actions > Add Member. Alternatively, you can type + in the editor to display the list of technicians.
-
Choose the technician to be included in the group chat.
-
On the displayed pop-up window, click Add to include the technician. This will enable the added technician to view the previous conversations. You can alternatively click Create New to initiate a group chat afresh.

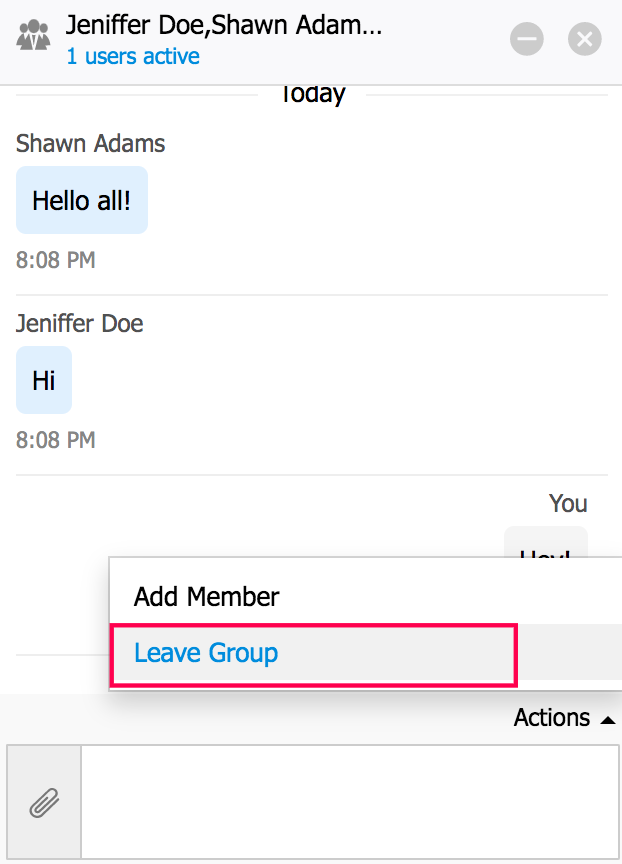
To leave an ongoing group chat, click Actions > Leave Group.
Support Group Chat
Technicians associated with a support group will form a separate group chat by default. When a new technician is added to the support group, the technician will be automatically added to the corresponding group chat. Similarly, when the technician is removed from the group, the technician will also be removed from the group chat.
Collaborators Chat
Technicians who are viewing a request simultaneously can collaborate through chat.
To start a collaborators chat,
-
Open the required request.
-
Click the
 icon displayed on the upper-right corner of the request details page.
 -
Click Start Chat to start a chat with all present collaborators and with the chat title in the format <Request ID - Request Title>.
To select specific collaborators for the chat or to edit the chat title before starting the chat, click Manage.

-
Click Start Chat to initiate the group chat in a separate chat window.
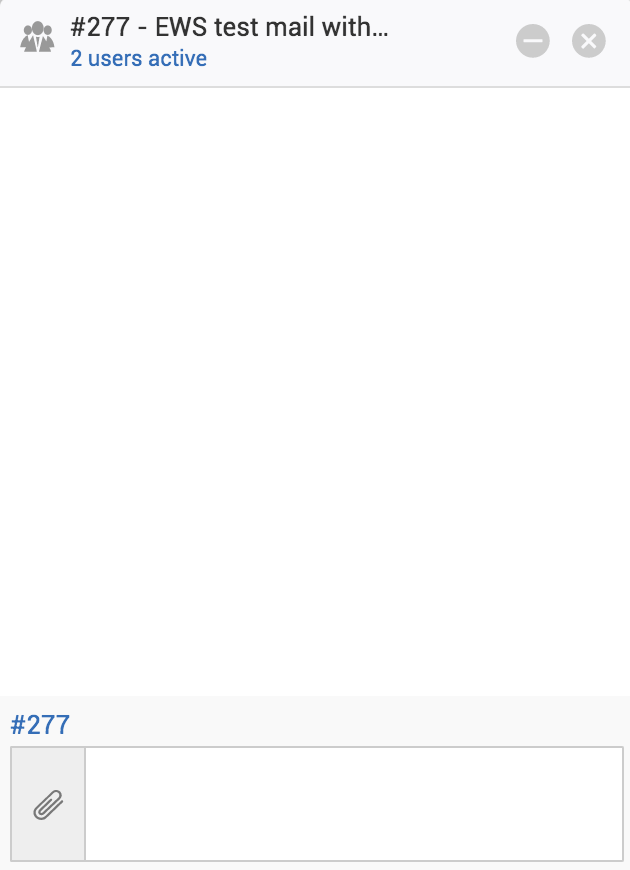
To open the request details page, simply click the request ID in the chat window.
When a technician opens the same request, the members of the ongoing collaborators' chat will receive a pop-up message as shown in the screenshot below:
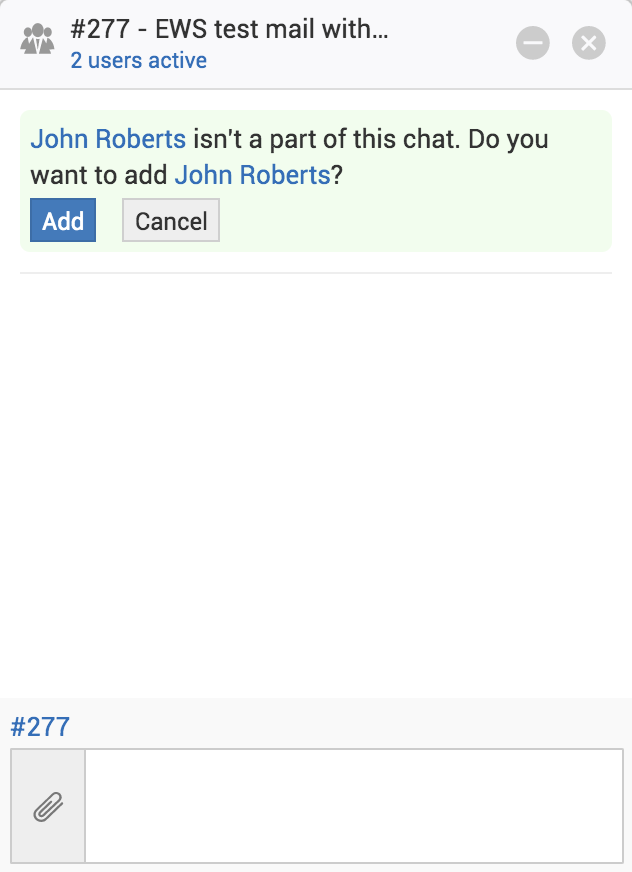
You can include the new technician in the collaborators' chat by clicking Add.
To add a technician to an ongoing collaborators' chat, type + in the chat box and select the technician from the displayed list.
Technicians can also join an ongoing collaborators' chat by clicking ![]() > Join in the request details page.
> Join in the request details page.
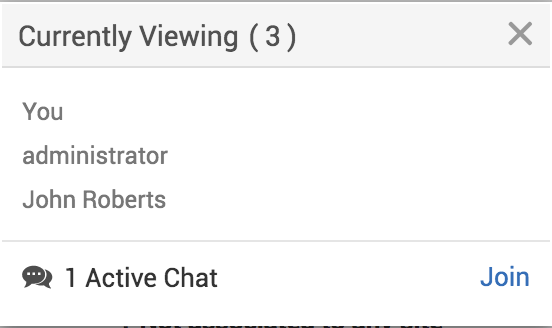
To leave an ongoing collaborator chat, click Actions > Leave Group in the chat window.
Chat Room
With the SDAdmin role, you can access the chat room to get an overview of the ongoing, missed, and unpicked chats in the application. You can also edit chat configurations, view chat history, and integrate Live Chat with other services.
To access the chat room, go to any chat, click the <> icon, and choose Chat Room.
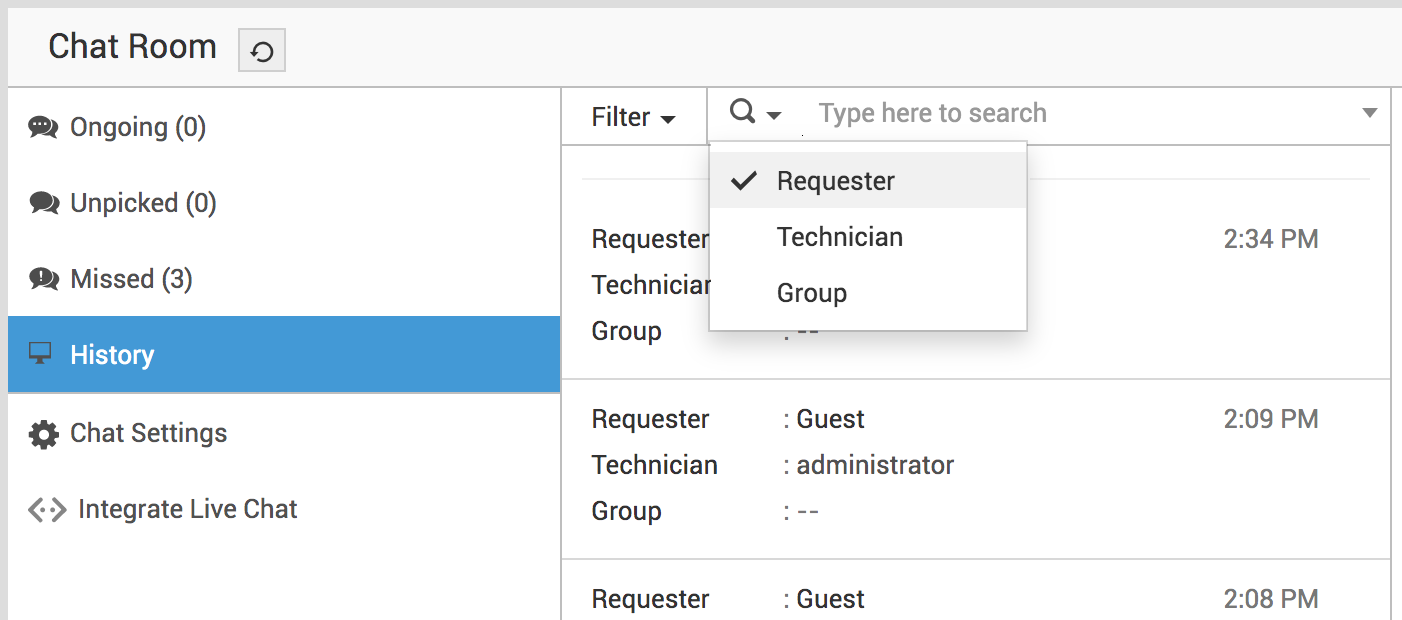
Chat History
The History option in the left pane displays the details of all chats. To locate a specific chat, you can either use the Search button or manually scroll through the chats.
Refine the search results based on time, requester, technician, group, and keywords.
ServiceDesk Plus MSP Chat as an External Widget
ServiceDesk Plus MSP Chat as an External Widget
You can embed ServiceDesk Plus MSP chat in external websites. You must add the target website as a security response header in ServiceDesk Plus MSP for security reasons.
To enable ServiceDesk Plus MSP as an external widget,
-
Go to Admin > General Settings > Security Settings.
-
Under the Advanced tab, enable the Add security response headers checkbox.
-
Select Access-Control-Allow-Origin from the drop-down list. Enter the target website address or the trusted word in the given text field. The trusted word enables you to access the application in any domain.
-
Click Save.
-
Go to Admin > Incident Management > Chat Settings > Integrate Live Chat.
-
Enable the Add Live Chat toggle button.
-
Click Save.

-
Copy the displayed code to the target website's HTML source code.
-
ServiceDesk Plus MSP Live Chat will be added as a widget in the target website.

