Configuring Contract Billing
Contract Billing is used to set up the service contract that exists between the Service Provider and a customer account. Once you setup a service plan, the contract billing page allows you to associate the service plan to an account. Contract Billing also helps you capture details of the service contract that you enter into with an account.
To open the Contract Billing configurations page,
-
Login to the ServiceDesk Plus - MSP application with admin username and password.
-
Click the Admin tab in the header pane.
-
In the Account Details block, click Contract Billing. This opens the Contract Billing page.
Configuring Contract Billing for an Account
-
Select the account for which you want to configure contract from the drop down list.
-
Select the Service Plan from the drop down. This field is mandatory.
-
Provide the Contract Number, Contract Name, and select the Start Date and Expiry Date of the contract using the calendar icon
 . These fields are mandatory. Add Description if necessary.
 -
Click the Set as Default Contract checkbox to make this contract as default. The existing default contract is displayed beside this checkbox.
-
You can notify stakeholders through email on contract expiry.
- Under Notify Before, specify how many days before the contract expiry must the notification be sent. Select email address(es) of the user(s) to be notified. You can also manually type in the user email address(es). Click E-mail Template to customize the notification.
- Under Notify After, specify how many days after the contract expiry must the notification be sent. Select email address(es) of the user(s) to be notified. You can also manually type in the user email address(es). Click E-mail Template to customize the notification.
-
A notification can also be sent whenever the allowance threshold limit is reached by specifying the limit in the Send notification after (%) field.
-
To attach any relevant file to the contract,
-
Click Attach File button in the Contract Attachments Details block. The Attach File dialog pops up.
-
Click the Browse button and select the file to be attached from the file chooser window and click the Open button.
-
Click Attach File. The selected file is listed below the Attachments heading along with its size.
-
If you have more files to choose, follow steps 1 to 3 repeatedly till you have attached all the relevant files. Please ensure that the maximum size of the attachment is 10 MB.
-
-
Select the Billing Date on which the bill needs to be generated from the drop down. This field is mandatory.
-
Specify the Billing Email address to which the bill needs to be sent.
- Choose the Date Format for the bill from the drop-down list.
-
Specify the Currency (For example, USD or $) in the given text field. This will be displayed in the bill during the bill generation. This field is mandatory.
-
Specify the number of days before which the bill has to be paid from the end date.
-
Specify the Discount (%) in the given text field.
- Override Service Plan Cost: Select to override the cost configured in the service plan.
- Choose Include all Worklogs irrespective of Request's Status option if you wish to include all worklogs for calculating billable time.
-
Provide the Round Off value to calculate the billable time. Provide the Round Off value (for minutes) to calculate billable time from the Time Taken To Resolve entry of work logs. Let's say, the Round Off value is set to 10. For a work log of 1 hr 18 mins, the billable time will be 1 hr 20 mins by rounding the minutes to the next greater 10. Let's consider another example in which the Round Off value is set to 30. For a work log of 1 hr 32 mins, the billable time will become 2 hours by rounding the minutes to the next greater 30. NOTE: This option is available only if the associated service plan follows Fixed Cost per Hour and not Differential Cost per Hour.
-
You can add and associate tax details that apply for the contract.
-
Select the tax type from the list of Available Tax Types and move it to the Associated Tax Types by clicking >> button.
-
If you want to remove the tax type associated to the contract, then select the tax type from the Associated Tax Type list and click << button. The selected tax type will be removed.
-
Click >>> or <<< to add or remove all the taxes respectively.
-
You can also add a new tax type by clicking the Add Tax Type button. The Add New Tax Type dialog pops up. Provide the Tax Name and Tax Rate (%). Click Save.
-
-
Click Save to save the Account Contract details.
NOTE: The contract once created for an account cannot be deleted.

Viewing other Contracts
You can view the list of other contracts available for an account.
To view other contracts
-
Select an account for which you want to view other contract details from the drop down list.
-
You can view specific contracts by choosing a filter. Add custom filters by clicking
 . Click
  to manage the custom filters.
 -
Click the contract name or contract number to view the details of the contract. Click
 to view the details of the associated service plan.

Show/hide attachments to technicians
-
Go to the respective Contract Billing page.
-
Go to Add New Contract
-
Under Attachments section, click the Attach Files icon to attach the respective file.

To view the attachments
-
Go to Contract Billing.
From the Contract Billing list view, you can find the attachments listed in the Contract Billing details page.
Terminate a Contract
To terminate a contract,
-
Click Terminate displayed on the contract details page.
-
Click Yes in the pop-up box to confirm the action. The contract will be terminated even if the contract period is not completed.
NOTE: When you terminate a contract, the associated bills will be generated immediately.
The base amount for Prepaid Billing will be inclusive of taxes and discounts when accounts pay at the start of a contract period. Taxes and discounts will be applied only for additional charges.
Tax section and discount fields are shown in Contract Billing form page selected for prepaid service plan if Allow technician to enter additional charges option is enabled in Service Plan.
Edit Contracts
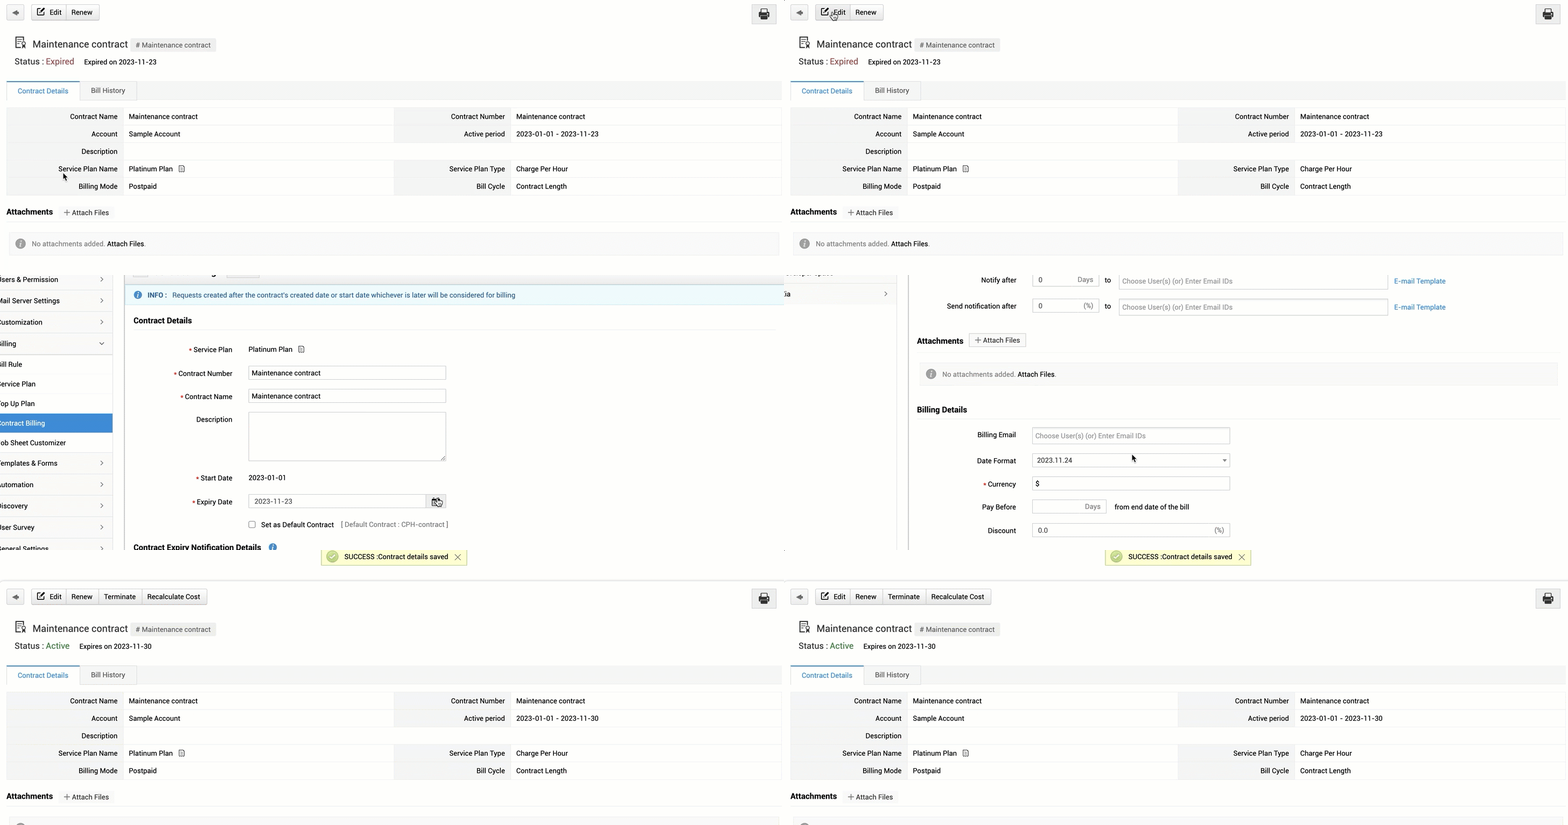
Edit the contract to modify cost details, expiry date, and billing details. You can also edit expired contracts and extend the contract period.
-
Go to the contract billing details page.
-
Click Edit.
-
Modify the required details. To extend the contract period, modify the Expiry Date.
-
Modify the billing details if required.
-
Click Save.
The expired contract will be renewed.

Recalculate Cost
After modifying the cost details of contracts, you can recalculate the cost of requests/ worklogs by clicking Recalculate Cost on the contract billing details page. This allows you to apply new cost details for unbilled entities.
Recalculate cost option is available only for Cost Per Hour and Cost Per Request service plan types and Postpaid service plan mode.
Click Recalculate Cost to initiate recalculation.

Renew Contracts
To renew the contract for an account,
-
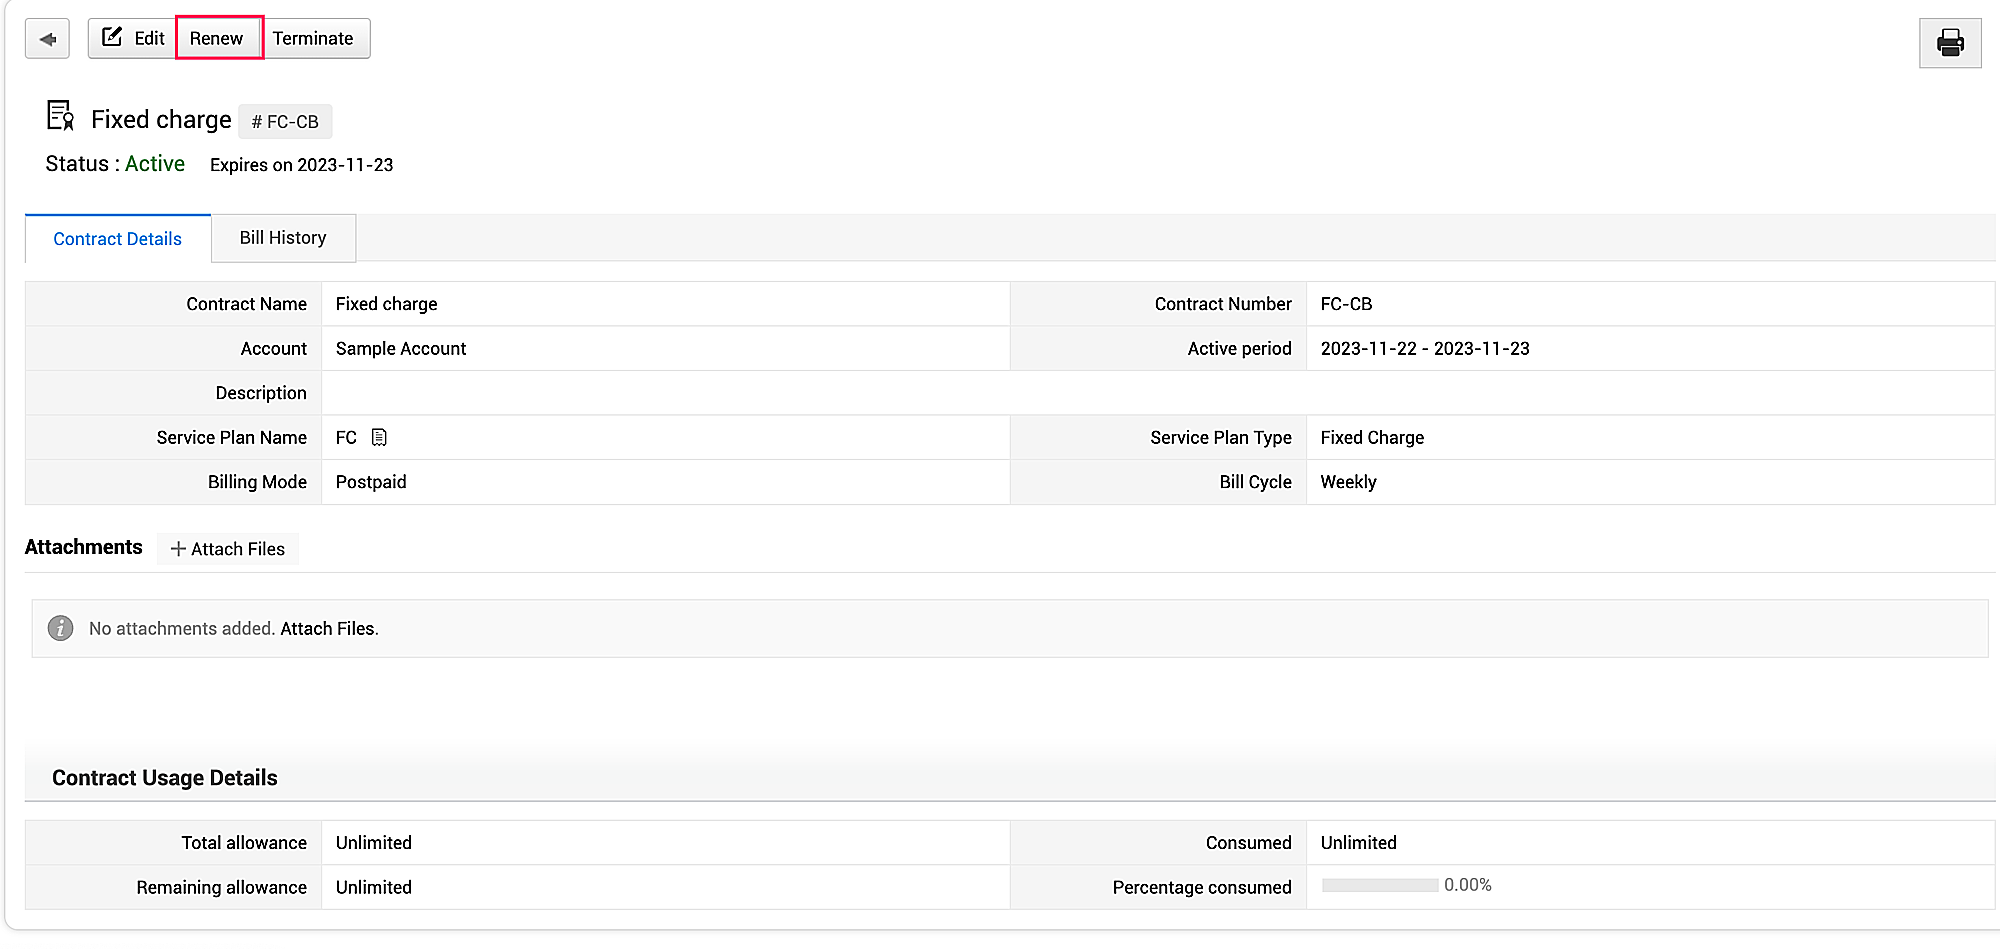
Go to the contract billing details page.
-
Click Renew.
-
Fill out the required details and click Save.


