Personalize
You can personalize your profile picture, display language, time zone, navigation menu, change font, change color theme, change your login password, generate API key, or manage two-factor authentication.
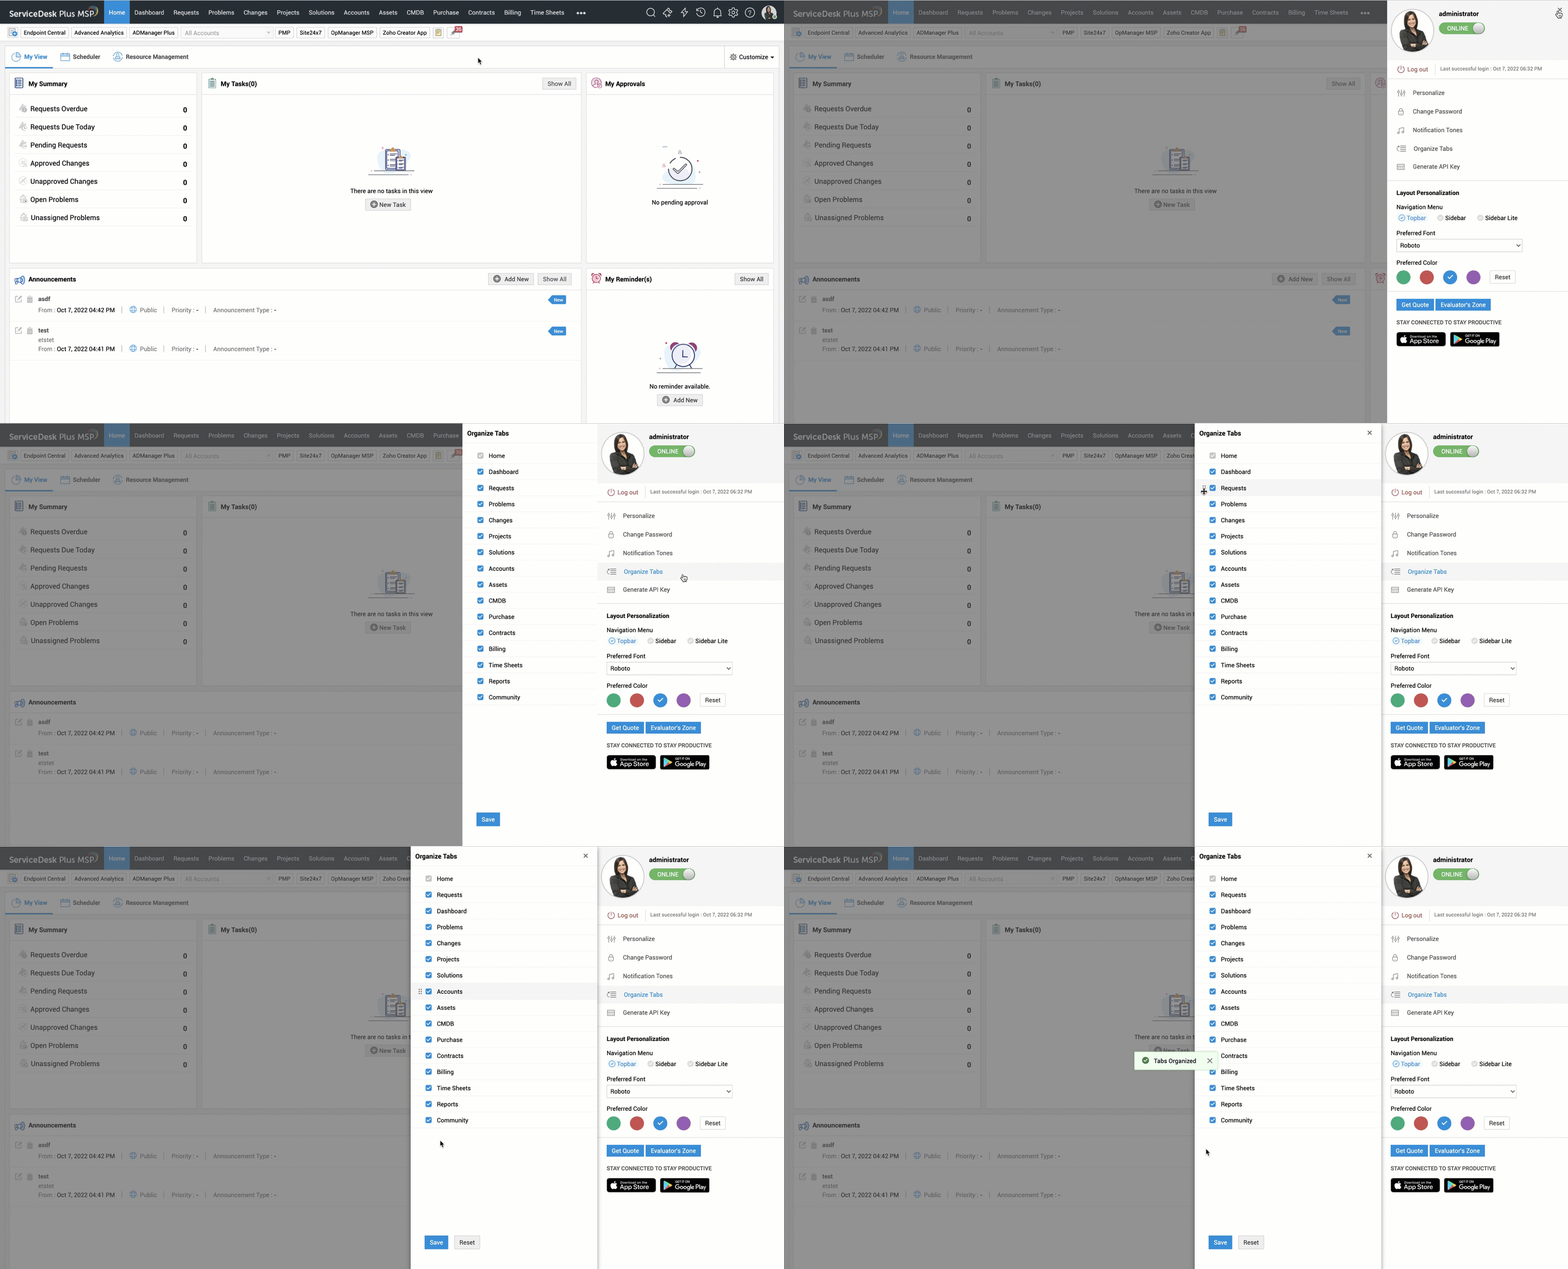
Upload/delete profile picture:
Click the profile icon on the top-right corner and do one of the following:
-
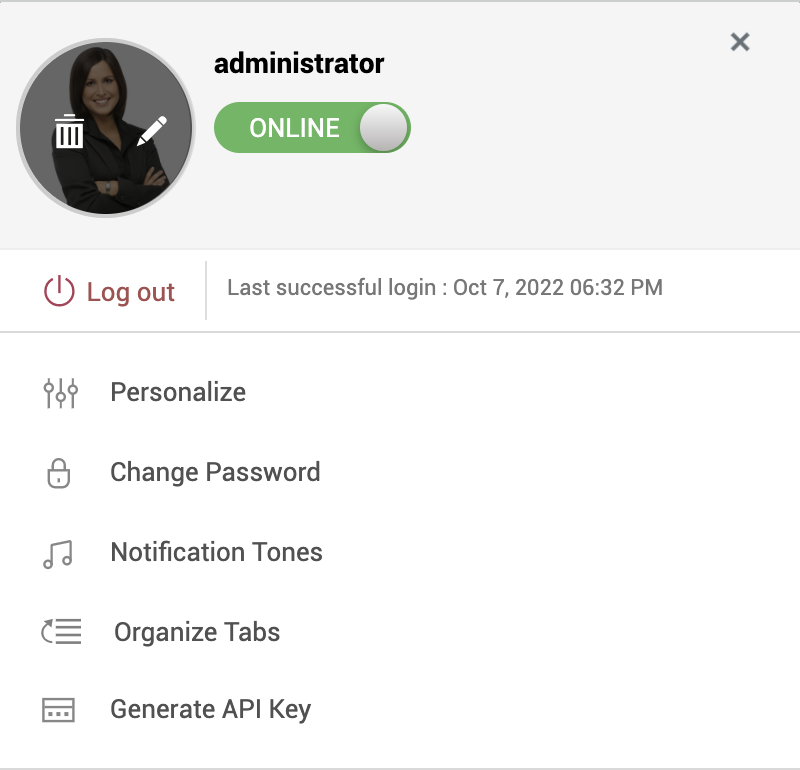
To upload a new profile picture, click the profile icon on the user panel, and choose your preferred image.
-
To change the existing profile picture, hover over the profile icon on the user panel, select the pencil icon, and choose your preferred image.
-
To delete the existing profile picture, hover over the profile icon on the user panel, select the delete icon.
Personalization, Changing Password, and API Key Generation
-
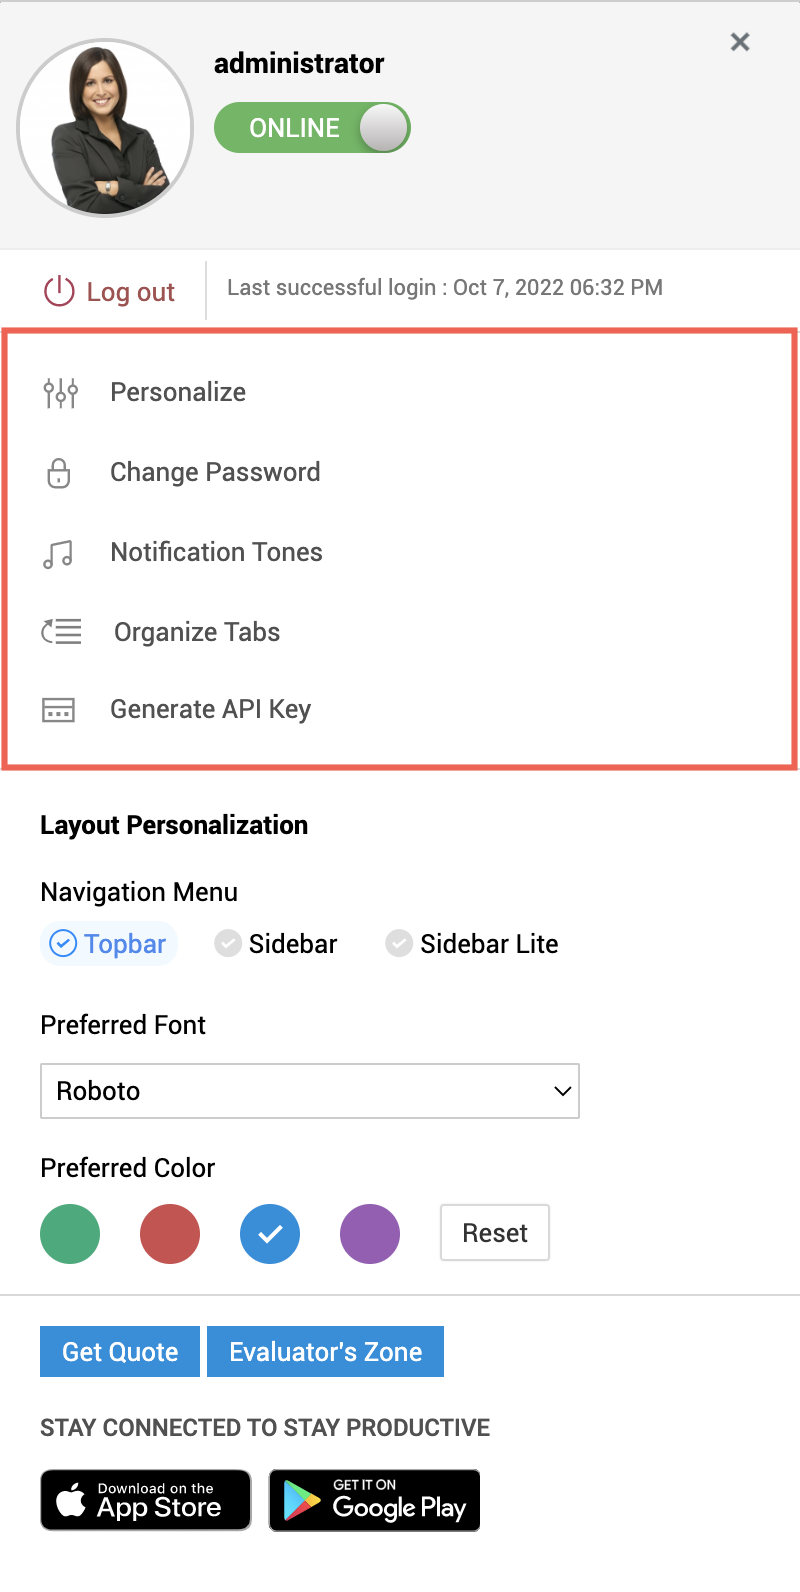
Click the user profile icon at the top-right corner.
- Select Personalize/Change Password/Generate API Key. This opens a pop-up window with the appropriate tab selected.
Personalize
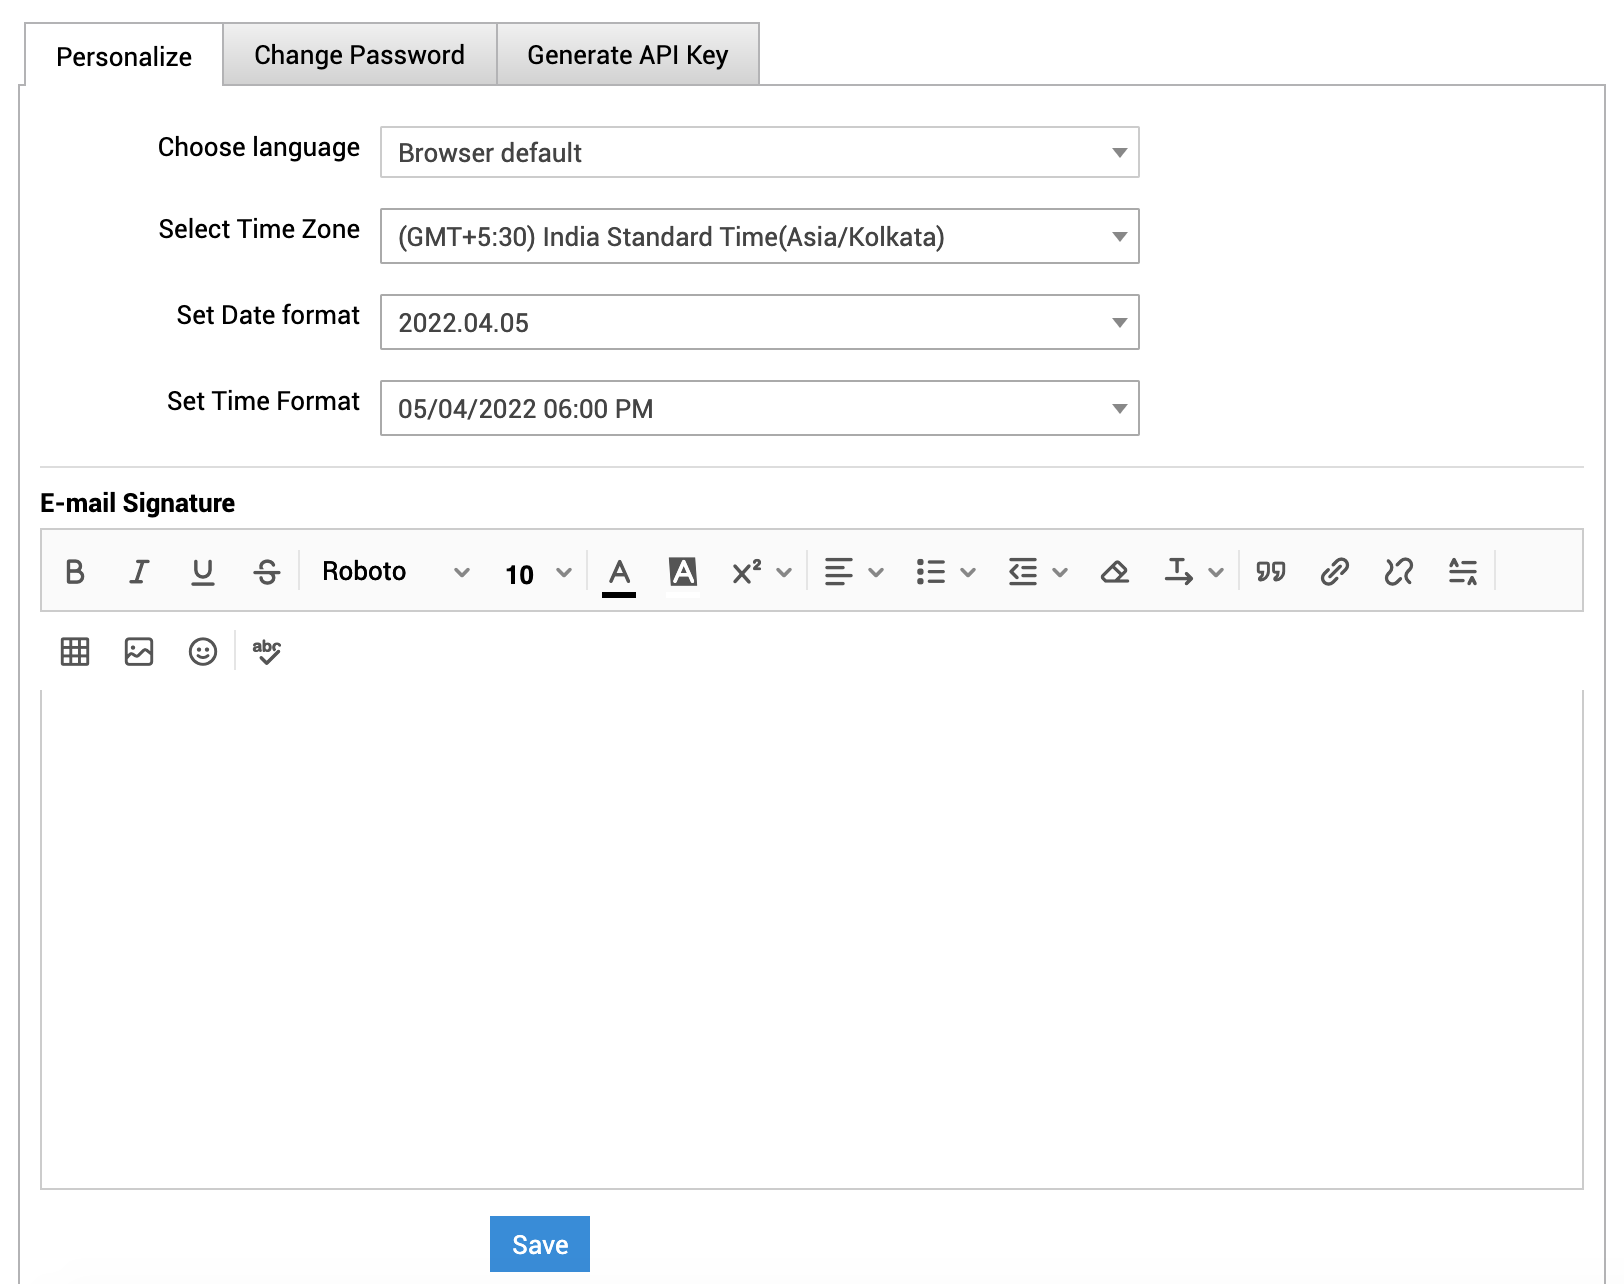
The personalize tab consists of display language, time zone, data format, time format and e-mail signature.
-
Display Language
Select the language of your choice from the Choose Language combo box. The selected language will be your default display language in the application. All the data will be displayed in the language selected by you. -
Time Zone
Since the organizations can be situated in various sites; every site has its particular time zone. Select the time zone of the site of your organization from the Select Time Zone combo box. The date and time will be set according to the selected time zone. -
Date/Time Format
Select the format of the date such as, Tue 16 Sep 2008, from the Set Date Format combo box. Similarly you can also set the time format from Set Time Format combo box. The selected date and time format will be displayed where ever date/time is considered
For Example: While creating a request, the request created on and due by time will be displayed in the selected date and time format corresponding to the selected time zone. The same can be viewed under Problem, Change, Solution and Purchase modules.
-
E-mail Signature
You can have your own personalized signature while replying to the mails using this option. Enter your signature in the text provided. Click Save.
Change Password
You can view and reset two passwords under this section.
- Login password to the application
- File protection password - Ensures secure access to the files generated from within the application. You must enter this password to open exported reports, scheduled reports, and exported request list.

Generate API Key
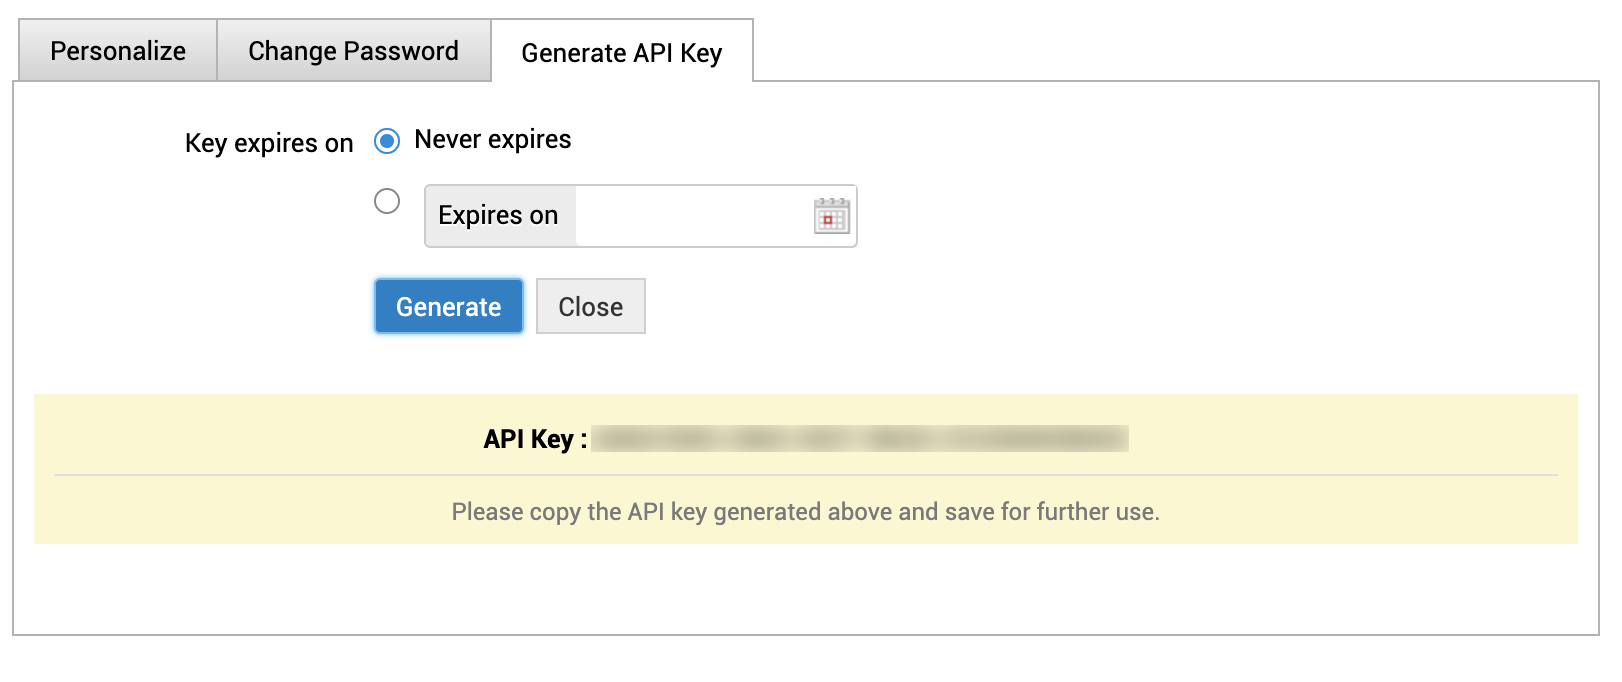
Under this tab, you can generate an API Key that can be used for third-party integrations.
To generate the key,
-
Select the expiry option: a) Never Expires or b) Choose a date for the Expires on option
-
Click Generate.
Notification Tones
Notification tones enable you to configure specific tones for important events in the application, which help you identify the corresponding helpdesk and take necessary action.
You can configure notification tones for the following:
Chats: The selected notification tone plays each time you receive a new chat request, new message in chat, missed chat, or when a chat is closed.
Broadcast Messages: A notification tone plays each time you receive a broadcast message.
Announcements: A notification tone plays whenever the administrator rolls out an announcement.
Technician Notifications: A notification tone plays each time you receive a notification related to helpdesk activities such as approvals, reminders, or request activities.
To configure notification tones,
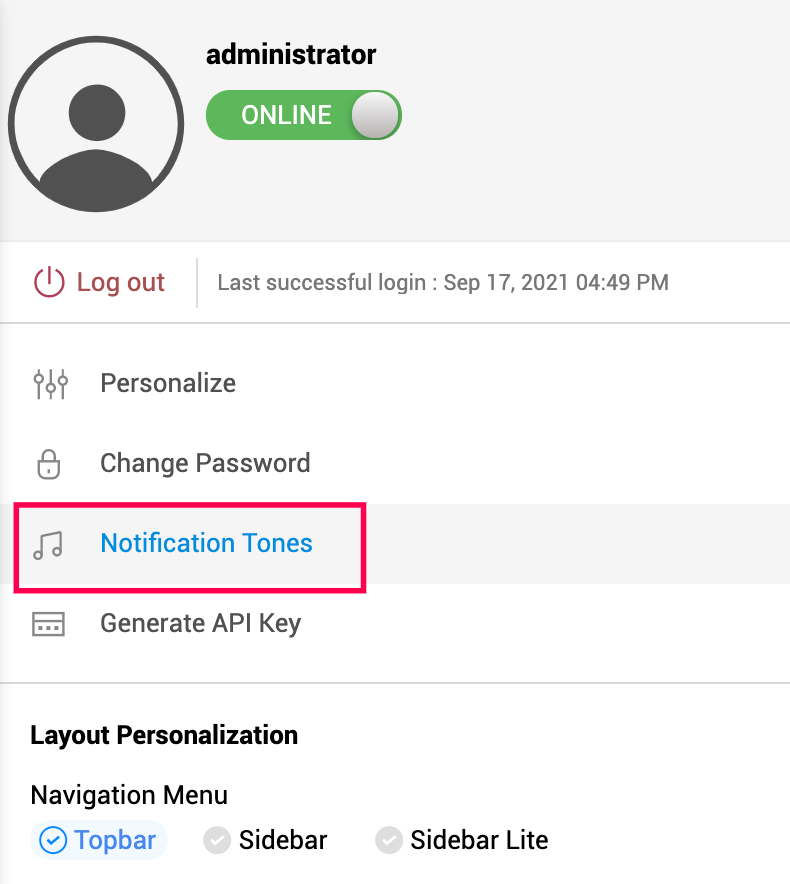
1. Click the account icon at the top right corner.
2. Click Notification Tones.
3. In the displayed pop up, select the required tone for each action from the corresponding drop-down.
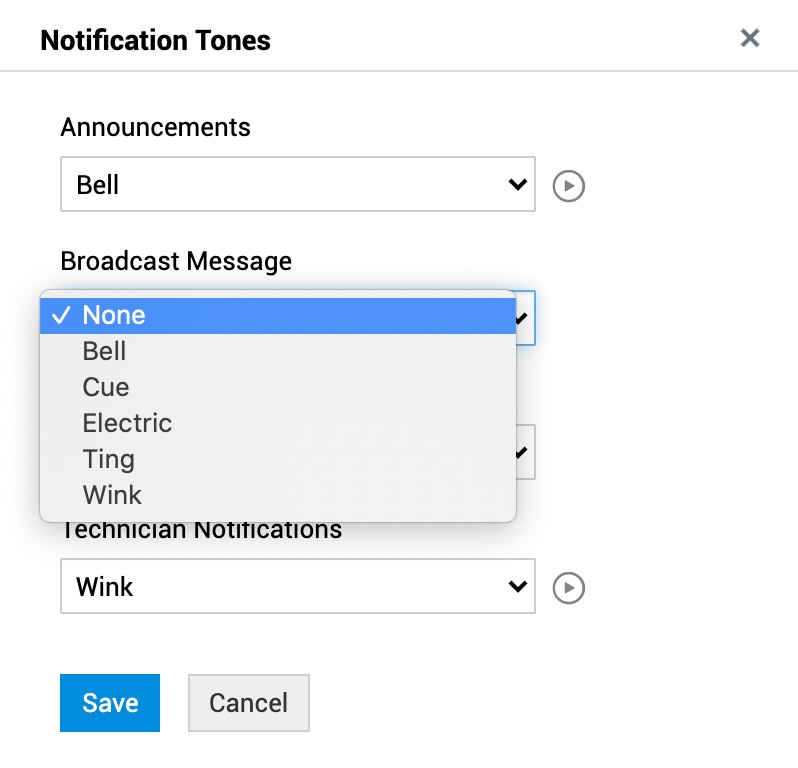
4. Click ![]() beside a field to preview the selected tone.
beside a field to preview the selected tone.
5. Click Save.
Personalize Navigation Menu
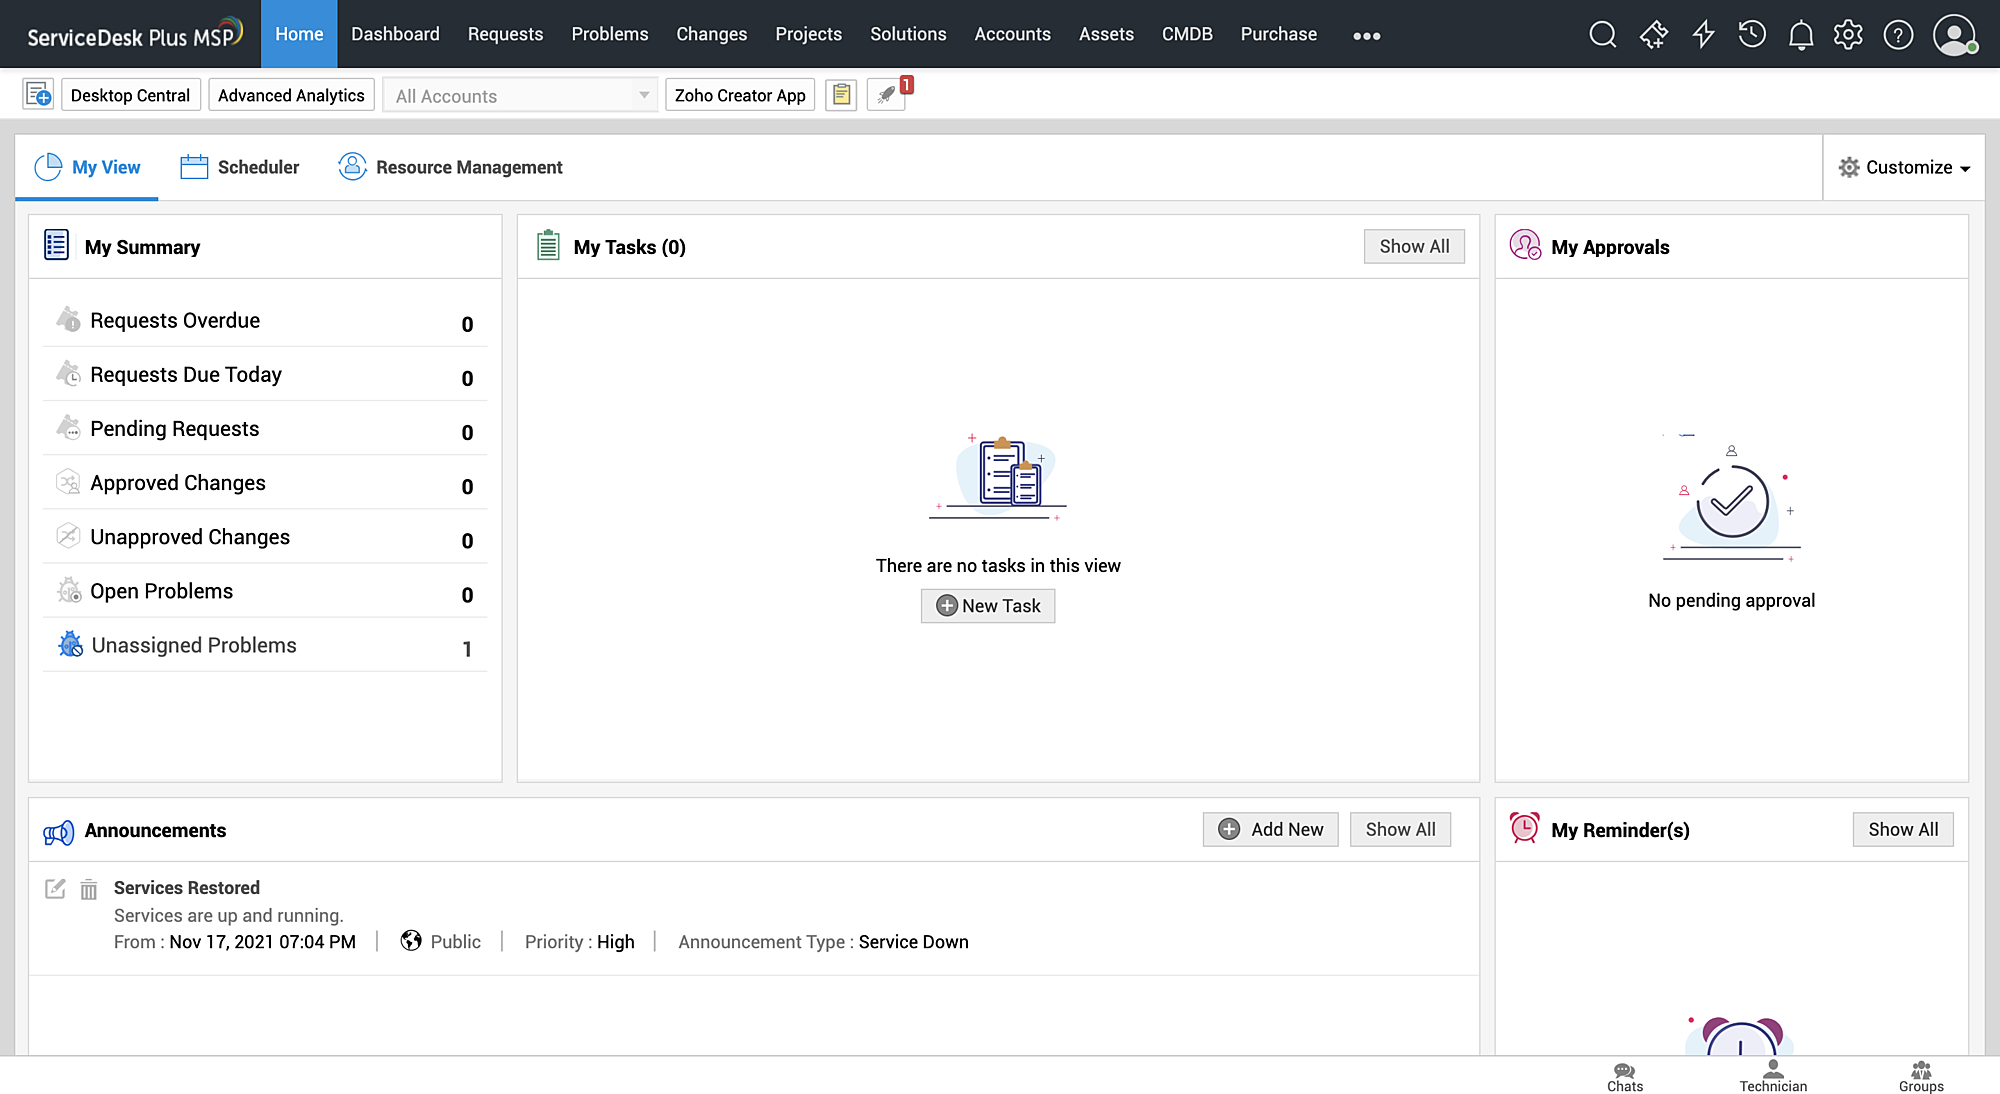
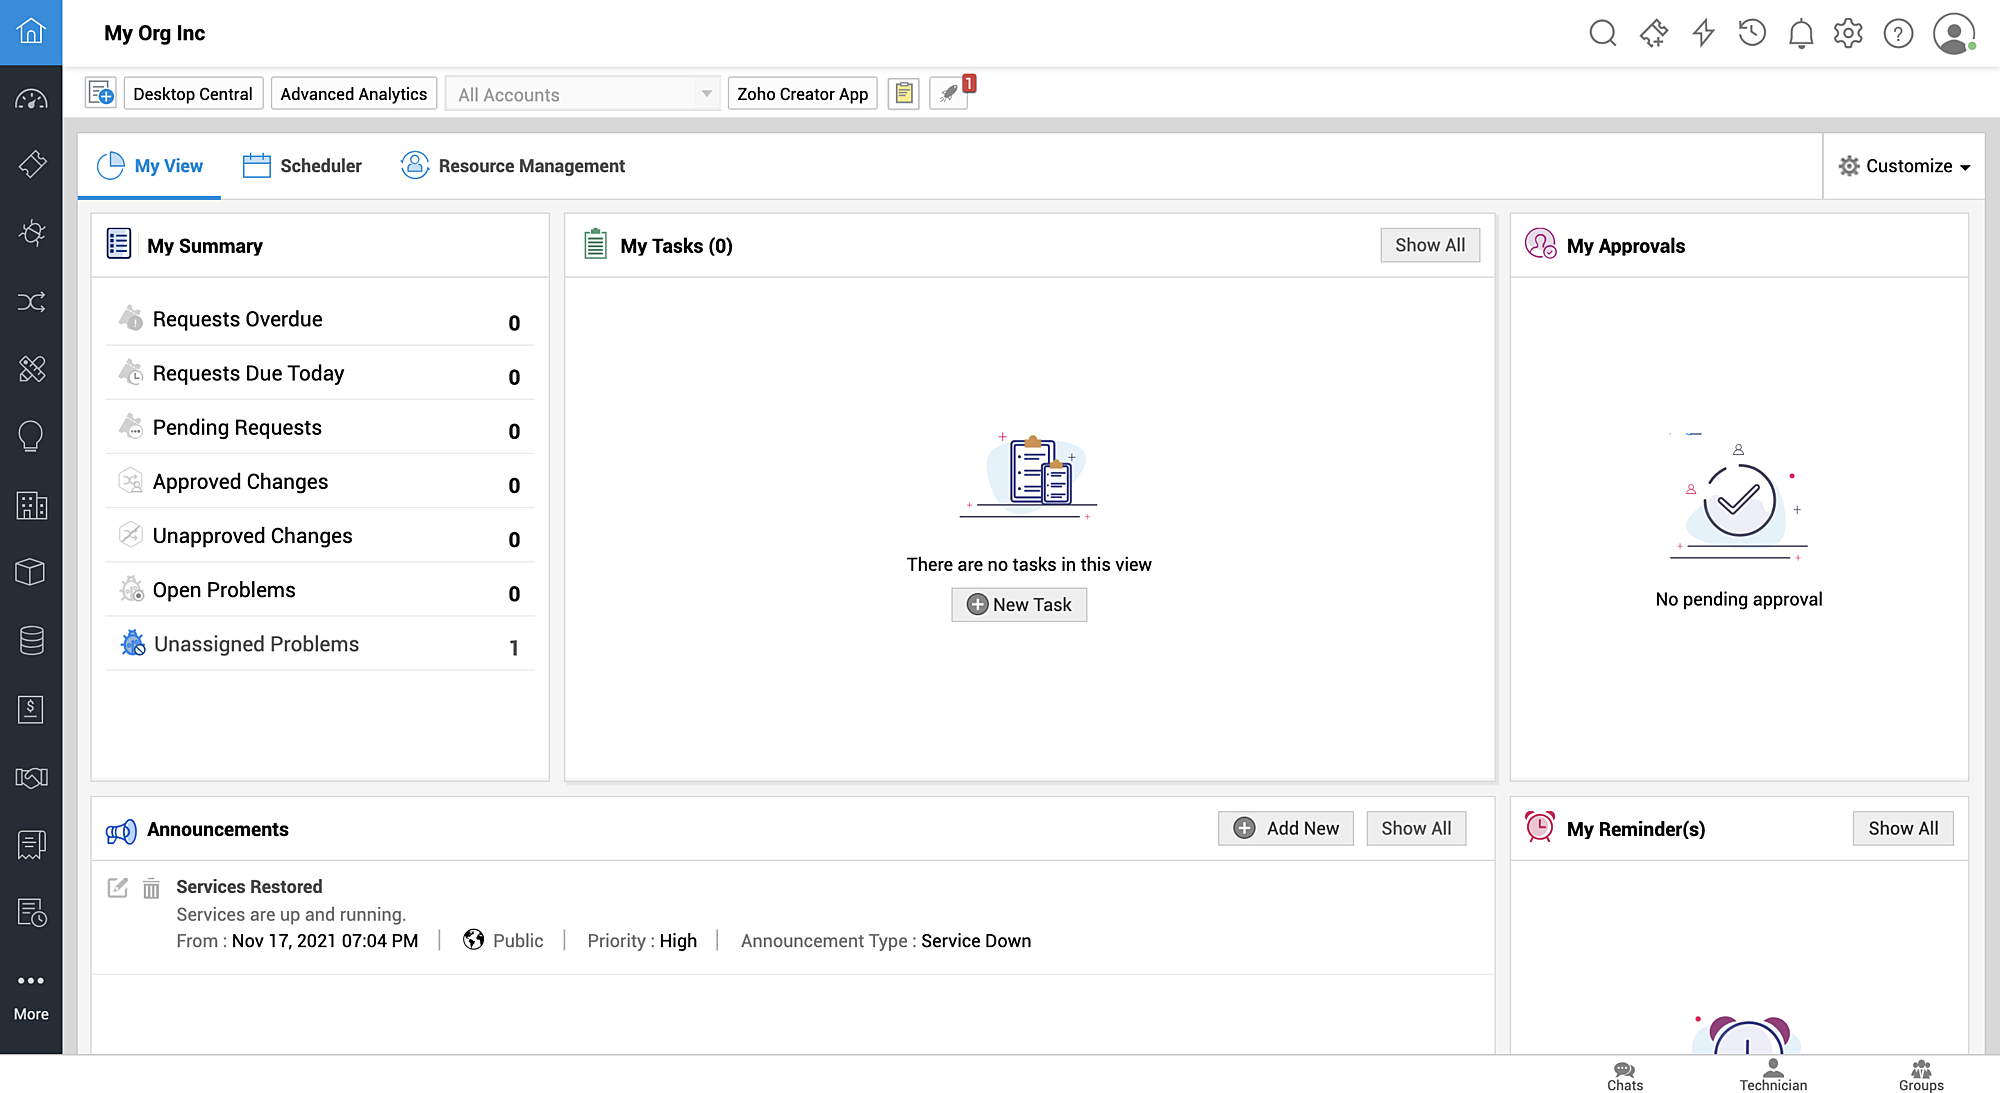
You can personalize the navigation menu by choosing different styles like Topbar, Sidebar, and Sidebar Lite. To choose a style,
-
Click the user icon on the upper-right corner.
-
Under Layout Personalization, choose your preferred Navigation Menu: Topbar, Sidebar, or Sidebar Lite.

Sample Images:
Topbar
Sidebar

Sidebar Lite
Organize Tabs
You can personalize the tab order in the navigation menu or hide certain tabs if tab personalization for technician is enabled by the administrators.
To personalize tabs order,
-
Click the User Profile icon and select Organize Tabs.
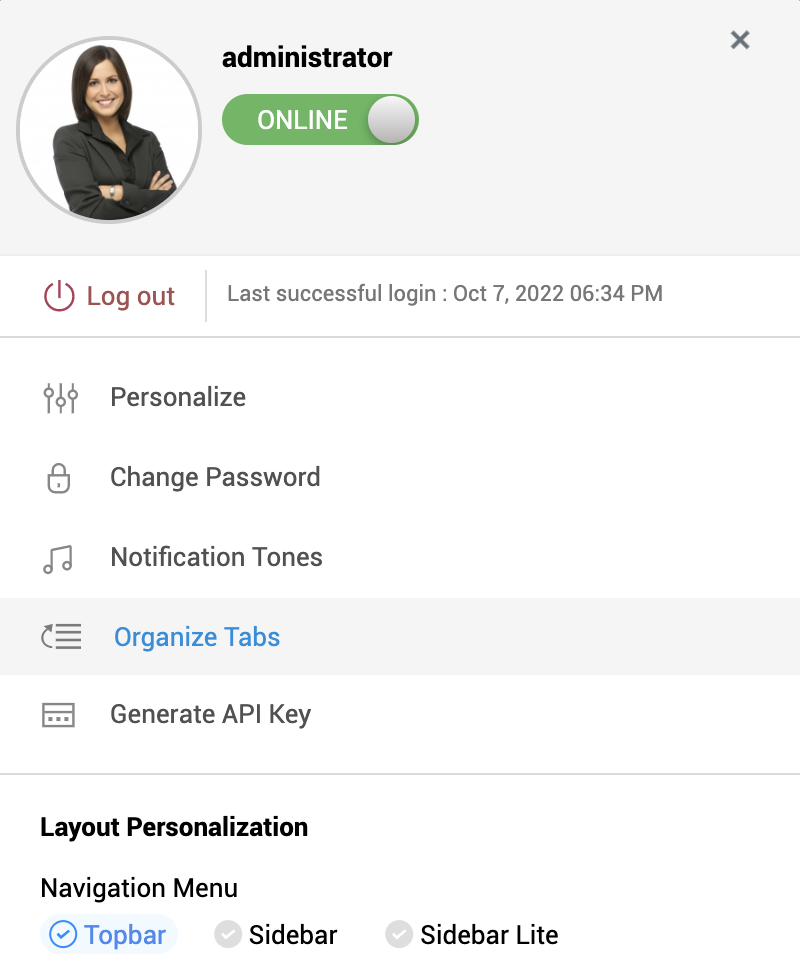
-
Reorder the tabs using the
 icon.
icon. -
Enable/disable the check box beside the tabs to show/hide it in the navigation menu.
-
Click Save. The tabs will be reordered in the navigation menu and it will take preference over the admin settings. The changes are user-specific.
-
You can use Reset to revert the default order configured by SDAdmin.
