To create client ID and client secret:
- Login to your Adobe account
- Visit developer.adobe.com
- Go to Home and click Create new project or select an existing project.
- After selecting the respective project, click Add API available under Project overview and select the User Management API
- Click Next and then click Save configured API
- In the left pane, click OAuth Server-to-Server and scroll down to find the client ID, client secret, and organization ID.
To create a client ID and client secret:
To create a client ID and client secret:
To create a client ID and client secret:
- Visit developer.webex.com/docs/integrations
- Required scopes:
spark:kms
spark:people_read
spark-admin:roles_read
spark-admin:organizations_read
spark:organizations_read
spark-admin:workspaces_read
spark-admin:licenses_read
spark-admin:people_read
To create a client ID and client secret:
To create a client ID and client secret:
To create a client ID and client secret:
- Visit developers.google.com/workspace/guides/create-project
- Required scopes:
googleapis.com/auth/admin.directory.user
googleapis.com/auth/apps.licensing
googleapis.com/auth/admin.reports.usage.readonly
- After creating a project, create your client ID and client secret. Then, enable APIs for the project.
- Required APIs:
Admin SDK API
Enterprise License Manager API
To create a client ID and client secret:
To create a client ID and client secret:
To create a client ID and client secret:
create a client ID and client secret:
- Visit learn.microsoft.com/en-gb/azure/active-directory/develop/quickstart-register-app
- Required scopes:
graph.microsoft.com/Directory.ReadWrite.All
graph.microsoft.com/Directory.AccessAsUser.All
graph.microsoft.com/User.ReadWrite.All
graph.microsoft.com/Reports.Read.All
graph.microsoft.com/ReportSettings.ReadWrite.All
graph.microsoft.com/Organization.ReadWrite.All
management.azure.com/user_impersonation
To create a client ID and client secret:
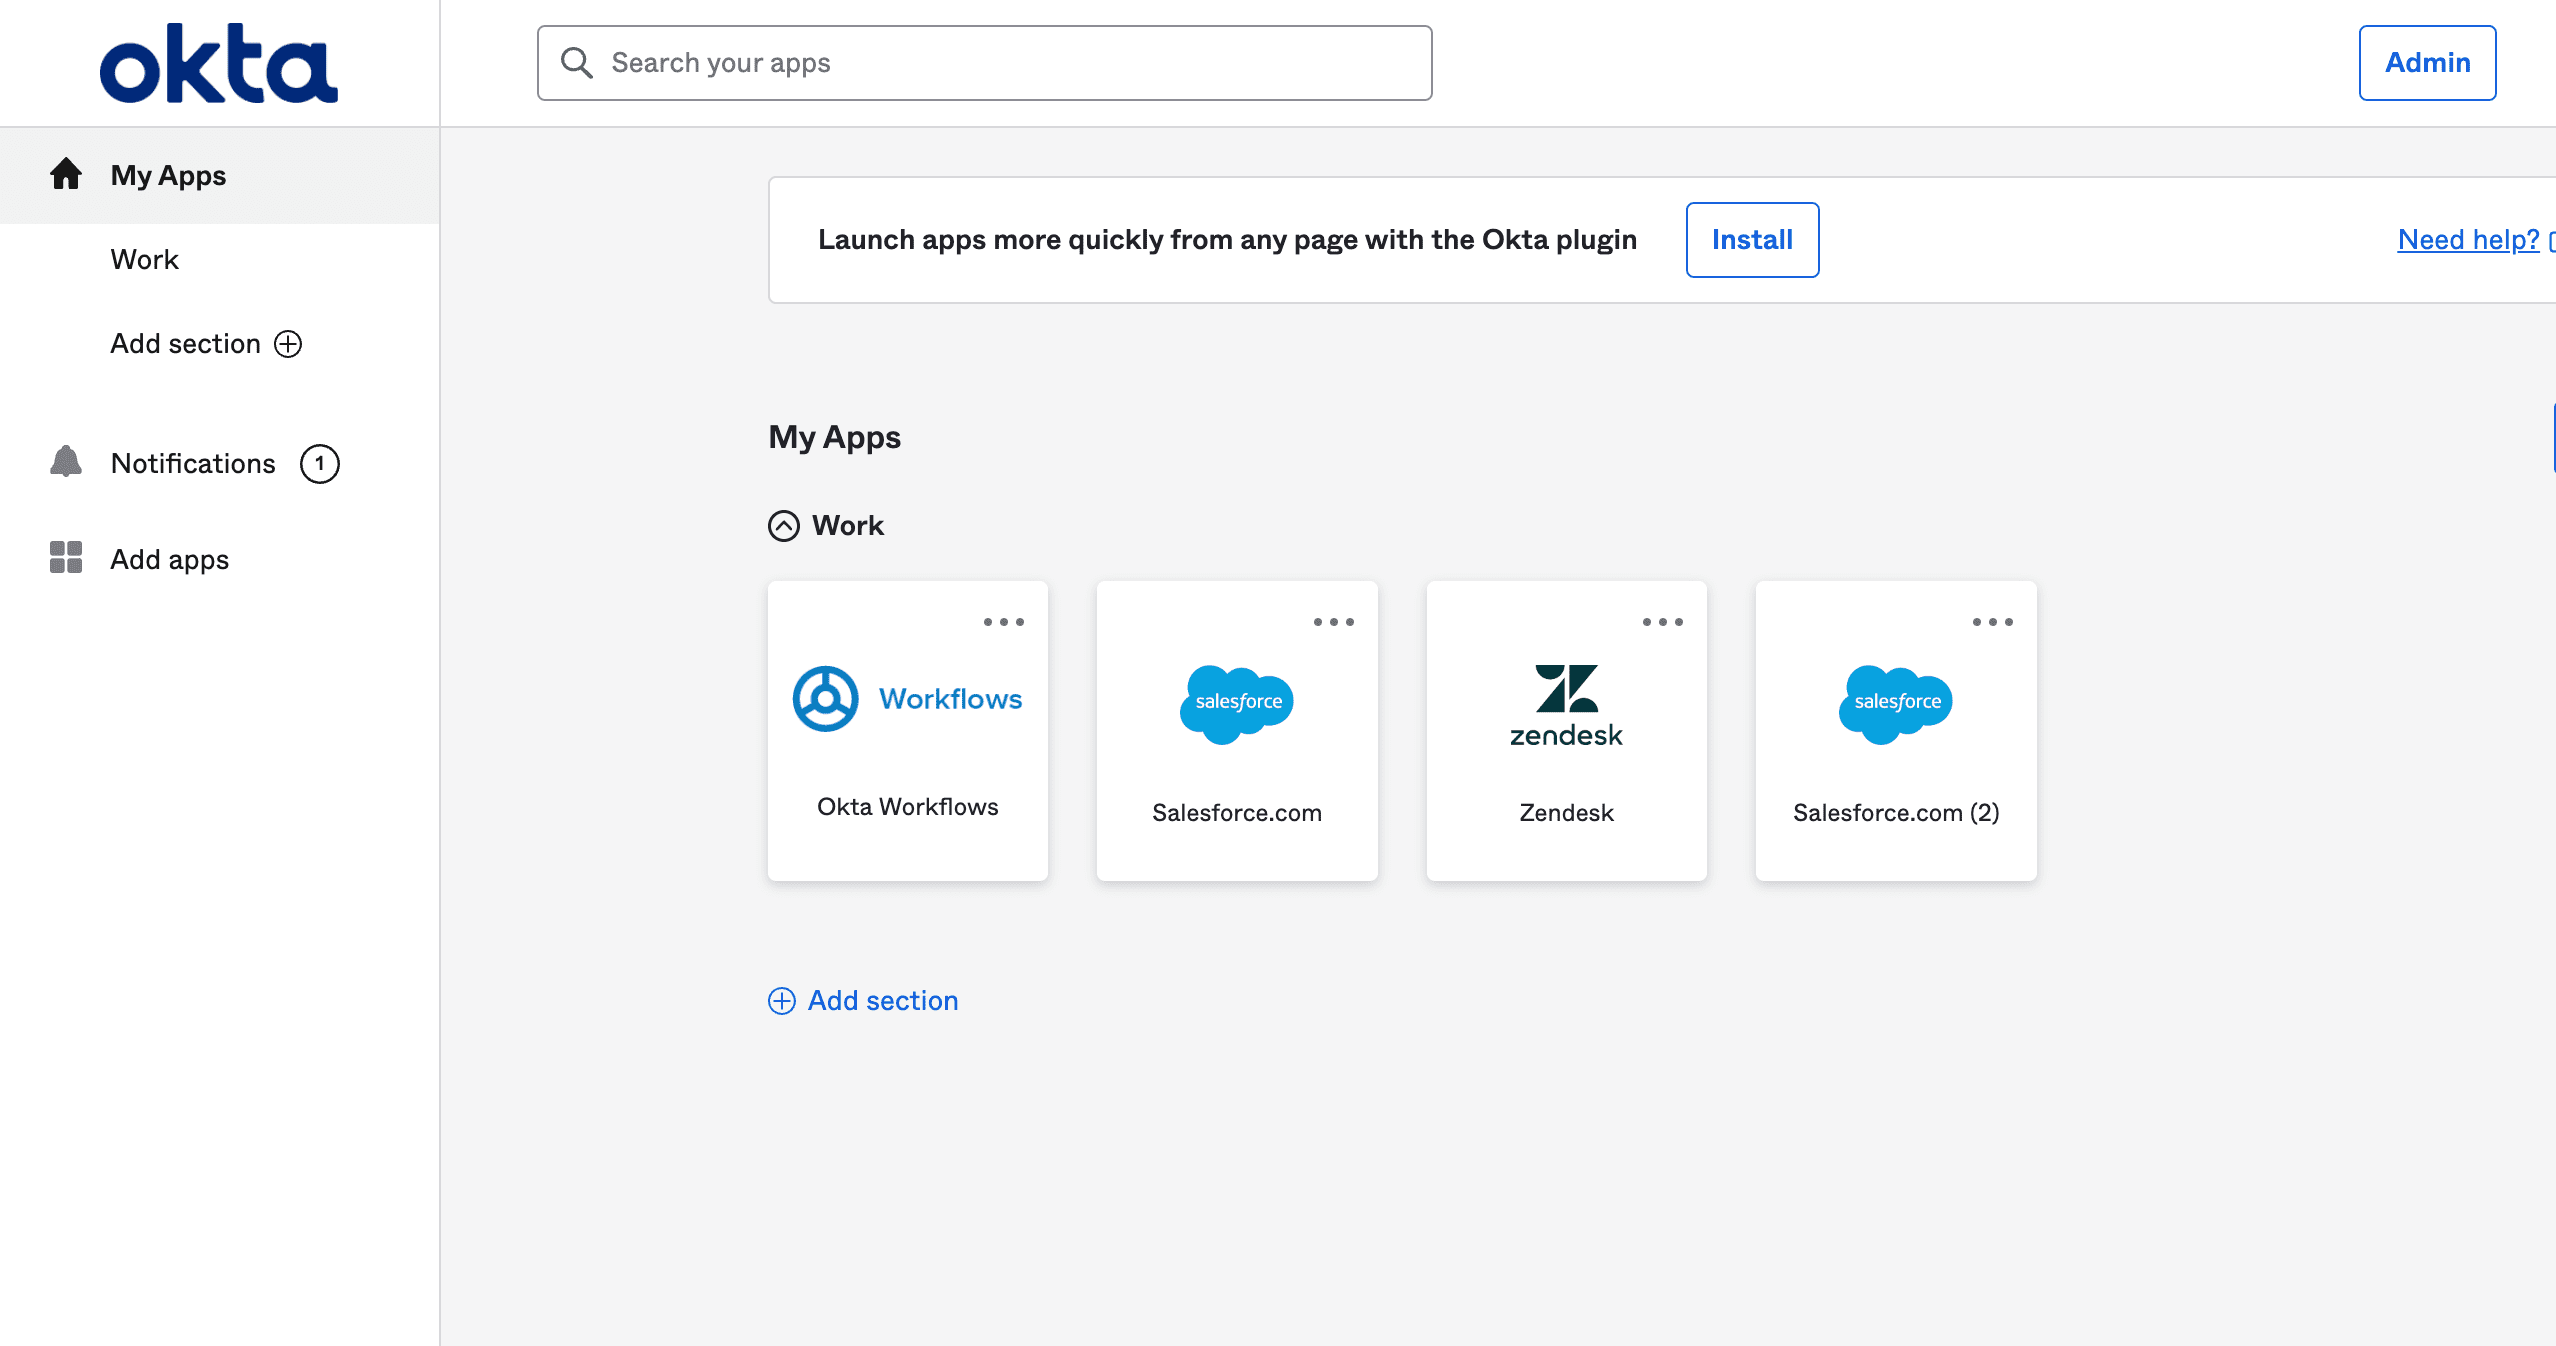
- Sign in to Okta.
- Go to the Admin tab.
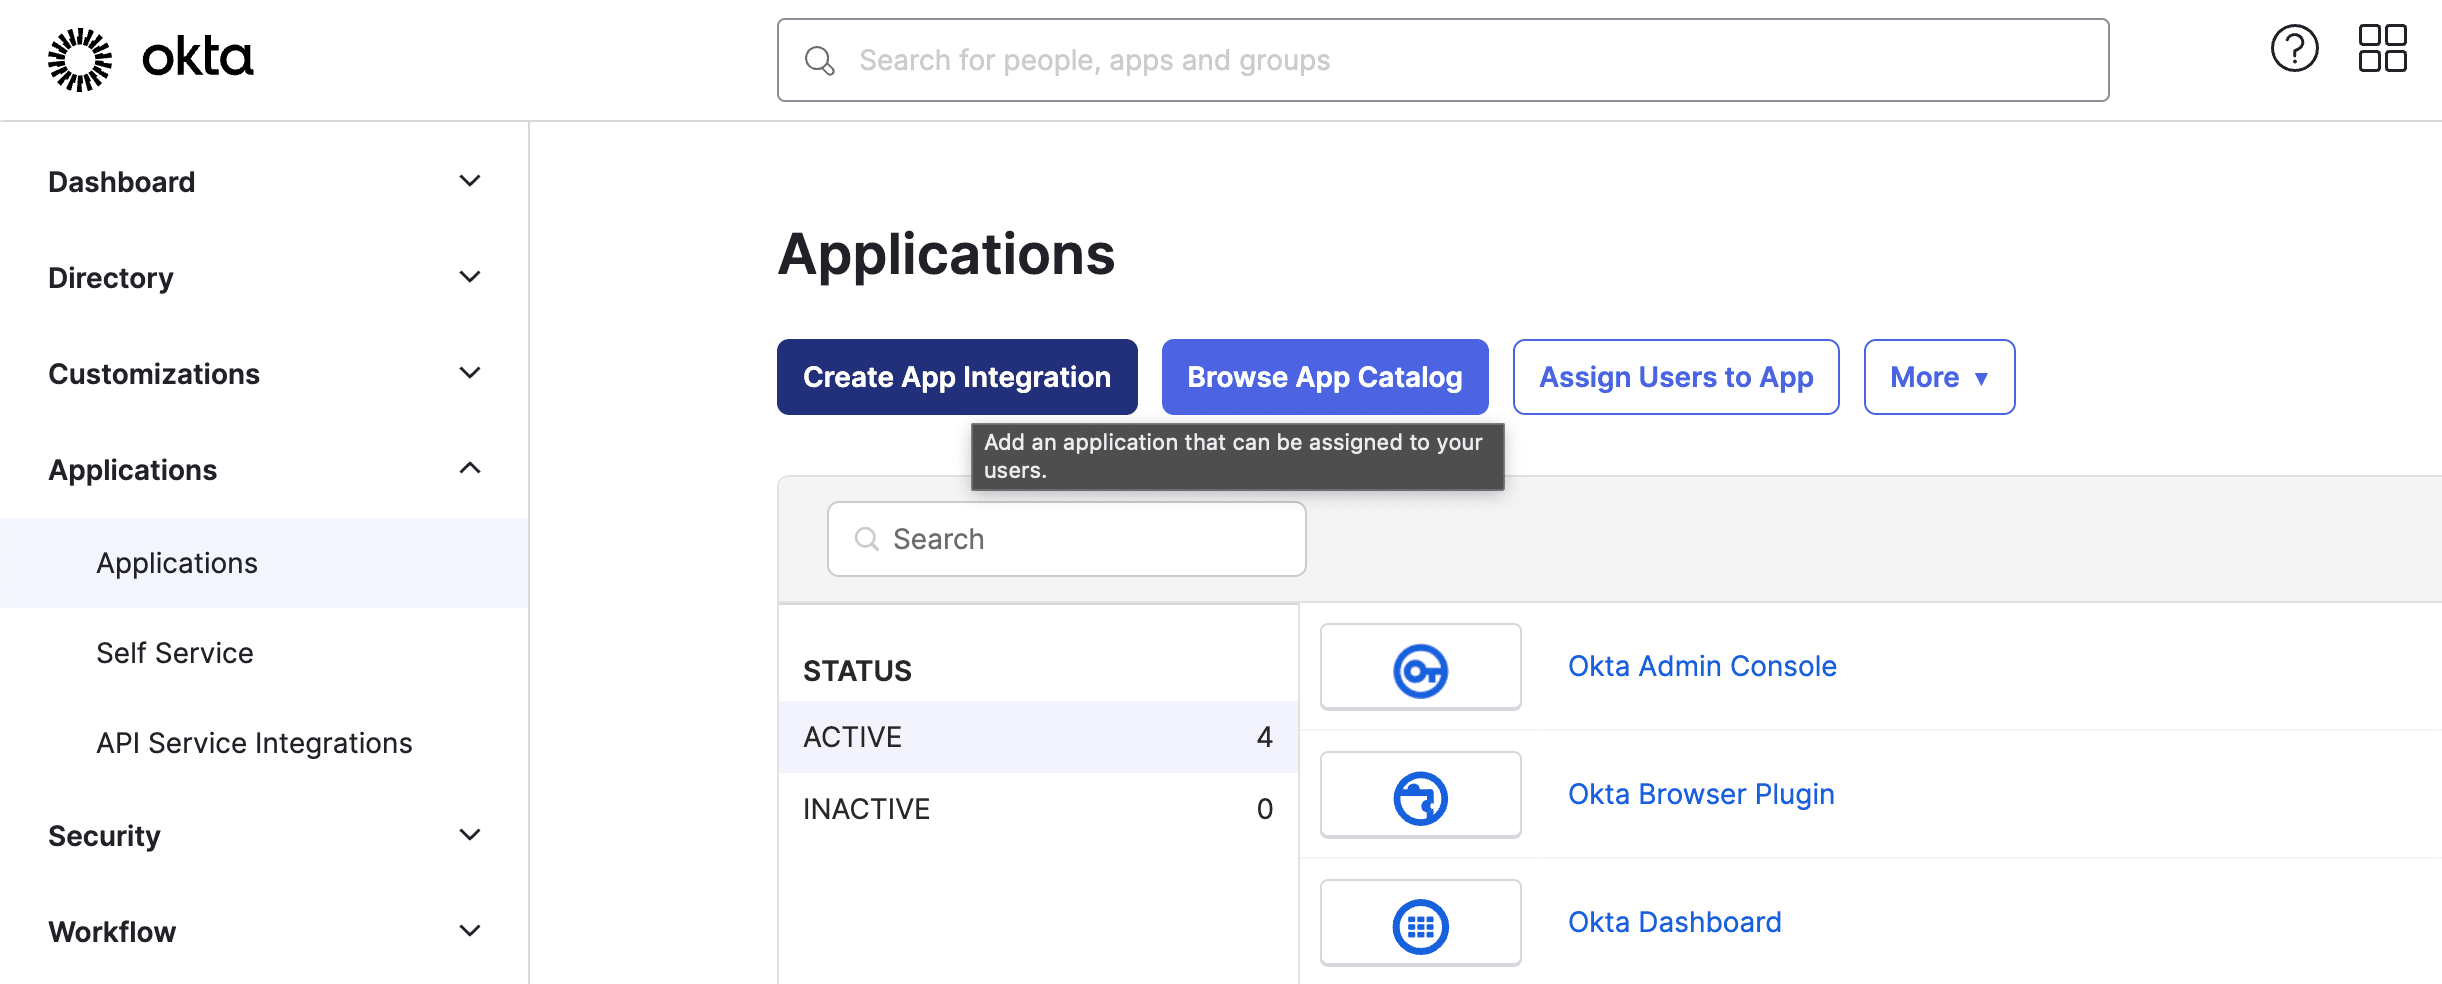
- Click Applications under the Applications tab and click Create App Integration.
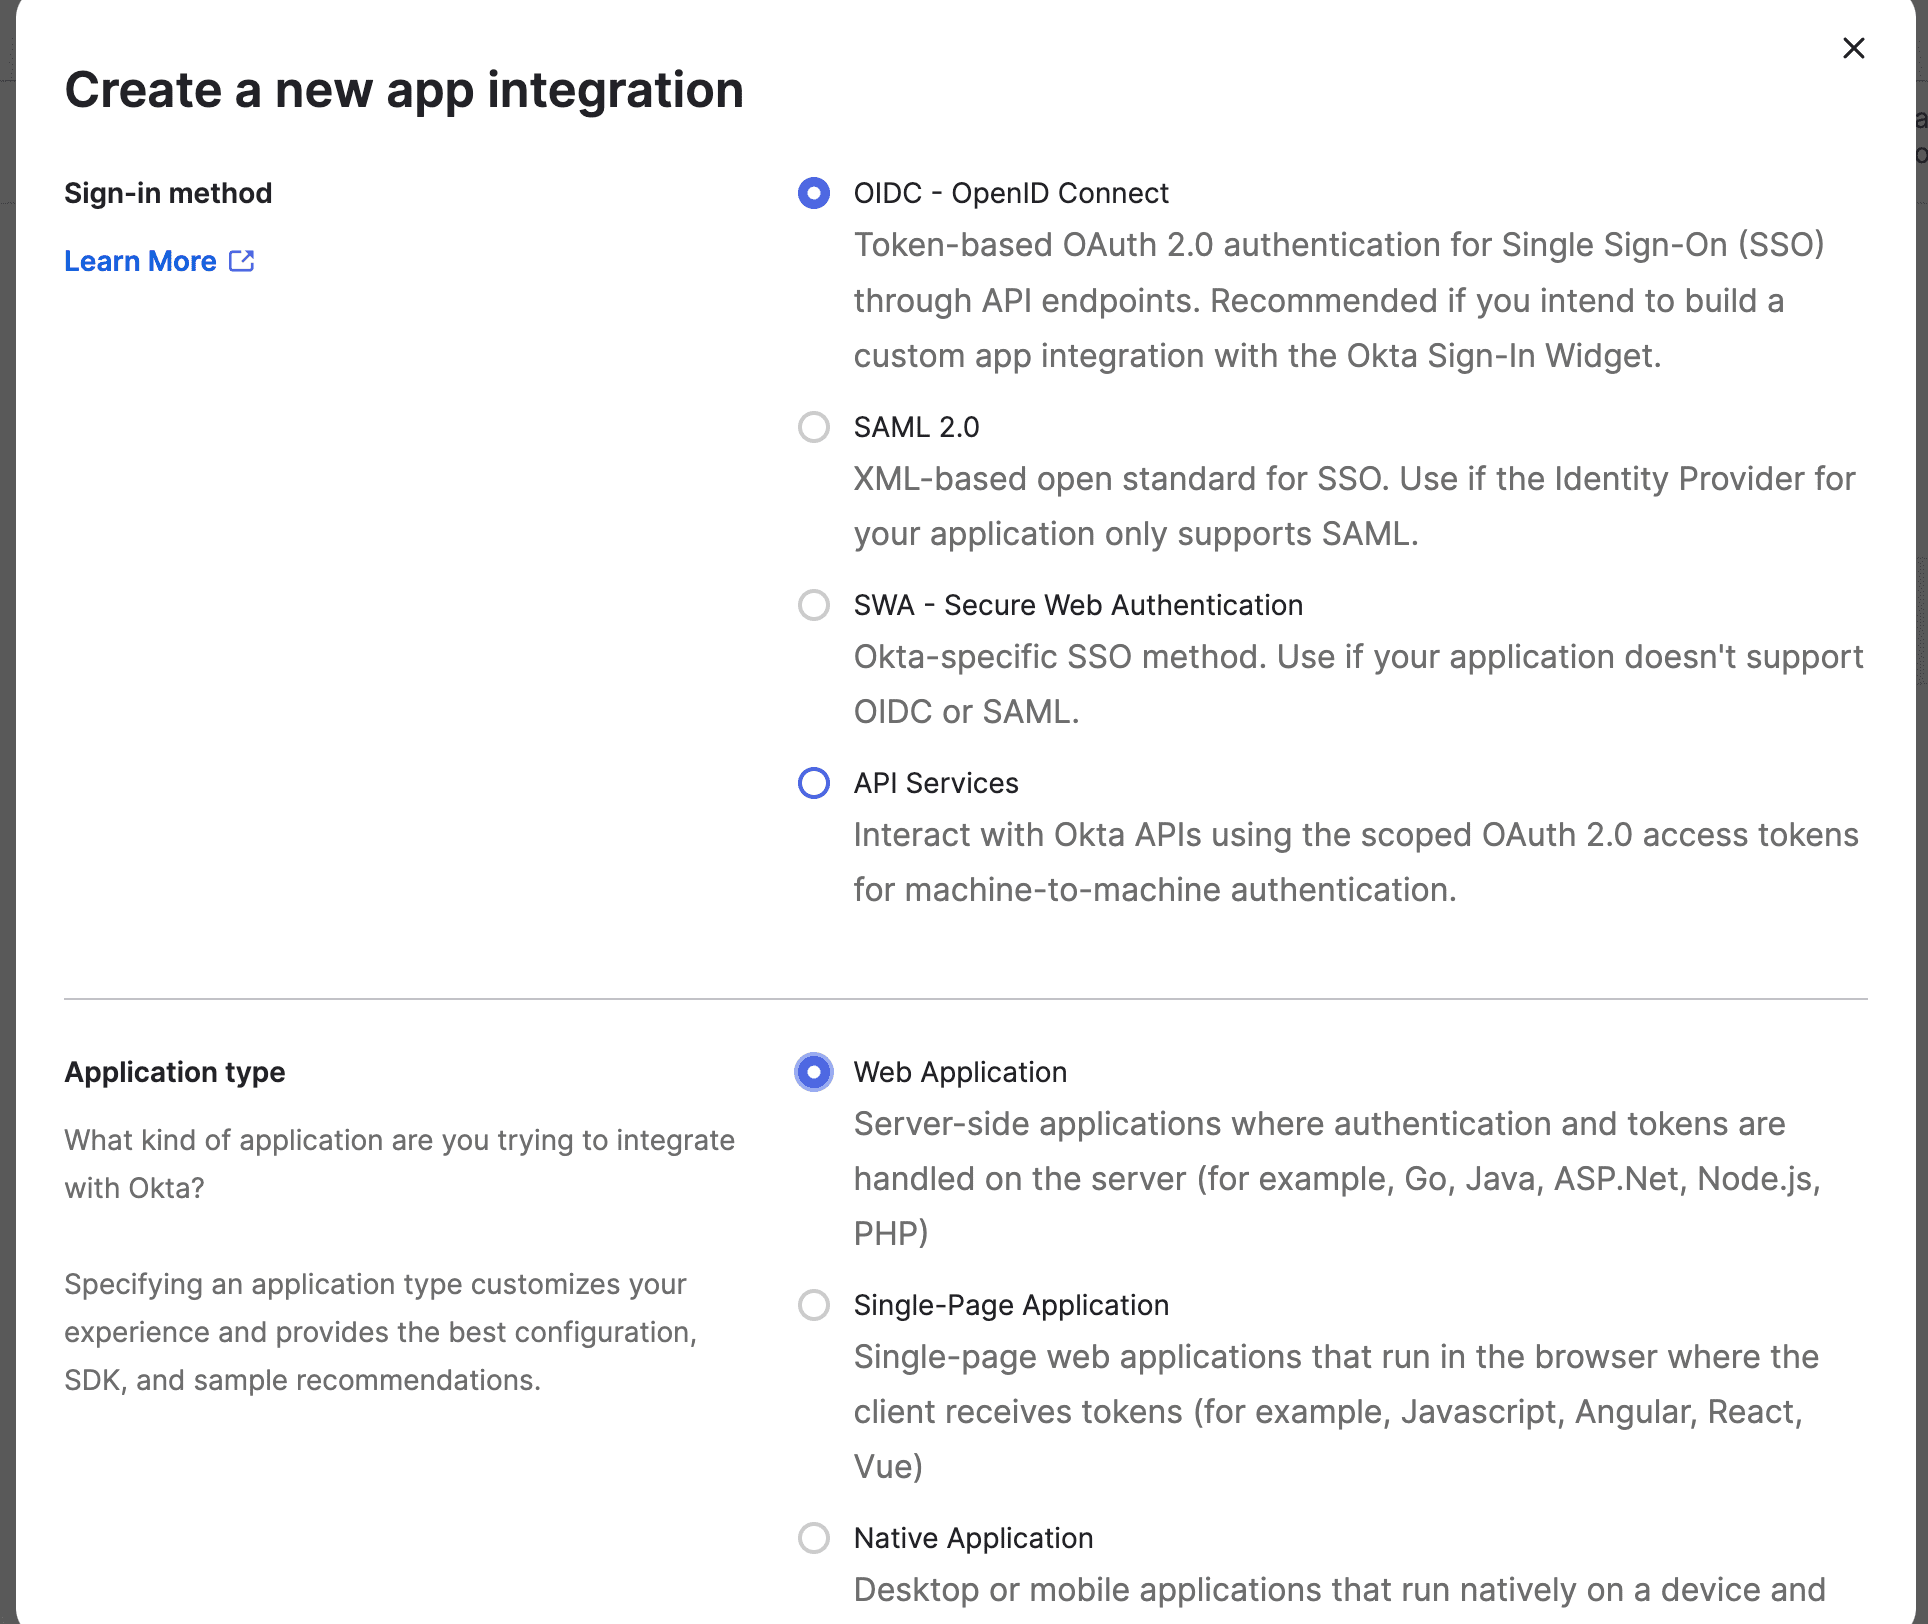
- Choose OIDC - OpenID Connect as the Sign-in method.
- Choose Web Application as the Application type.
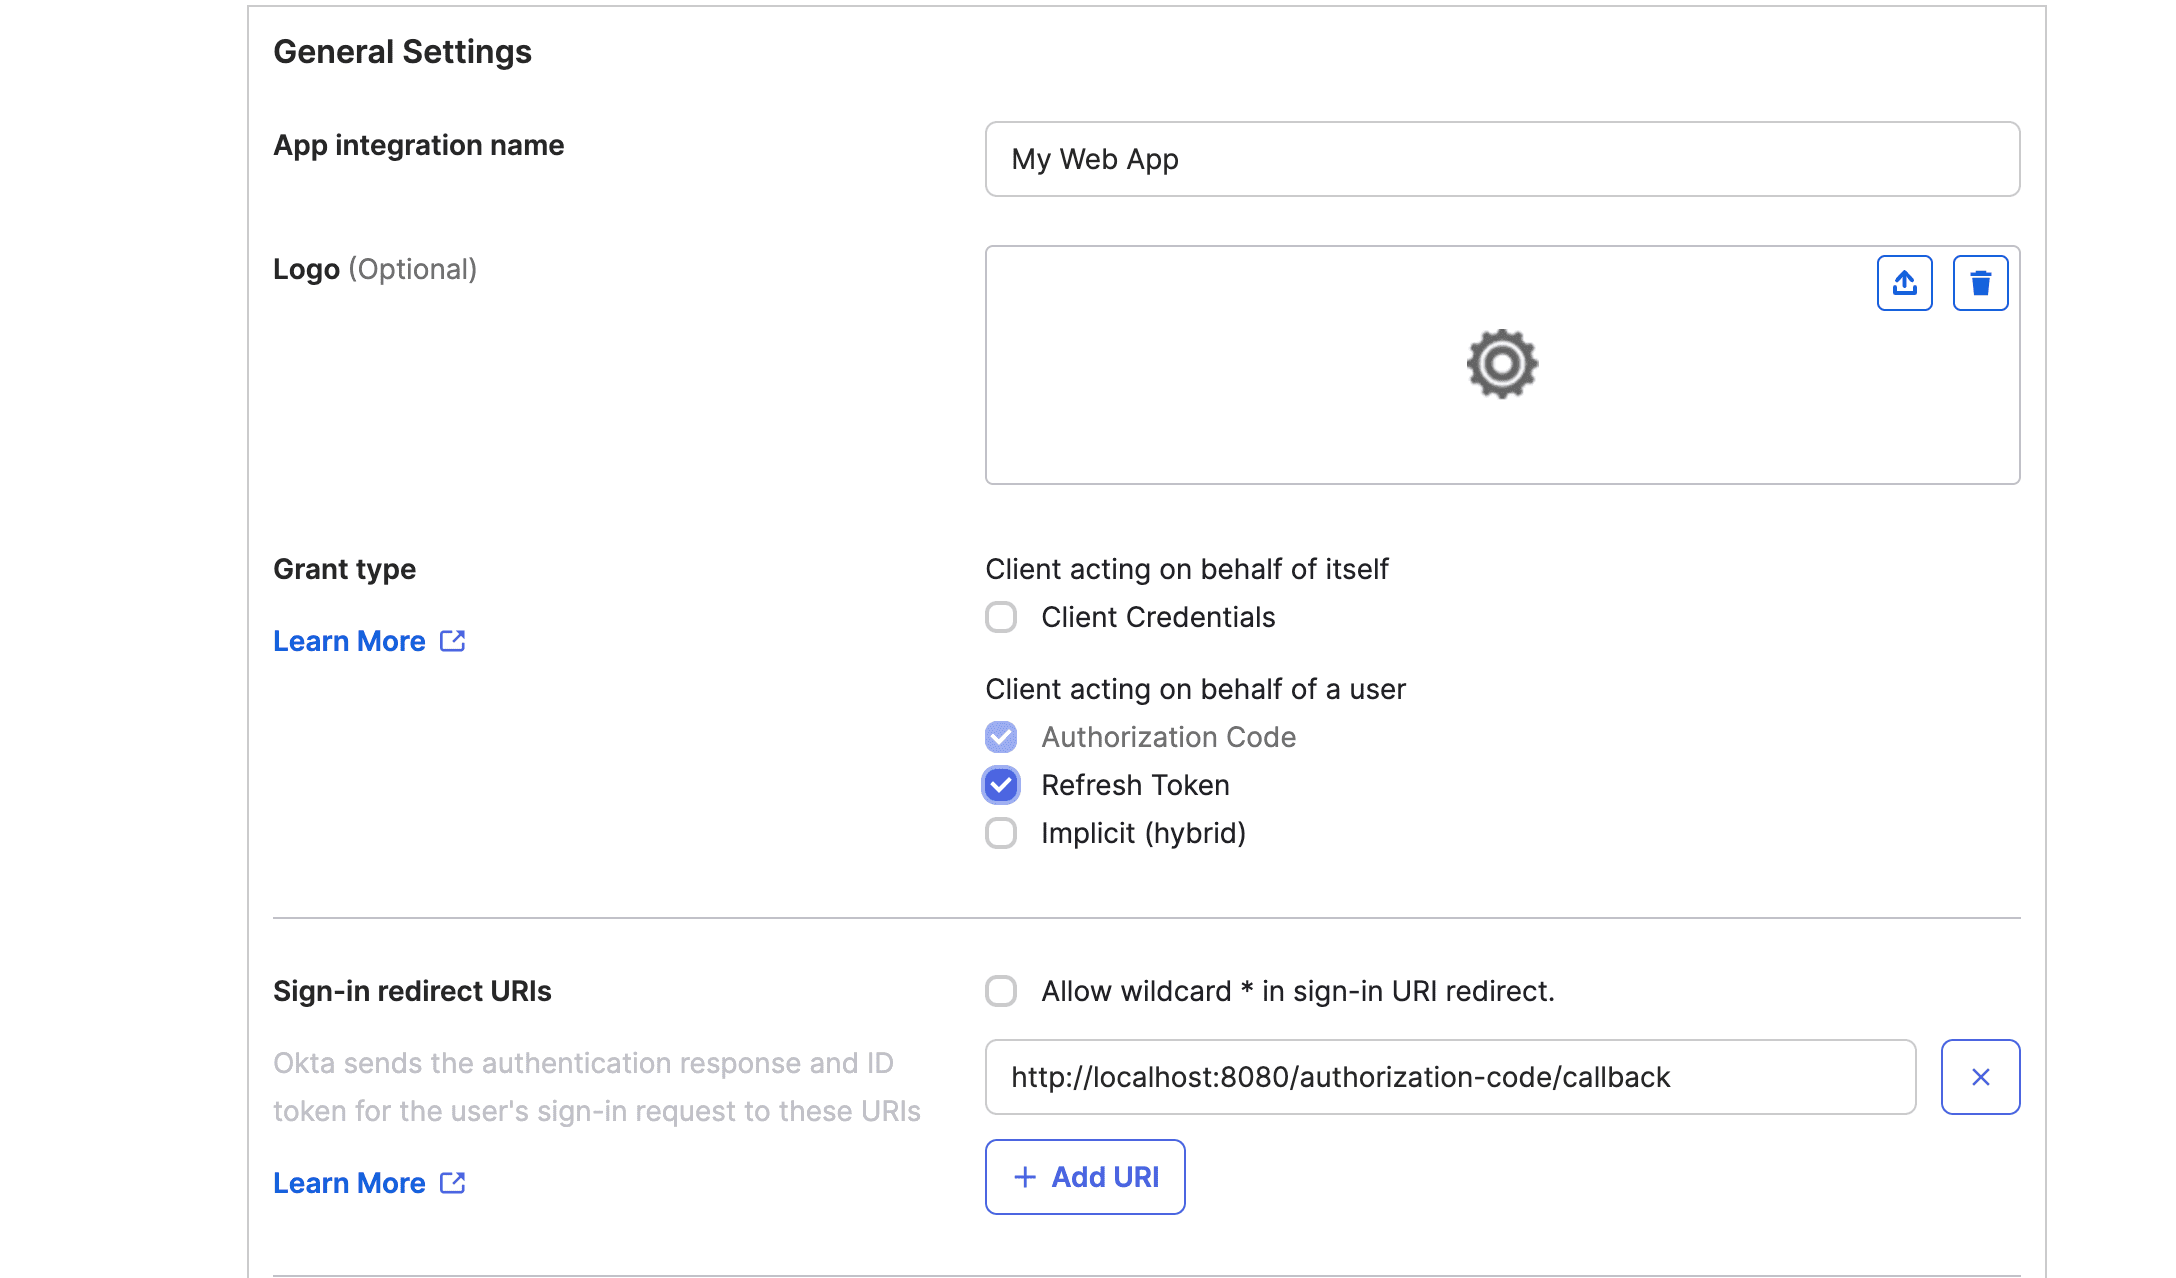
- Now provide a name in the App integration name box.
- Next, under Grant type, check the following boxes: Authorization Code and Refresh Token.
- Next, under Sign-in redirect URIs, enter the following URL: https://saasmanagerplus.manageengine.com/callback.
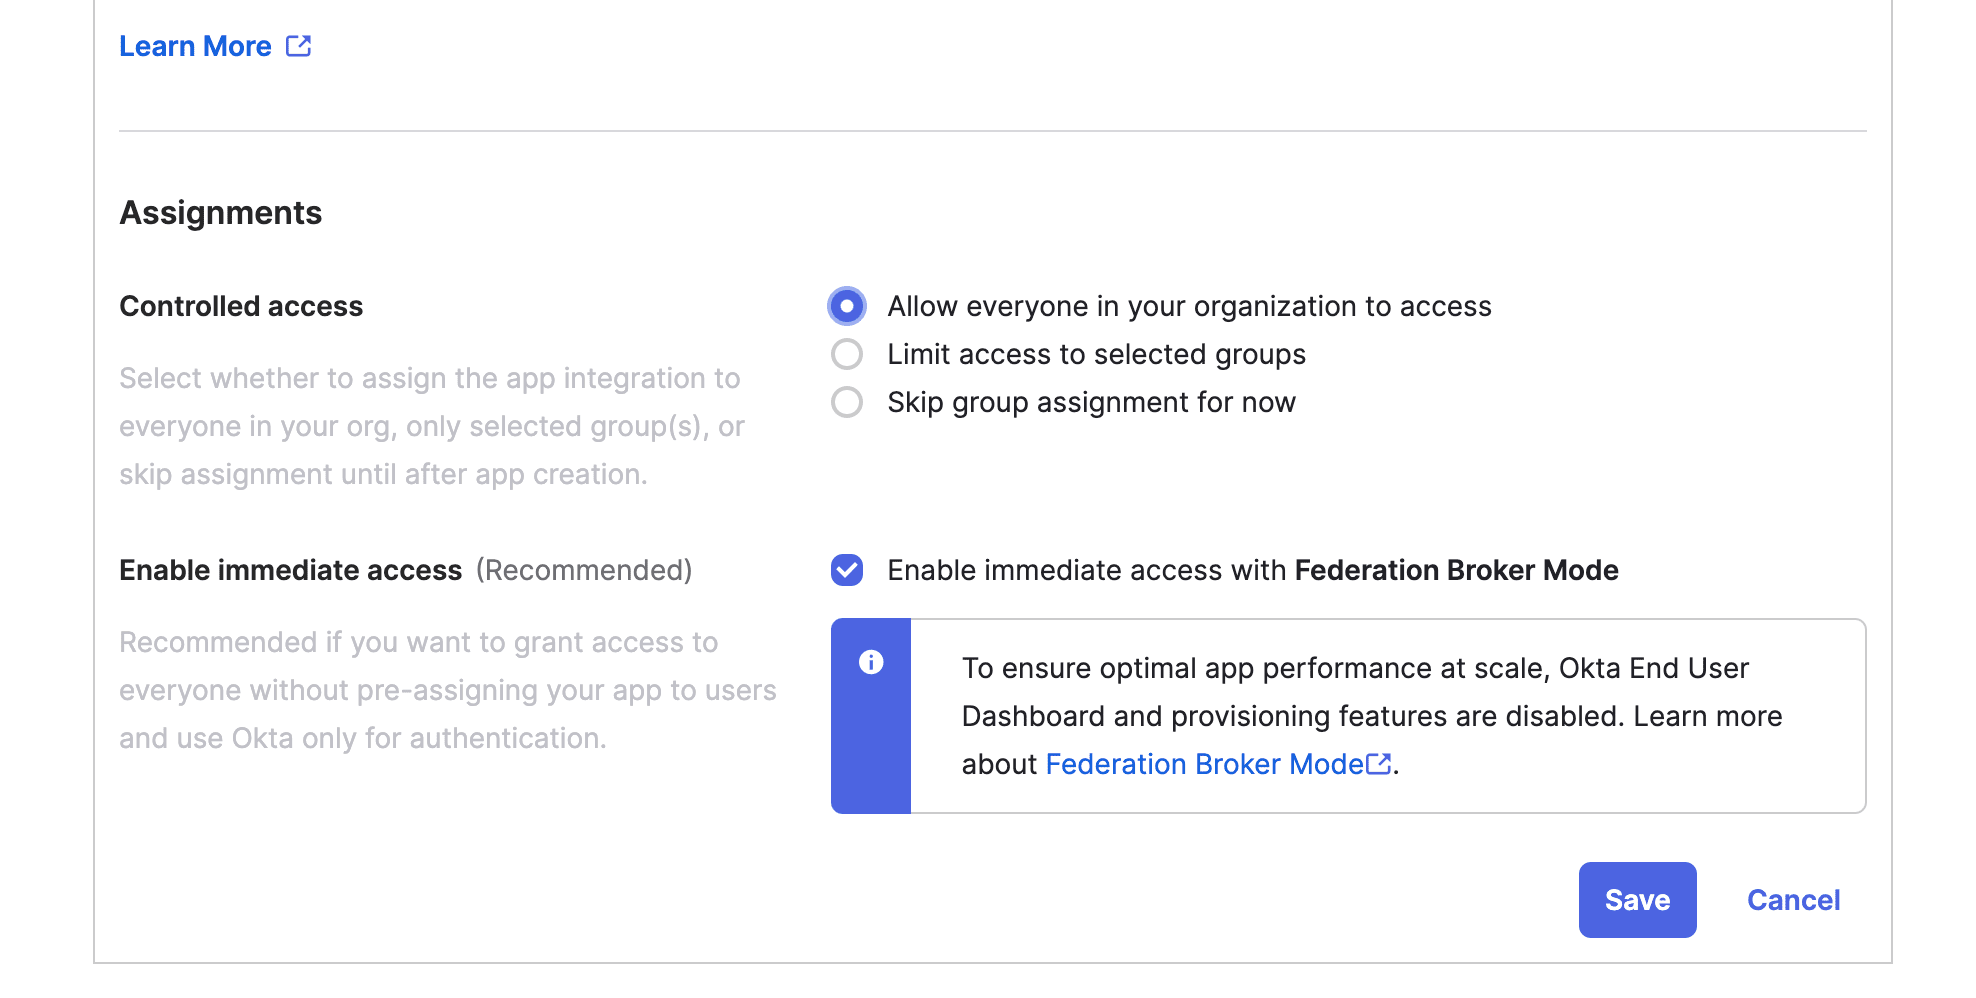
- Next, go to the Assignments section, and under Controlled access, select Allow everyone in your organization to access.
- Click Save.
- Now, under Applications, the name provided by you for app integration will be available. Click the integration name and go to Okta API Scopes.
- Grant access to the following scopes:
okta.apps.manage
okta.apps.read
okta.logs.read
okta.reports.read
okta.userTypes.manage
okta.userTypes.read
okta.users.manage
okta.users.read 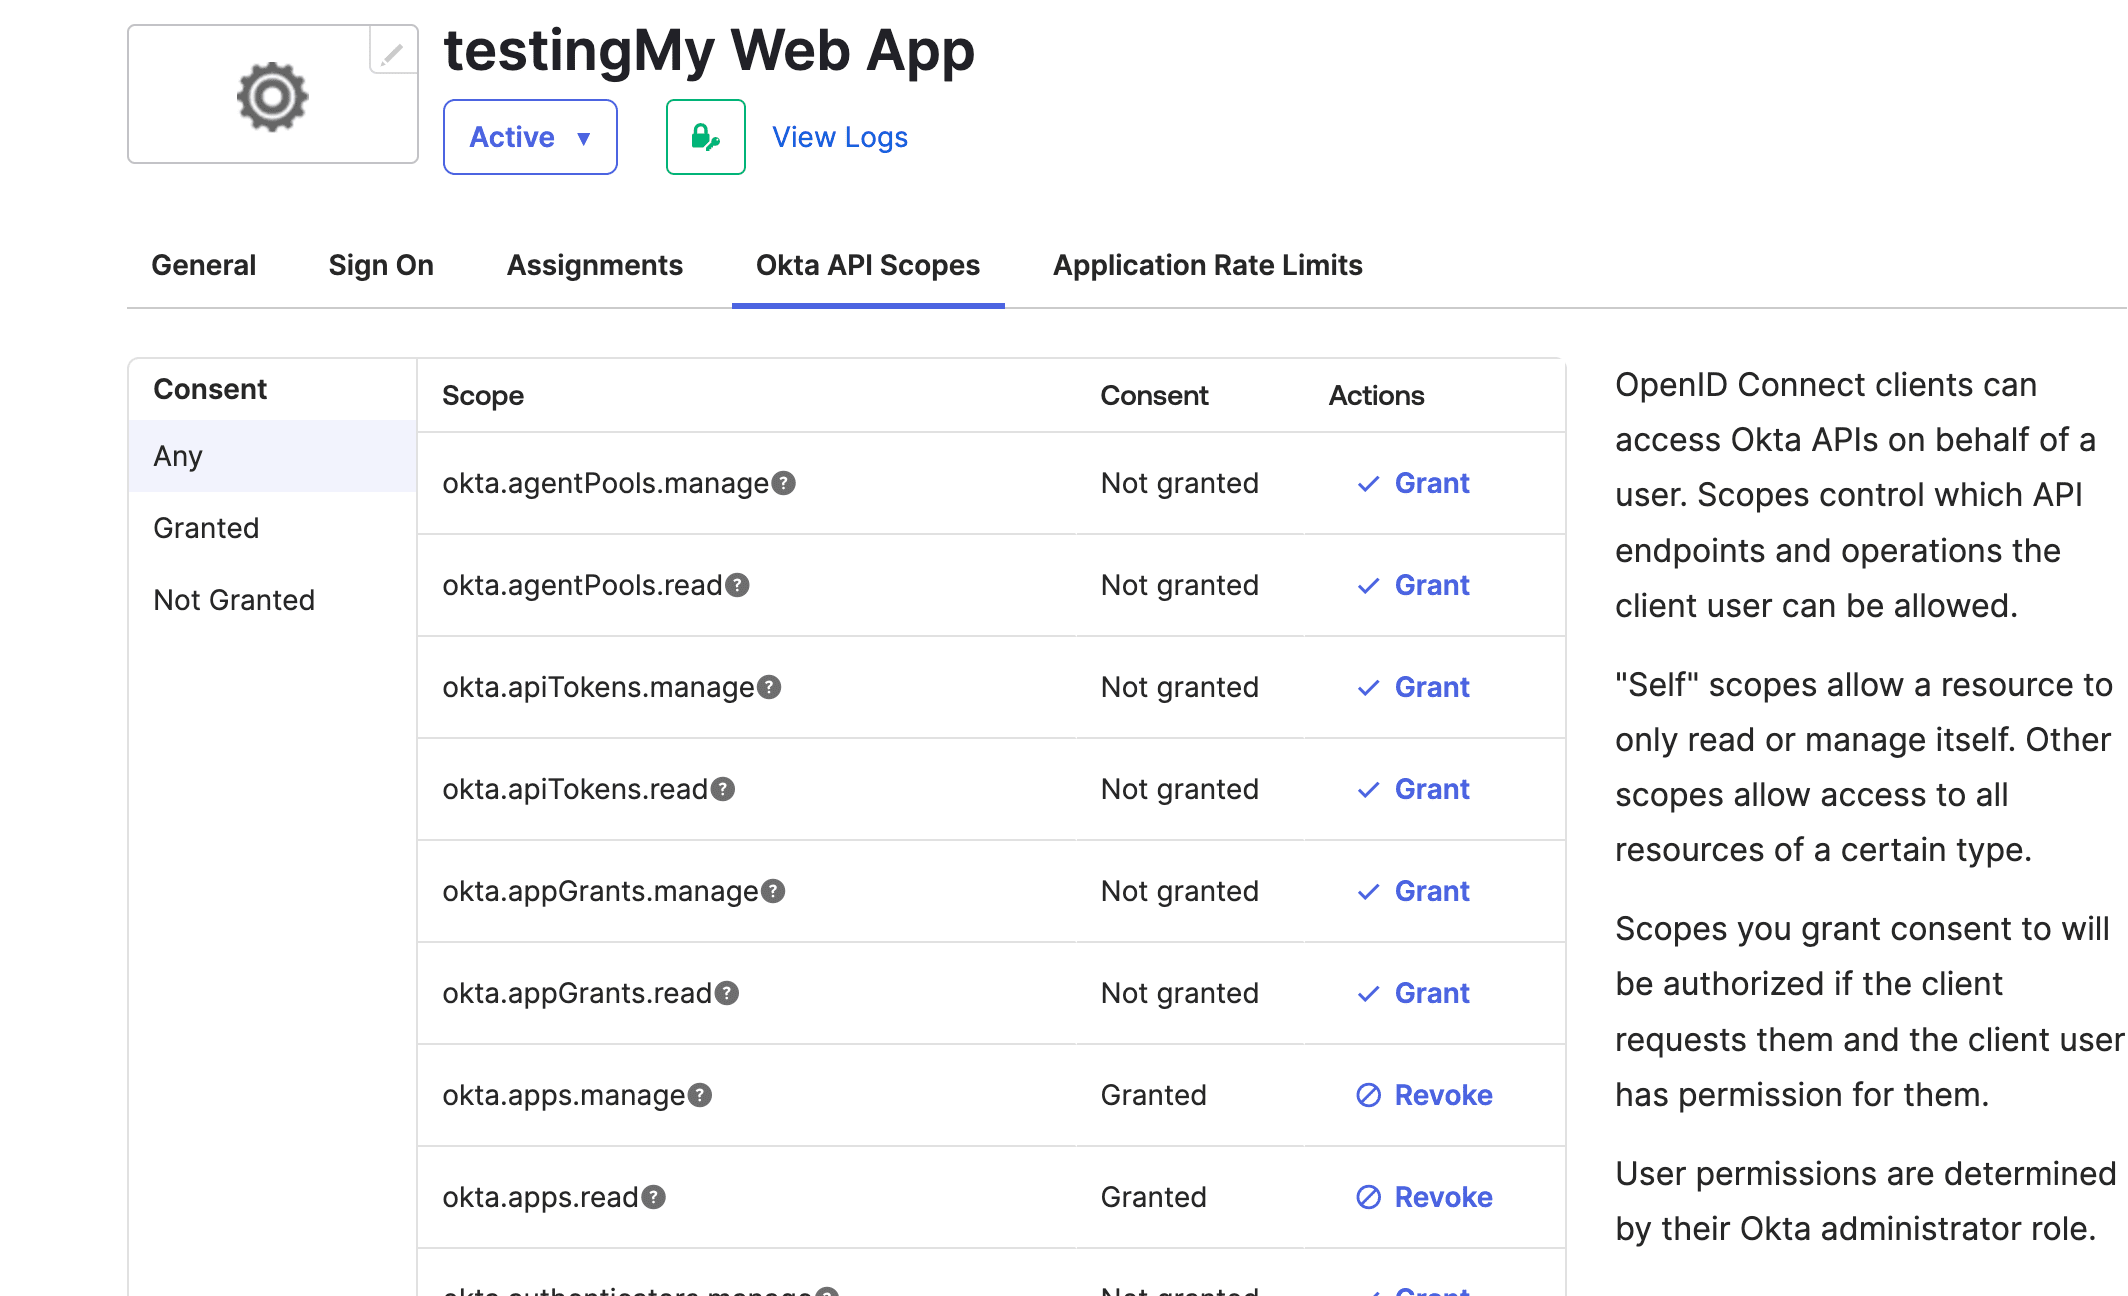
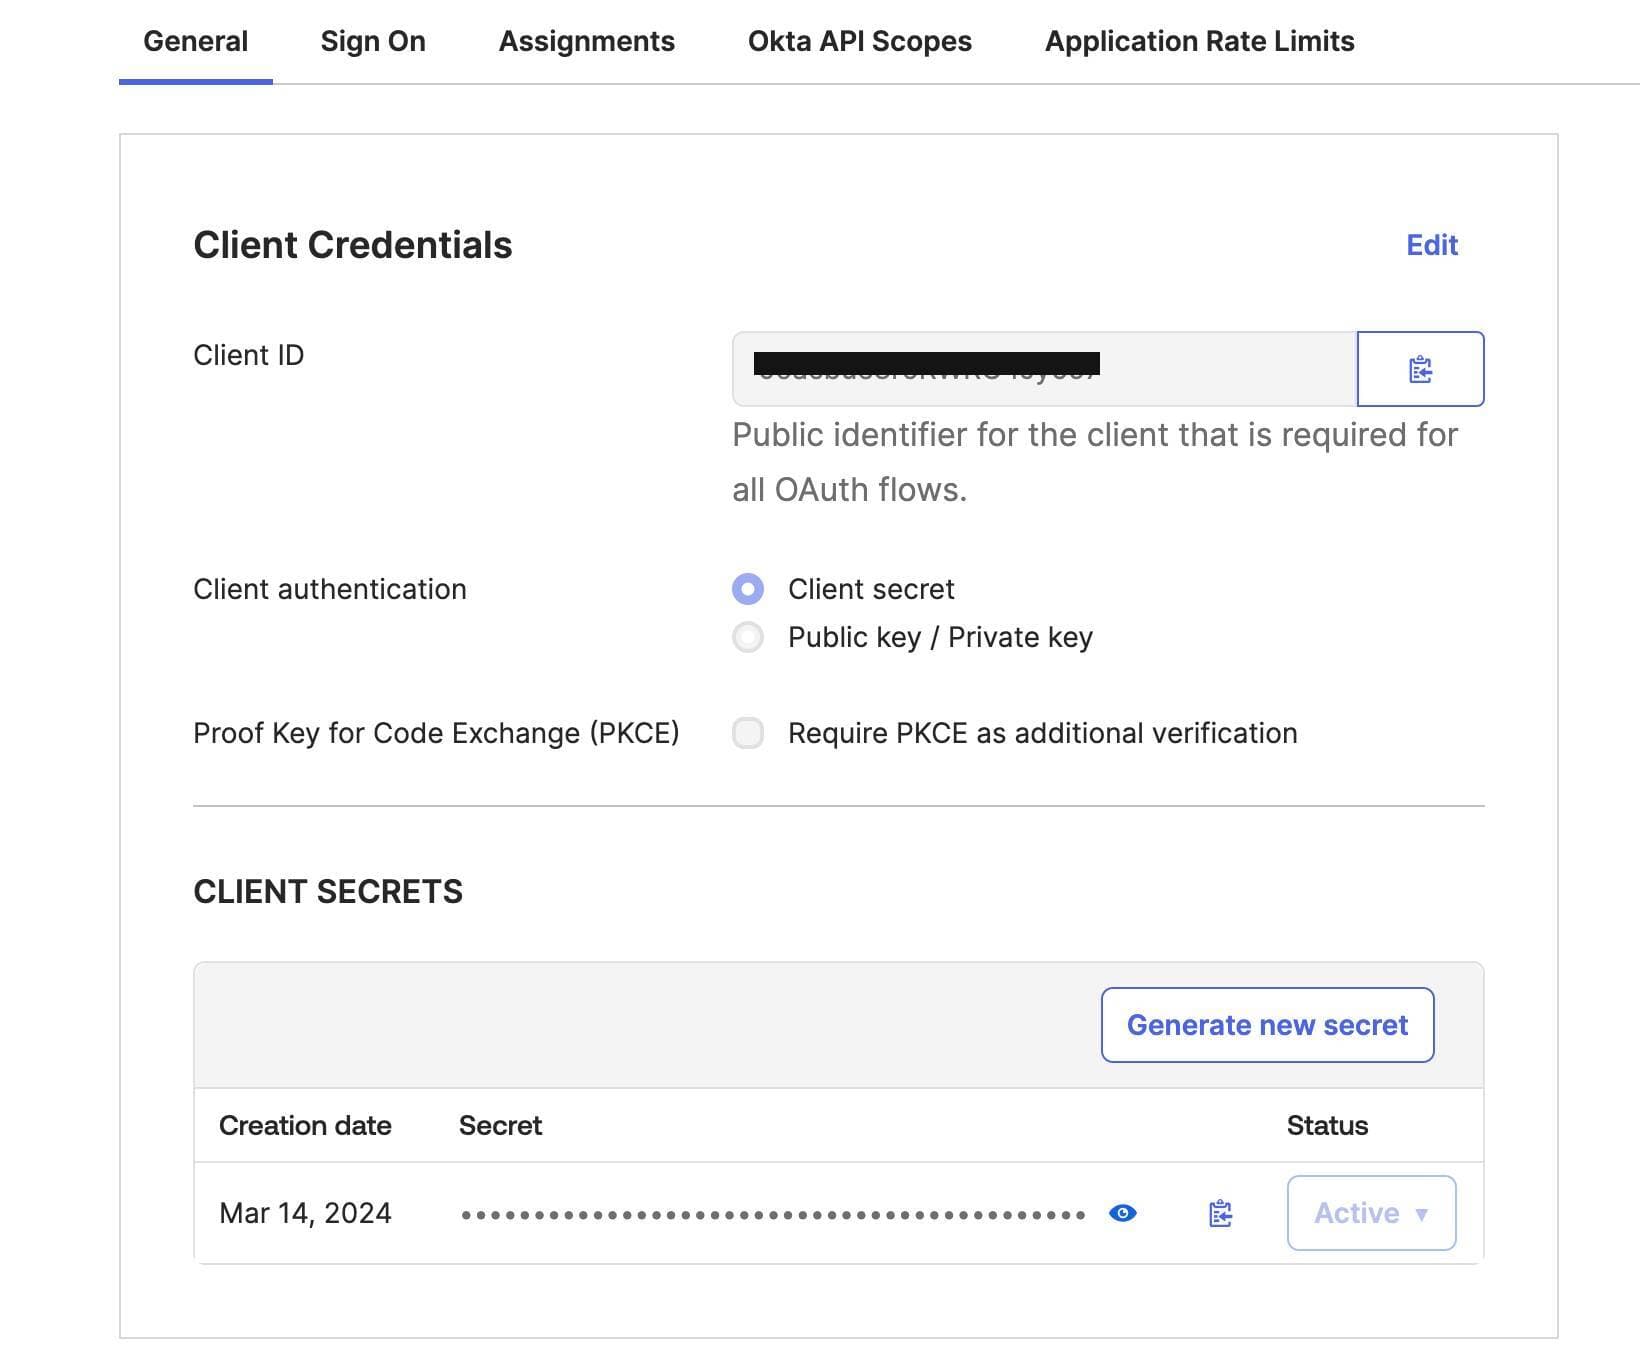
Get the client ID and client secret from the General tab, and use them for integration with SaaS Manager Plus
- Provide the instance name from the URL in Okta.
- For example, consider trial-12345-admin.okta.com as the URL. In this example, trial-12345 is the instance name.
To create a client ID and client secret:
To create a client ID and client secret:
- Login to your Salesforce account
- Under Setup, chose Apps and select App Manager
- Click the New Connected App button on the top-right corner
- Fill out the Connected App Name, API Name, and Contact Email details
- Enable OAuth by selecting Enable OAuth Settings checkbox
- Enter the below callback url in Callback URL: https://saasmanagerplus.manageengine.com/callback
- Scopes required:
- Manage user data via APIs (api)
- Manage user data via Web browsers (web)
- Perform requests at any time (refresh_token, offline_access)
- Access the Salesforce API Platform (sfap_api)
- Unselect the Require Proof Key for Code Exchange checkbox
- Click Save to create the Connected App
- Now, go to App Manager to find the Created App
- Select the drop-down menu to view the app details
- Under the API section, click the Manage Consumer details button
- Consumer Key(client ID) and Consumer Secret(client secret) is available under Manager Consumer Details
To obtain instance name :
- Under Setup, select Company Settings and go to My Domain
- Under My Domain Details, you will find <>.my.salesforce.com and <> is the instance name.
To create a client ID and client secret:
To create a client ID and client secret:
To create a client ID and client secret:
To create a client ID and client secret:
To create a client ID and client secret:


