Database Backup Schedule & Restore
SharePoint Manager Plus allows you to automate database backup by creating schedules. The backed up database can later be restored.
Creating Database Backup Schedules
To create a database backup schedule, go to the Admin tab and click Backup database in the Custom Settings section.

- In the Schedule field, select the frequency for performing backups.
- Daily: Backup will be performed everyday. You can specify the time at which backup needs to be initiated.
- Weekly: Backup will be perfomed once every week. You can specify the day and time at which backup needs to be initiated.
- Monthly: Backup will be perfomed once every month. You can specify the date and time at which backup needs to be initiated.
- Custom: This gives you the option to set a custom frequency for database backup.
- In the Backup Database Path field, enter the location path where the database backup needs to be stored.
- To backup immediately, click the Backup Now option next to the Backup Database Path field.
- Click Save to save the database backup schedule.
Restoring Database Backup
Note: When you perform a restore, the existing data will be overwritten with the data from the restored backup file.
To restore a database that has been backed up using SharePoint Manager Plus,
- Before beginning the restore procedure, stop the product.
- Navigate to [SharePoint Manager Plus-Home]\bin and open command prompt.
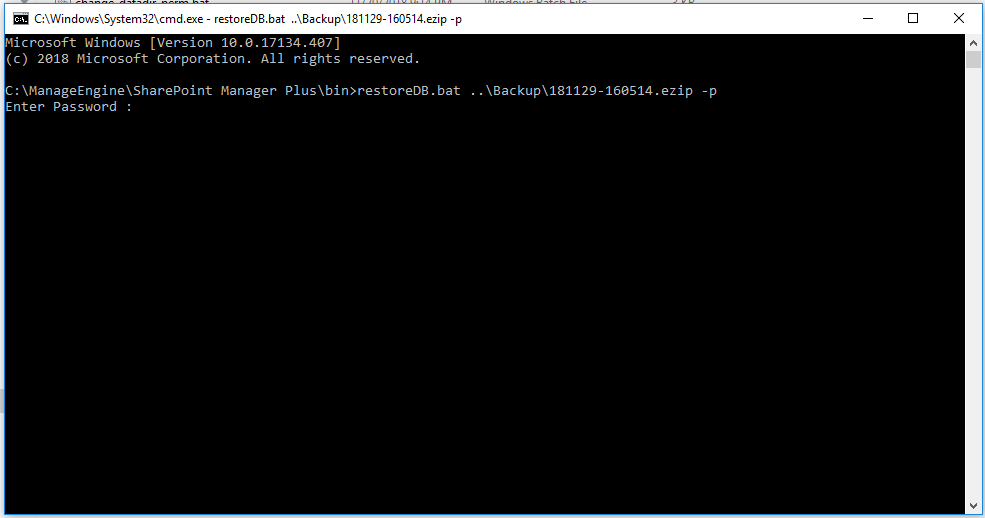
- To execute the bat file restoreDB.bat, enter the command as
restoreDB.bat relative_path_from _the_bin\zip_file_name.ezip -p

- If password protection for backup has been enabled, enter the configured password. If it has not been enabled, enter the zip file name as the password. (To check for password protection of database, go to Admin > Security Settings and check the status of the Protect database backup with password check box.)
- After entering the password, press Enter to initiate restore.
- Once the restore is complete, a message saying 'DB restored successfully' would pop up. Click Close and start the application.

