Creating Custom Reports
To build a custom report, click on Create Custom Report link in Reports tab.

- Provide a name for the report.
- Select the type of SharePoint viz., online (Office 365) or on-premise.
- Choose the report type by selecting the SharePoint component for which you need to generate the report.
- Select the criteria from the list, for which you need the report to be generated.
- Save the report.
Save as Custom Report
To save the applied search filter parameters or other popup criteria as a custom report, follow the given steps. This is available in both Reports and Audit tab.
- Go to either Reports and Audit tab. Select the required search parameters in advanced search or column search.

- Click on Save as Custom Report button on the top right corner. Enter the preferred Report Name in the given field and click Save.

- The saved report will now be available under Custom Reports on the left pane.

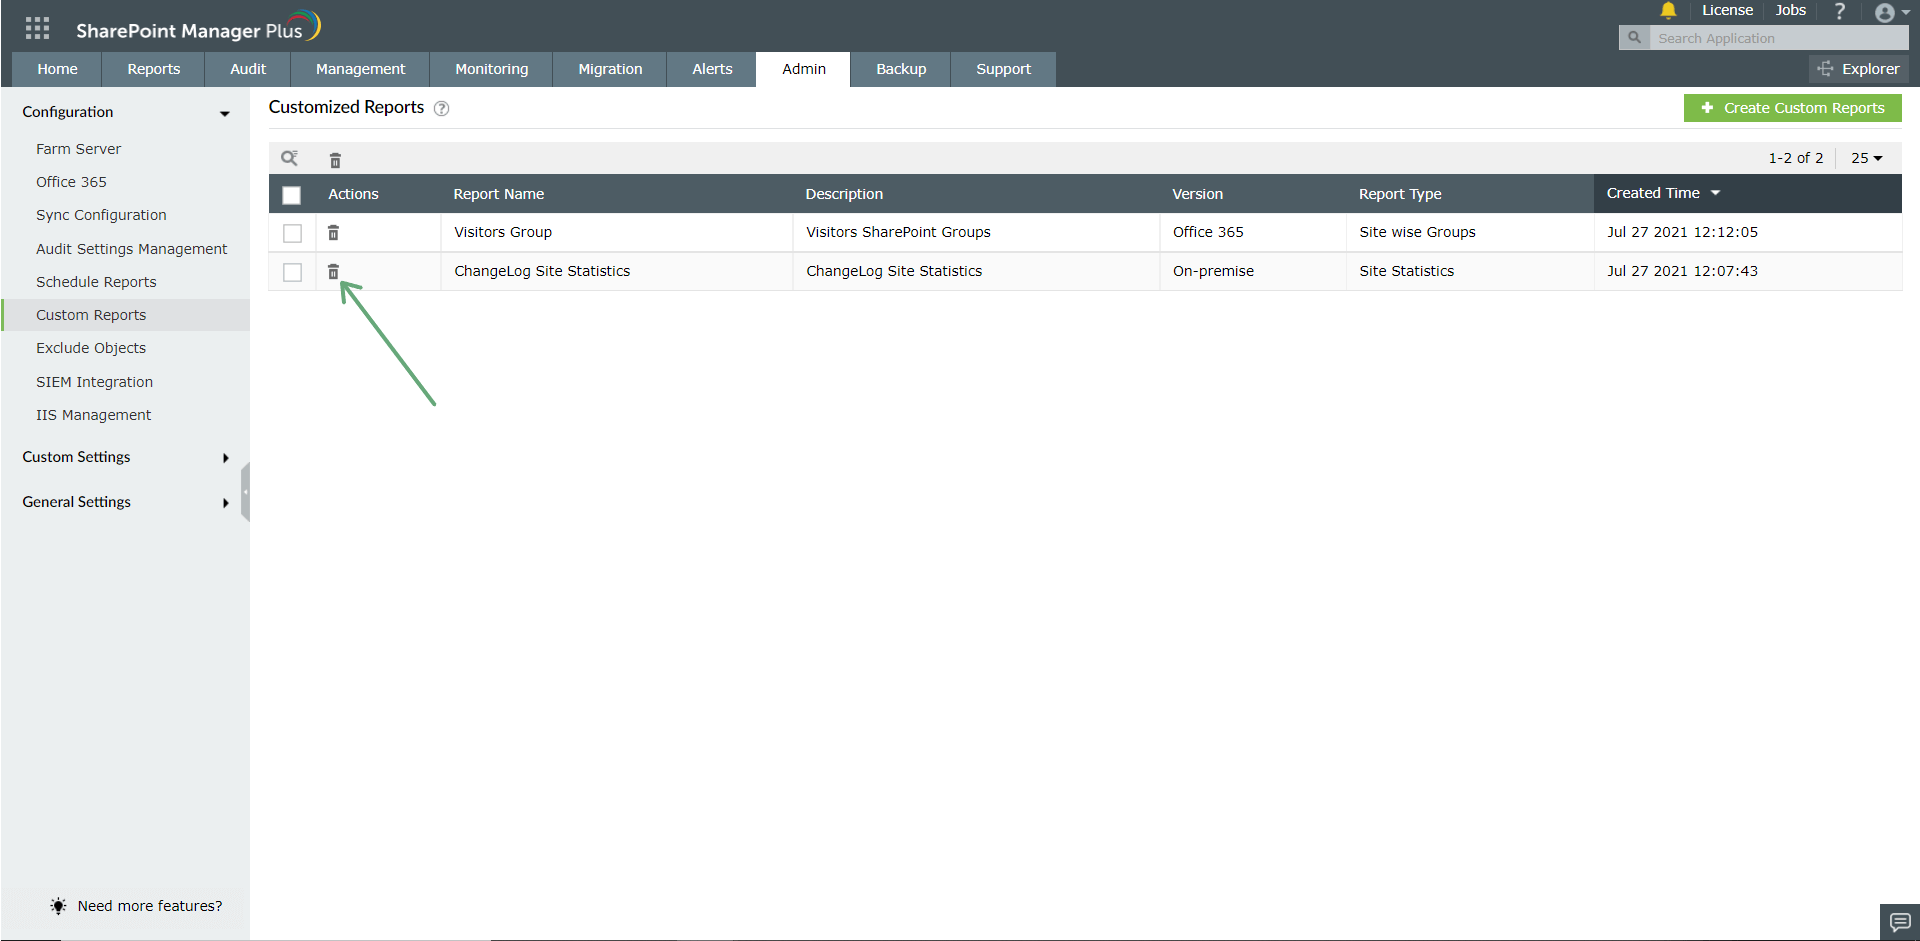
- To delete custom reports, navigate to Custom Reports under Admin tab. In the list that is displayed, click on the Delete icon corresponding to the report that you want to delete. This action deletes the report from the Reports or Audit page.
 ADManager Plus
 ADAudit Plus
 ADSelfService Plus
 SharePoint Manager Plus