Embed a form as a button in a page
Refer to this page to learn how to embed a form in a page.
To embed a form as button in a page
- Edit your app.
- Select the required page from the accordion menu on the top-left corner, or from the application preview in the middle. You'll be taken to its Design page.
- Click on the device icon to navigate to the Design view of the device of your choice.

- Hover in the middle and click Open Page Builder.
- In the page builder, click the Form option from the page elements menu on the left. A menu will slide in.
- Select an Application from the dropdown provided. This dropdown will list all the applications available in your ManageEngine Creator account.
- Select a form from the Form dropdown. All the forms in the selected application will be listed here.
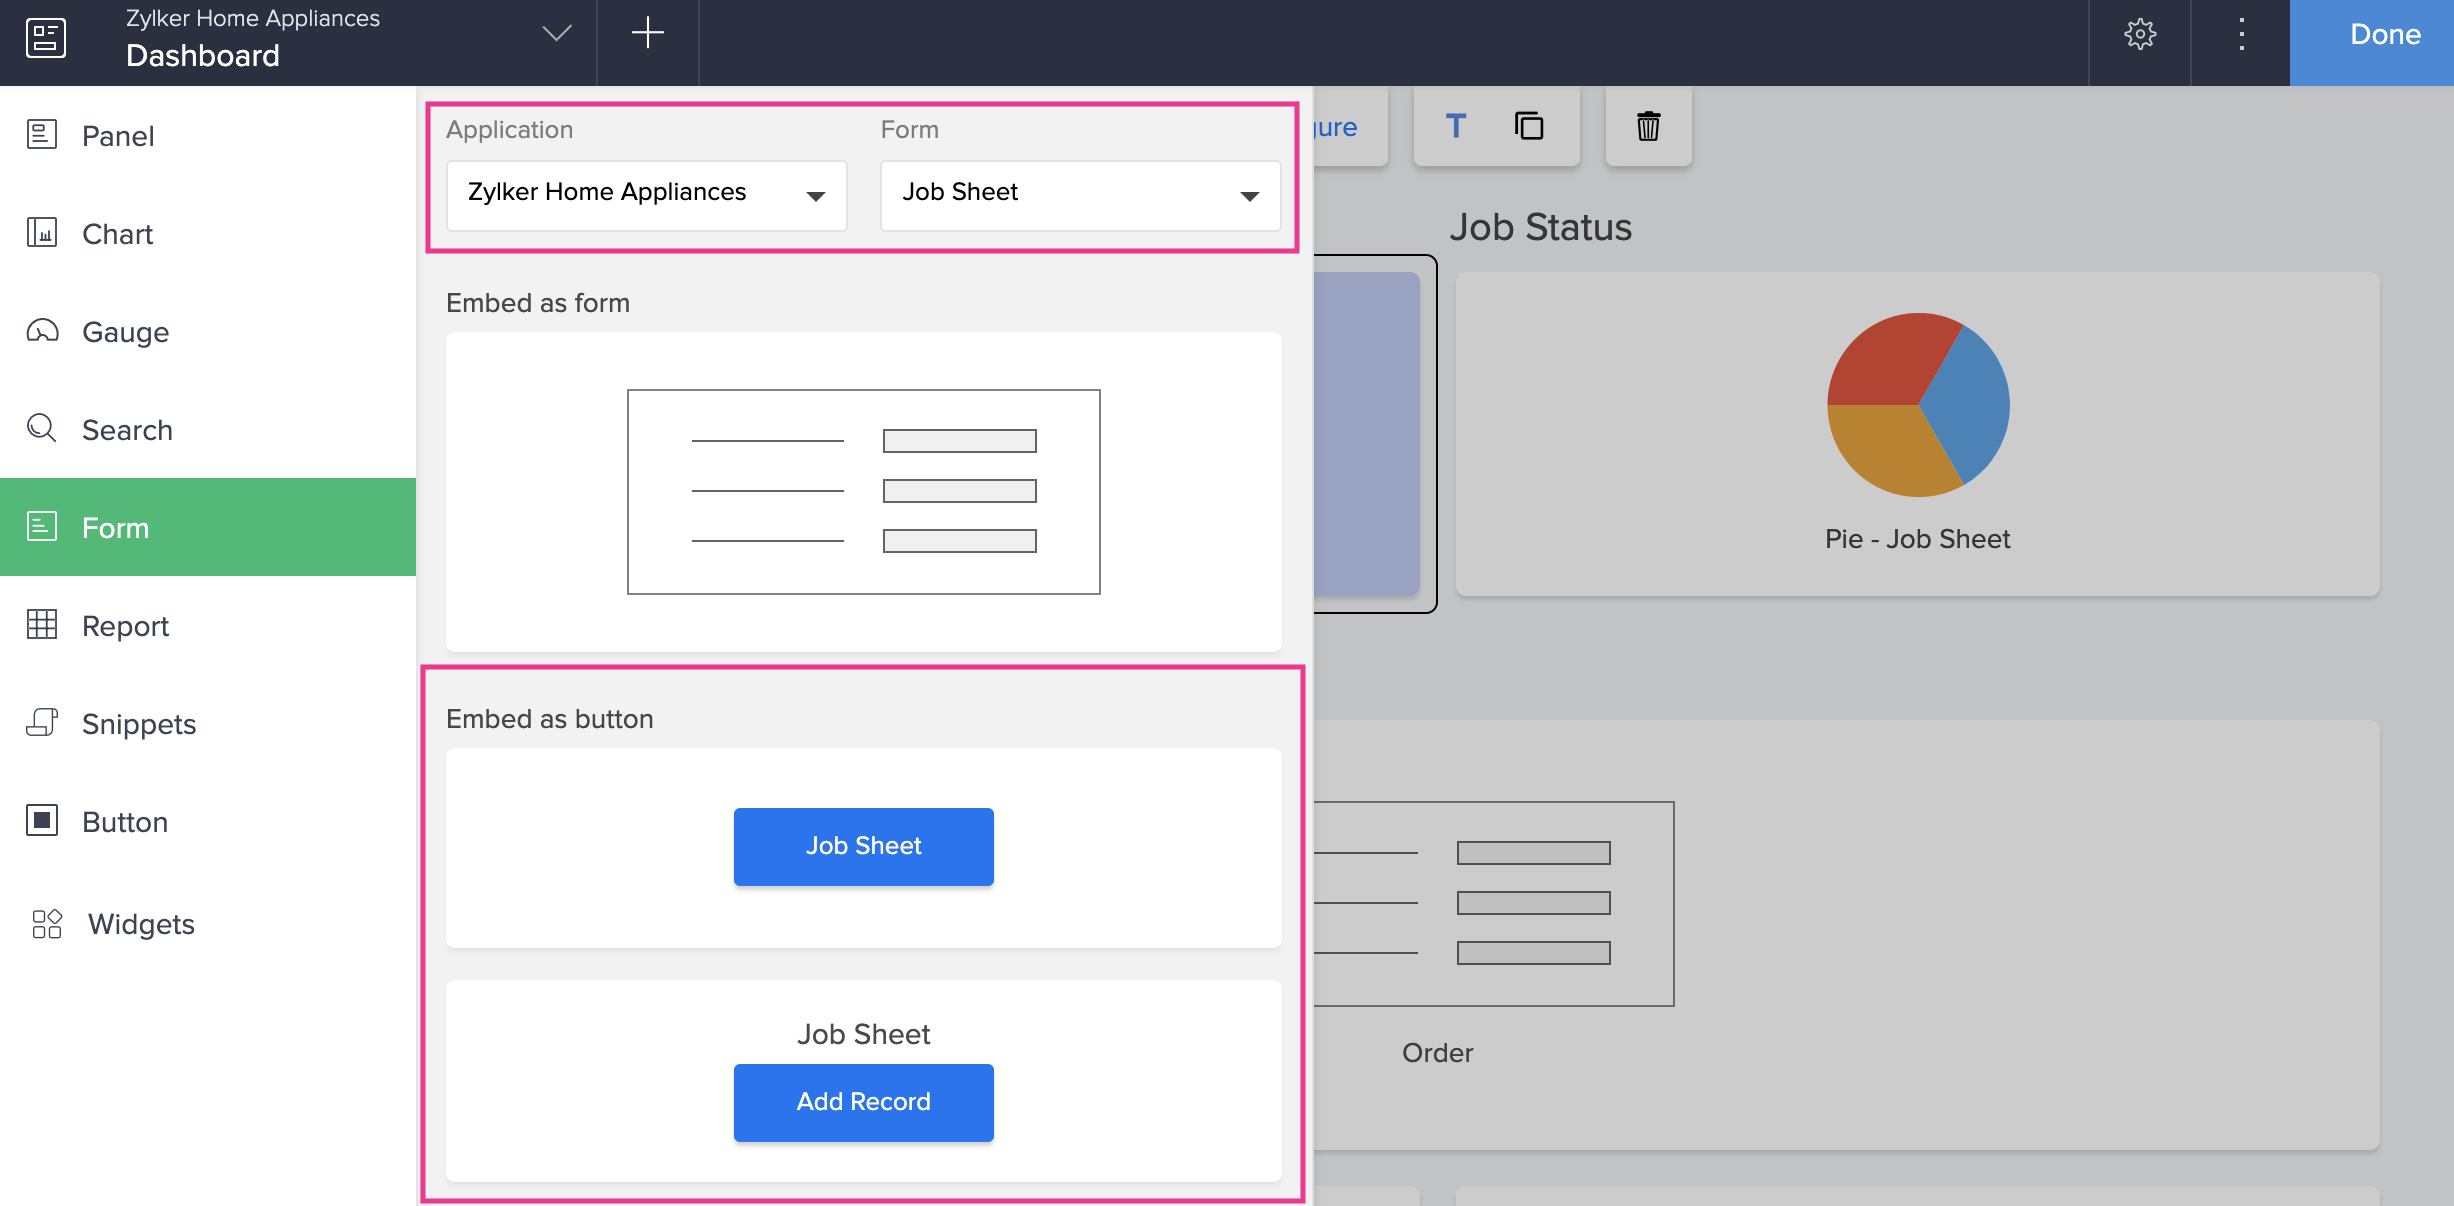
- Click and drag the button under Embed as Button option to embed the form as a button into the page builder. You can also double-click the required button type.
- Once the button is added to the page, you can configure various properties for it.
To configure a form embedded as button
- Double click the form (button) you want to configure. You can also single click to select the form and then click the Configure option in the toolbar at the top-center of the page builder.
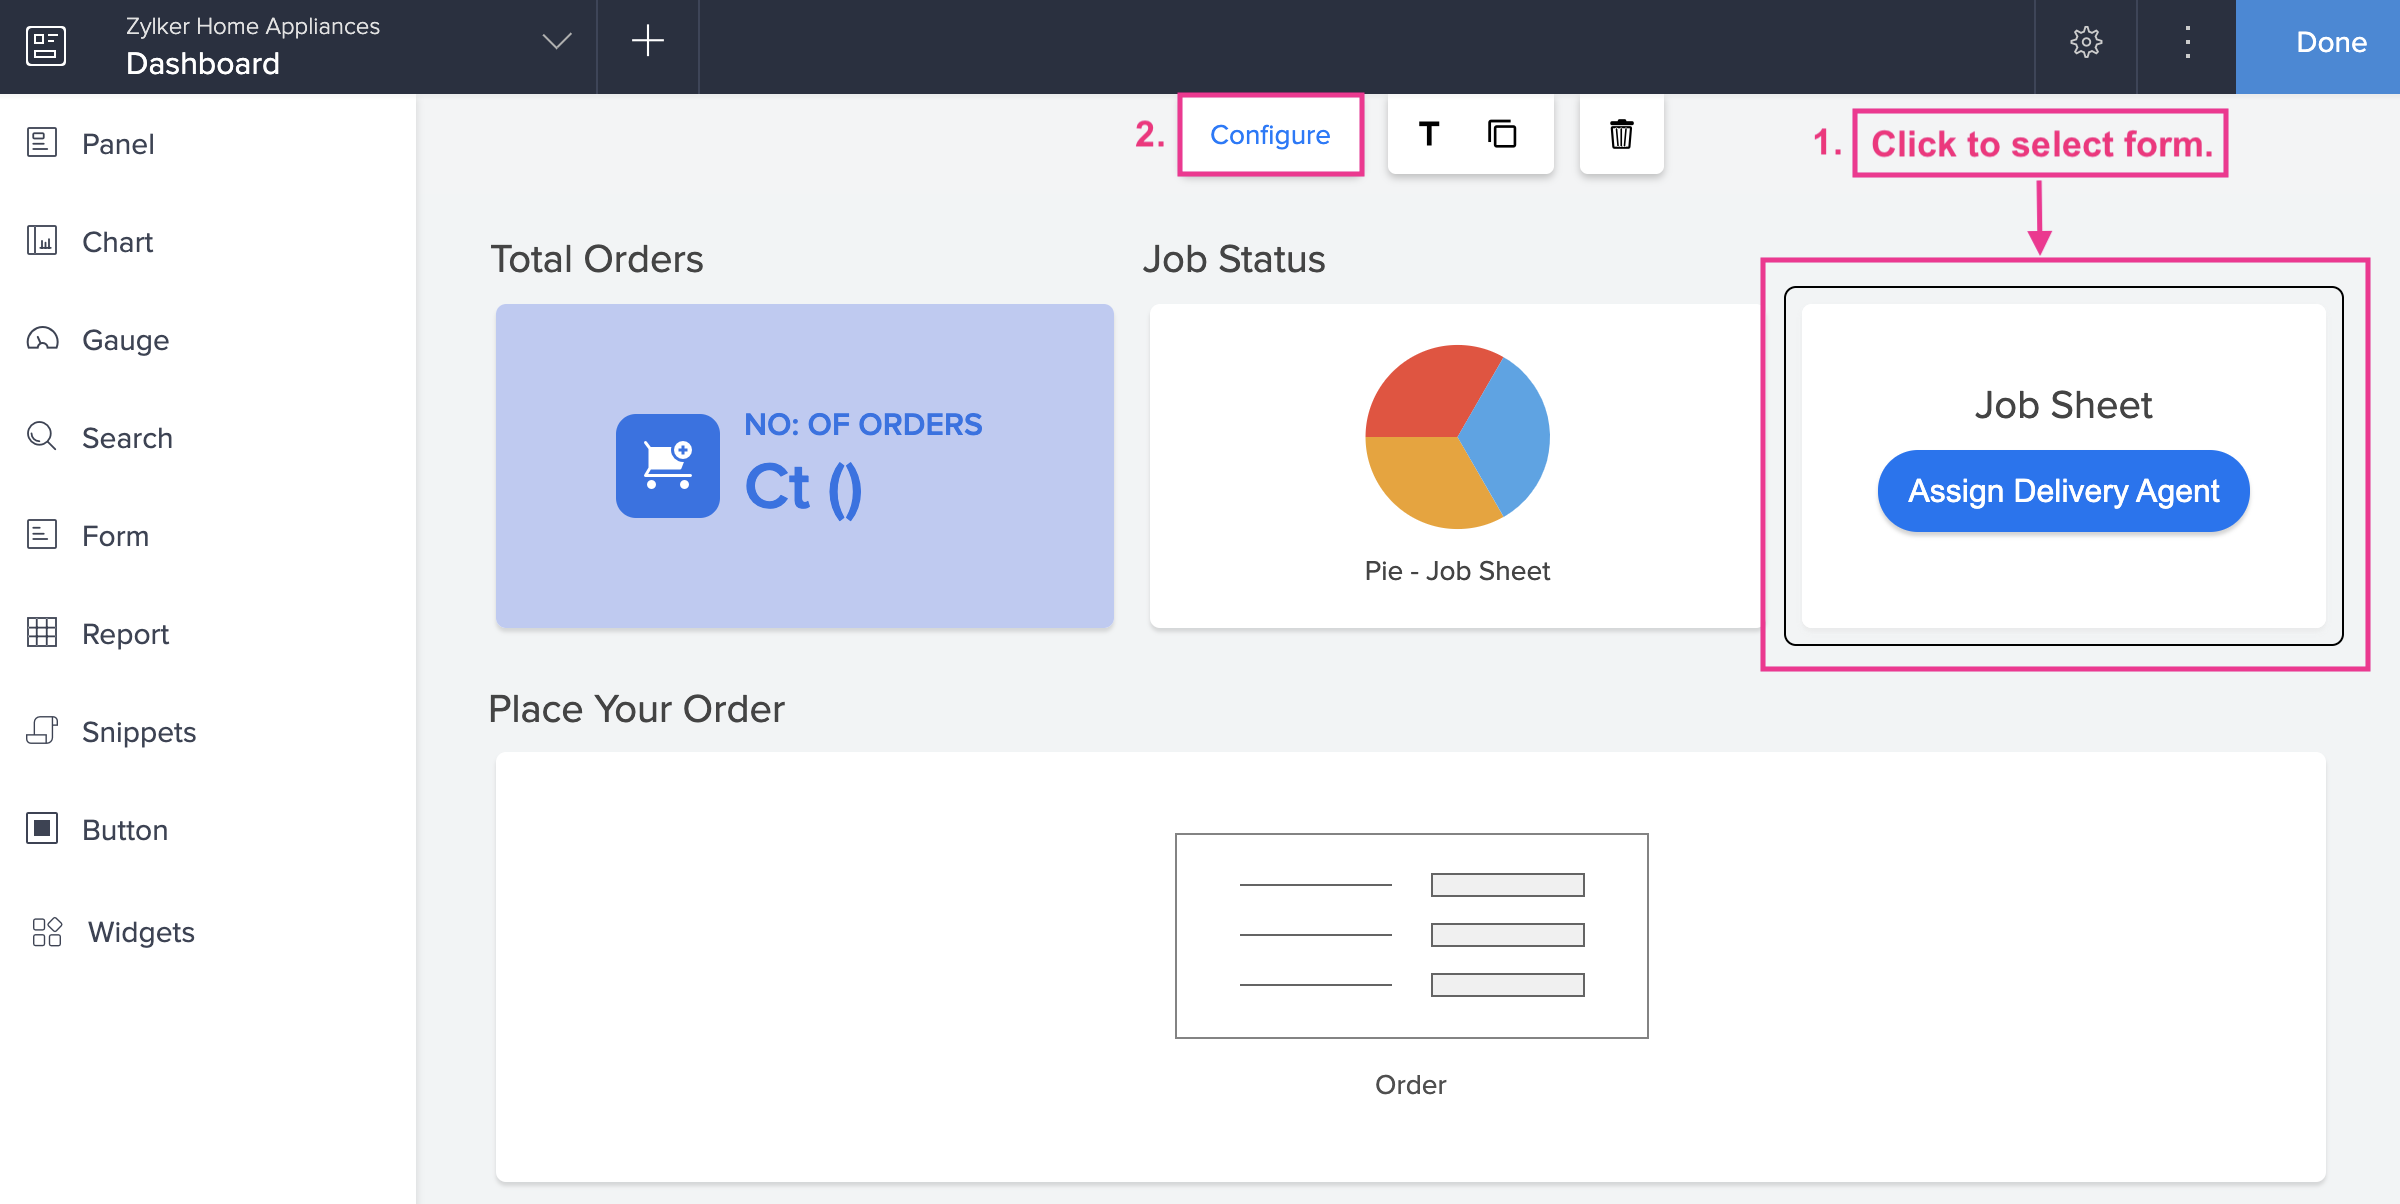
- The Panel Configuration pane will slide in from the right. It has two tabs — Design and Code.
- In the Design tab, you can configure the Display, Action, and Style aspects.
- The Display tab allows you to edit the display data, action and style aspects of the panel element depending on the button type you have chosen.
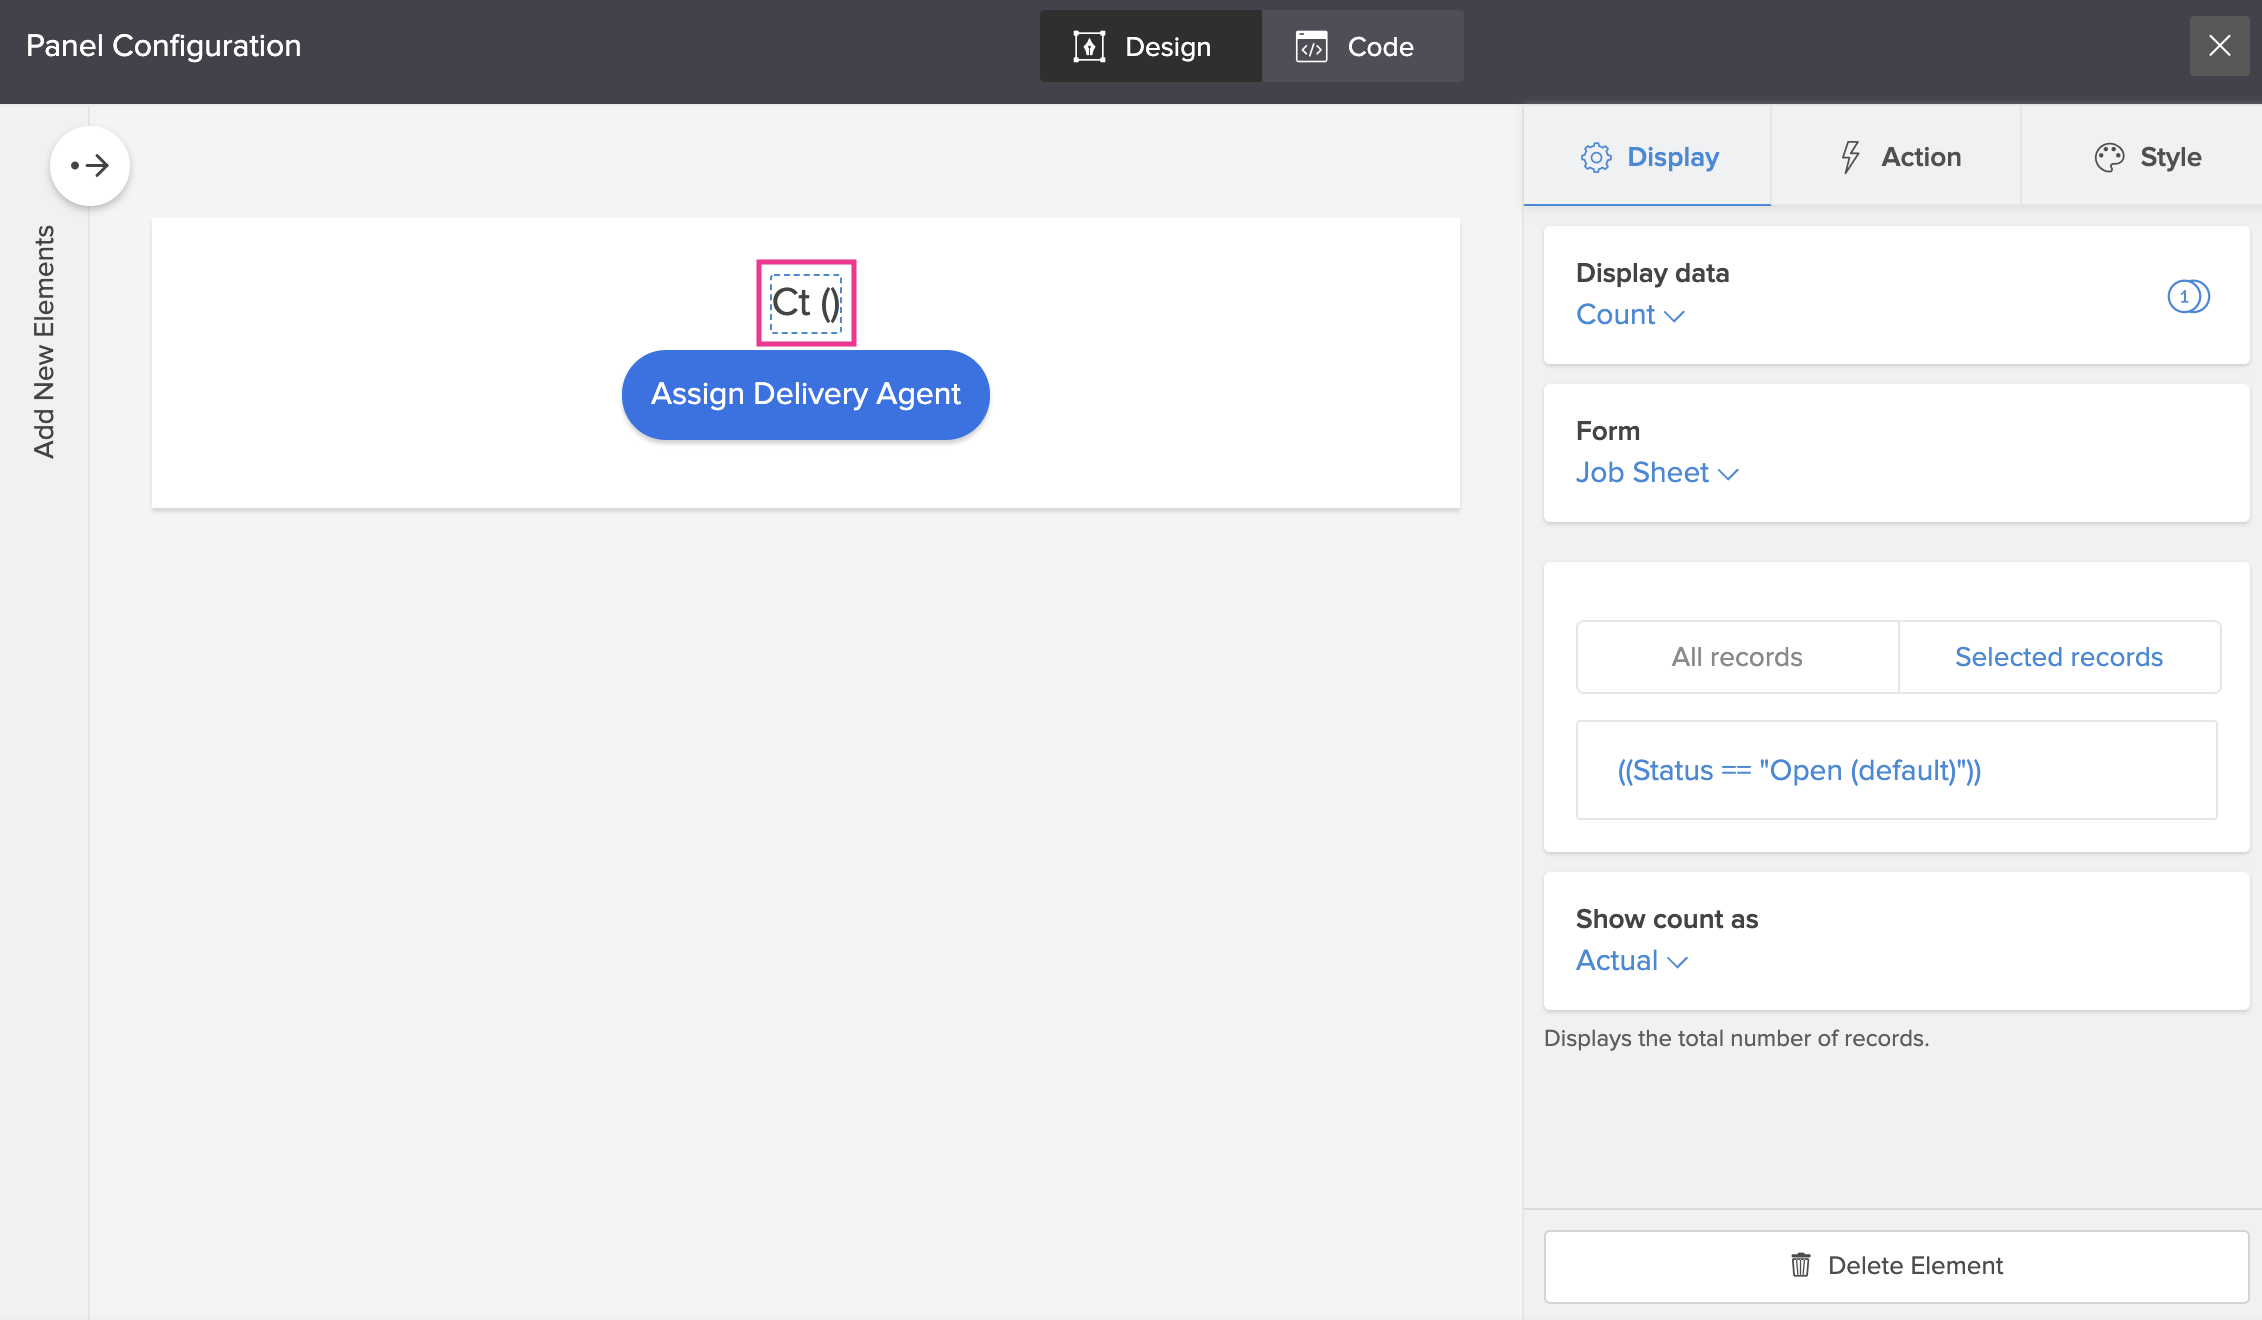
- The Display tab enables you to edit the label name of the button.
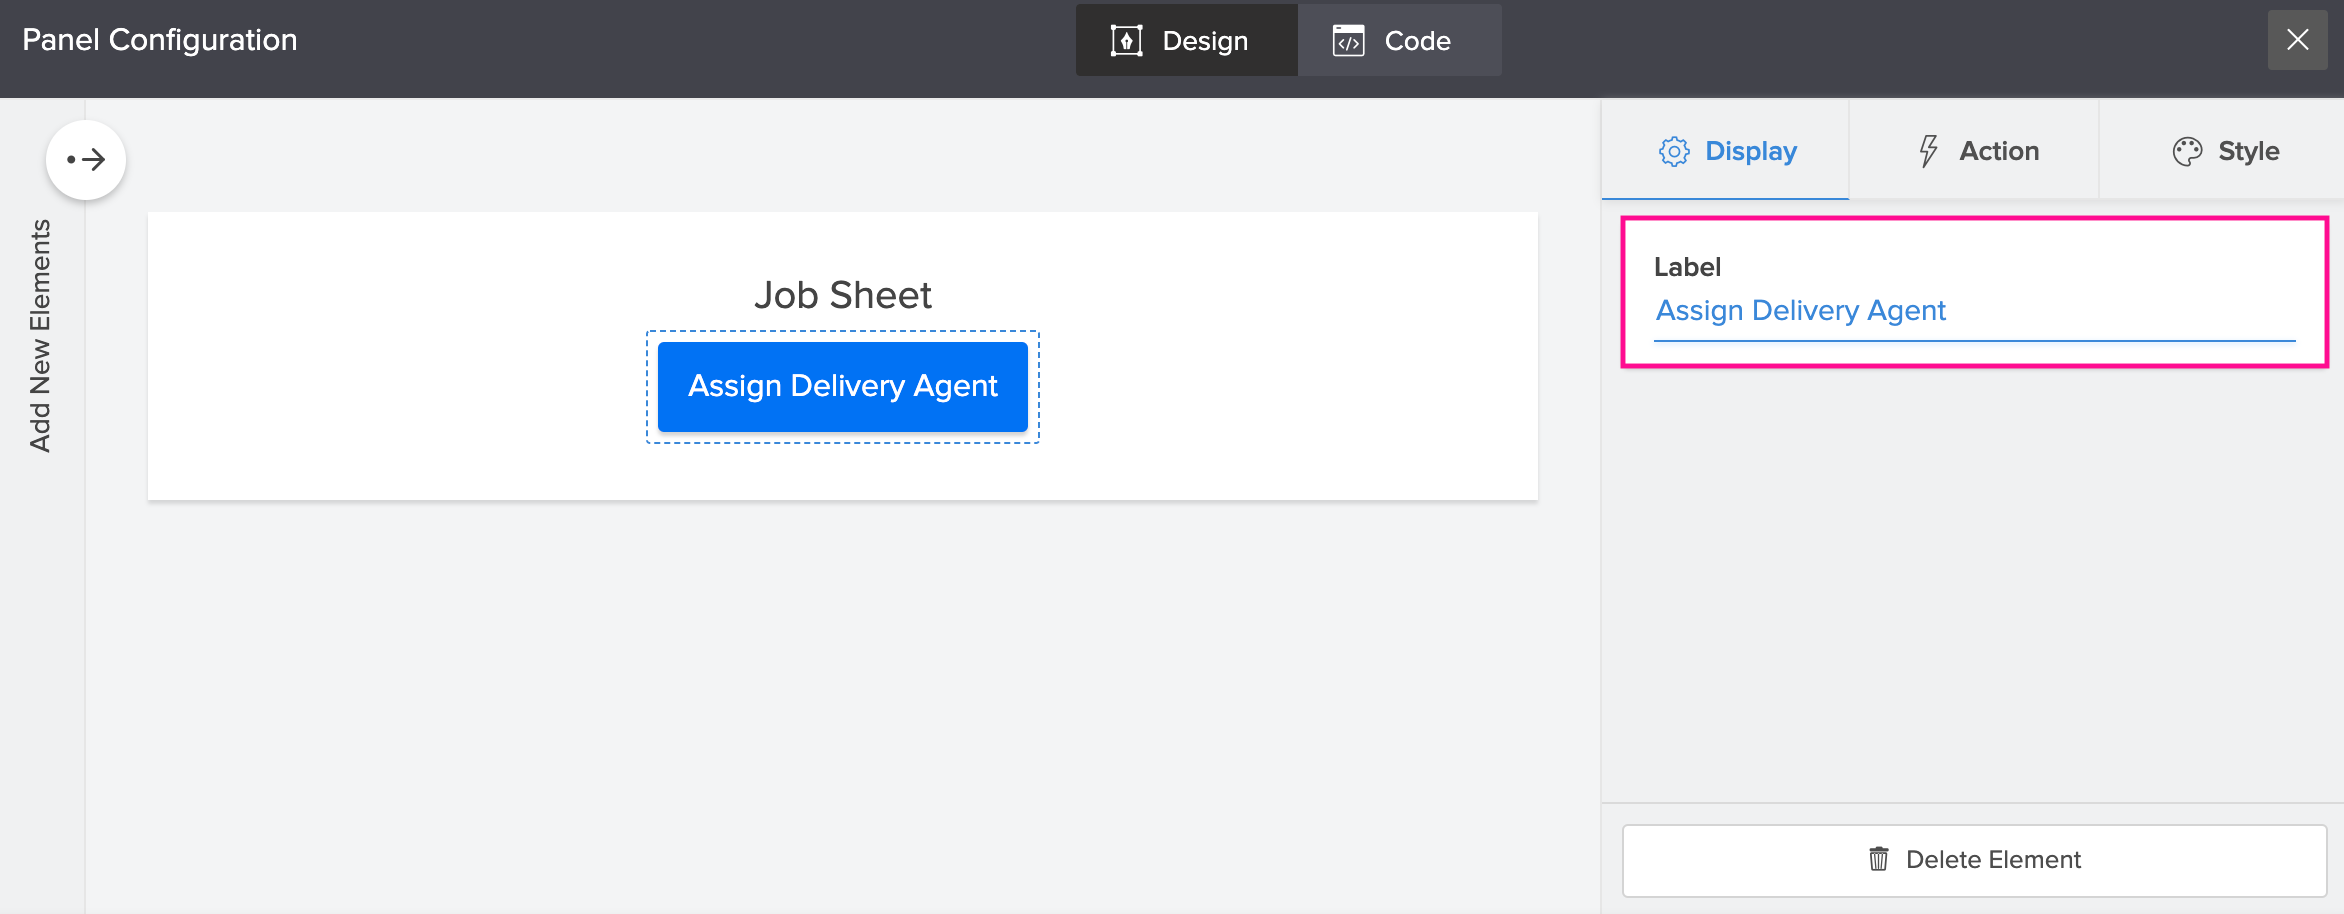
- The Action tab allows you to customize the following aspects:
- Action Type: Allows you to specify to open a URL, form, report, page or execute a function when users click the embedded button. Here, the action type is to open a form.
- Form: Enables you to choose a form from any of your Creator applications.
- Query parameters: Specify a query parameter to an Open Form action to load the associated form with pre-filled values, for the fields specified in the parameter string.
- Open in: Select the required target window in which the redirected entity (form) must be opened.
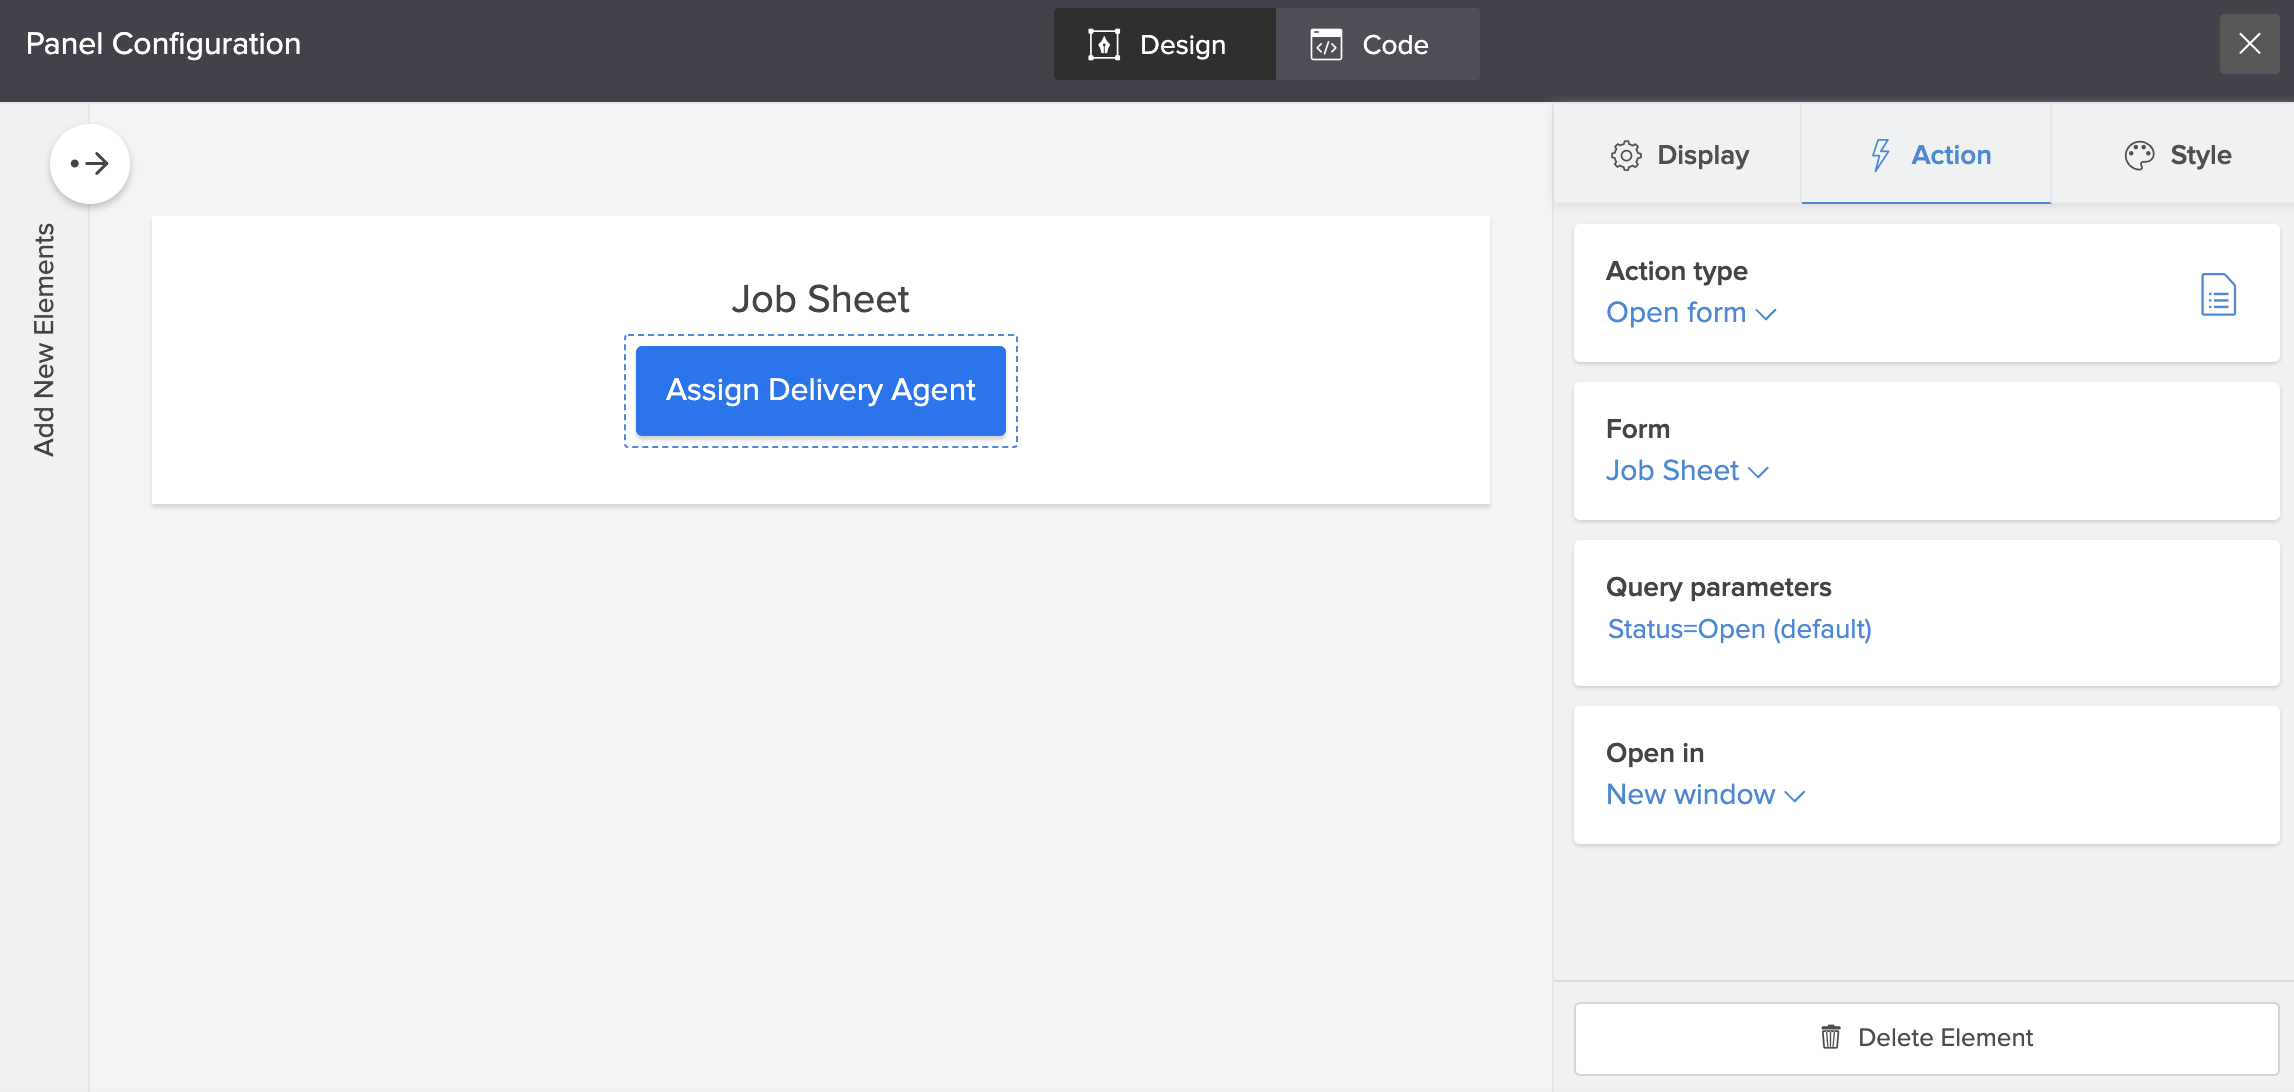
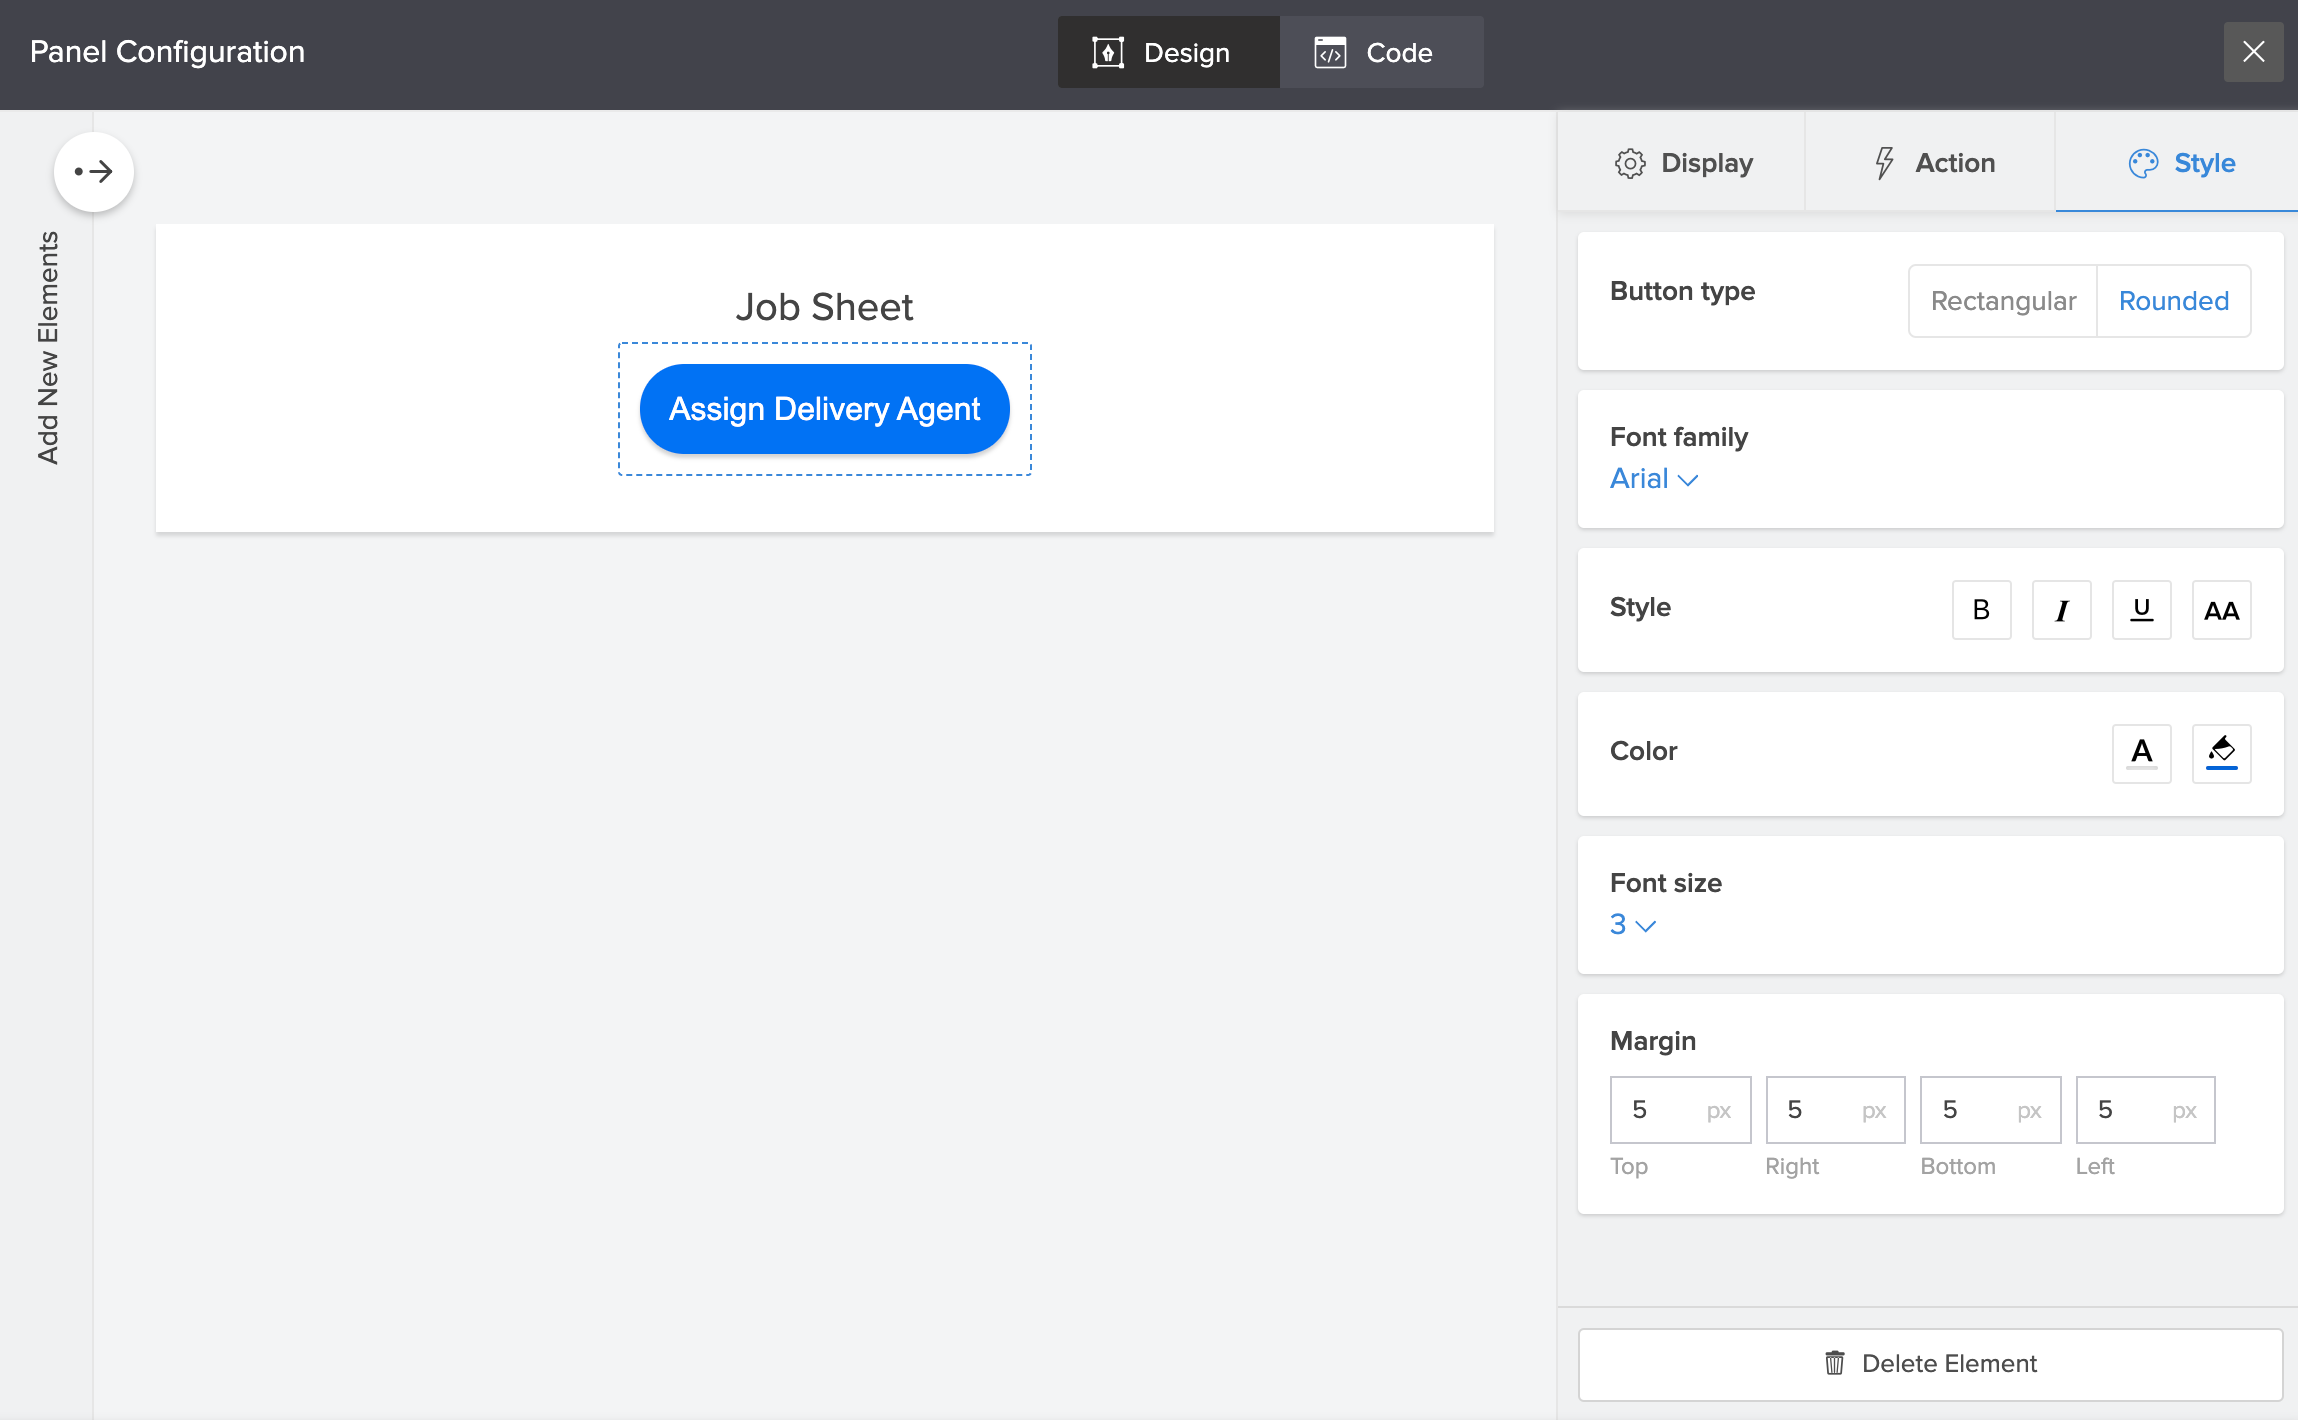
- The Style tab enables you to enhance the visual aspects of the embedded form for the end users. From here, you can customize the following,
- Button type: Select the button type as Rectangular or Rounded.
- Font family: Choose the font of the button text.
- Style: Enables you to Bold, Italicize, Underline, and change the case for the button text.
- Color: Allows you to customize the font and background color.
- Font size: Specify font-size for the button text or choose one from the dropdown beside it.
- Margin: Specify the margin attributes around the button.
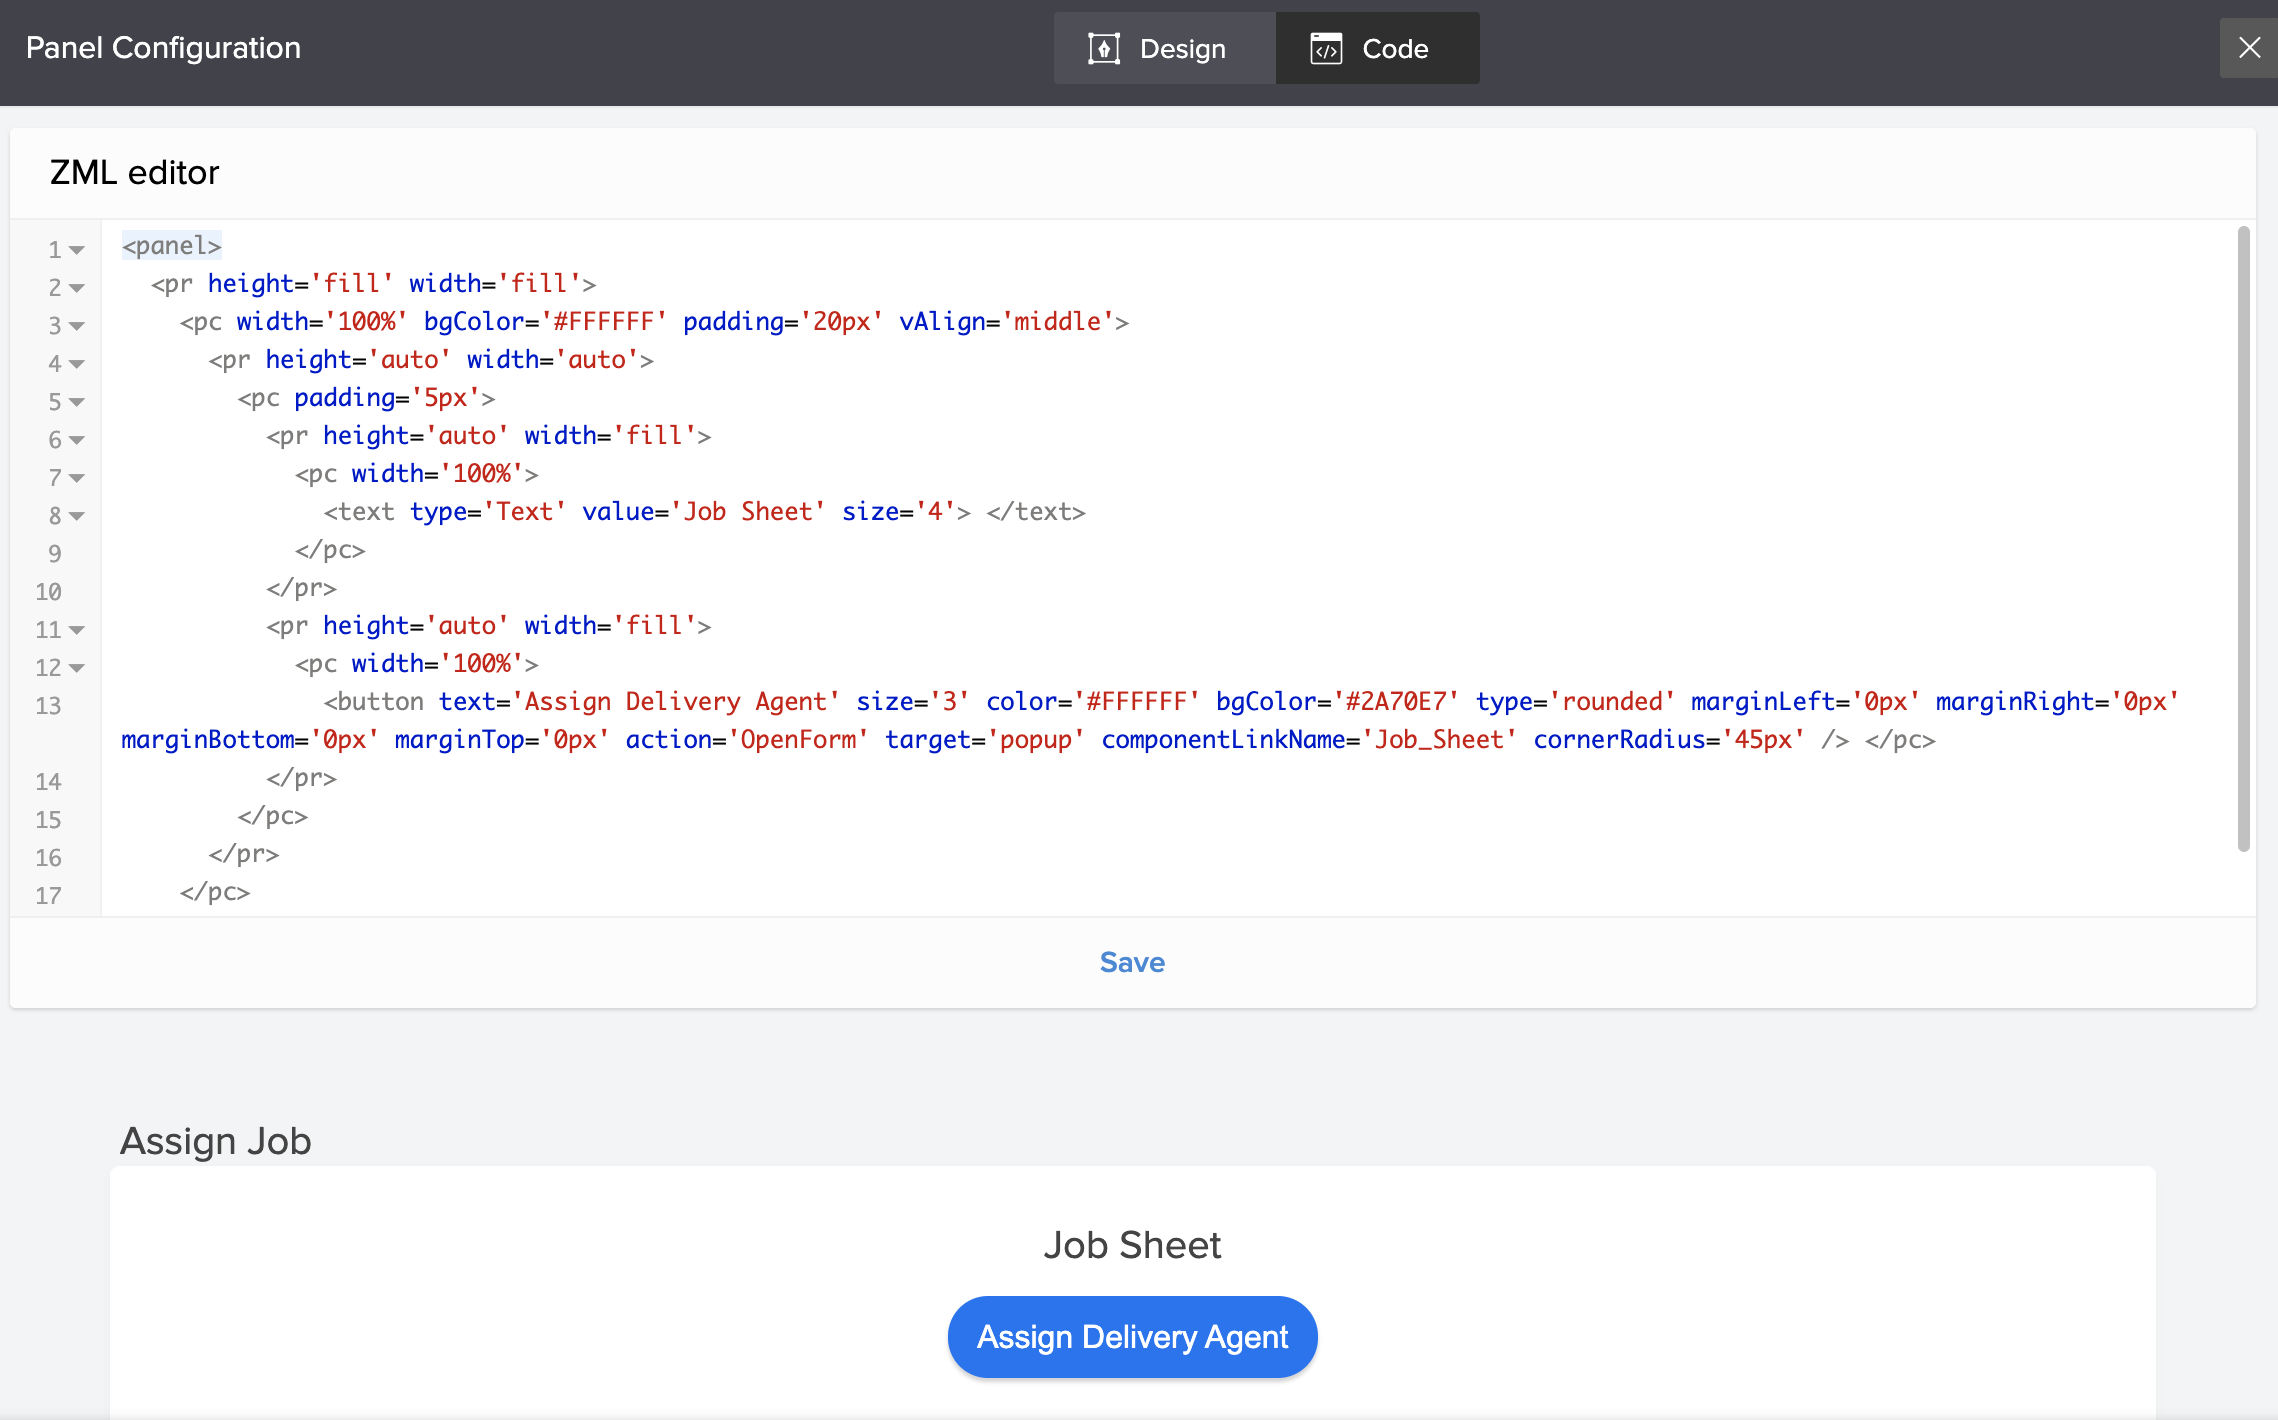
- The Code tab opens the ZML editor. From here, you can edit the ZML code that is used to create pages in your Creator application.
- Click on the panel (area around button) to open and customize the Action and Style aspects of the button panel.
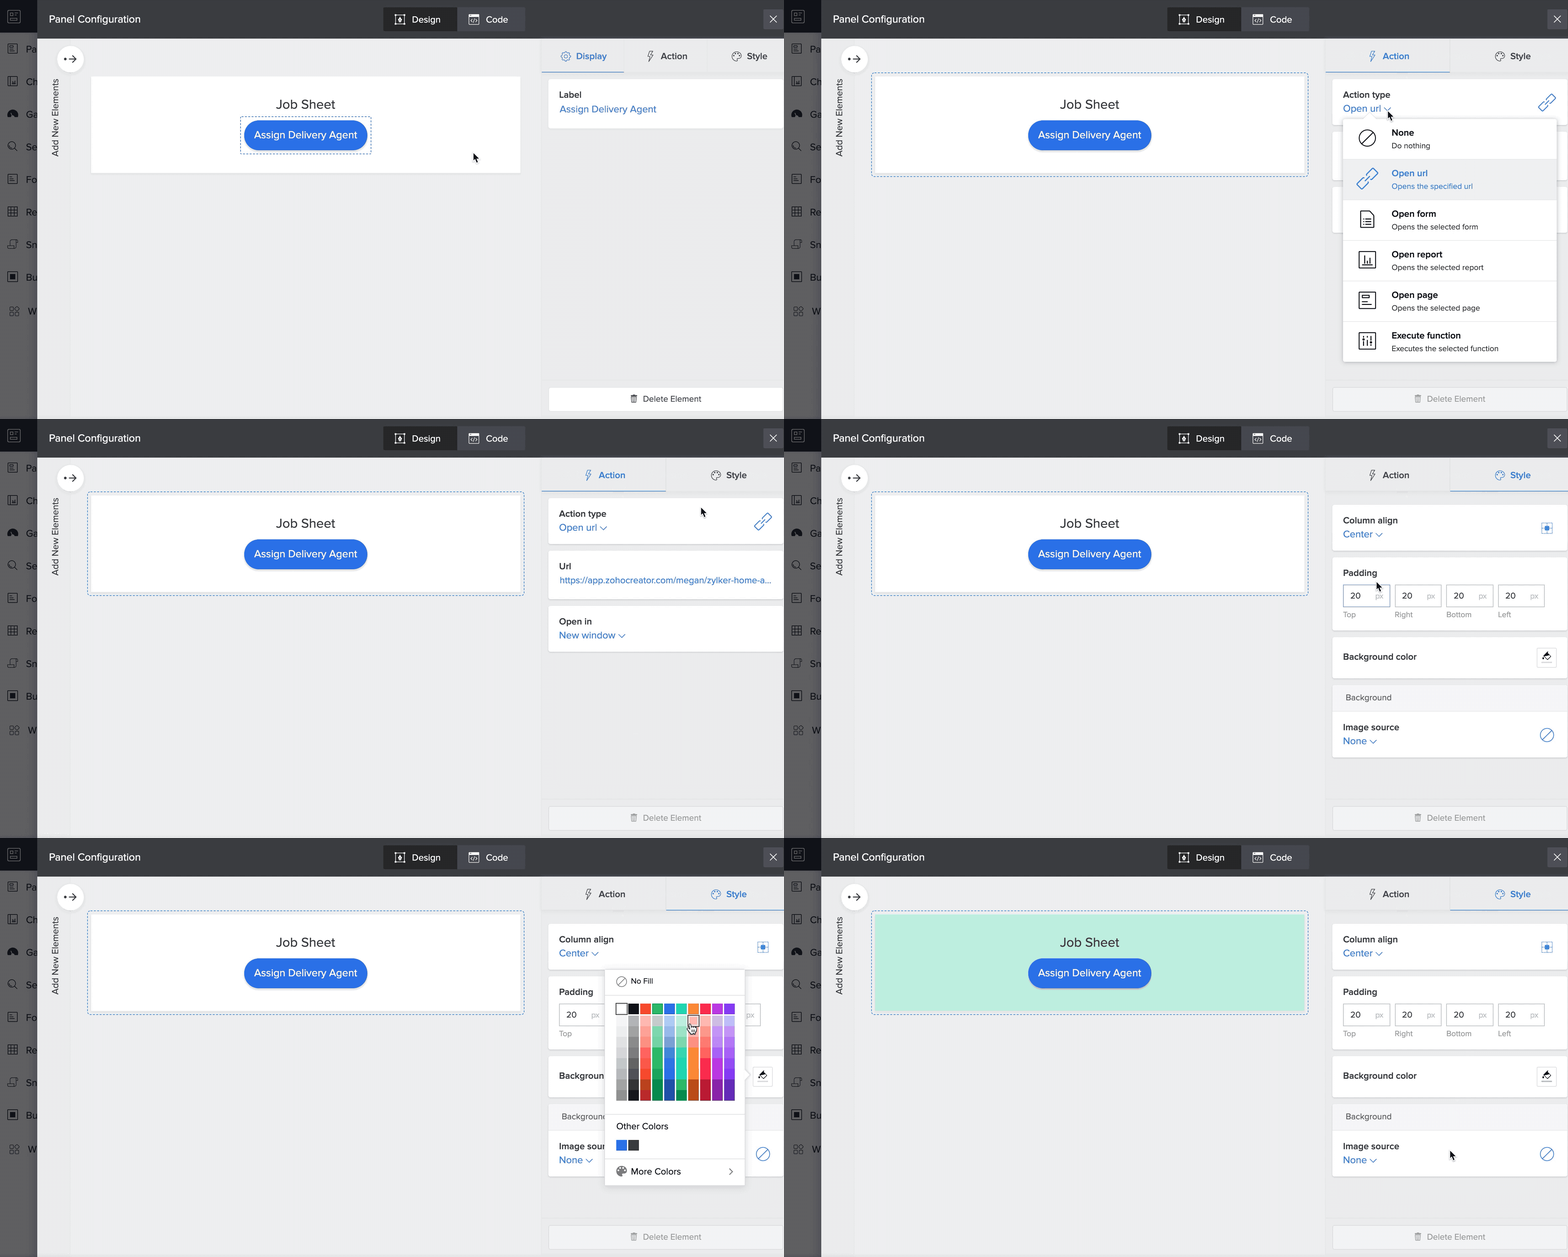
- Close the Panel Configuration pane after making changes. The changes will be saved automatically.
- Select the form (button) and click the Title option in the page builder to set a title for your embedded form. A popup window will appear.
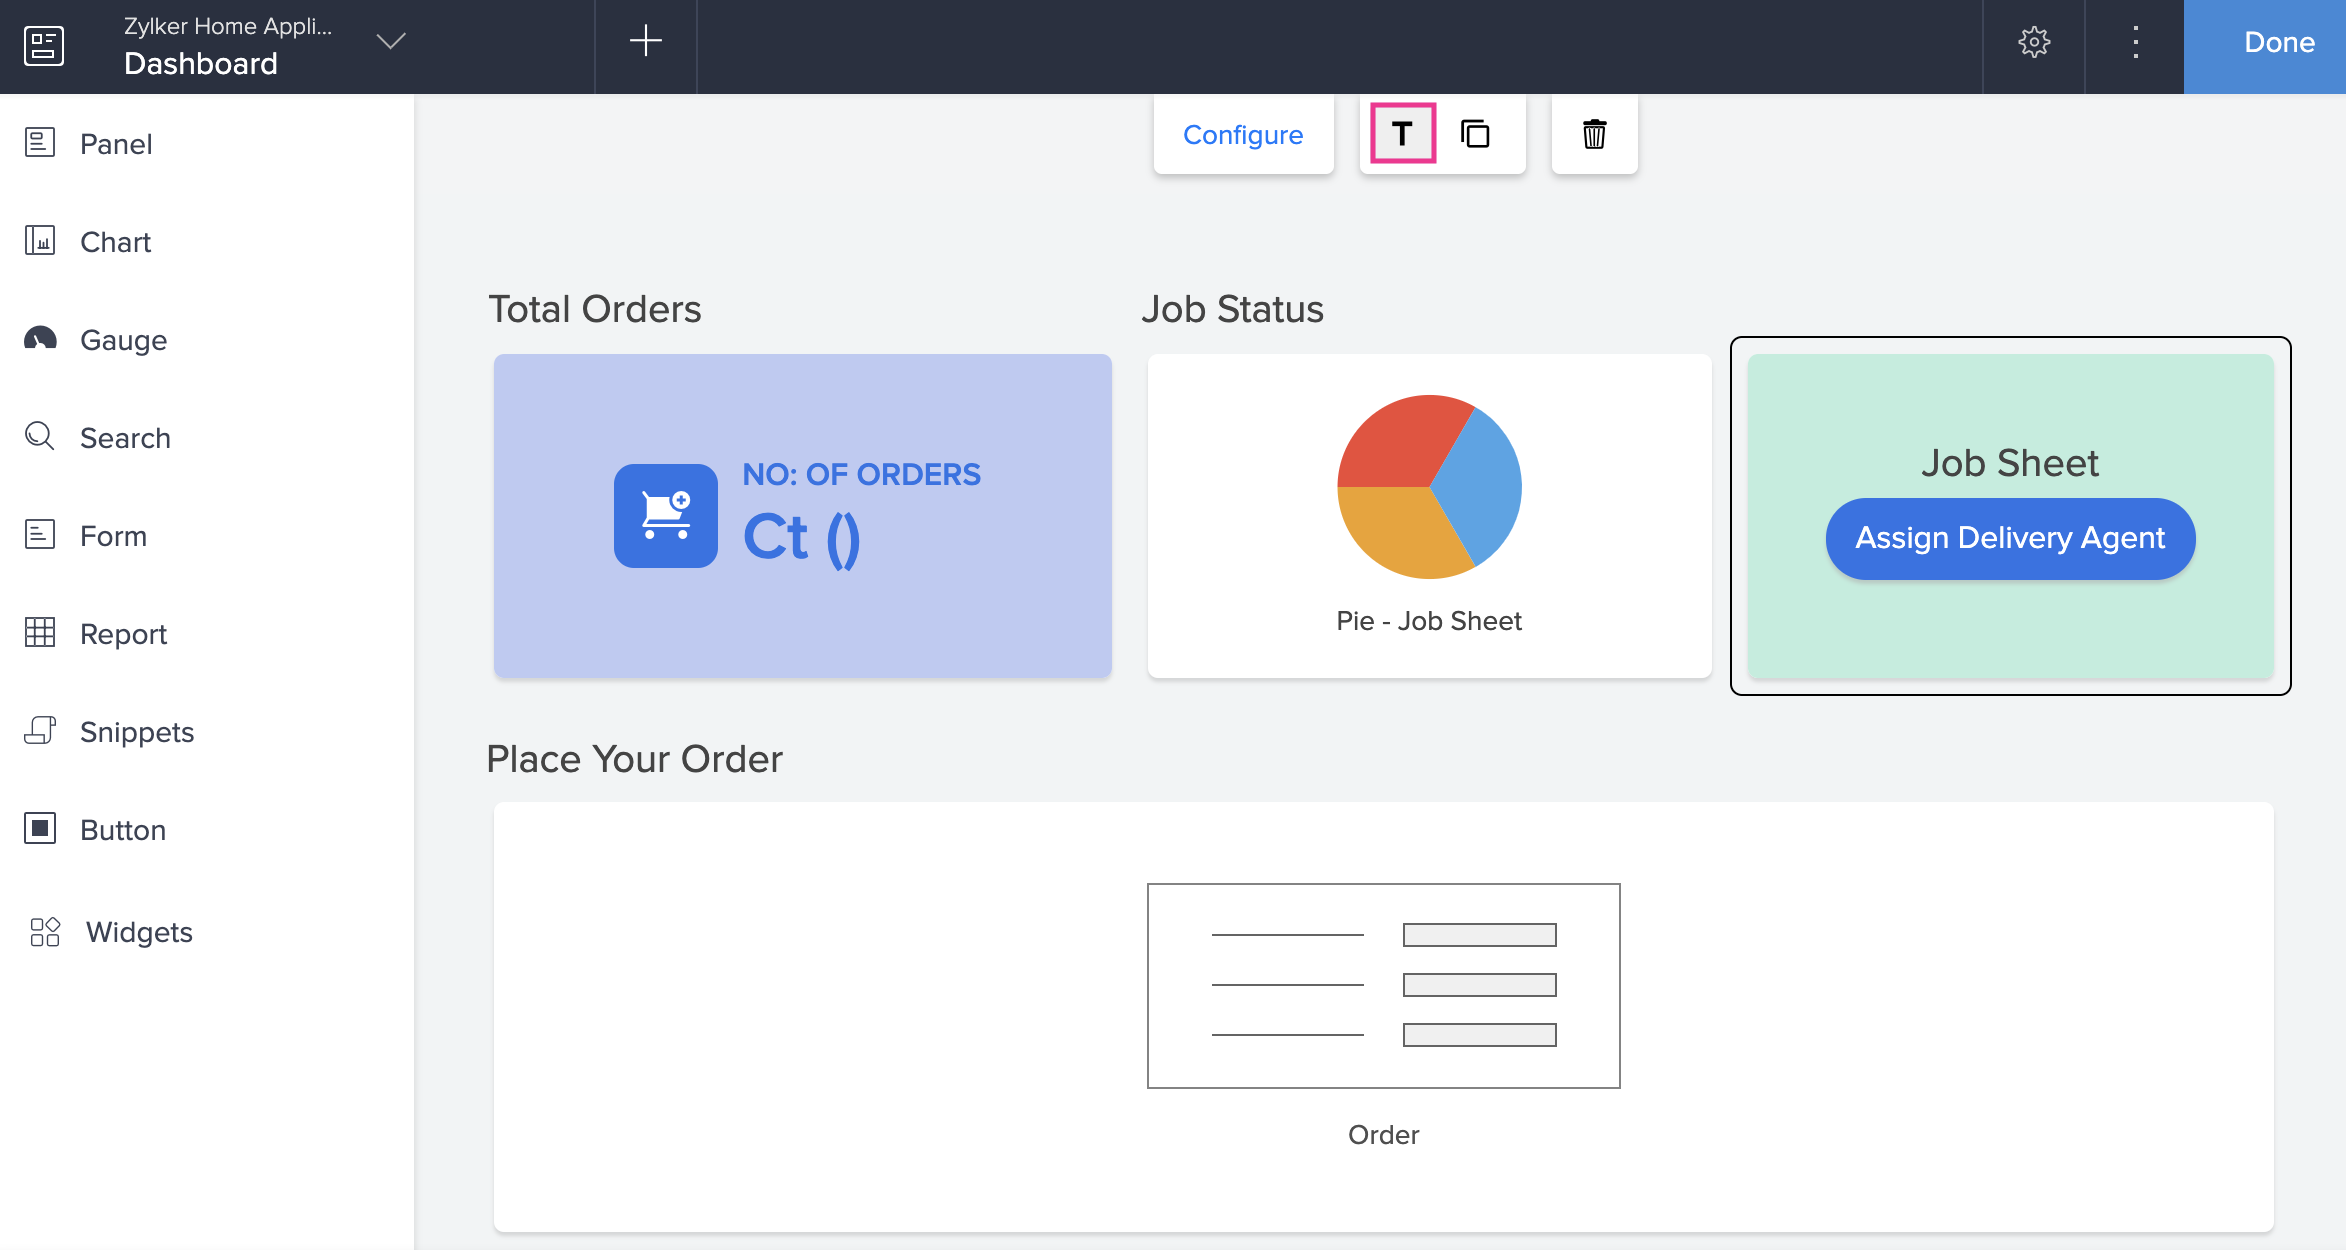
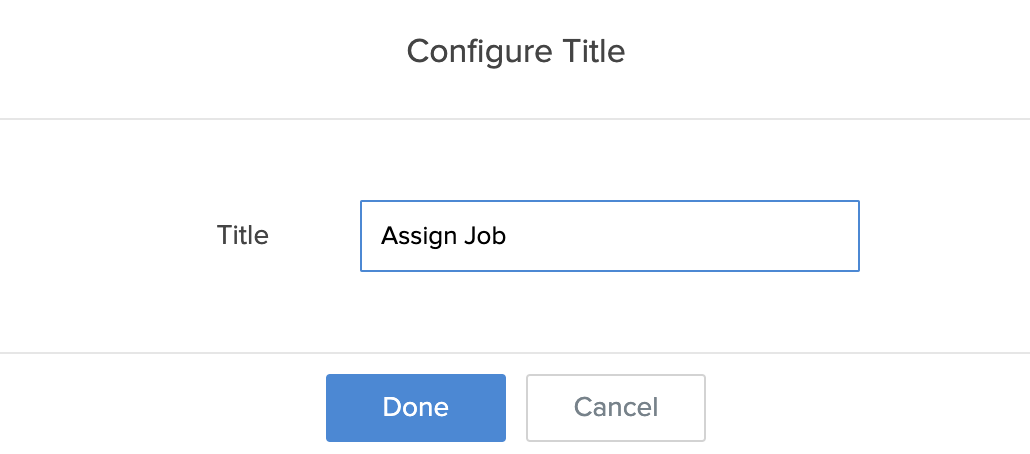
- Specify the title and click Done. The title will be displayed above the embedded form. You can click again on the Title icon if you do not want to display the title.
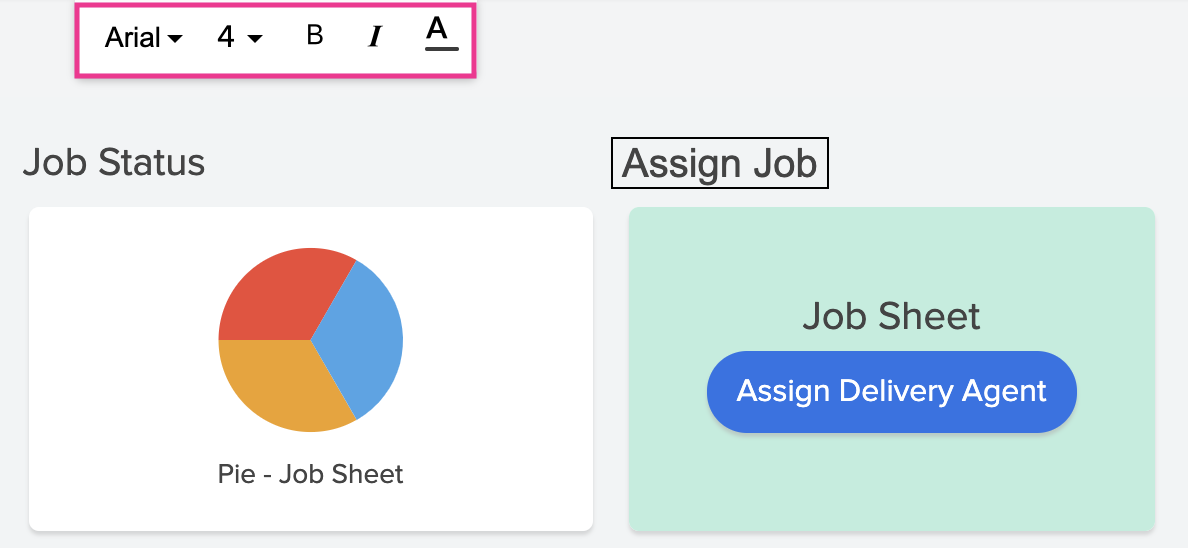
- Click on the specified title to edit its font, size, and style.
- Click the Duplicate panel icon to duplicate the panel containing the embedded form as a button.

- Click the Delete icon to delete the button.
- Click Done at the top-right corner of the page builder once you have finished making changes. The changes are automatically saved.