You can start RMM Central using the following ways -
On starting the RMM Central, the client is automatically launched in the default browser.
The following processes are started along with the RMM Central:
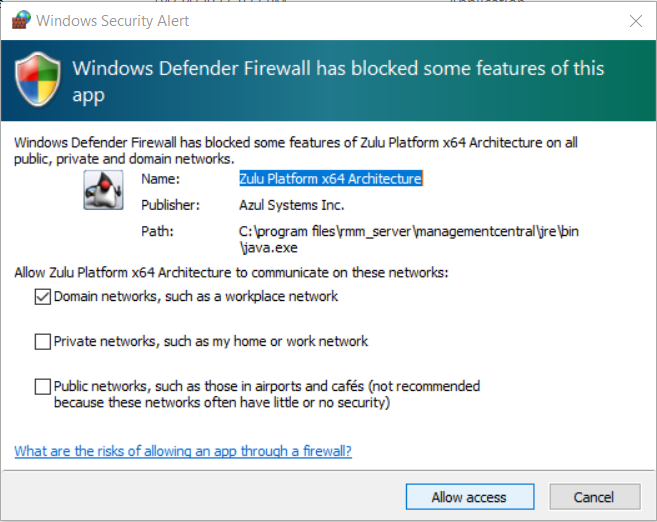
When RMM Central is started in Windows XP / Windows 2003 machines with firewall enabled, Windows will pop up security alerts asking whether to block or unblock the the following programs as shown in the images below:
Java(TM) 2 Platform Standard Edition binary - Java.
You should Unblock these programs to start RMM Central.

Fig: Java Alert
To launch RMM Central's client,
Open a web browser and type http://hostname:8090 in the address bar. Here the hostname refers to the DNS name of the machine where RMM Central is running.
Specify the user name and password as admin in the respective fields and click Login.
When you login to RMM Central for the first time, perform the following steps:
Define the scope of management - Scope can be limited to a small set of computers or the whole domain.
Define and apply configurations to either users or computers. The applied configurations will take effect during user logon for user configurations and during reboot for computer configurations.
To stop RMM Central, select Start -> Programs -> ManageEngine RMM Central -> Stop RMM Central