- Related Products
- EventLog Analyzer
- ADManager Plus
- ADAudit Plus
- ADSelfService Plus
- Exchange Reporter Plus
- AD360
 Click here to expand
Elasticsearch is a distributed, RESTful search and analytics engine. When configured in Log360 it distributes data between the nodes that are added thereby optimizing disk space and also improving the performance of Log360.


Make sure to increase the limit on the number of open files descriptors for the user running Elasticsearch to 65,536 or higher. For the .zip and .tar.gz packages, set ulimit -n 65536 as root before starting Elasticsearch, or set nofile to 65536 in /etc/security/limits.conf.
2. Ensure sufficient virtual memory
Elasticsearch uses a mmapfs directory by default to store its indices. The default operating system limits on mmap counts is likely to be too low, which may result in out of memory exceptions.
You can increase the limits by running the following command as root in Linux: sysctl -w vm.max_map_count=262144
3. Disable swapping
Usually Elasticsearch is the only service running on a box, and its memory usage is controlled by the JVM options. There should be no need to have swap enabled.
On Linux systems, you can disable swap temporarily by running: sudo swapoff -a
On Windows, the equivalent can be achieved by disabling the paging file entirely by going to System Properties > Advanced > Performance > Advanced > Virtual memory.
4. Ensure sufficient threads
Elasticsearch uses many thread pools for different types of operations. It is important that it can create new threads whenever needed. Make sure that the number of threads that the Elasticsearch user can create is at least 4096.
This can be done by setting ulimit -u 4096 as root before starting Elasticsearch, or by setting nprocto 4096 in /etc/security/limits.conf.
5. JVM DNS cache settings
Elasticsearch runs with a security manager in place. With a security manager in place, the JVM defaults to caching positive host name resolutions indefinitely. If your Elasticsearch nodes rely on DNS in an environment where DNS resolutions vary with time, then you might want to modify the default JVM behavior. This can be modified by adding networkaddress.cache.ttl=<timeout> to your Java security policy.
6. Port availability
Ensure that port 9322 is available on the machine that will run Elasticsearch.
7. Sharing of <Installation Dir>/EventLog Analyzer/ES/repo
Ensure that the folder <Installation Dir>/EventLog Analyzer/ES/repo is shared with the service account of the Log360 server. This folder will be used to create snapshot from Elasticserch to save archives. If the Log360 server is not in AD, it will be an open share or else make sure that the user has the permission to share the folder and follow the steps below.
By default, uses self-signed certificates Elasticsearch security i.e authentication and encryption. If you want to use your own certificates for security, follow the steps below.
Follow the steps below to replace the certificates in the existing nodes:
Go to the machine and then stop the elasticsarch service by opening the taskmanager>services.
Move the certificates to <INSTALLAITON DIR>\ES\config\certificates
Navigate to <INSTALLAITON DIR>\ES\config, open the elasticsearch.yml file and replace the following line with the respective details in both the nodes.dn and admin_dn
CN=*.node,OU=none,O=none,L=none,ST=US,C=USTo configure Elasticsearch in Log360, follow the steps mentioned below.
Login to Log360.
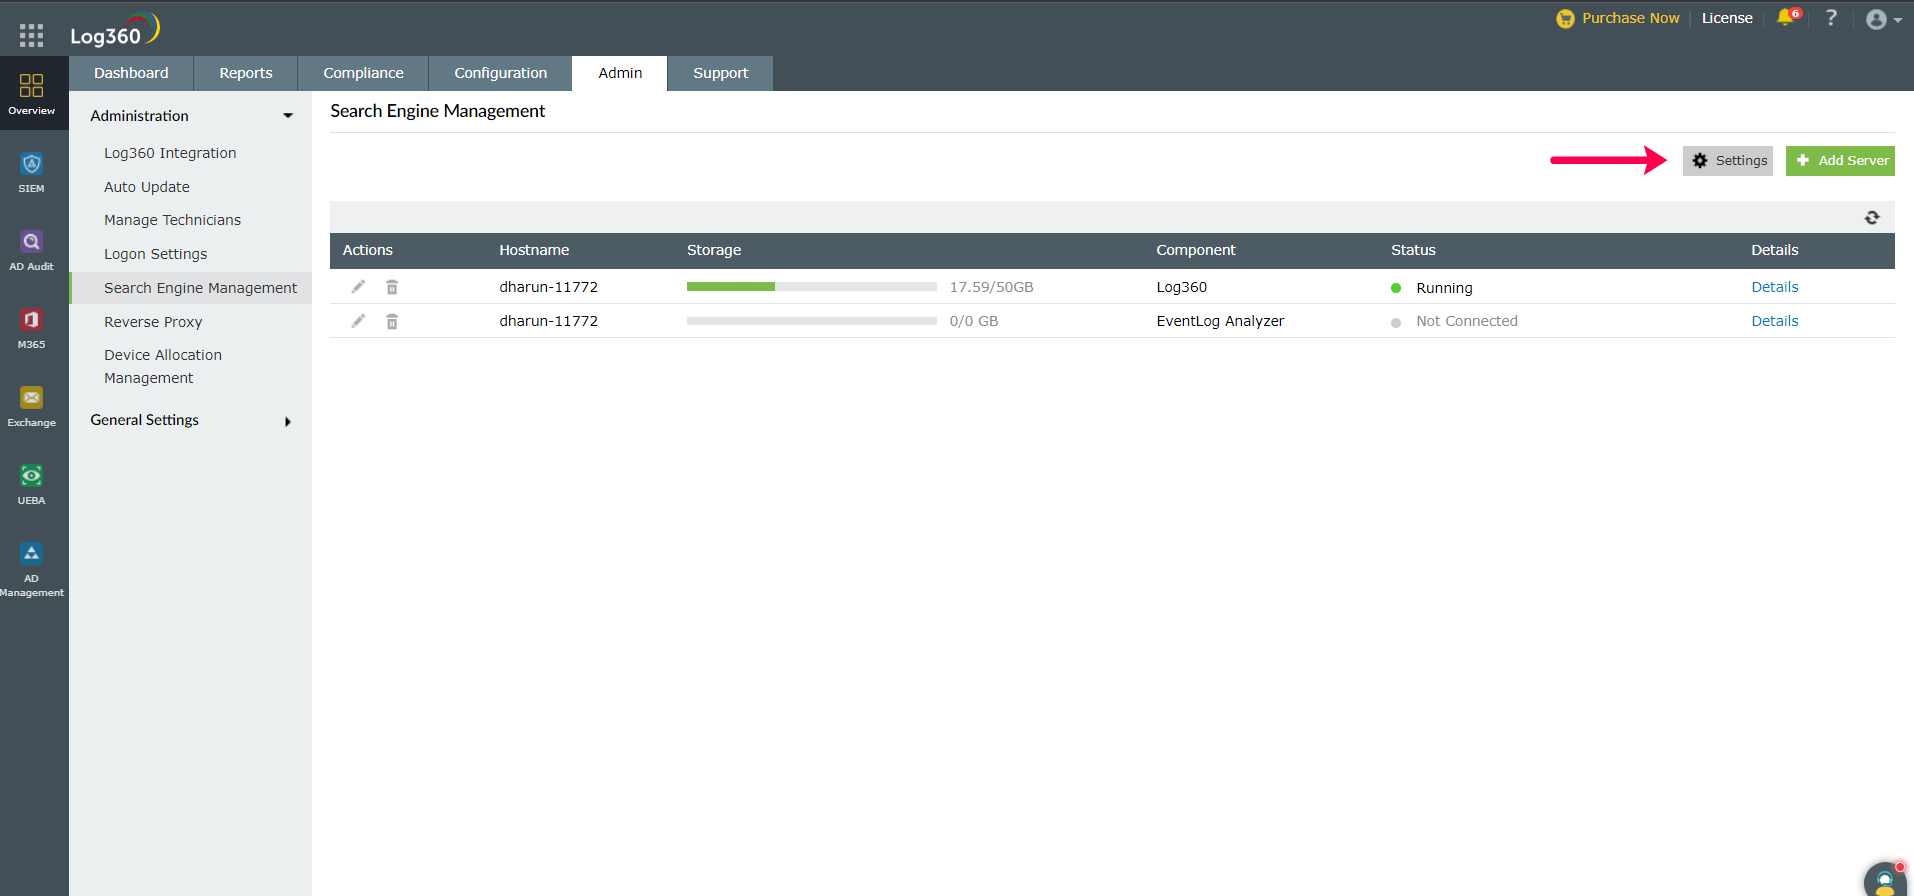
Navigate to Admin > Administration > Search Engine Management.
Click on Add Server.
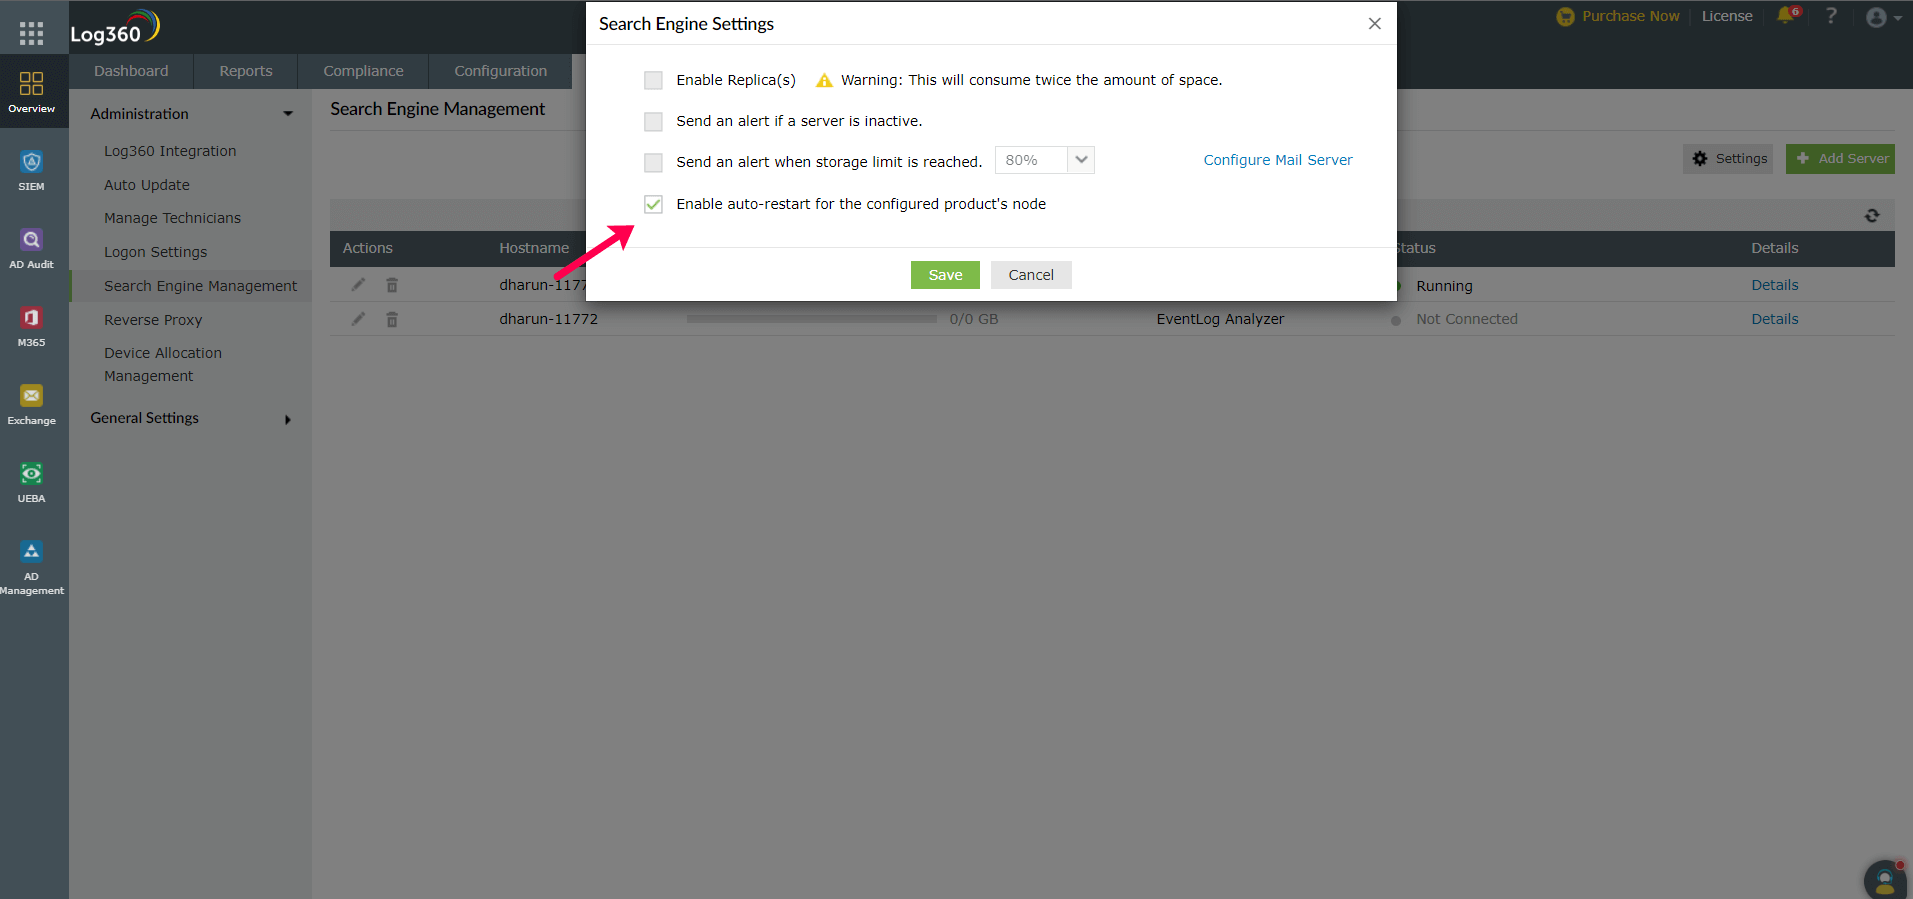
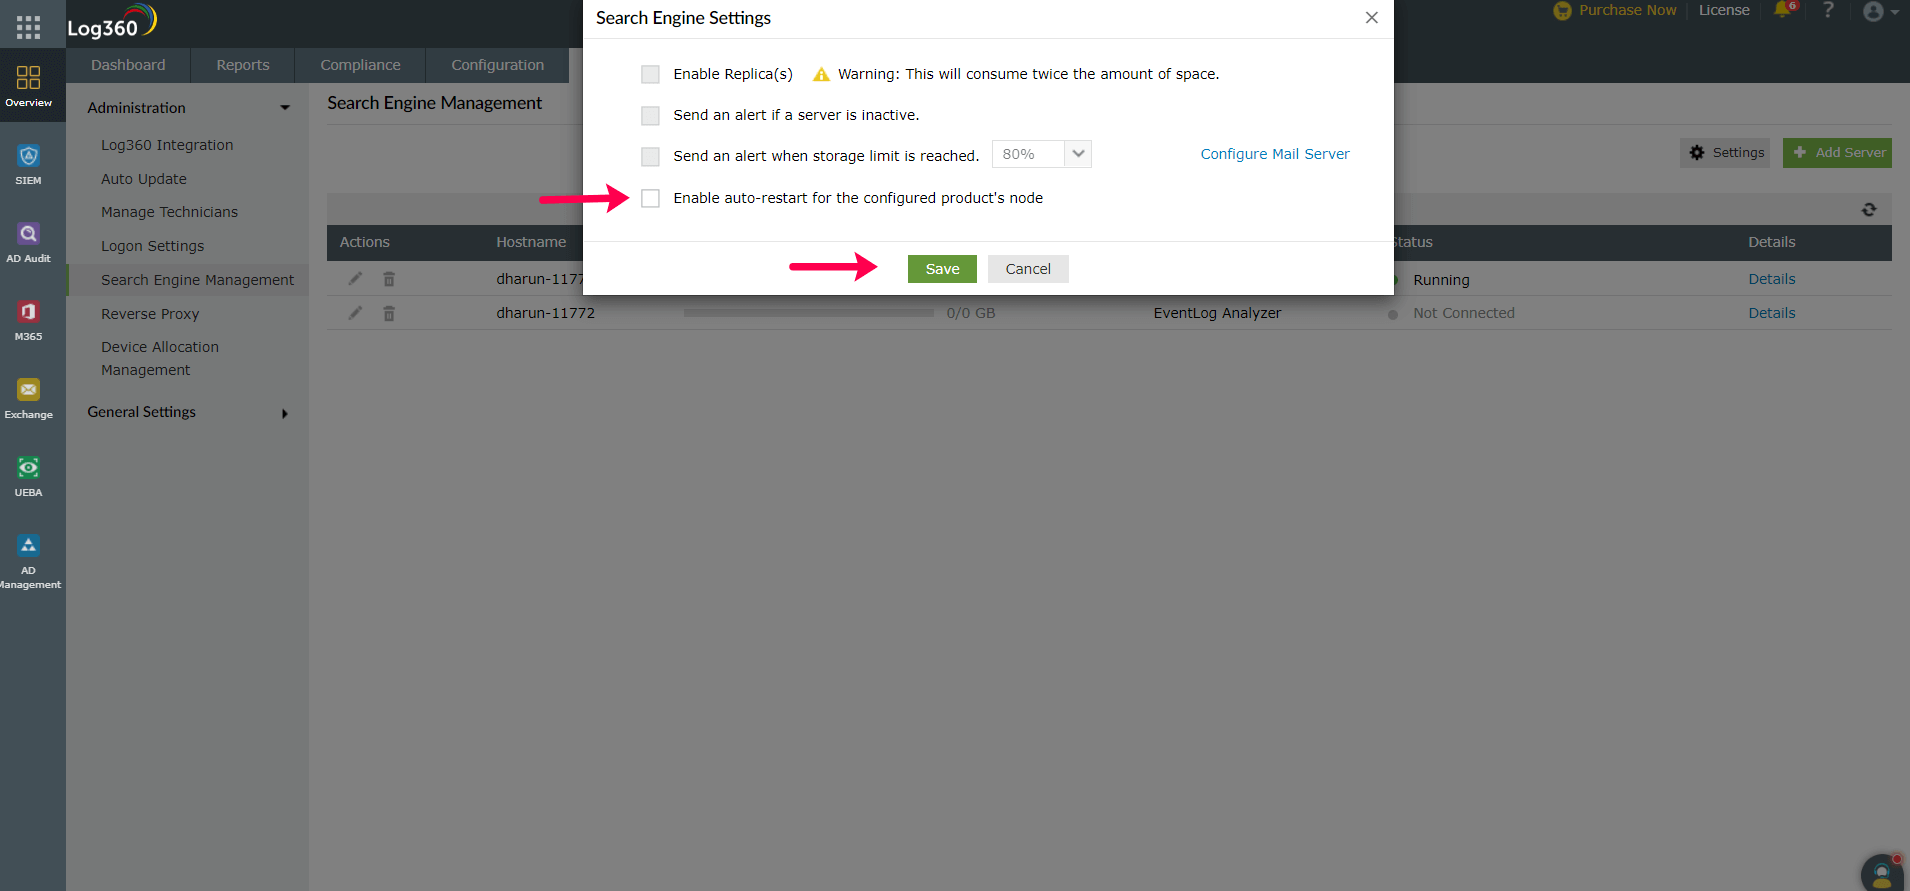
In the Add Server drop box, enter the server details and the path to installation directory along with TCP port (optional).
Copyright © 2020, ZOHO Corp. All Rights Reserved.