Nginx is a high-performance web server, reverse proxy, and load balancer designed for modern web architectures. It's known for its efficiency, stability, and low resource consumption, making it ideal for handling high-traffic websites.
The Nginx extension for Log360 Cloud enables integration of Nginx logs into the Log360 Cloud ecosystem. This extension provides features such as log collection, parsing, reporting, alerting, correlation, and advanced log search capabilities for monitoring web traffic and server performance.
To configure Nginx and define a custom access log format, follow these steps:
Locate Nginx configuration file on your system:
Inside the http block of the nginx.conf file, add the following log format definition:
log_format event_log_analyzer 'time_local="$time_local" connection="$connection" realip_remote_addr="$realip_remote_addr" remote_addr="$remote_addr" host="$host" remote_port="$remote_port" remote_user="$remote_user" server_name="$server_name" server_addr="$server_addr" server_port="$server_port" request="$request" uri="$uri" http_referer="$http_referer" http_user_agent="$http_user_agent" request_filename="$request_filename" http_cookie="$http_cookie" sent_http_content_type="$sent_http_content_type" http_x_forwarded_for="$http_x_forwarded_for" proxy_host="$proxy_host" status="$status" bytes_sent="$bytes_sent" https="$https" request_time="$request_time" ssl_cipher="$ssl_cipher" ssl_protocol="$ssl_protocol" upstream_addr="$upstream_addr" upstream_status="$upstream_status" upstream_bytes_received="$upstream_bytes_received" upstream_response_time="$upstream_response_time" upstream_cache_status="$upstream_cache_status"';
Inside the http block, define where the access logs should be stored and apply the custom log format. Please refer to the following example:
Format: access_log location log_format_name;
Example: access_log /var/log/nginx/access.log log360_nginx;
Once the configuration changes are made, reload Nginx for the updates to take effect.
nginx -s reload
sudo systemctl reload nginx
After installing the Nginx Extension in Log360 Cloud, configure the scheduled import for the access.log file from the Nginx server file path. Ensure that the correct file path is used during configuration.
Navigate to Settings → Configuration Settings → Log Source Configuration → Import Logs → From Device
Here are the types of audited events captured from Nginx in Log360 Cloud:
| Category | Events |
|---|---|
| Nginx web server events | Web server traffic, Request rate, Requests per session, URI accessed, Virtual server events, Files accessed, SSL success events, SSL handshake failure |
| Web server HTTP status code | Success events, Redirection events, Client-side errors, Server-side errors. |
| Nginx upstream events | Upstream request, Upstream redirection, Cache efficiency |
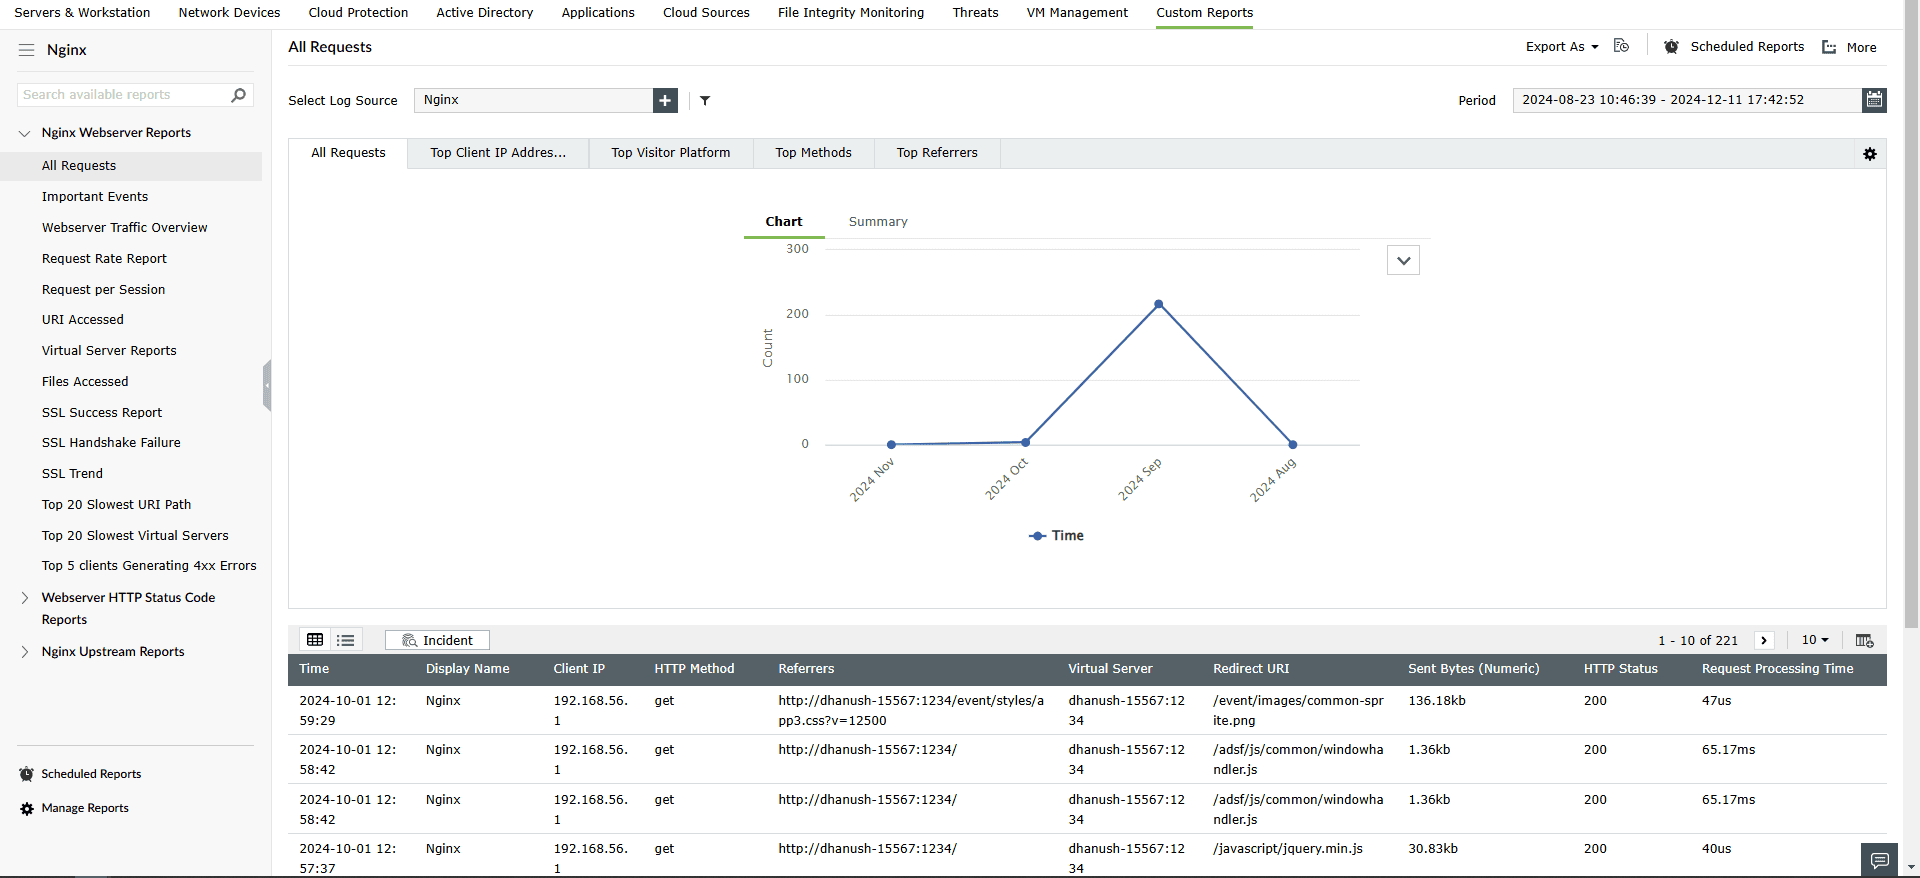
To view Nginx reports, navigate to the Reports tab and select Nginx from the Custom Reports sub-tab.
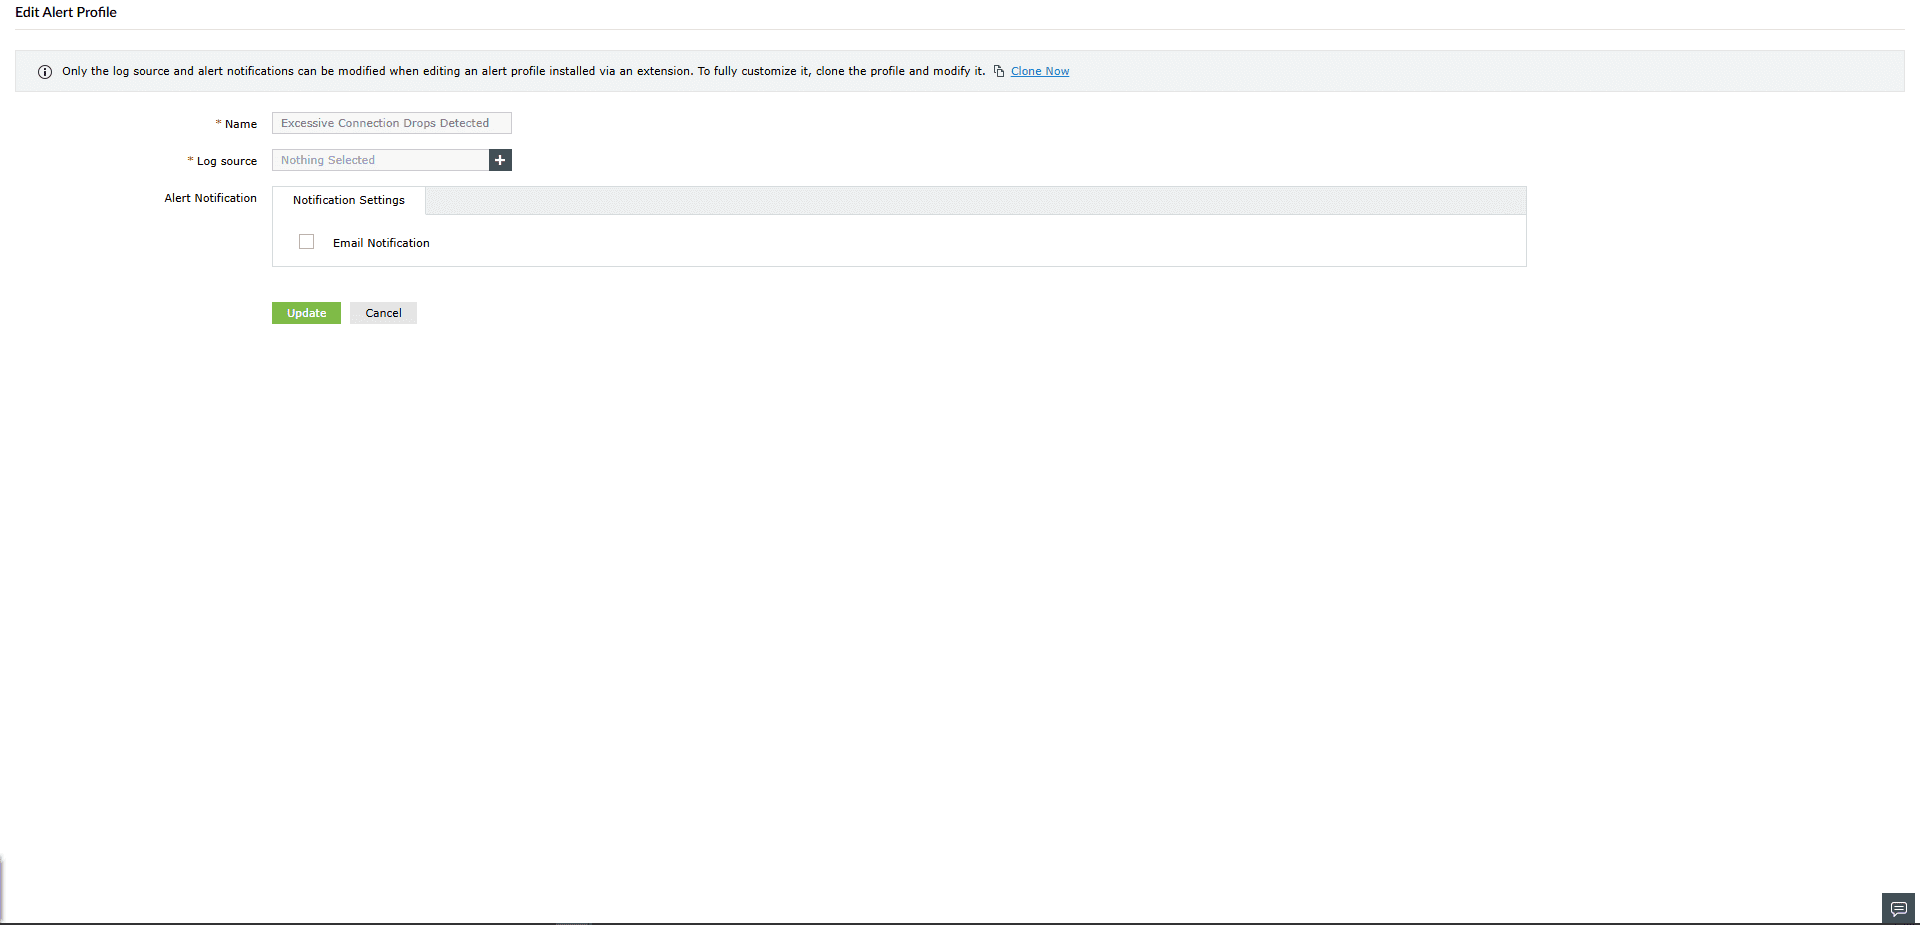
To view the Alerts, navigate to the Alerts tab -> Manage Alert Profiles.