Additional operations for manually added apps and invoices
To import a new user to a manually added app
- Select the app from the list.
- Click the Import User button located at the top.
- Importing users can be done in two different ways.
a. Import Manually
b. Upload CSV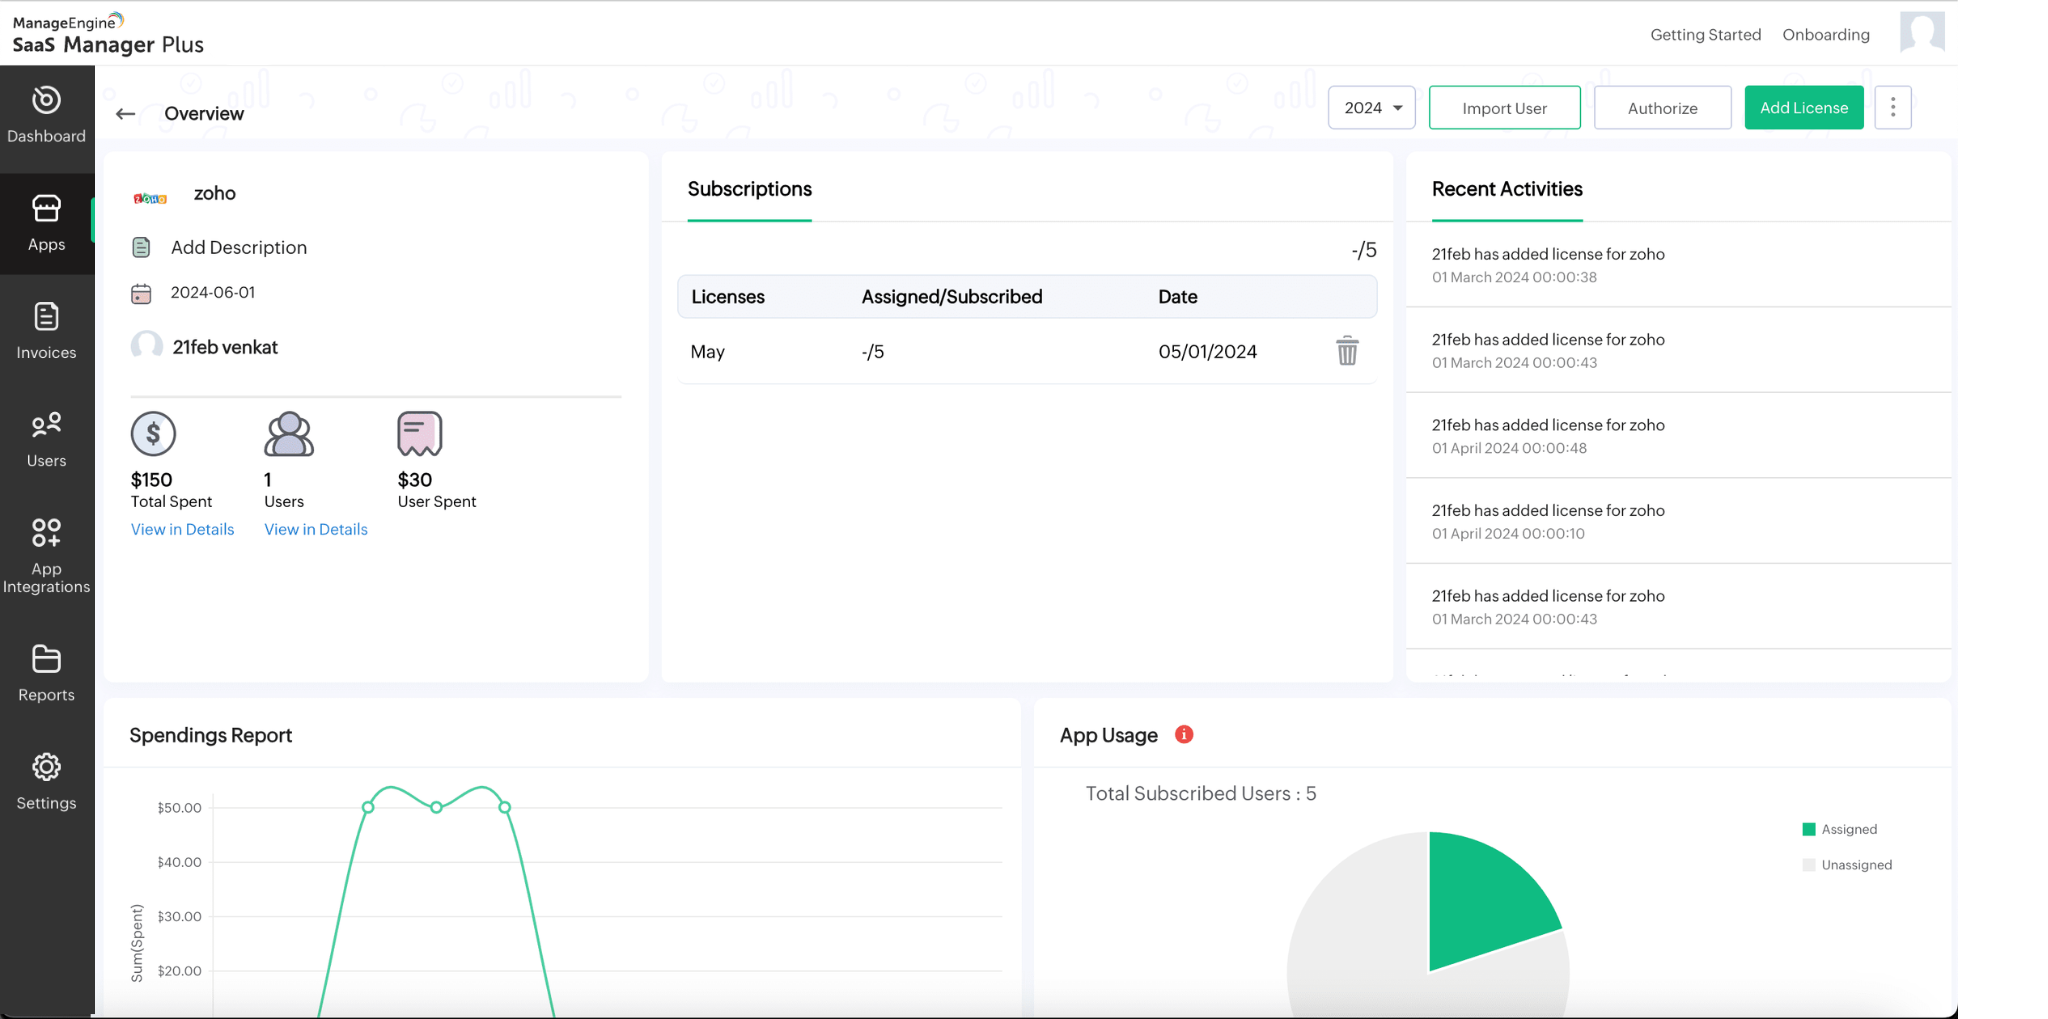
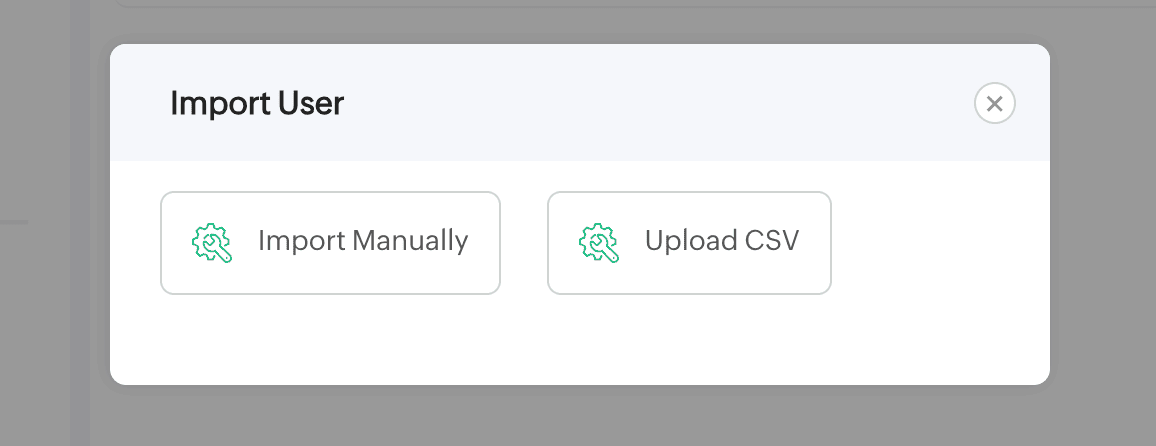
To import users manually
- Click Import Manually
- In the pop-up window, click User-1 and enter the required details, such as First name, Last name, and Email.
- Click Add Item to add additional users, if needed.
- Click Submit to import the users to the selected vendor.

To import users through CSV
Click Upload CSV and upload the required file To import users successfully, your CSV file must follow the specified format. Here are the required columns:
- First Name (Mandatory): Enter the user's first name.
- Last Name (Mandatory): Enter the user's last name.
- Email (Mandatory):
- Enter the user's email address.
- If an existing email is provided, the user will be mapped to it.
- License Name: Provide the name of the license.
Important Note:
- The first row of the file is treated as the header and will not be processed.
To add an invoice to an app
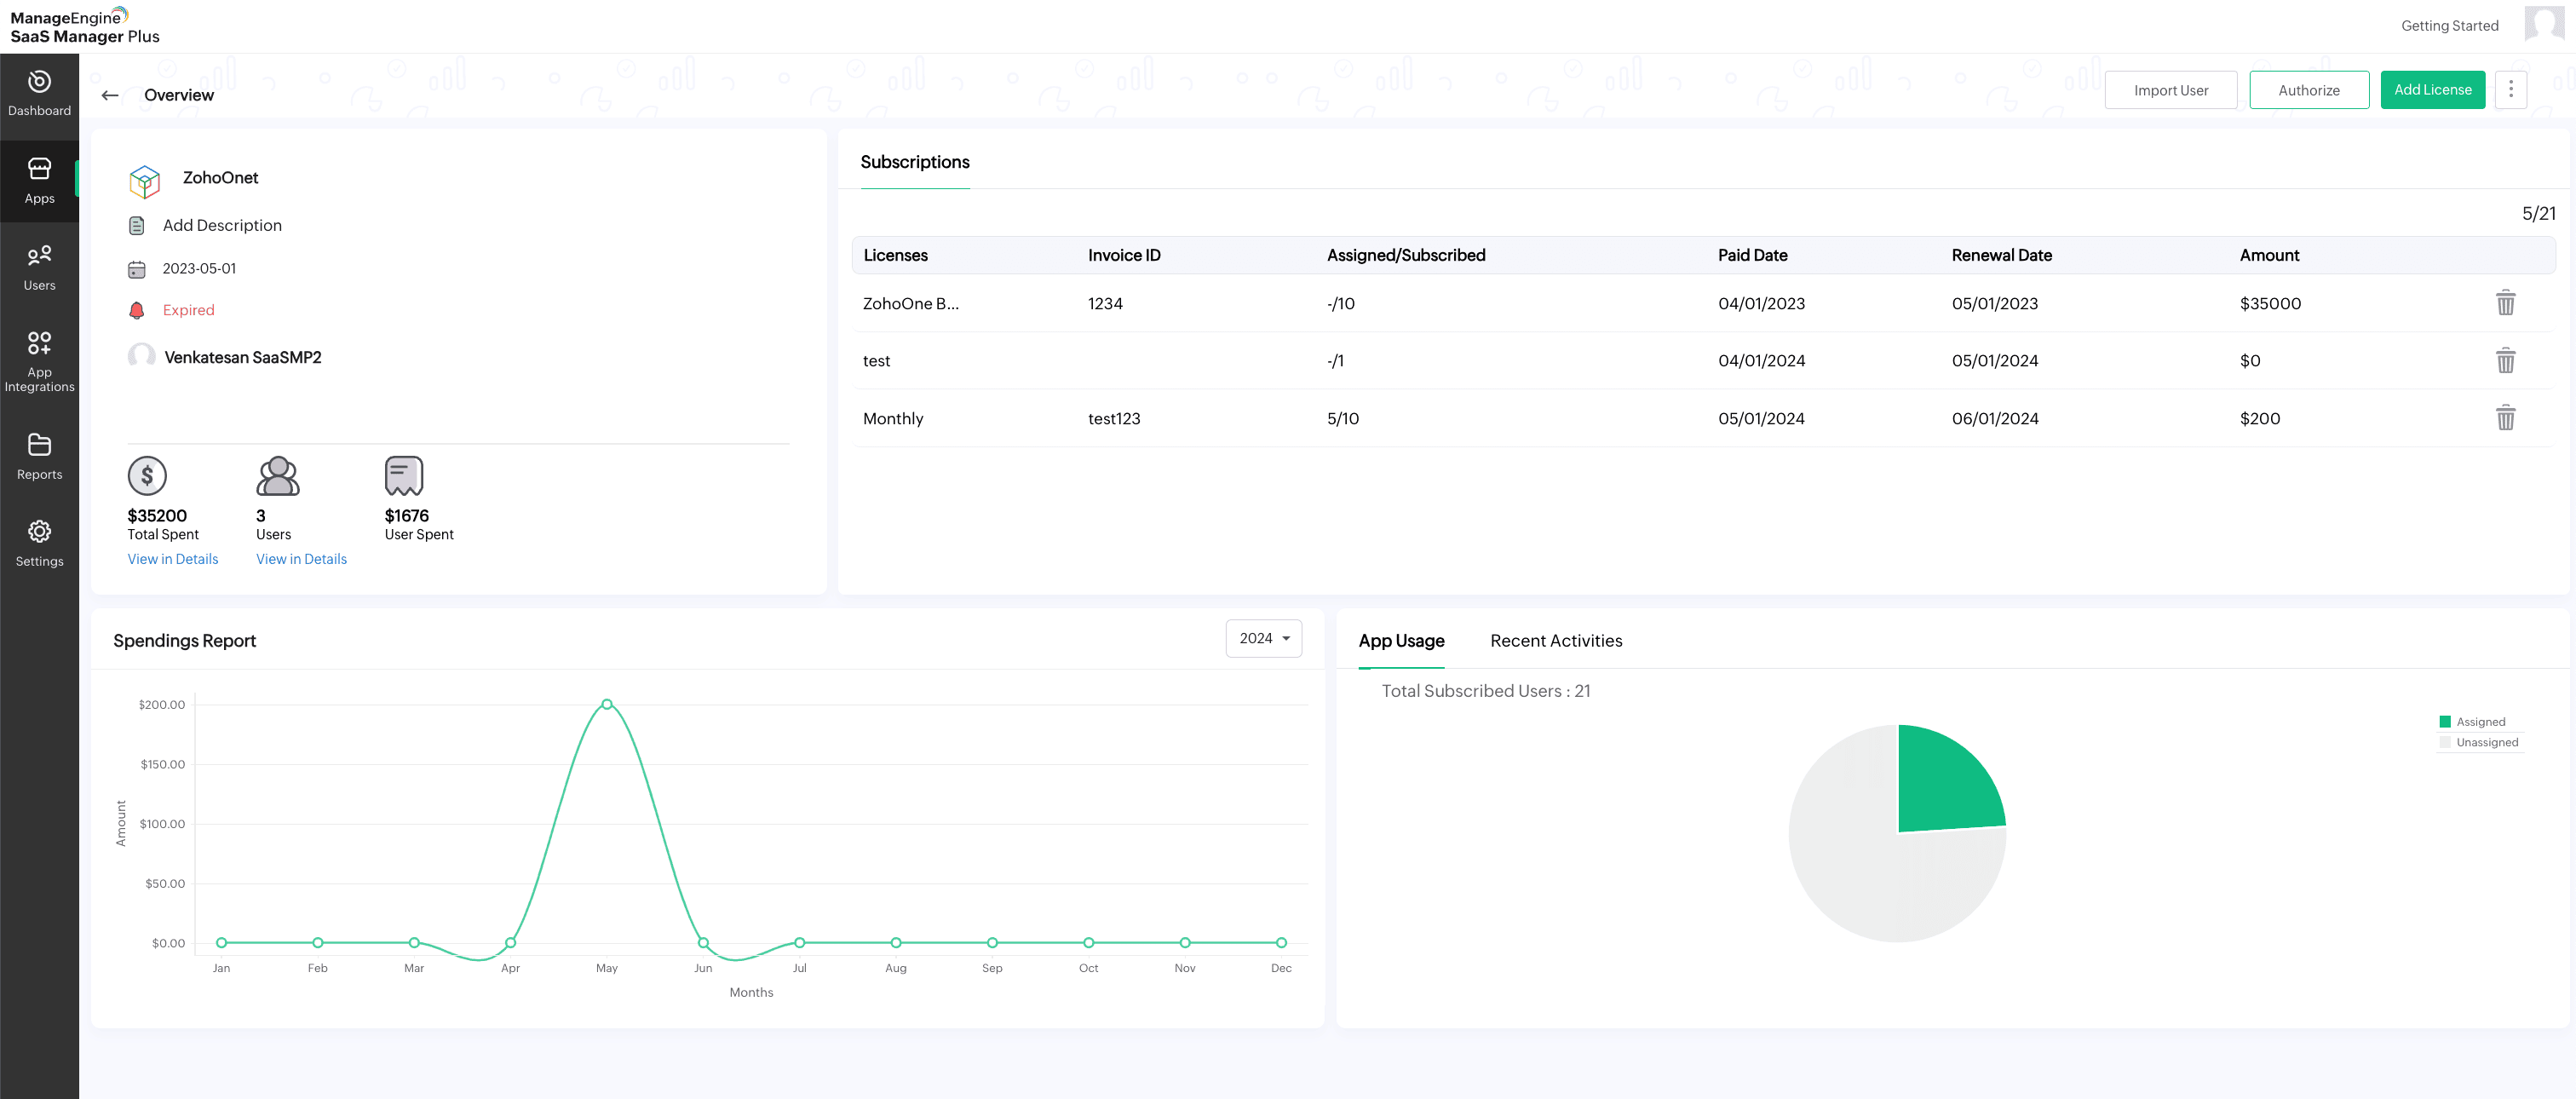
- Select the app from the list.
- Click the Authorize button located at the top.
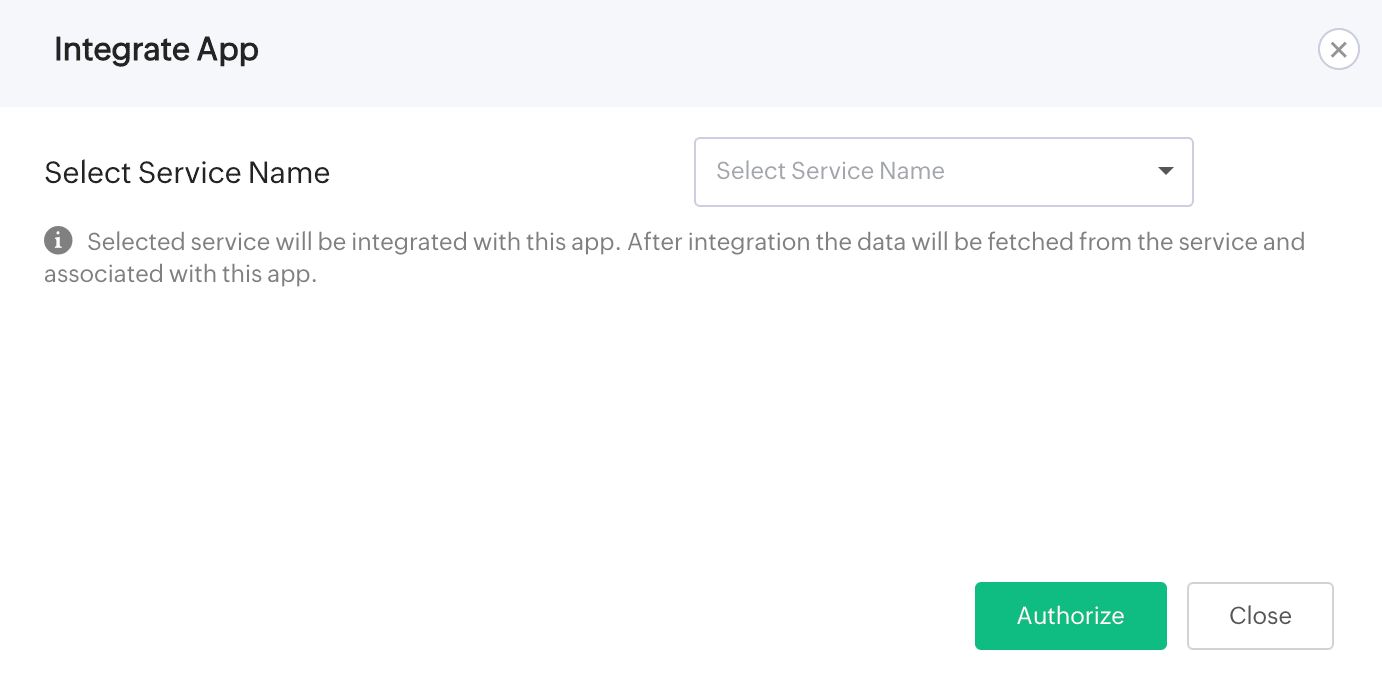
- In the pop-up window, select the Service Name from the drop-down list.
- Click Submit to authorize the app integration for the selected app.
Authorizing the app integration for an app
To authorize app integration for an app
- Select the app from the list.
- Click the Authorize button located at the top.

- In the pop-up window, select the Service Name from the drop-down list.
- Click Submit to authorize the app integration for the selected app.
