SSL and SSH Settings
Key Manager Plus offers a range of configurable settings tailored specifically for managing SSL and SSH operations. These settings enable users to customize and optimize their security workflows based on organizational requirements. The following key configurations are available within the SSL and SSH settings, and these settings allow organizations to maintain secure and efficient SSL and SSH certificate management, reducing operational risks and ensuring compliance with security best practices.
- Certificate History
- Vulnerability Scan
- SSL Fingerprint
- Certificate Renewal
- Certificate Sync Status
- ACME Providers
- Excluded Certificates
- IIS Binding
- Operator Settings
- Policy Configuration
1. Certificate History
Key Manager Plus allows you to group the certificates under a common name. To enable this,
- Navigate to Settings >> SSL >> Certificate History.
- Choose Enable or Disable the Group Certificates by CommonName option.
- Enabling the option will group the certificates under one Common Name.
- Disabling this option will create new certificates based on the unique Serial Numbers assigned to the certificates.
- To view these certificates, navigate to SSL >> Certificates and enable Certificate History from column chooser.
- Now, click the certificate history icon corresponding to the required certificate to view the certificates.
Note: On certificate renewal, the older version of the renewed certificate will be moved to Certificate History.
2. Vulnerability Scan
- Key Manager Plus provides users with the option to enable or disable the SSL vulnerability tasks created in schedules.
- There is an option to enable or disable SSLv3 protocol in Key Manager Plus server.
Note: The SSLv3 protocol should be enabled in Key Manager Plus server in order to perform the SSL vulnerability scan in target resources. By default, this setting is turned off.
3. SSL Fingerprint
By default, the SSL certificates in Key Manager Plus are configured with SHA1 fingerprint value. If you need your SSL certificates to be updated with SHA256 fingerprint value for increased security reasons, follow the below steps:
- Navigate to 'Settings >> SSL >> SSL Fingerprint'.
- Select the SHA256 fingerprint value and click Save.
- Post this change, the SSL certificates generated or imported into Key Manager Plus will have SHA256 as the fingerprint value.
- If you want to change your preexisting SSL certificates to SHA256 fingerprint value, enable the checkbox 'Change the Certificate fingerprint for all the existing certificates' before changing the fingerprint value.
4. Certificate Renewal
Key Manager Plus provides an option to automatically renew SSL certificates issued by Microsoft Certificate Authority and certificates self-signed from within the Key Manager Plus UI. When enabled, the corresponding certificates are renewed according to the recurrence time specified, and updated in Key Manager Plus certificate repository. The certificates that are due to expire in the number of days mentioned in the Days to Expire field will also be auto-renewed. Select the checkbox to Exclude auto-renewal certificates from email notifications. This allows the certificates marked for auto-renewal to be excluded from the email notifications even if they fall under the expiry notification configuration. Select the Send expiry notification for the previous version after the successful renewal option to send expiry notification emails for the previous versions of the certificates after their renewal.
Note: For successful Microsoft CA auto renewal, ensure that the domain administrator account is used as Key Manager Plus service logon account.
5. Certificates Sync Status
Key Manager Plus allows users to perform periodic and automatic checks on the synchronization status on the SSL certificates deployed to multiple servers. When enabled, Key Manager Plus gives you options to check for out-of-sync servers and delete the servers in which there is a certificate mismatch. Follow the below steps to enable certificate sync status check:
- Navigate to 'Settings >> SSL >> Certificates Sync Status'.
- Click Enable and enter a recurrence time interval in hours or minutes.
- Check only the Non-Sync servers - select this option to check and consolidate only the out-of-sync servers.
- Delete the server if Non-Sync - select this option to delete the servers that are found to have a certificate mismatch after the synchronization check.
- Enter an email address in the field 'Send Email Notification'. Once added with the configured recurrence time interval, the list of all the SSL certificates with their deployed servers will be sent, to the given email address, with the following details: days to expire, date of expiry, serial number, and fingerprint.
- Click Disable to stop the synchronization check.

6. ACME Providers
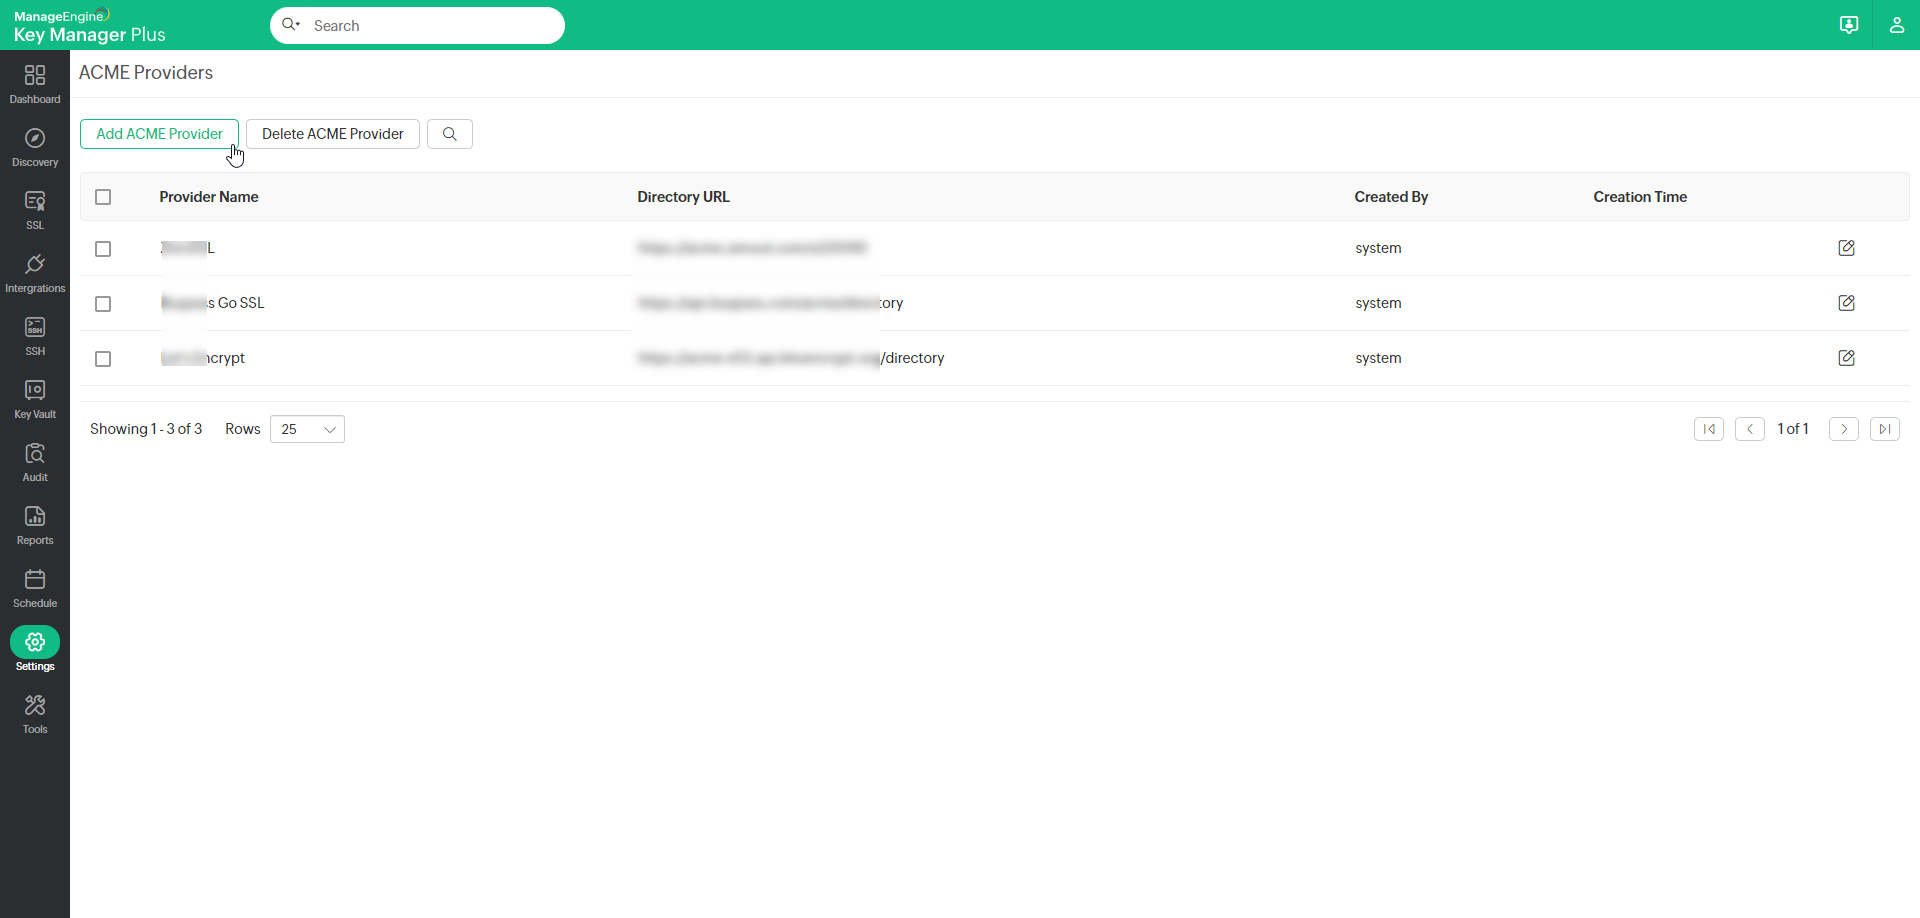
With the Automated Certificate Management Environment (ACME) of Key Manager Plus, the system's certificate management capabilities are significantly elevated. ACME streamlines the entire process of acquiring, renewing, and revoking SSL/TLS certificates. This automation of the certificate lifecycle management effectively reduces the administrative burden associated with manual certificate provisioning. Just as with its integration with renowned certificate authorities like Let's Encrypt, Buypass Go SSL, and ZeroSSL, which offer automated SSL/TLS certificate management, you have the flexibility to incorporate other ACME service providers into Key Manager Plus. This empowers you to efficiently manage certificates with automated precision. To do so,
- Navigate to Settings >> SSL Settings >> ACME Providers. On the page that opens, you will find a list of default ACME providers.
- On the page that opens, click Add ACME Provider.
- In the dialogue box that opens,
- Enter the ACME Provider Name.
- Enter a valid ACME Directory URL.
Note: If the directory URL is modified by the ACME provider, updating the modified URL here will retrieve all the URLs relevant to the ACME operations.
- Upload a logo as desired with the specified limit.
- Enable the Allow Internal Network/LAN Access if you are in the same provider URL network/LAN.
- Click Save to add the ACME provider to Key Manager Plus.
- Now, select the added ACME provider.
- In the window that opens, follow the configuration process, such as account addition, challenge verification, and managing certificates similar to other third-party certificate authorities from here.
Note: Automatic renewals are applicable only for those certificates saved in the Key Manager Plus repository. If agent mapping has been configured, the certificate renewal process is done automatically without manual intervention. All the certificates in your organization procured from the ACME providers will be automatically renewed 15 days before their expiry, and a notification will be sent to the accounts holder's e-mail address.
7. Excluded Certificates
Key Manager Plus allows users to exclude specific SSL certificates from being imported into the certificate repository during discovery or manual addition.
To list a certificate that needs to be excluded:
- Navigate to Settings >> SSL >> Excluded Certificates.
- Click Add to add a certificate to the excluded list.
- Specify the Common Name, Certificate Serial Number, Reason, and click Save.
- The specified certificate is excluded from being imported into Key Manager Plus certificate repository during discovery / manual addition.
8. IIS Binding
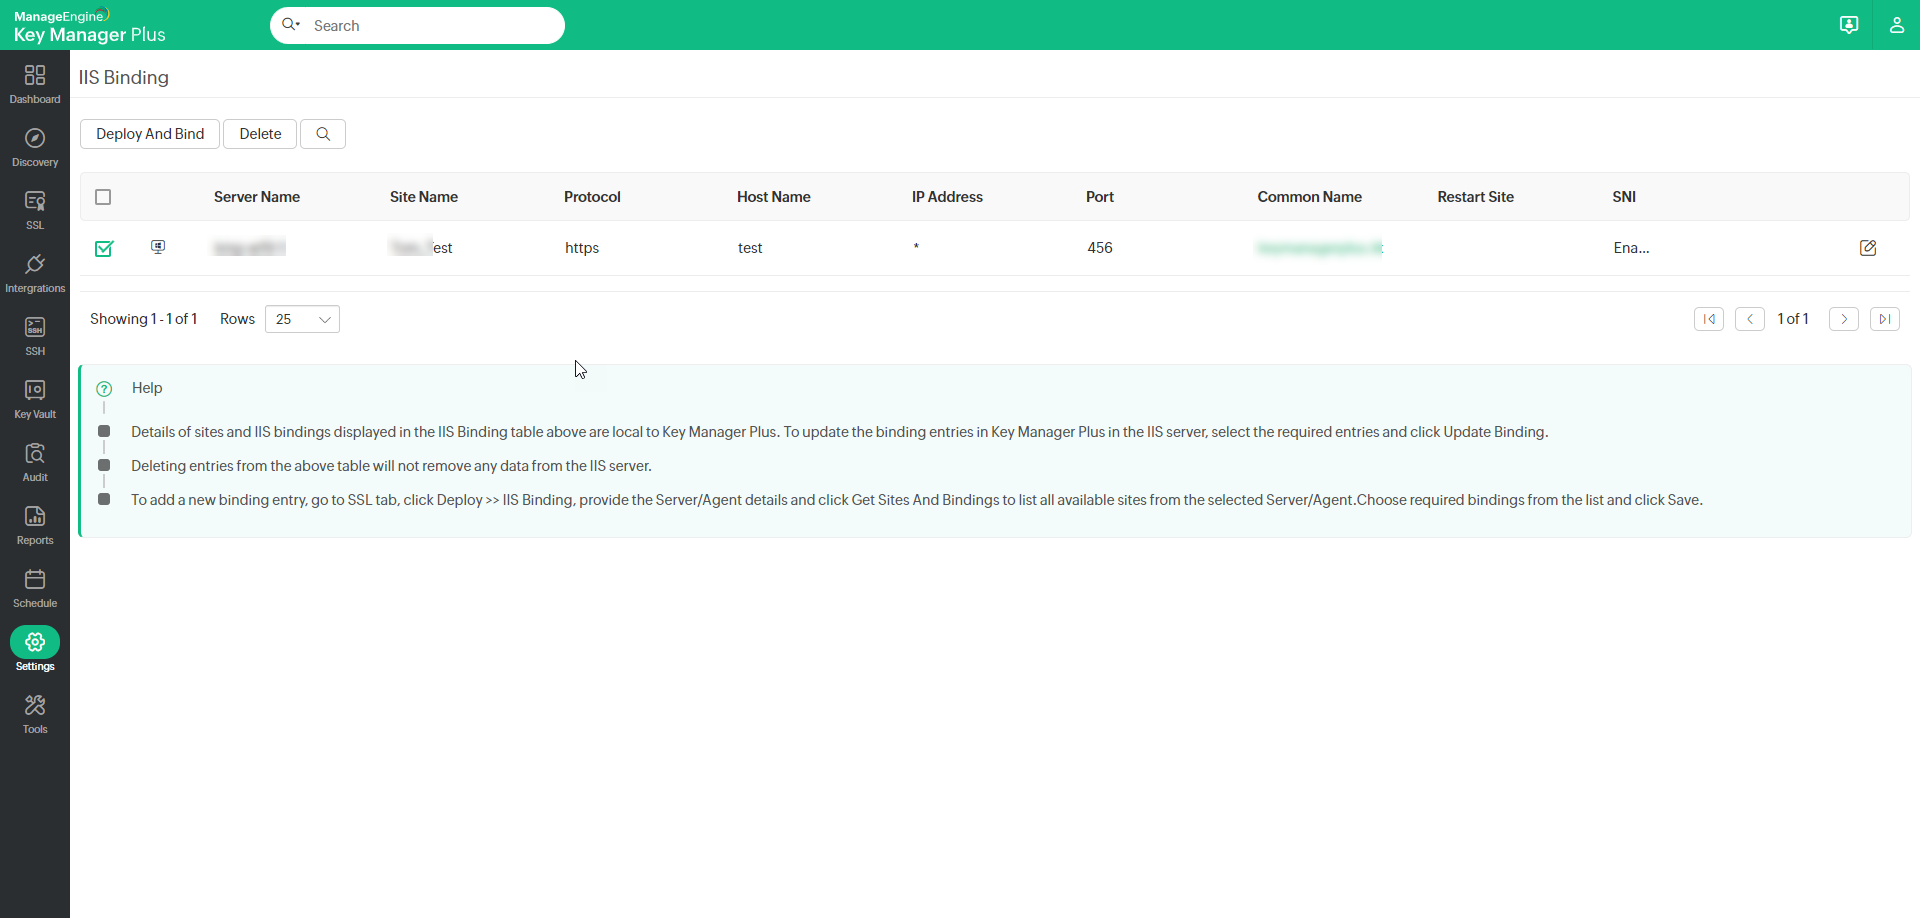
Key Manager Plus allows users to deploy SSL certificates to the IIS server and also perform IIS binding. Click here for detailed steps on IIS binding. Once the server details are saved in the SSL tab, they will also be available in the Settings page. To deploy and bind certificates in bulk, follow the below steps:
- Navigate to Settings >> SSL >> IIS Binding.
- The details of servers to which you have deployed certificates will be listed here. Click the Edit icon beside a server and edit attributes such as Path, Site Name, Host Name, Port and Certificate. You cannot edit the Server Name. Select the Restartsite checkbox to restart the site automatically and click Save.
- Select multiple servers by clicking the checkboxes beside them and click Deploy And Bind from the top bar.
Now, the SSL certificates will be deployed to the associated server and IIS binding to the specified site will be complete.
9. Operator Settings
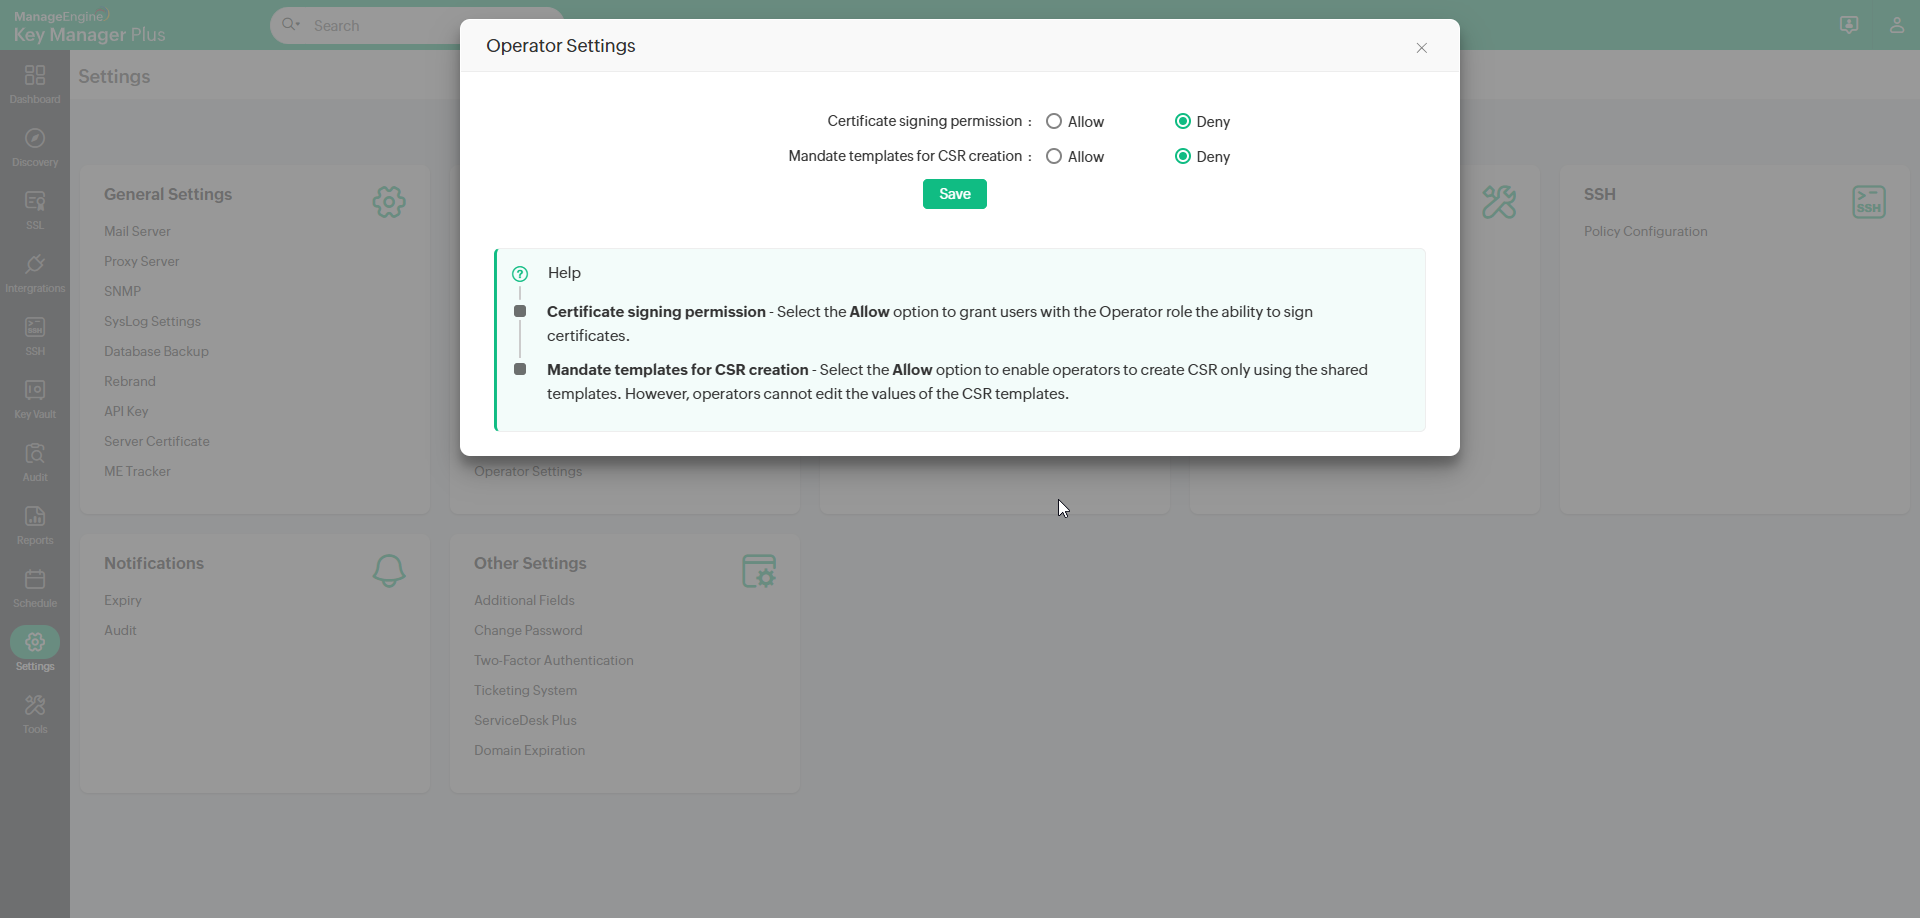
Key Manager Plus grants administrators the permission to Allow or Deny access to the operators for signing CSRs' created by them and/or mandate templates for CSR creation.
- Navigate to Settings >> SSL >> Operator Settings.
- In the Operator Settings pop-up that appears,
- Select the Certificate signing permission option to Allow to enable users with the Operator role to sign the CSRs' created by them.
- Allow the Mandate templates for CSR creation setting to provide operators the permission to create CSR only using templates shared by the administrators. However, with this option enabled, operators cannot edit the values of the shared CSR templates.
Note: By default, the Mandate templates for CSR creation option in Operator Settings is set to Deny, allowing operators to create CSRs independently or using the available templates with the editable fields as needed.
10. Policy Configuration
Key Manager Plus allows you to create a high level policy on SSH keys management. You can specify whether to retain or overwrite the existing keys. That means, when Key Manager Plus creates new keys if they are to be appended to the existing ones or they should be deleted. The second option helps you to remove all existing keys and have a fresh start. Your SSH environment will have only the keys that were generated by the Key Manager Plus. Key Manager Plus carries out these changes in the authorized_keys file directly.
From the Policy configuration tab in the GUI, you can set the option for adding keys to the authorized_keys file. You can choose from:
- Append — Allows you to retain existing keys as well the new ones deployed by Key Manager Plus.
- Overwrite — Removes all existing public key information from the authorized keys file and retains the public keys deployed from Key Manager Plus only. This is what we call as clean start.
To change the policy configuration:
- Navigate to the Settings >> SSH >> Policy Configuration tab in the GUI.
- Select to either Append or Overwrite the keys.
- Click Save.
You will get a confirmation that the policy configuration settings have been updated.