Custom User Roles
The level of access for users across different modules and add-ons in OpManager can be customized individually through Custom User Roles.
The different levels of access that can be provided in OpManager for users through custom roles include: Read/Write, Read and No Access.
Note: Custom Roles can be created from OpManager version 12.5.399
How to create custom user roles?
To create custom user roles,
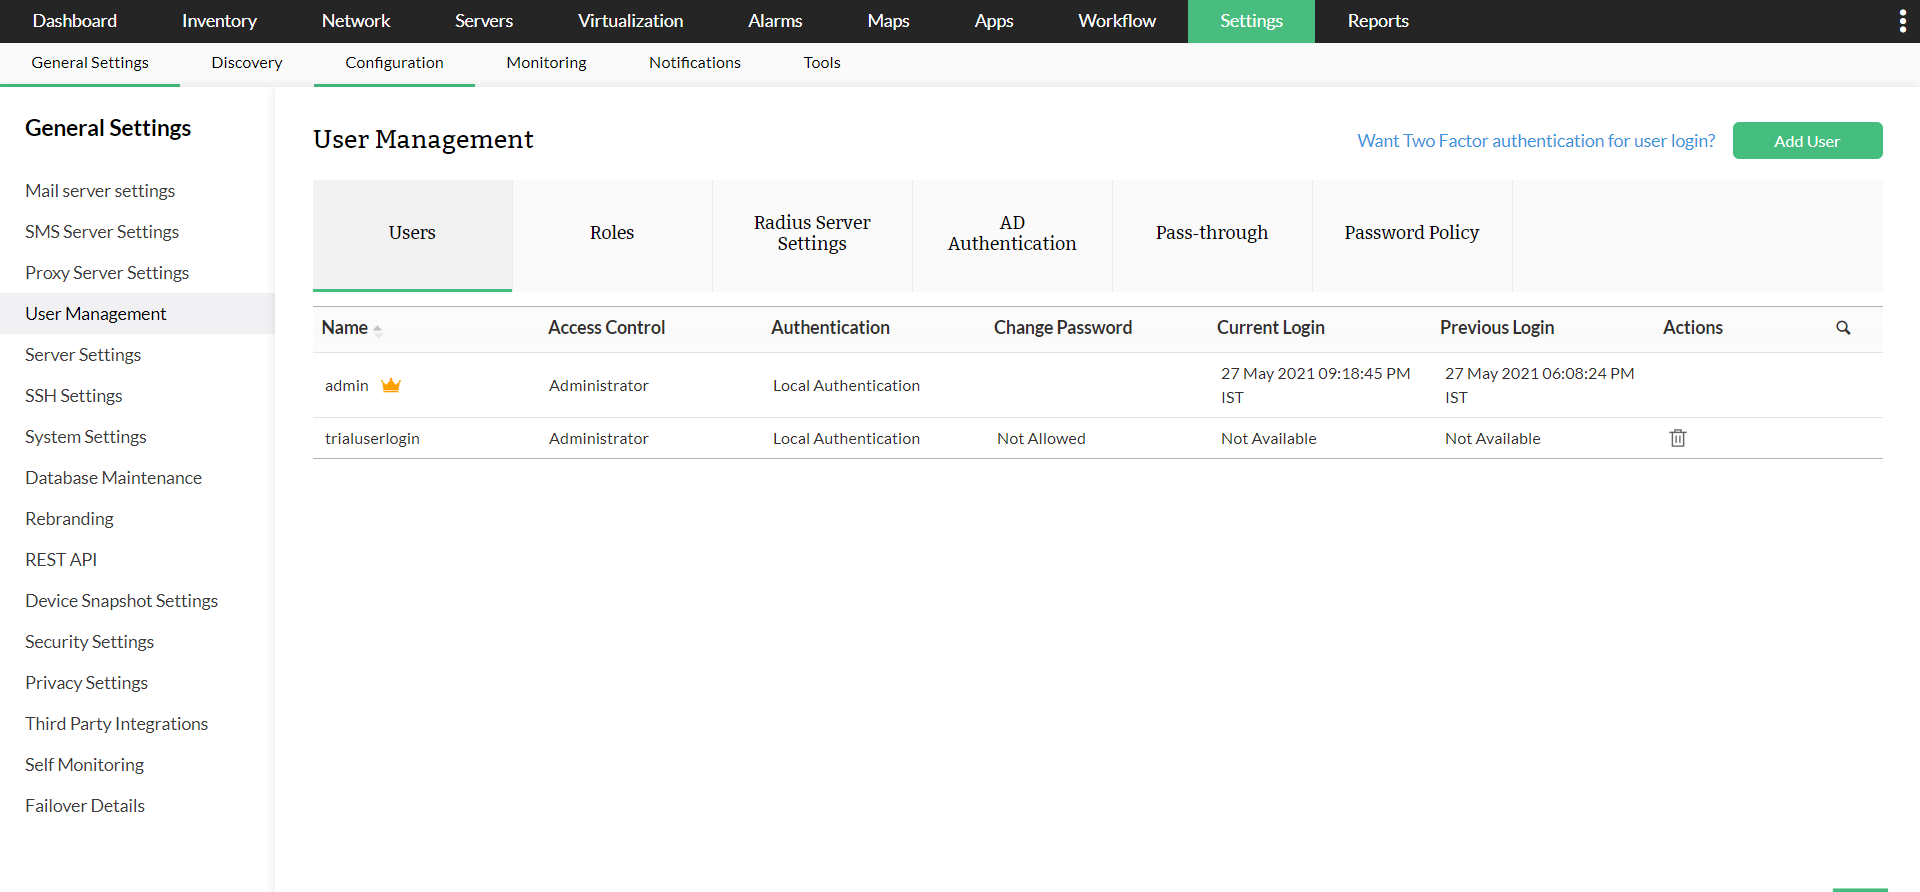
- Go to Settings -> General Settings -> User Management -> Roles and click on the 'Add Role' button.
Note: Users associated to a specific role be viewed by clicking the 'User' icon under 'Actions'.
- Enter the desired 'Name' and 'Description' for the role.
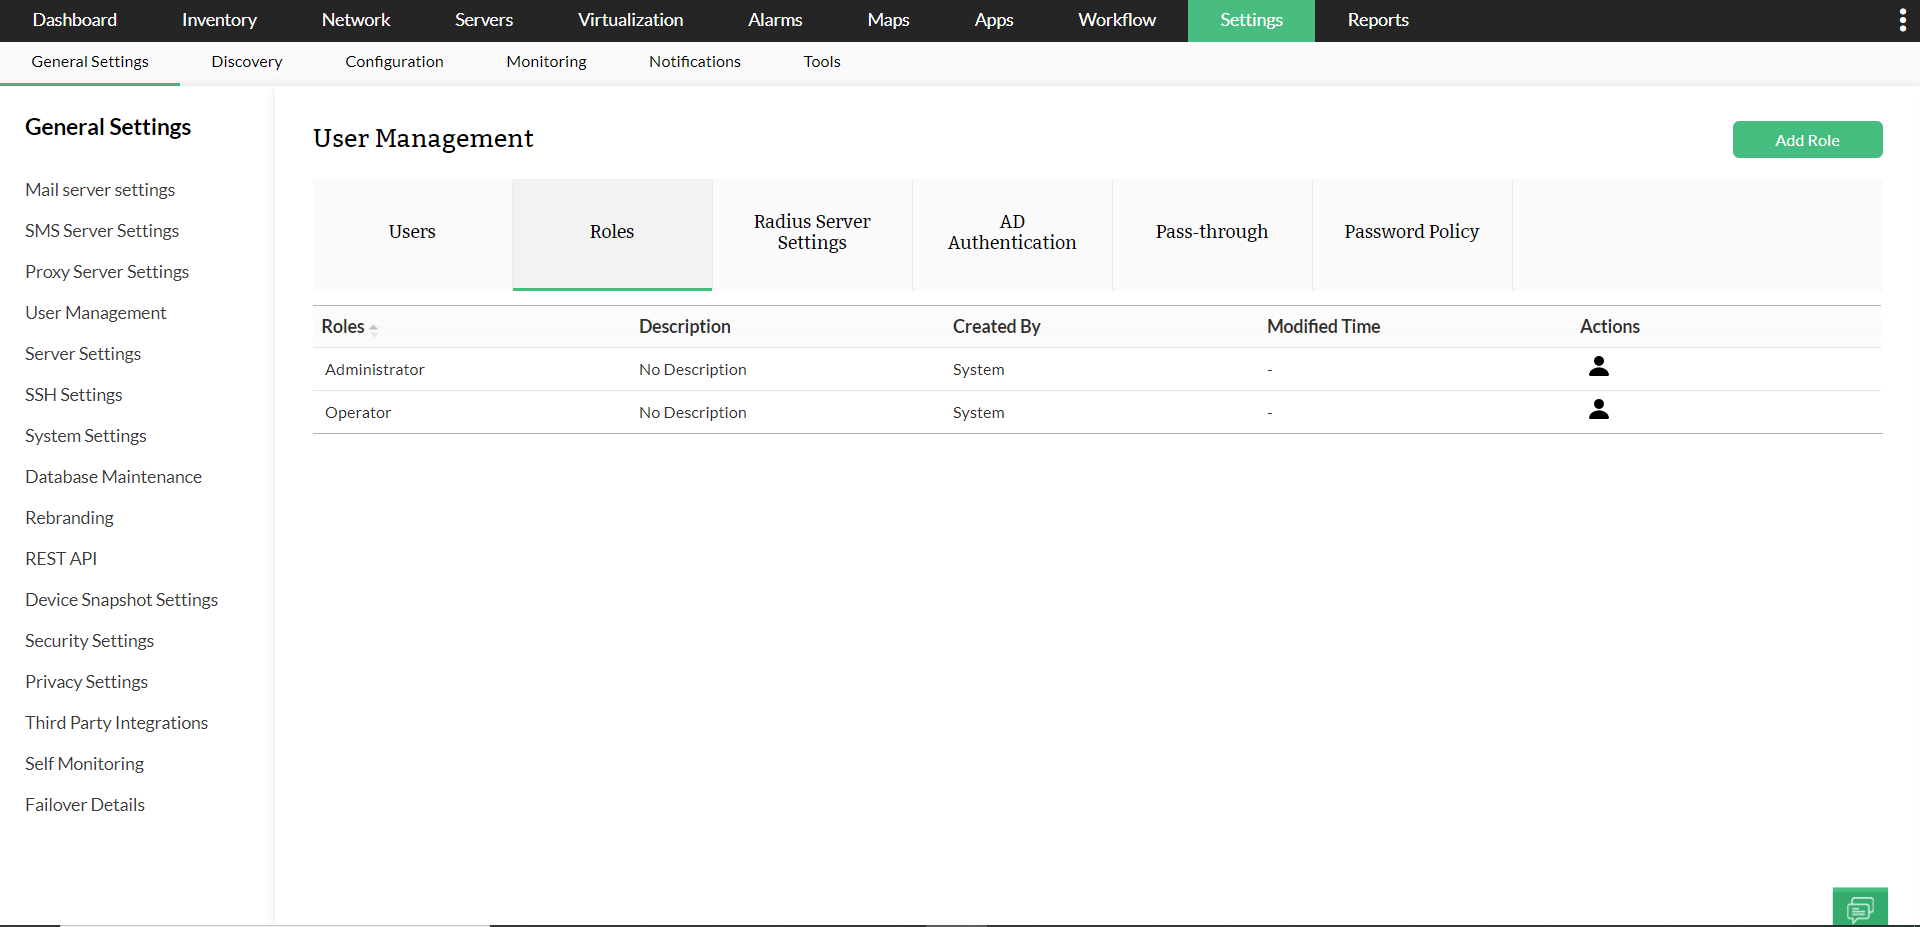
- Choose the level of access for different features individually in each module.
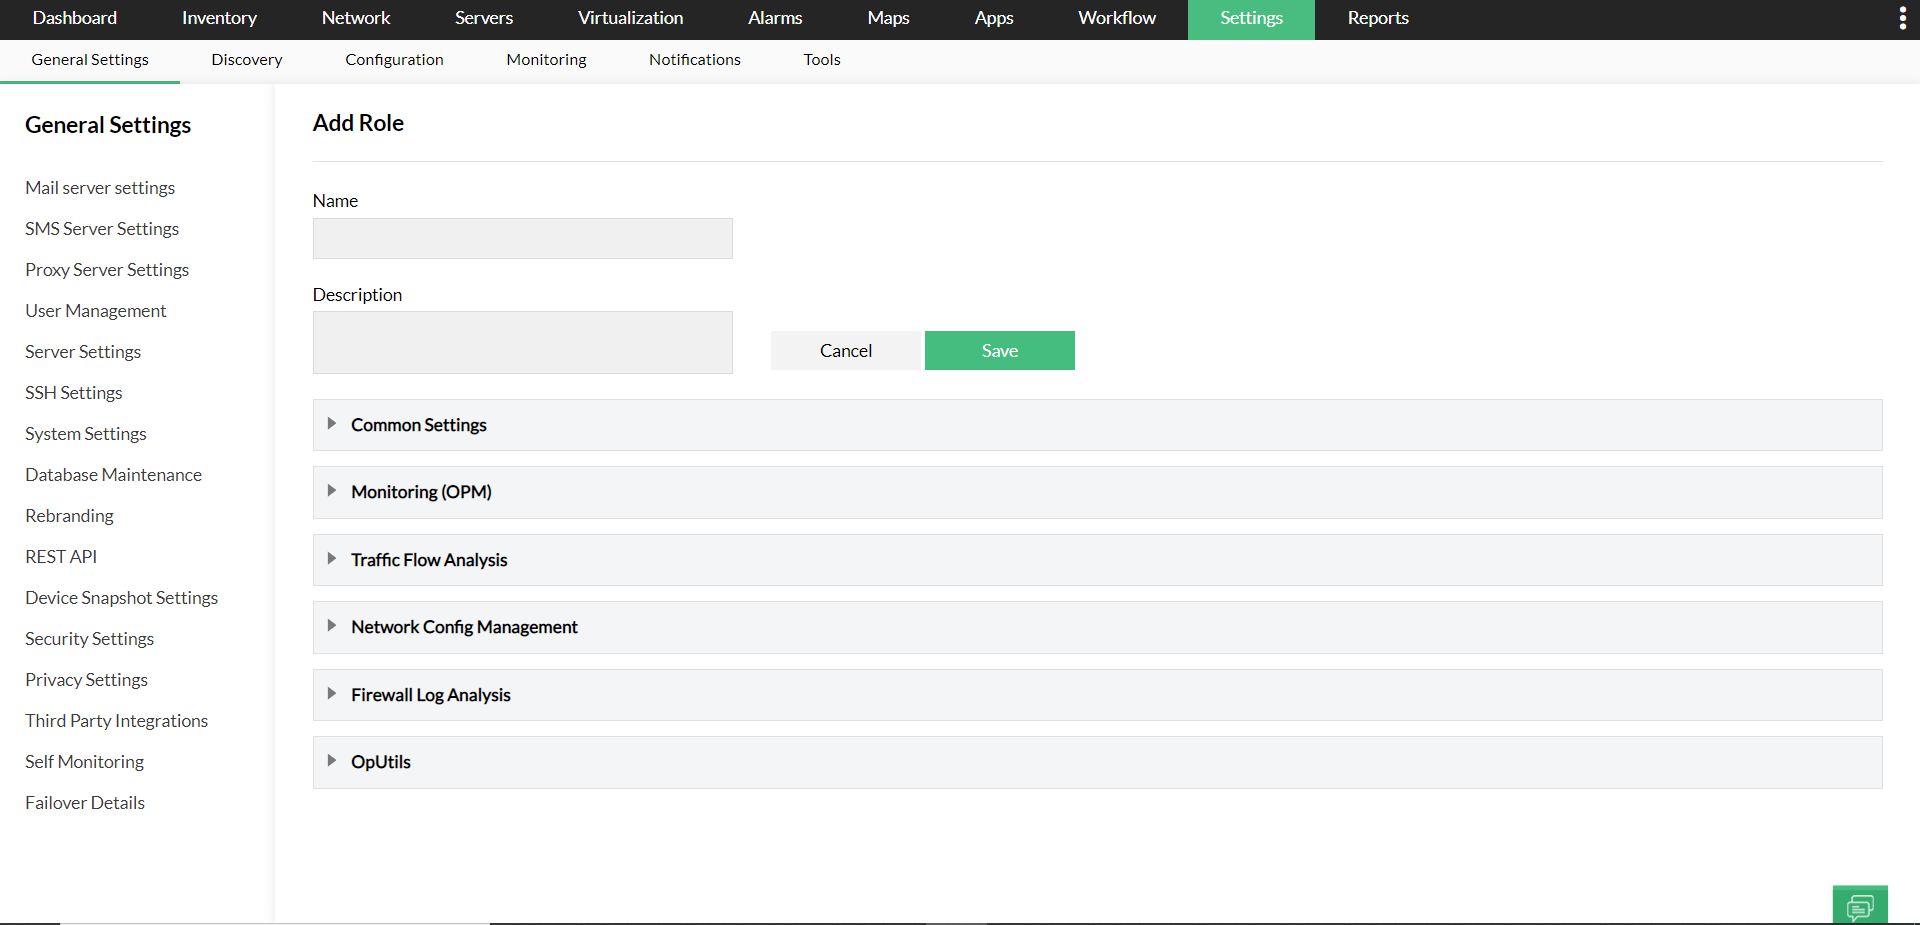
- Click 'Save'.
Associate User Role to a new User:
- Go to Settings -> General Settings -> User Management -> 'Add User'.

- Select the desired User Role under 'Role' and enter the desired 'User Type'.
- Enter the required credentials and details.
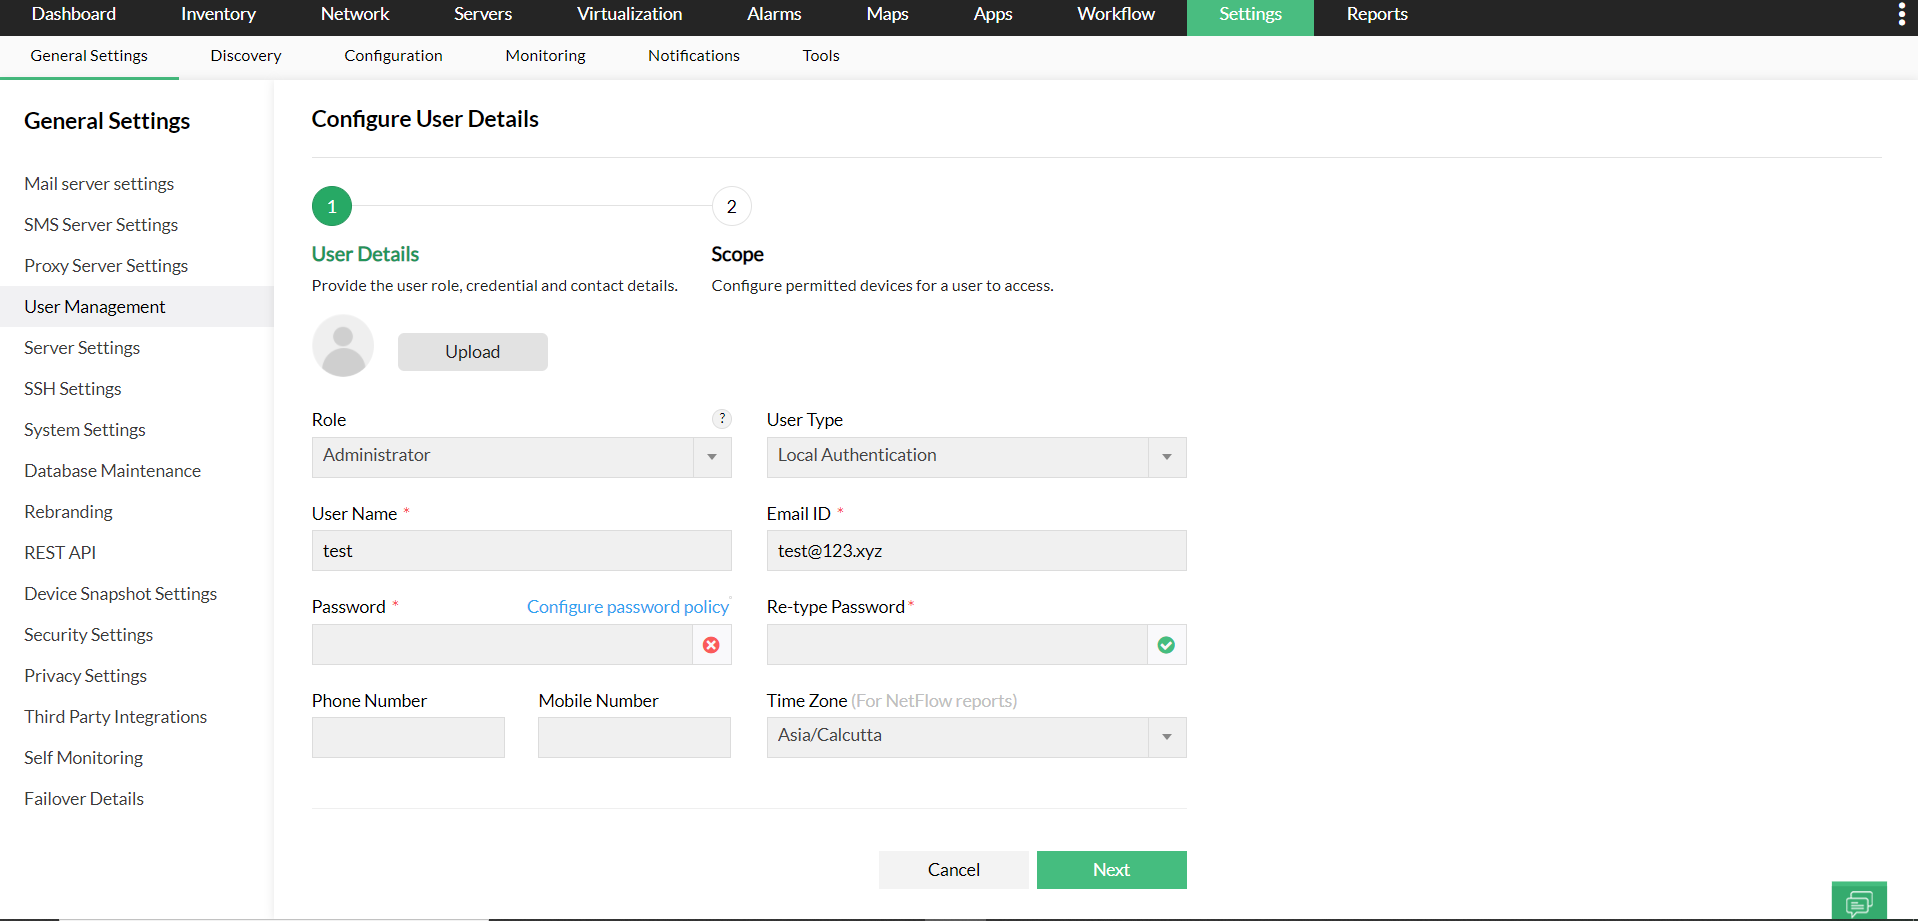
- Click 'Next'.
- In the 'Scope' tab, select the devices and modules available to the user.
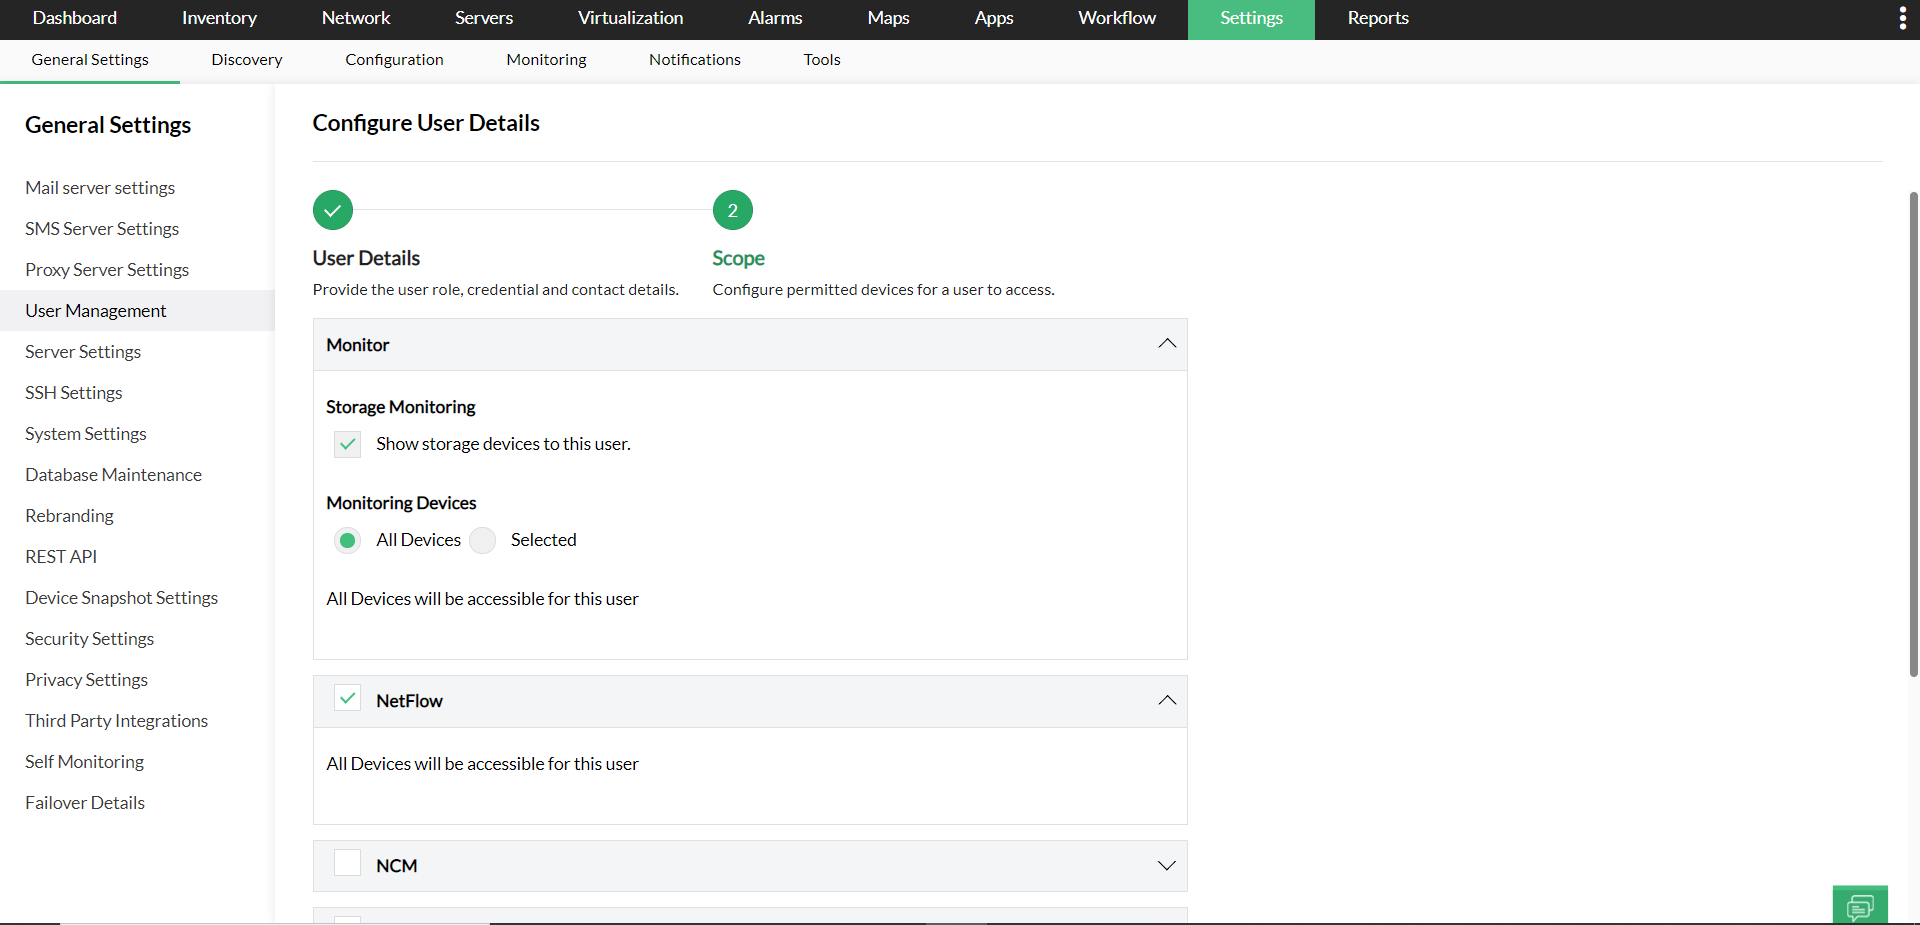
- Click 'Save'.
Note:
- If a role is associated to any user or configured under auto-login in AD domain, deletion of the role will not be possible.
- If the scope of the user is restricted, they might be restricted from performing a few actions even if the role allows it. This is to ensure that a user with limited scope does not perform any operation that may require additional privileges.
- To associate a different user role to an existing user, go to Settings -> General Settings -> User Management, click on the Username of the user you want to edit and follow the above steps.
- A user role can be edited after users have been associated to it but cannot be deleted.


