Help
The Windows download for NetFlow Analyzer is available as an EXE file at https://www.manageengine.com/products/netflow/download.html#ent Download the EXE file for the Central Server to your local machine, and double-click it to start installation.Follow the instructions as they appear on screen to successfully install NetFlow Analyzer on to your machine.
There are two options for server-type:
This is an optional form. Click ‘Next’ to continue.
The Linux download for NetFlow Analyzer is available as a BIN file at https://www.manageengine.com/products/netflow/download.html#ent
 |
During installation if you get an error message stating that the temp folder does not have enough space, try executing this command with the -is:tempdir <directoryname> option, where <directoryname> is the absolute path of an existing directory. sudo ./<file_name>.bin -is:tempdir <directory_name> |
There are two options for server-type:
The Linux download for NetFlow Analyzer is available as a BIN file at https://www.manageengine.com/products/netflow/download.html#ent
|
During installation if you get an error message stating that the temp folder does not have enough space, try executing this command with the -is:tempdir <directoryname> option, where <directoryname> is the absolute path of an existing directory. sudo ./<file_name>.bin -is:tempdir <directory_name> |
Note: While Installing the probe please give the proper entries in the communication panel and in the proxy server settings so that the probe can communicate with the central server properly.
Once you have successfully installed NetFlow Analyzer, start the NetFlow Analyzer server for central and probe.
Step 1: Execute ManageEngine_NFA_DE_64.bin with administrator privileges (sudo) and -i console option.

Step 2: Go through the license agreement and enter 'Y' to proceed. You can register for technical support by providing the required details. (Name, E-mail ID, Phone, Company Name)
Step 3: Select the location.
Step 4: Choose the installation directory
Step 5: Configure the Webserver and HTTP Ports

Step 6: Verify the installation details and press 'Enter' to complete the installation.
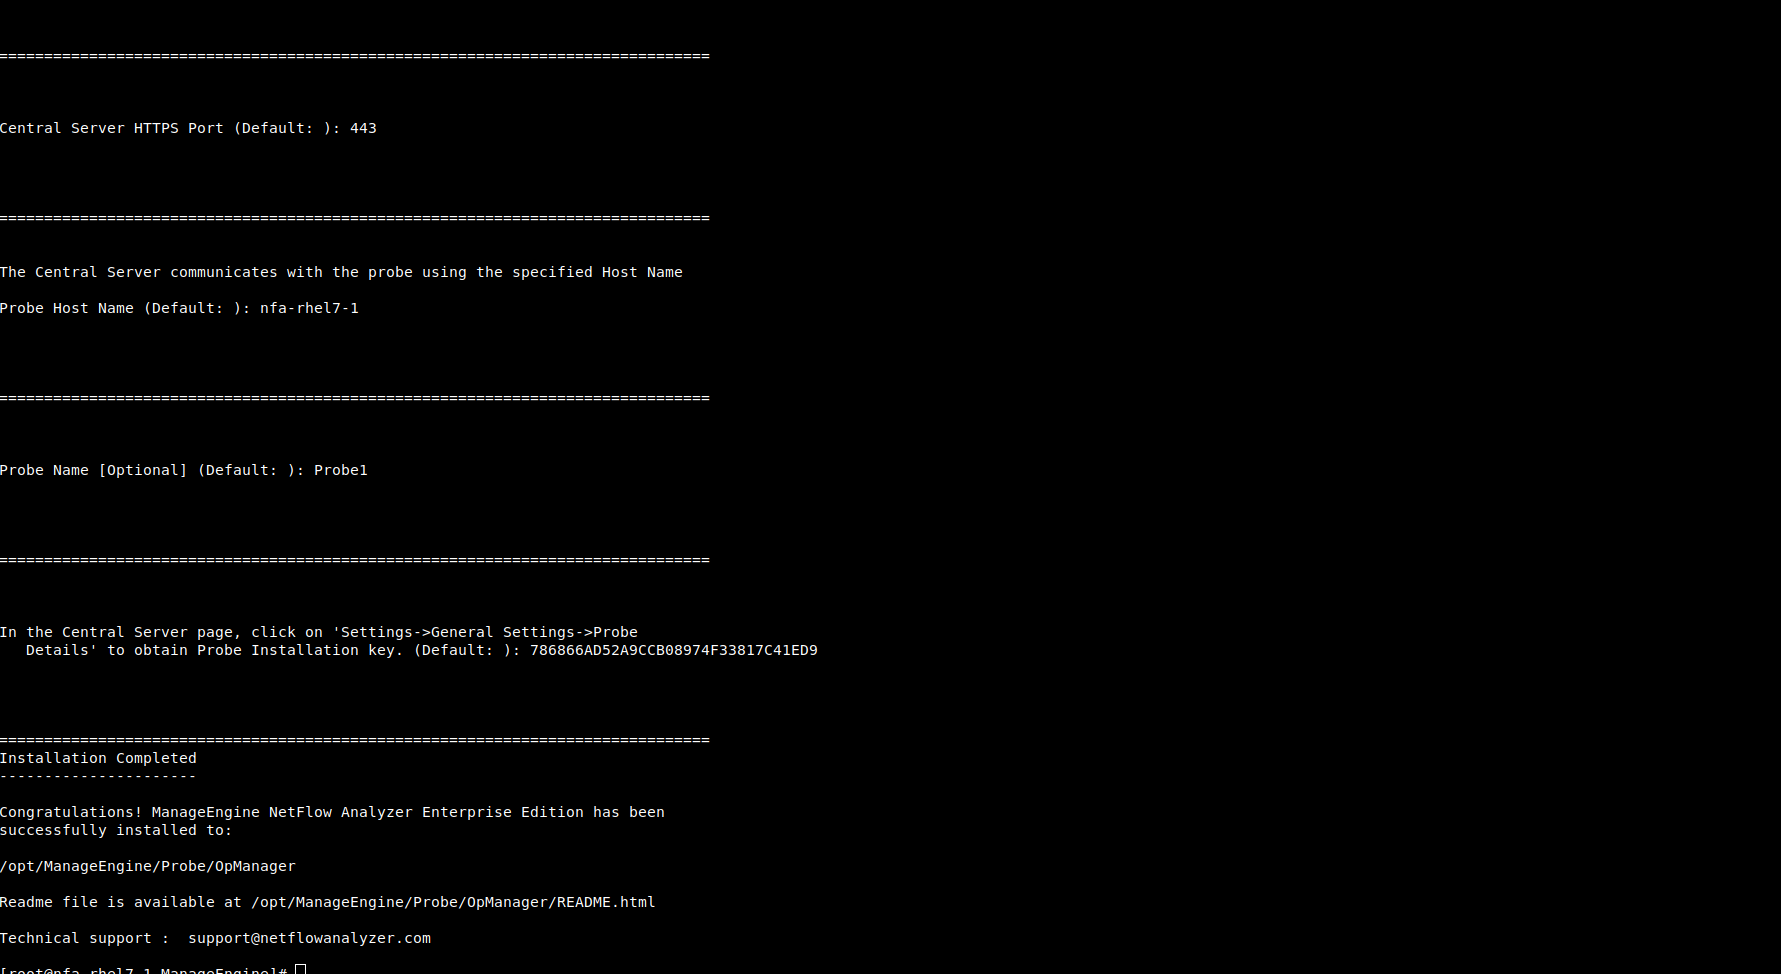
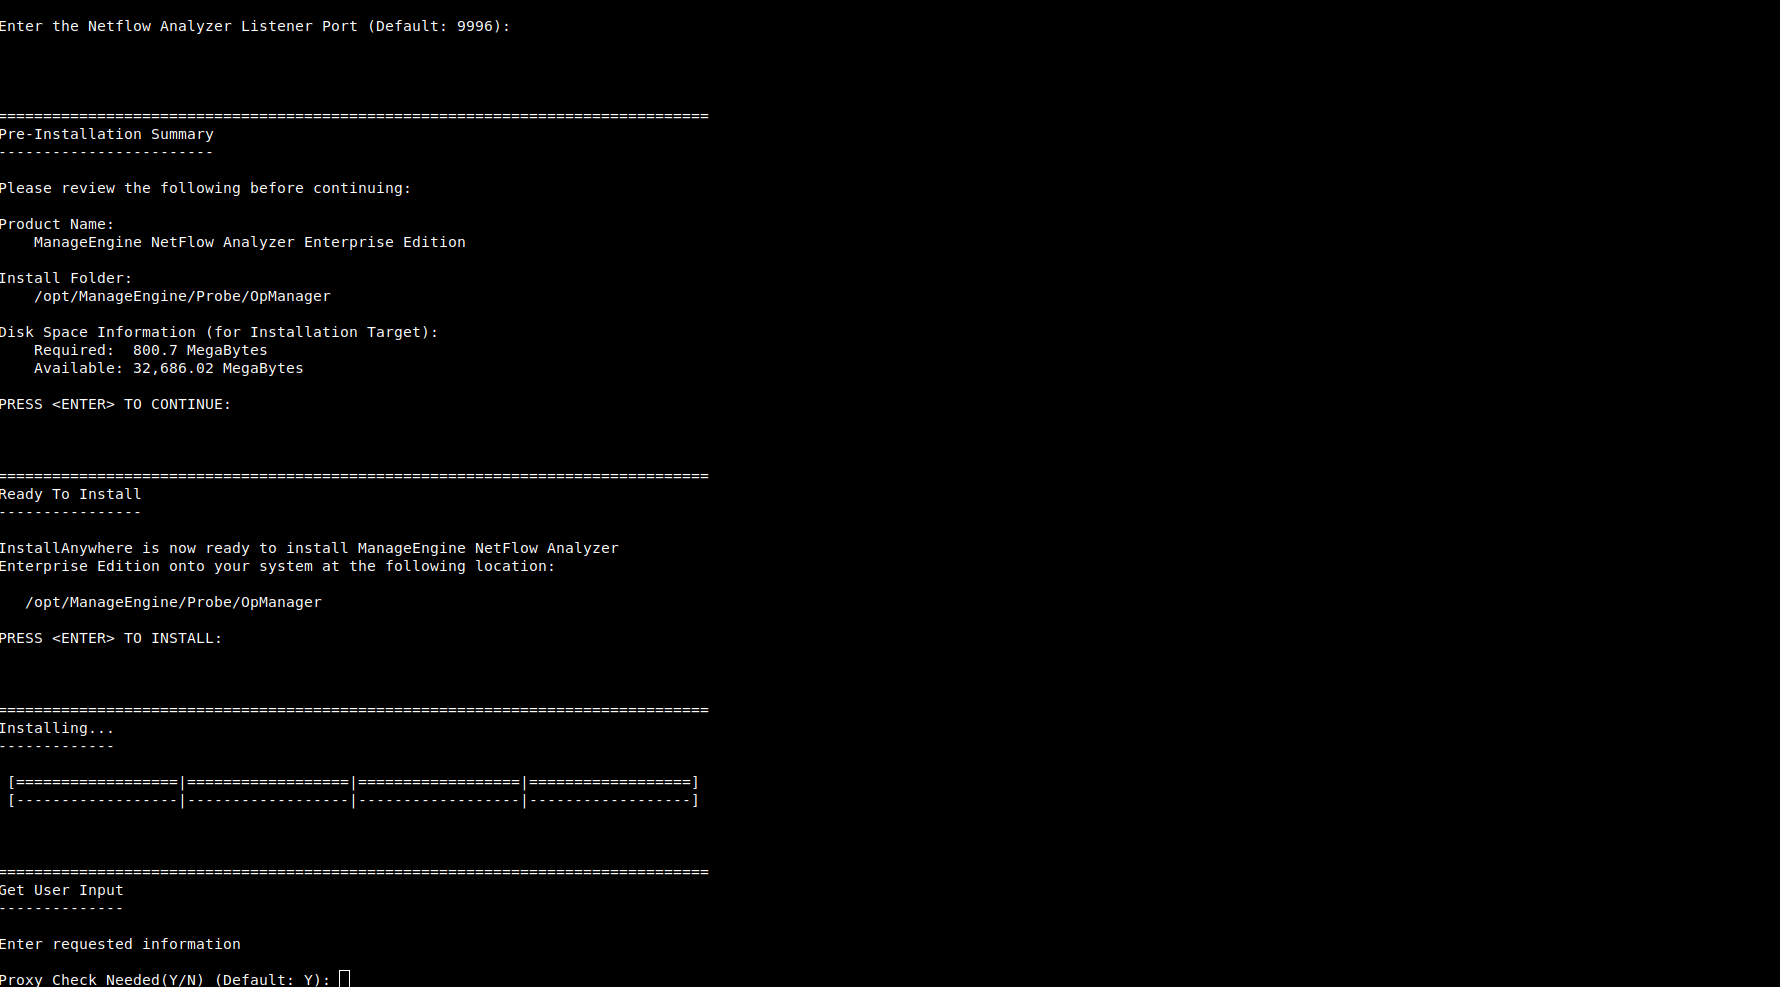
Step 1: Execute ManageEngine_NetFlowAnalyzer_Probe_64bit.bin with security privileges (sudo) and -i console option.
Step 2: Go through the license agreement and enter 'Y' to proceed. You can register for technical support by providing the required details. (Name, E-mail ID, Phone, Company Name)

Step 3: Select the location.

Step 4: Choose the installation directory, and configure the Webserver and Listener Ports.


Step 5: Verify the installation details, the installation status and press 'Enter' to complete the installation.
Click on Start > Programs > ManageEngine NetFlow Analyzer Central Reporting Server > Central Server.
Navigate to the
When the server is started, a command prompt window opens up showing startup information on several modules of NetFlow Analyzer. Once all the modules have been successfully created, the following message is displayed:
Server started.

Please connect your client at https://localhost:8060
where 8060 is replaced by the port you have specified as the web server port during installation.
Click on Start > Programs > ManageEngine NetFlow Analyzer Probe > Probe Server.
Navigate to the
When the server is started, a command prompt window opens up showing startup information on several modules of NetFlow Analyzer. Once all the modules have been successfully created, the following message is displayed:
Server started.

Please connect your client at http://localhost:8060
where 8060 is replaced by the port you have specified as the web server port during installation.
If you have chosen the Start as Service option during installation, NetFlow Analyzer will run as a service on Windows.
This starts NetFlow Analyzer as a service on Linux.
Thank you for your feedback!