Create list report from live application
You can create a list report from the live mode of the application shared with you using shared analytics. To enable this feature, the admin needs to provide Create Report permission.
To create a new report from live application:
- Click the Create Report option in the live application.
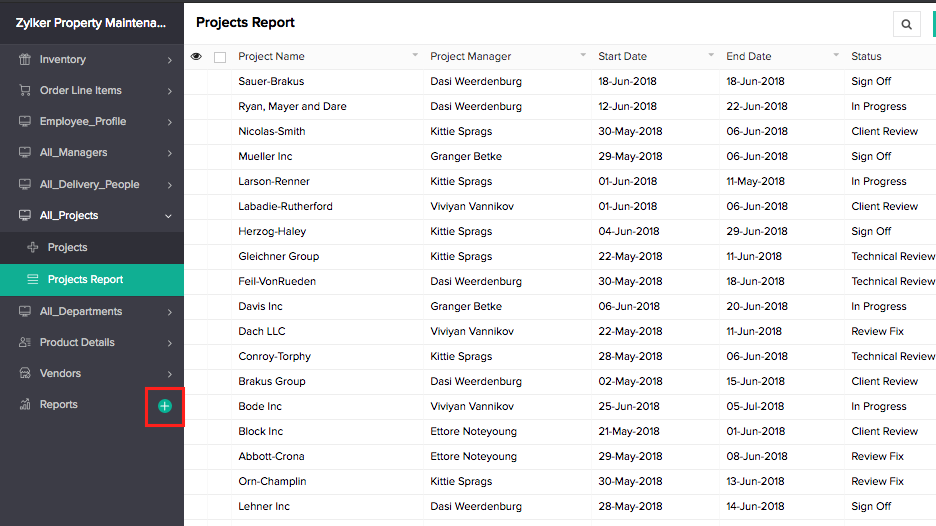
- Select List report.
- Select the Form for which you need to create the report.
- Enter Name of the report.
- Select the profile of users to which the report needs to be shared.
- Click the Create and Customize button.
- Customize the report.
- Click Done. The report will be created.
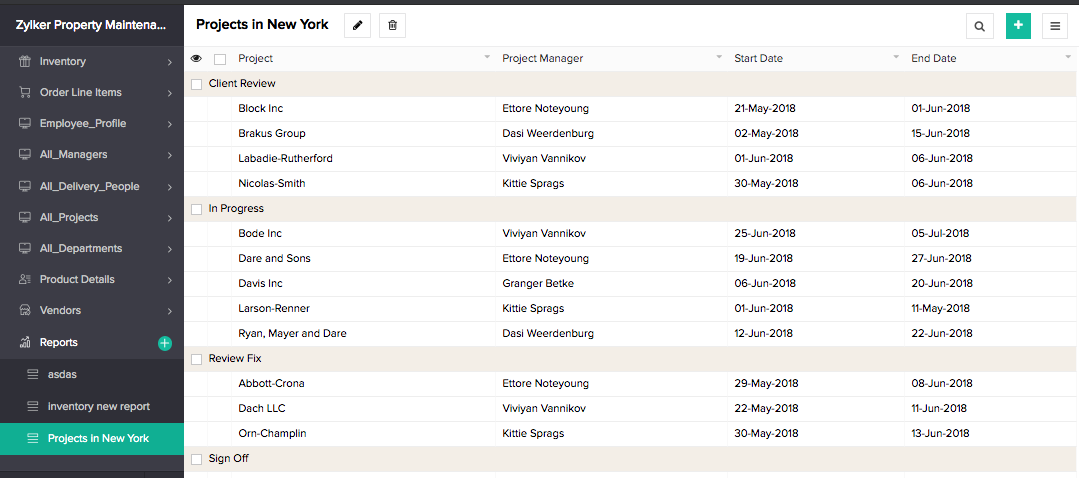
Report Customization
You can customize the report according to your requirements. You can define layout properties, set field properties, add filters, create grouping of records, and sort records.
Set layout
To define layout properties:
- Select the Layout section in the Report Customization window.
- Add fields that need to be displayed or delete fields that are not required.
- Select individual fields to define their properties.
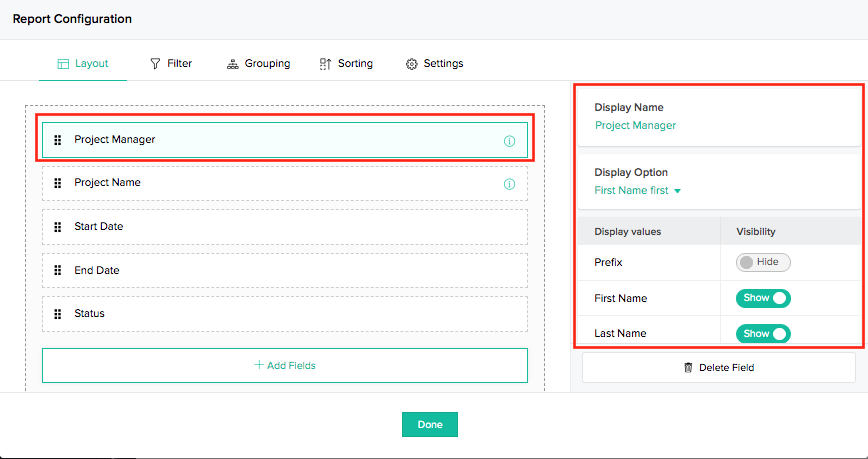
- Click Done to navigate to the report.
The report will reflect the layout properties.
Set filter criteria
To add filters:
- Select the Filter section in the Report Customization window.
- Click the Add Filter button.
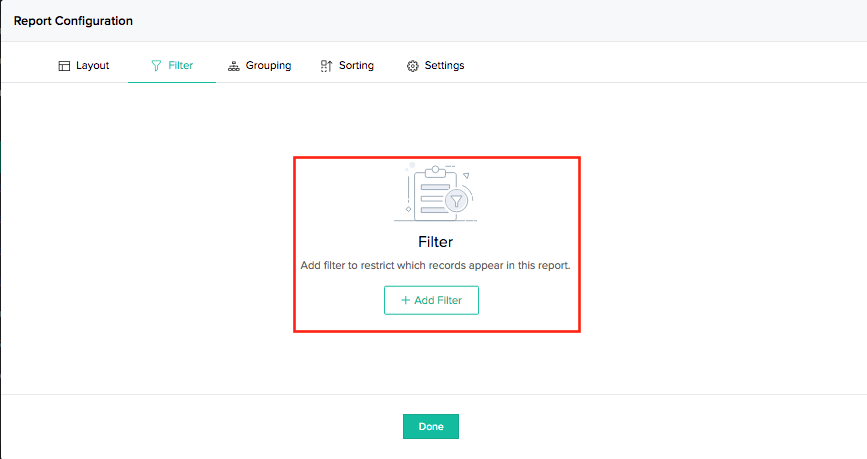
- Specify criteria for filter.
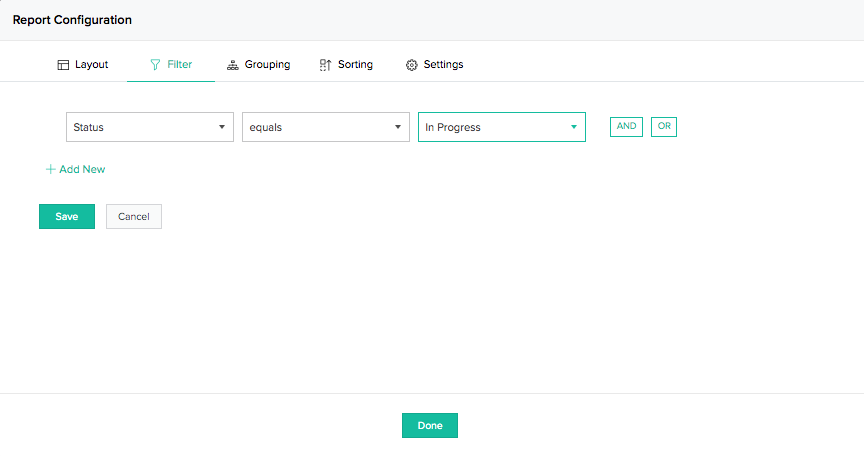
- Click Save button to save the filter.
- Click Done to navigate to the report.
The report will display records that match the specified filter criteria.
Group records
To create grouping:
- Select the Grouping section in the Report Customization window.
- Select the field for grouping.
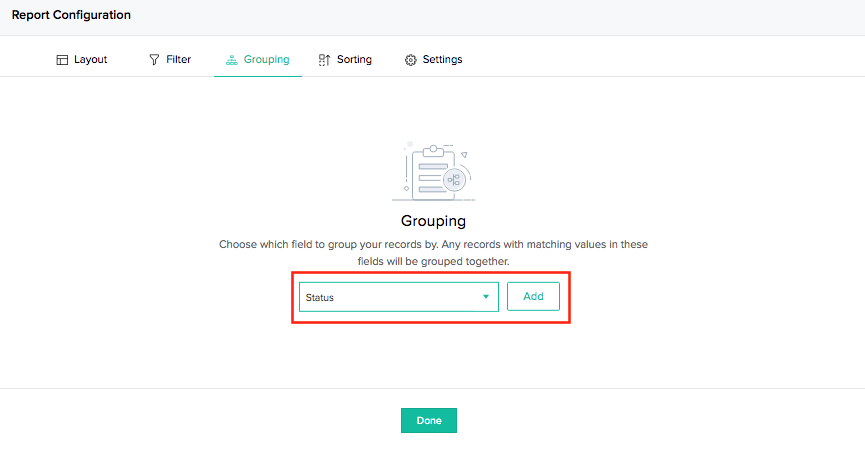
- Click the Add button.
- Specify sorting order for the groups.
- Click Done to navigate to the report.
The report will display records as groups under the values of the selected field.
Set sorting order
To set sorting order:
- Select the Sort section in the Report Customization window.
- Click the Add button.
- Select the field for sorting.
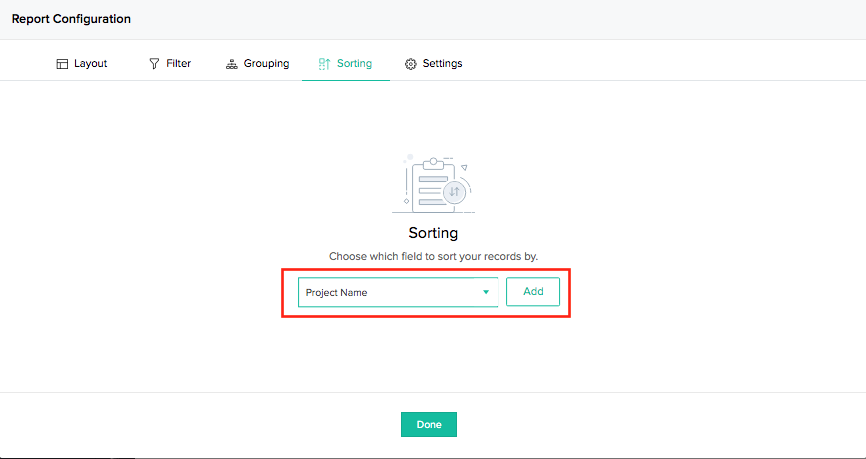
- Specify sorting order.
- Click Done to navigate to the report.
The report will display the records sorted based on the values of the selected field.
Manage settings
To set manage report settings:
- Change the name of the report
- Modify the user profiles that will be able to access the report.
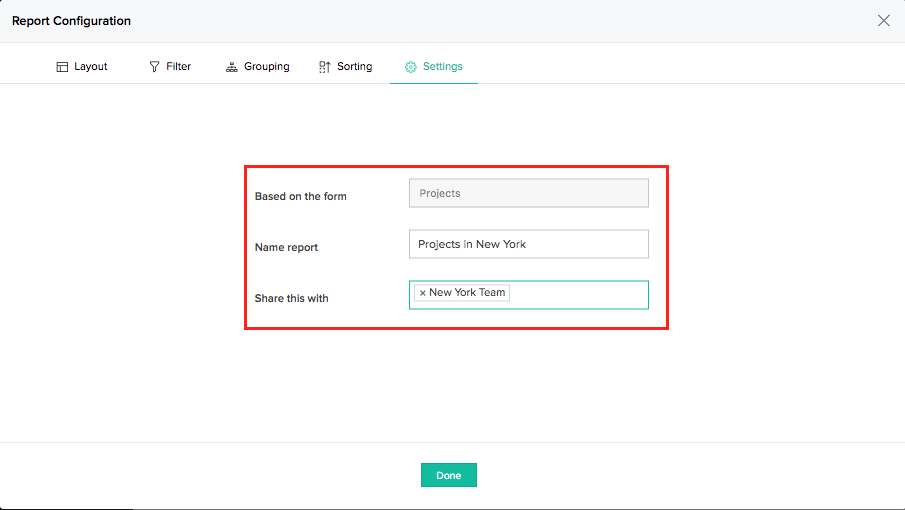
Manage report
To edit the report:
- Navigate to the required report.
- Click on the edit icon alongside the report name. The Report Customization window will be displayed.
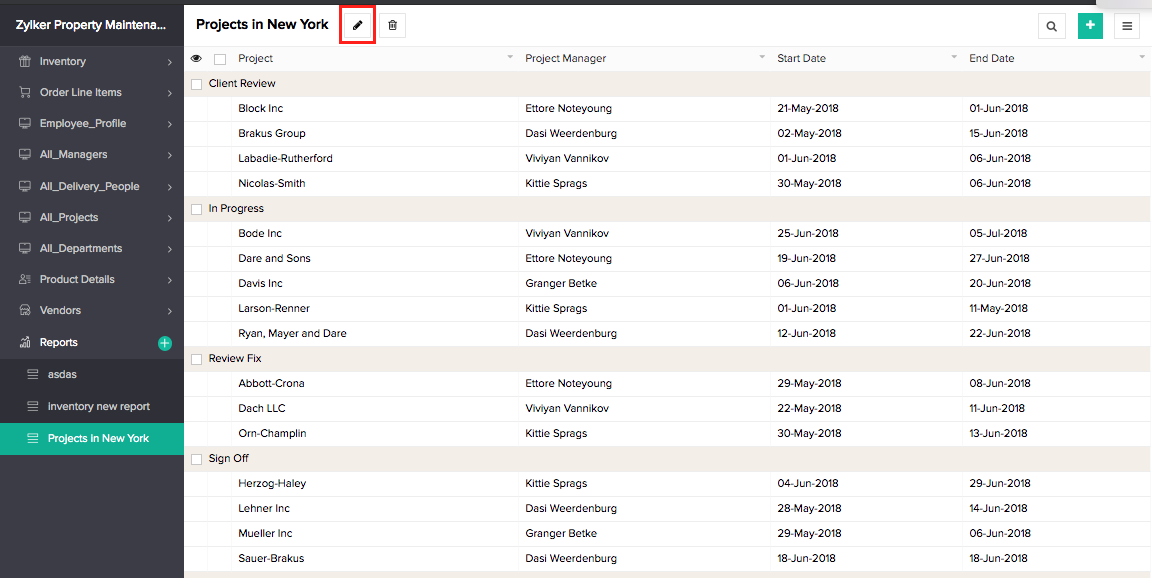
- Modify the properties.
- Click Done to access the report and view the changes.
Delete report
To delete the report:
- Navigate to the required report.
- Click on the delete icon alongside the report name.
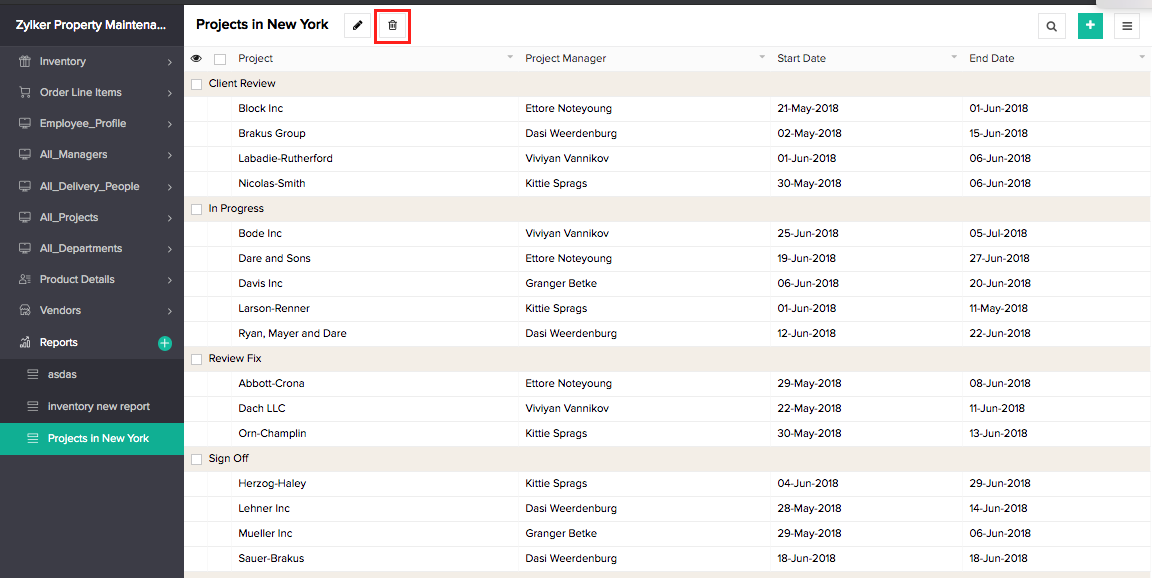
The report will be deleted.