Folders for Accounts Management
PAM360 enables users to organize their accounts into custom folders based on specific requirements, simplifying management and improving accessibility. Instead of selecting individual accounts one by one, users can perform bulk operations on multiple accounts within a folder, depending on their privilege levels. Folders are accessible via both the Resources and Connections tabs. However, folder creation and modification are restricted to the Resources tab. Any changes made in this tab will be automatically reflected in the Connections tab.
Users can create folders based on resource type or geographic location to streamline account access and operations.
- For instance, a user managing resources distributed across Asia, Europe, and Africa can create location-specific folders and add relevant accounts to each for easy access.
- Likewise, a user handling various types of resources can create folders such as Operating Systems, Database Servers, and Network Devices, and organize accounts accordingly.
Additional Detail
The decision to retain accounts within a folder is entirely user-defined and the same account can be added to multiple folders as needed.
Additional Detail
Managing accounts via folders can be enabled or disabled as required directly from Admin >> Customization >> General Settings >> Miscellaneous. Tick the checkbox Disable Folders to disable folders function for all users in PAM360.
At the end of this document you will have learned about:
1. Creating a New Folder
You can create number of folders as required for managing accounts. Follow these steps to create a new folder:
- Navigate to the Resources tab and click the + icon next to the Folders section in the left pane.
- Enter a name for the new folder and press enter to create a new folder.
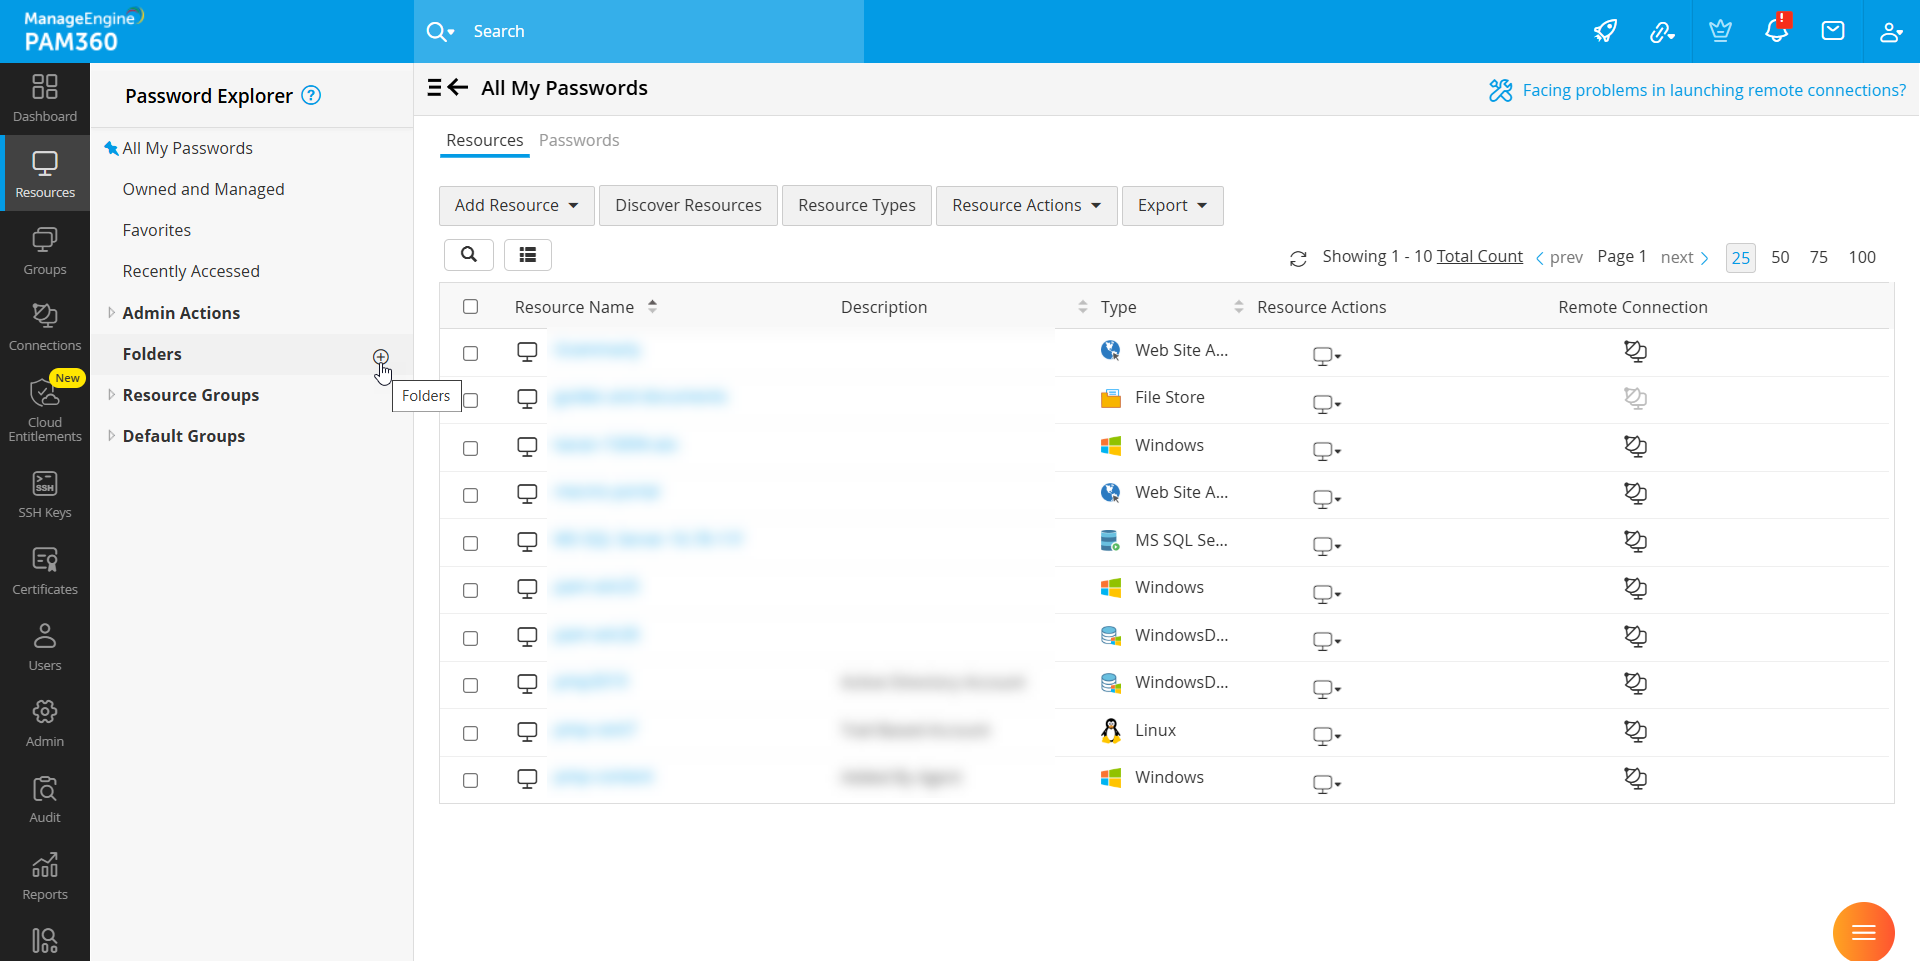
Click the Edit icon next to the folder name in the left pane to rename the folder. Enter the new folder name and press enter.
2. Adding Accounts to Folders
You can add accounts to folders from the following locations:
- Navigate to Resources >> All My Passwords and select the Password tab from the top pane.
- Navigate to Resources >> All My Passwords, then select the Resources tab from the top pane. Choose a resource to open the Account Details window.
- From another existing folder, open the source folder containing the accounts and add to another folder.
- Through Global Search.
To add accounts individually, follow these steps:
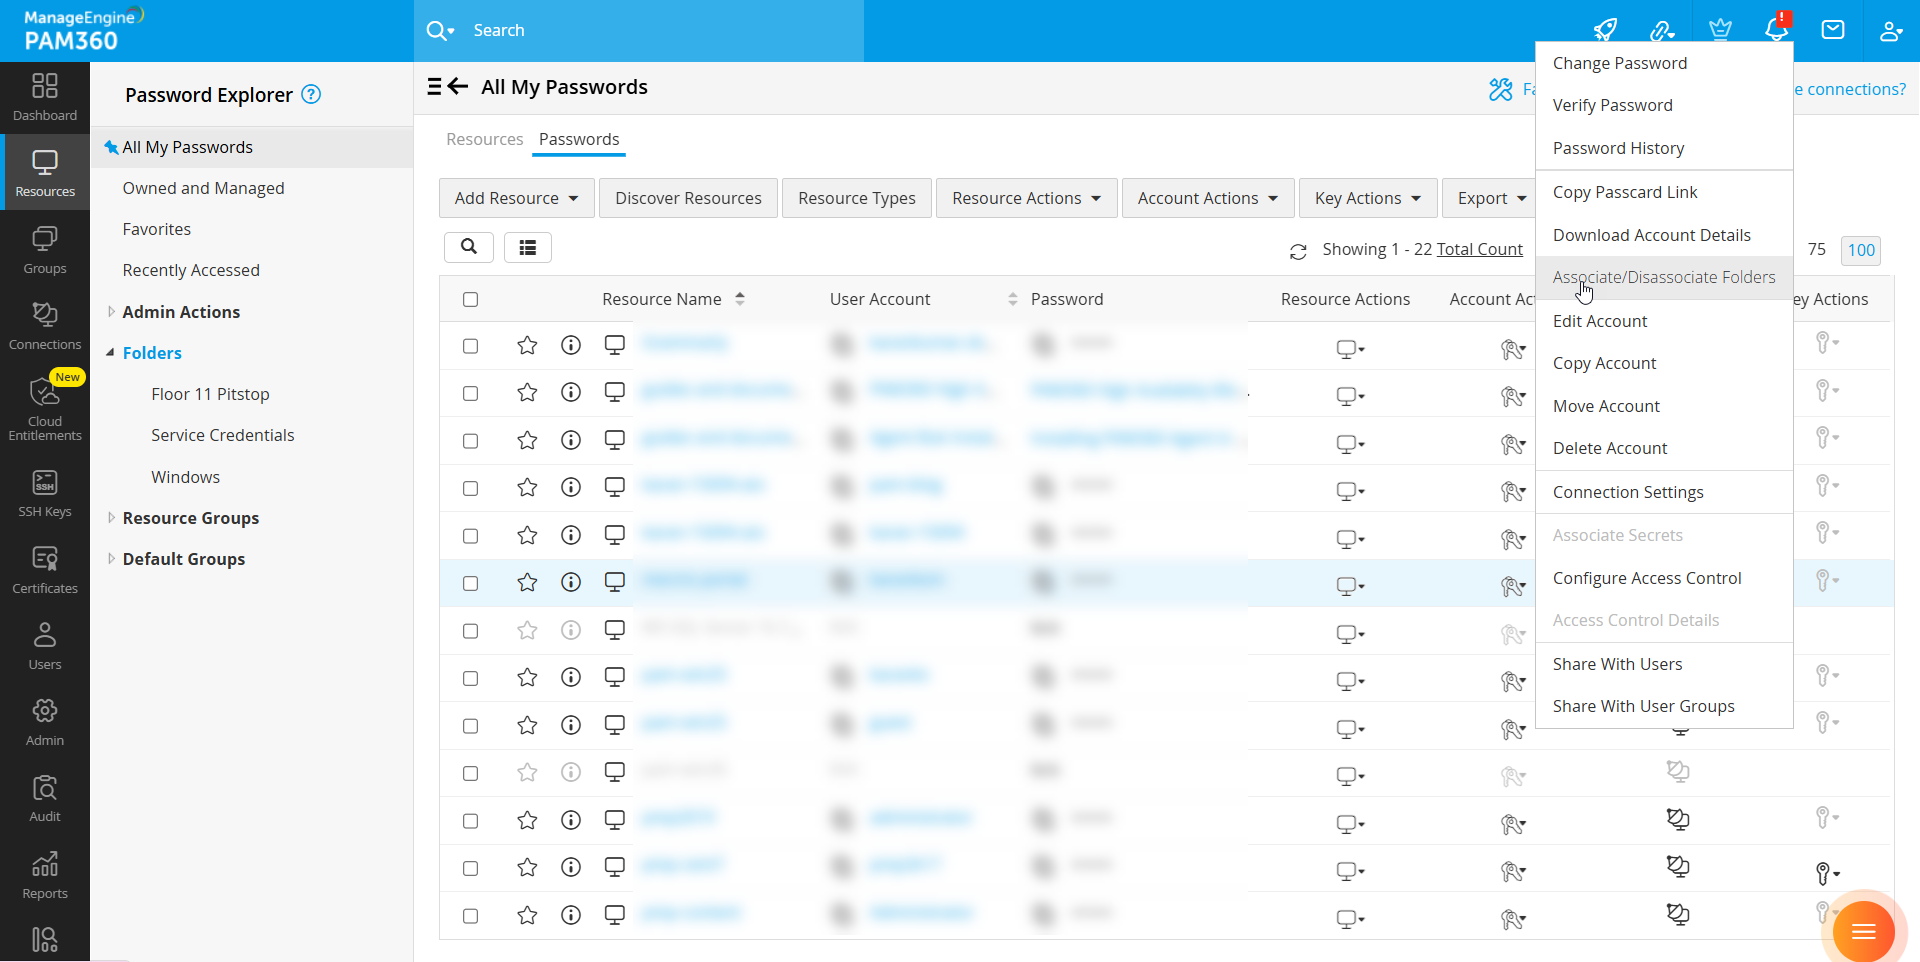
- Click the Account Actions icon next to the desired account and select Associate/Dissociate Folder.
- In the pop-up, select the folders you want to add the account to and click Save.
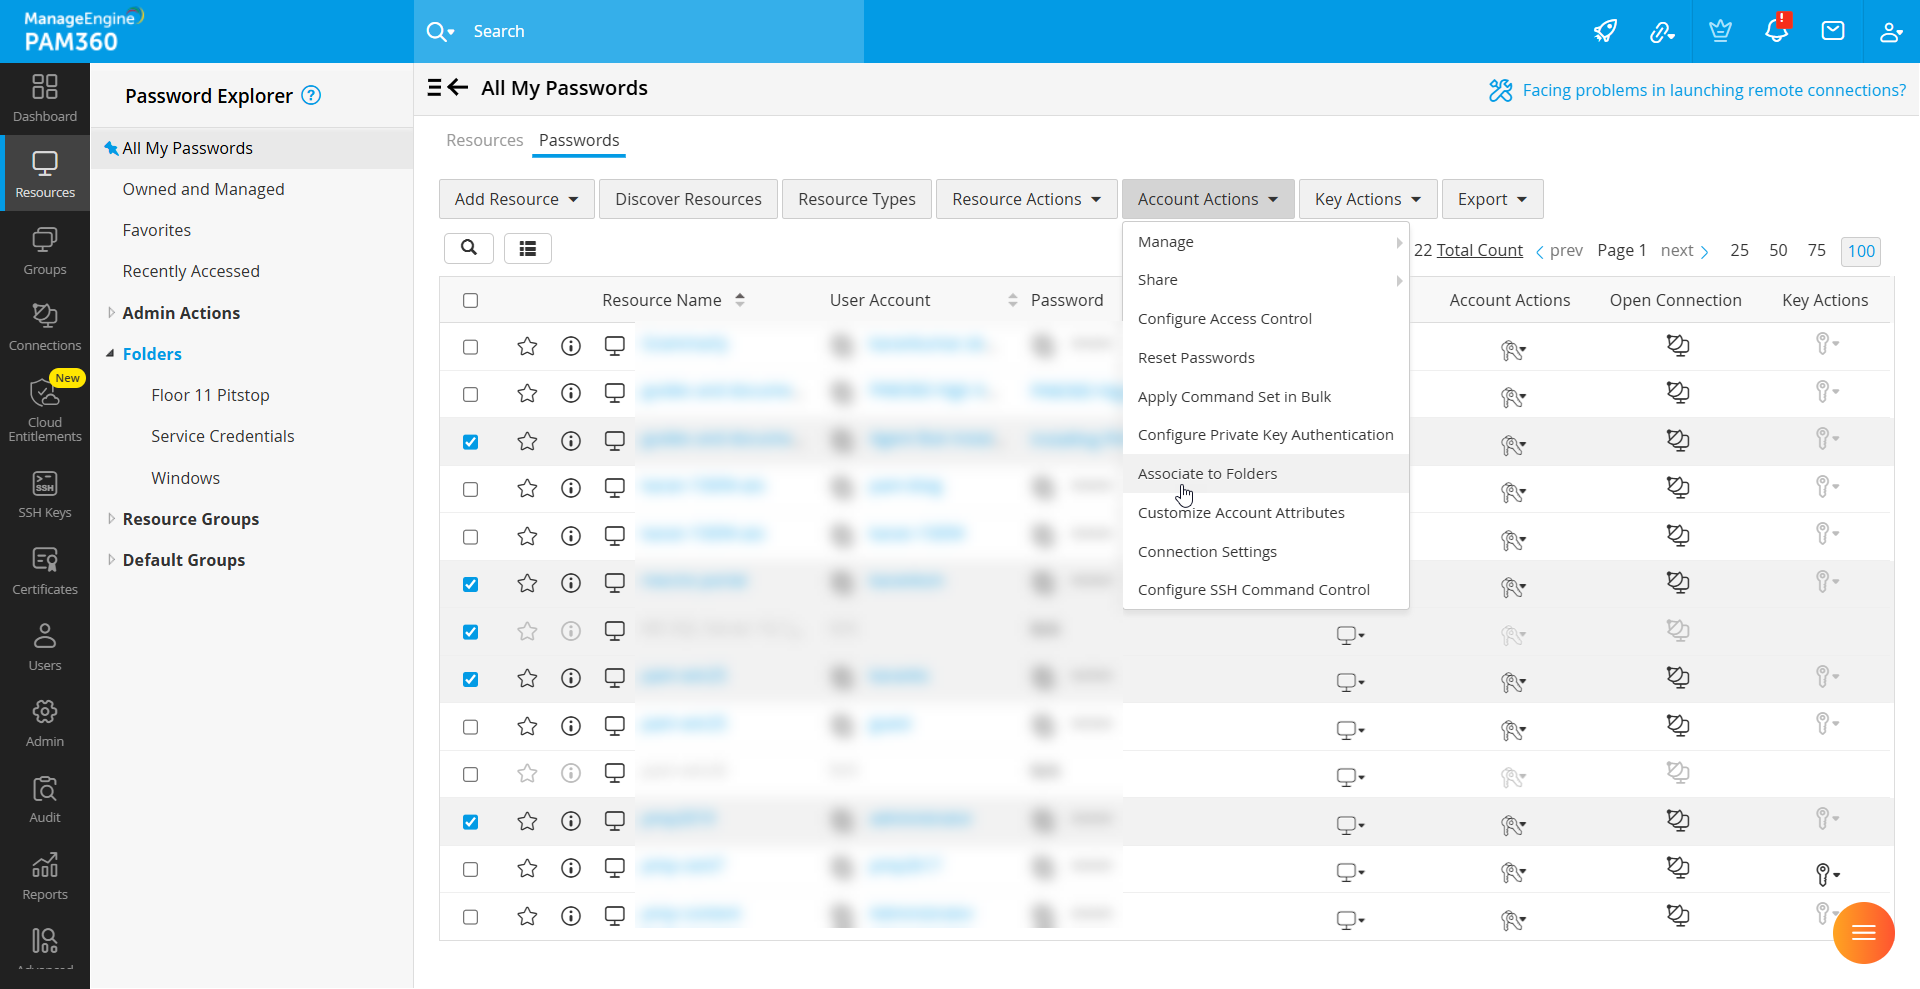
To add accounts in bulk, follow these steps:
- Select the desired accounts and click Account Actions >> Associate to Folders from the top pane.
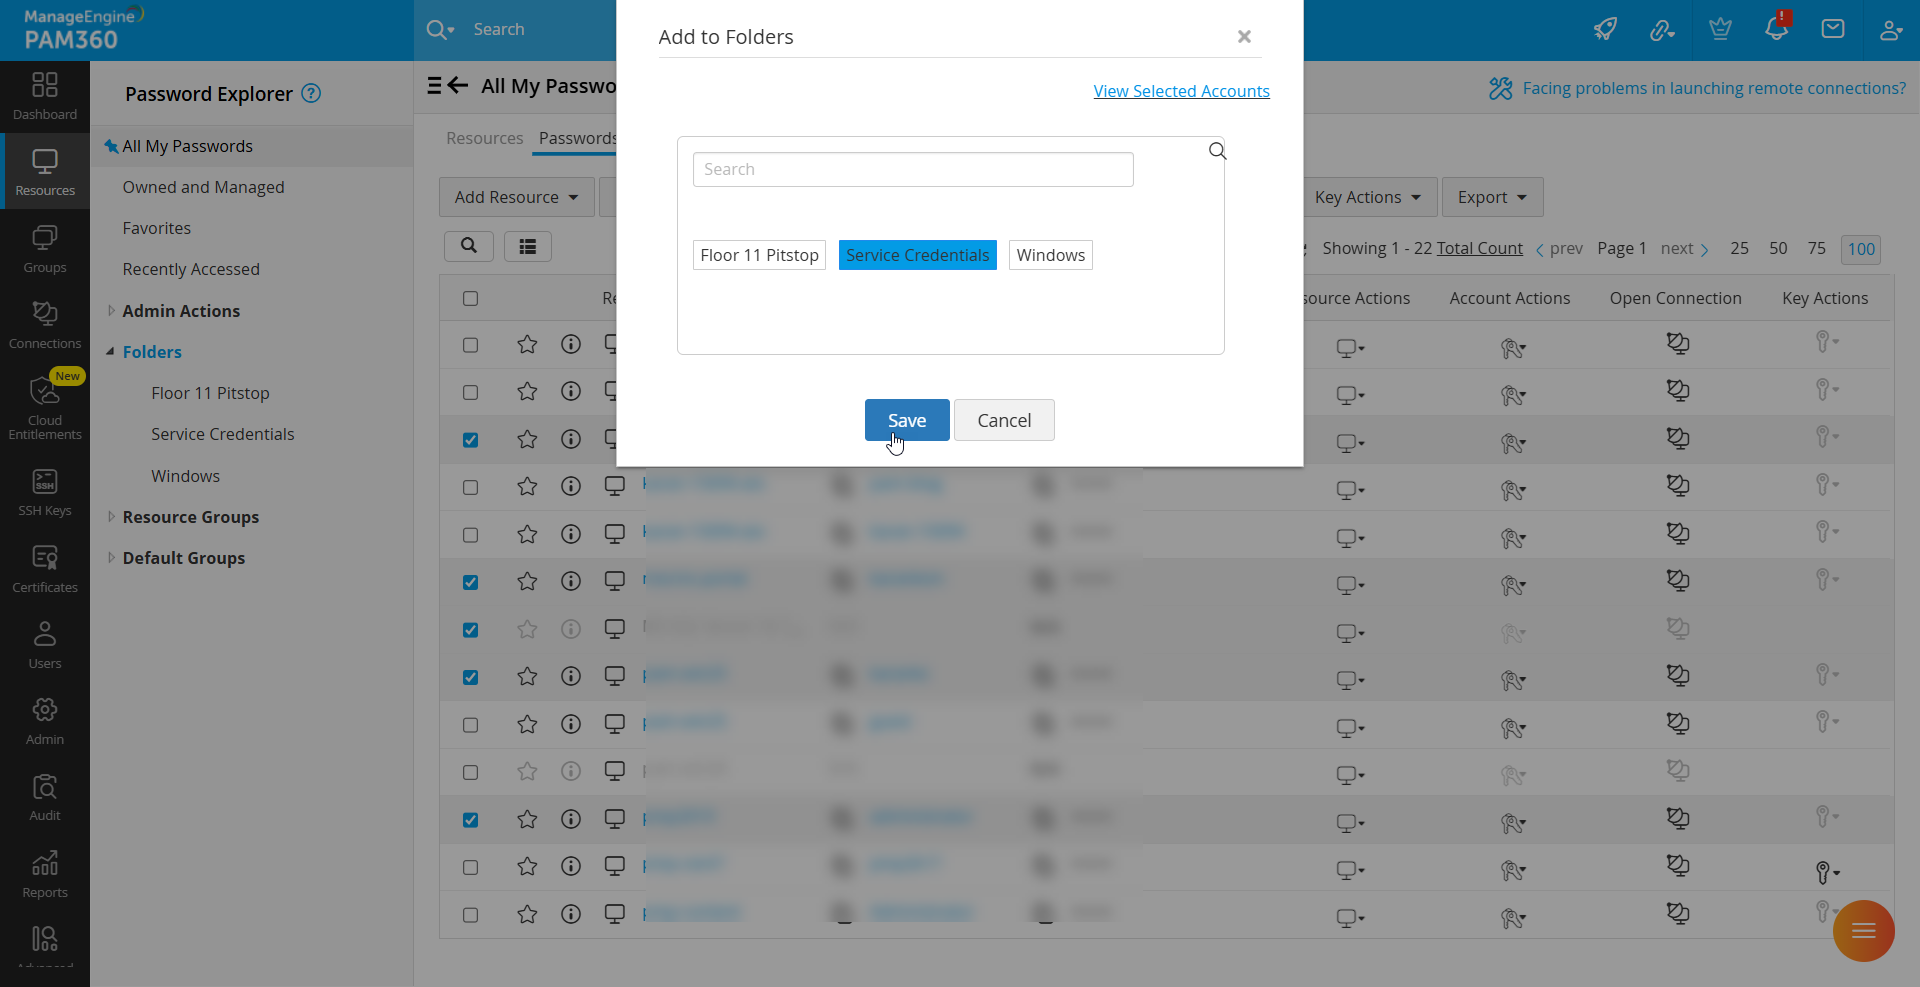
- In the pop-up window, choose the folders and click Save.
3. Removing Accounts from Folders
You can remove accounts from folders from the following locations:
- Navigate to Resources >> All My Passwords, then select the Password tab from the top pane.
- Navigate to Resources >> All My Passwords, select the Resources tab, and choose a resource to open the Account Details window.
- Within a folder that containing the accounts you want to remove.
- Through Global Search.
To remove accounts individually, follow these steps:
- Click the Account Actions icon next to the desired account and select Associate/Dissociate Folder.
- In the pop-up, deselect the folders from which you wish to remove the account and click Save.

To remove accounts in bulk, follow these steps:
Additional Detail
Bulk removal of accounts can be performed only from inside the respective folder.
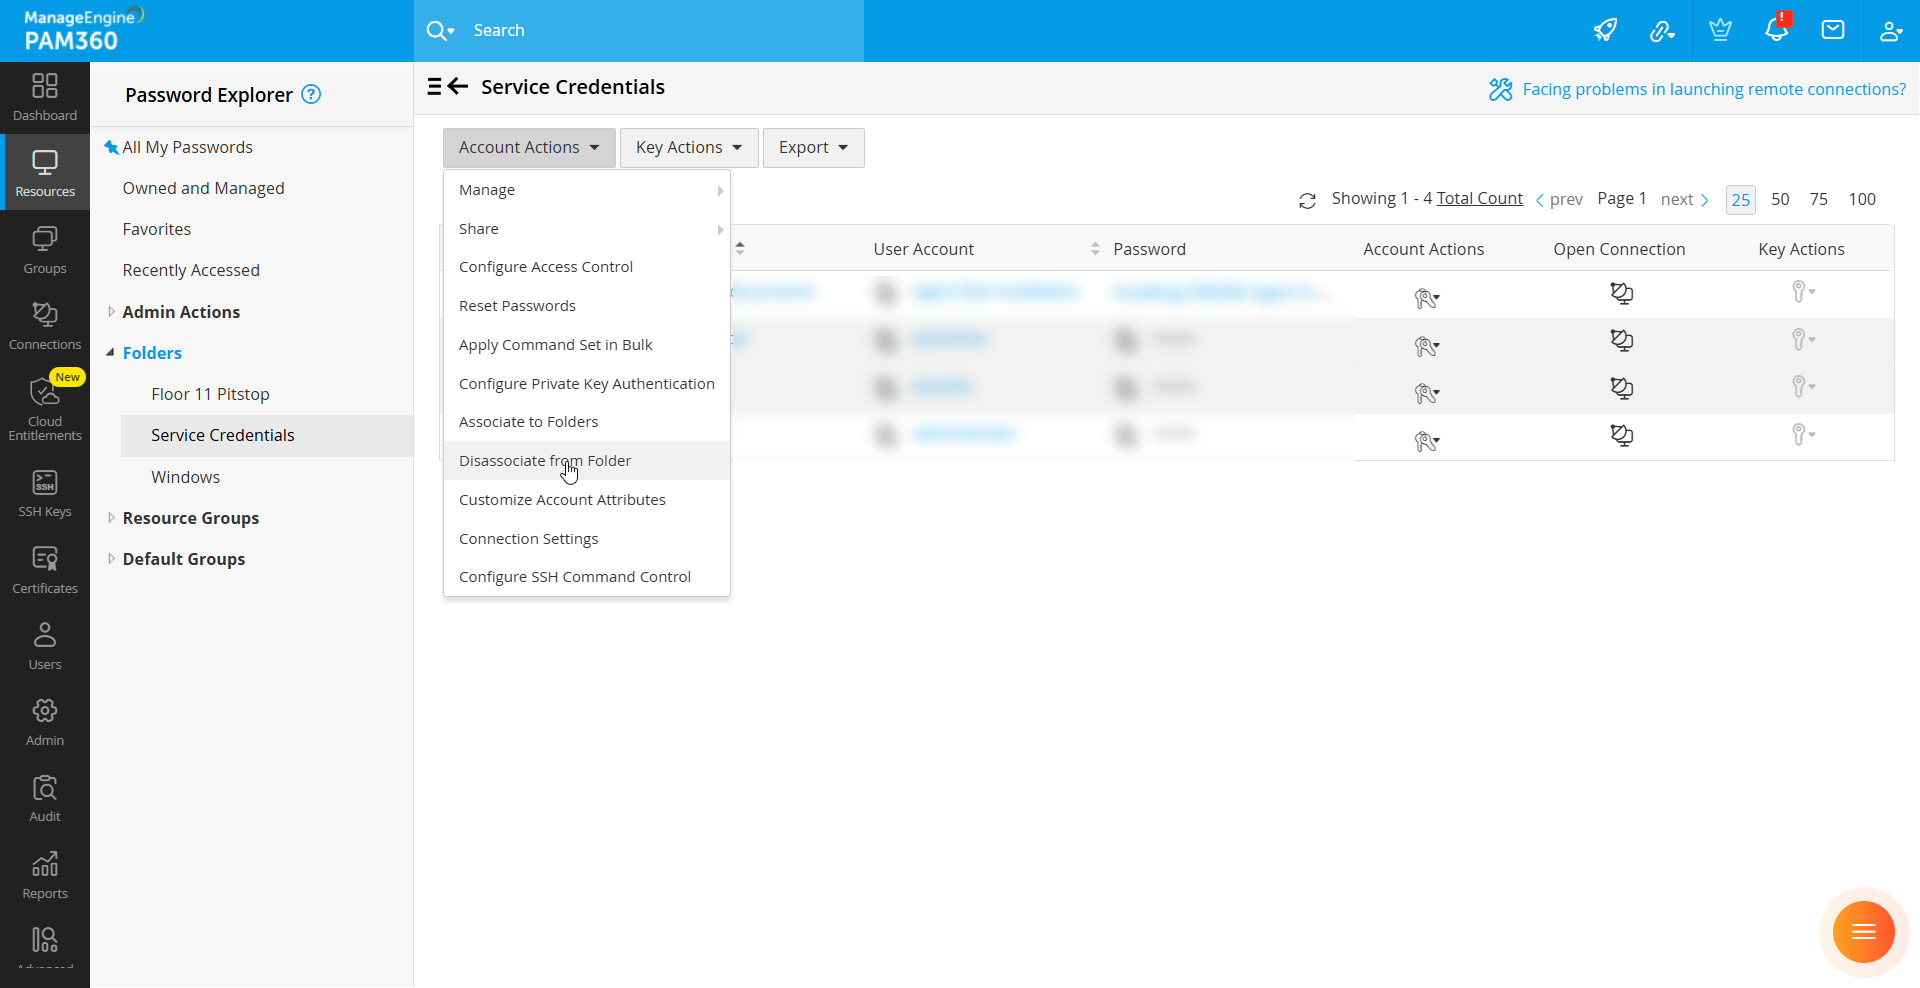
- Select the accounts and click Account Actions >> Remove from Folder.
- In the pop-up, click Remove. The selected accounts will be removed from the current folder. This action does not delete the accounts from PAM360.
4. Deleting a Folder
Click the delete icon beside the folder name from the left pane and click Delete in the pop-up to delete the folder.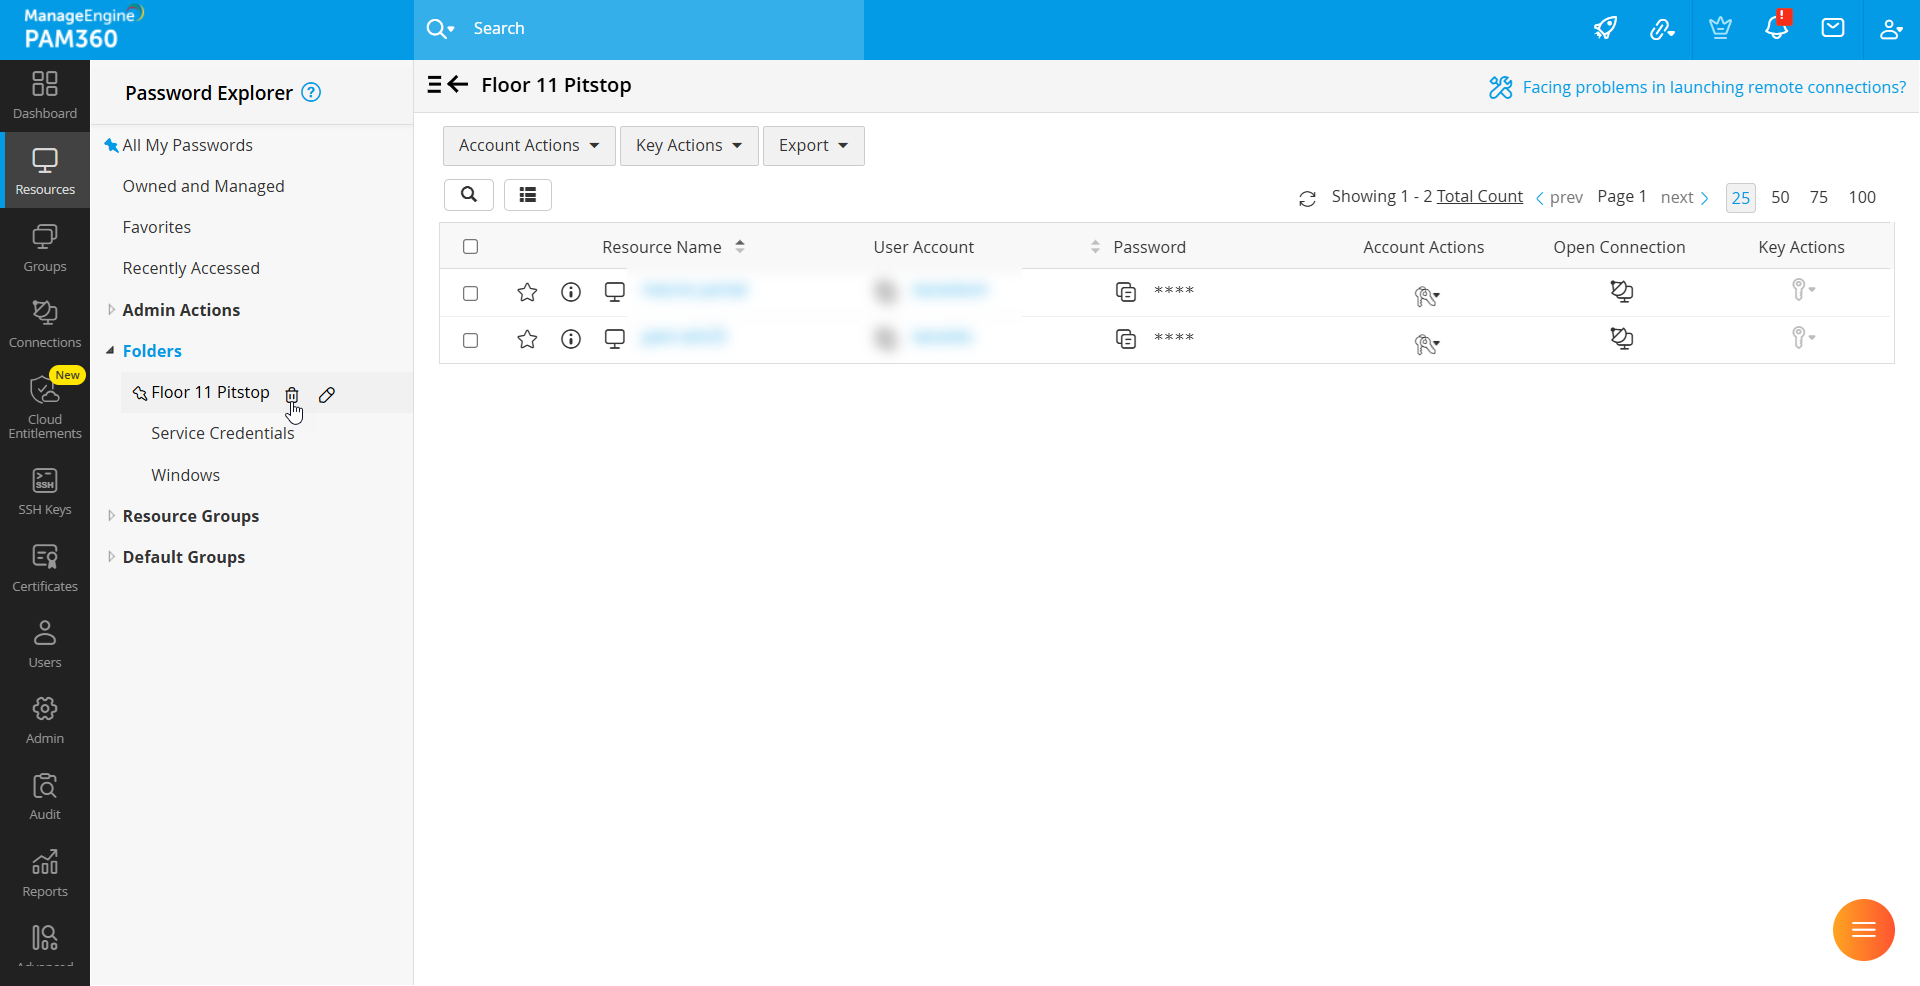
Caution
Deleting a folder will only remove the accounts from the folder and delete the folder itself. It will not delete the accounts from PAM360. Also, the pinned folders cannot be deleted.