Configuring Privileged Task Automation in PAM360
Privileged Task Automation (PTA) in PAM360, powered by Qntrl, enables secure and efficient automation of privileged tasks. To leverage Qntrl Circuits with PAM360, administrators should configure authentication, install the necessary components, and establish a connection between the on-premise PAM360 application and the cloud-based Qntrl Circuits.
This document provides a step-by-step approach to configuring PTA in PAM360. By the end of this document, you will understand:
- Registering Qntrl with PAM360: Setting up the Zoho API Console, creating a Client ID and Client Secret, and enabling secure API access to Qntrl Circuits.
- Installing the Qntrl Circuits Bridge: Deploying the Qntrl Circuits Bridge on a designated server to facilitate communication between PAM360 and Qntrl Circuits.
- Registering the Bridge with PAM360: Establishing seamless automation workflows by registering the Bridge Server in PAM360.
Each section below provides detailed instructions to ensure a secure and automated privileged task execution framework.
1. Qntrl Registration for Authentication Between PAM360 and Qntrl Circuits
1.1 Prerequisites
Caution
PAM360 initially requires a stable internet connection to establish communication with Qntrl Circuits in the cloud during the primary bridge server registration process. Once the primary bridge server is successfully registered, all subsequent communication between PAM360 and Qntrl will be securely routed through this registered bridge server. This eliminates the necessity for a direct internet connection from PAM360 for ongoing Qntrl Circuits operations.
To leverage PAM360 with Qntrl (Zoho Corporation's workflow orchestration tool), authentication credentials must be configured. Follow these steps to register PAM360 with Qntrl and generate the required credentials:
| Data Center | Accounts URL | Developer Console URL |
|---|---|---|
US | https://accounts.zoho.com/ | https://api-console.zoho.com/ |
EU | https://accounts.zoho.eu/ | https://api-console.zoho.eu/ |
IN | https://accounts.zoho.in/ | https://api-console.zoho.in/ |
AU | https://accounts.zoho.com.au/ | https://api-console.zoho.com.au/ |
CN | https://accounts.zoho.com.cn/ | https://api-console.zoho.com.cn/ |
JP | https://accounts.zoho.jp/ | https://api-console.zoho.jp/ |
CA | https://accounts.zoho.ca/ | https://api-console.zoho.ca/ |
UAE | https://accounts.zoho.ae/ | https://api-console.zoho.ae/ |
UK | https://accounts.zoho.uk/ | https://api-console.zoho.uk/ |
SA | https://accounts.zoho.sa/ | https://api-console.zoho.sa/ |
- Access the appropriate Account URL and create a Zoho account if needed.
Best Practice
It is recommended to use a team or organization-wide account rather than an individual account, as personal accounts may become inactive or deactivated if the respective user leaves or transitions within the organization.
- Navigate to the Zoho API Developer Console URL and sign in using the designated Zoho account.
- In the API Developer Console, click Add Client, then select Server-based Applications.
- On the new page that appears, enter the following details:
- Client Name: Enter a name of the application (e.g., PAM360).
- Homepage URL: Specify the PAM360 access URL, such as https://<server>:<port> or https://<domain-name>.com
- Authorized Redirect URIs: Enter the redirect URI as follows: <HomepageURL>/pam360redirect/ZohoCircuits
- Click Create to generate the Client ID and Client Secret and copy these credentials for further configuration in PAM360.
These credentials establish a secure communication channel between PAM360 and Qntrl Circuits, enabling API-based authentication for Qntrl Circuits via Zoho APIs.
1.2 Authentication and Authorization
- Navigate to Admin >> Workflow Orchestration >> Privileged Task Automation.
- On the page that appears, click the Qntrl Registration tab, enter the Client ID, Client Secret, and select the Region.

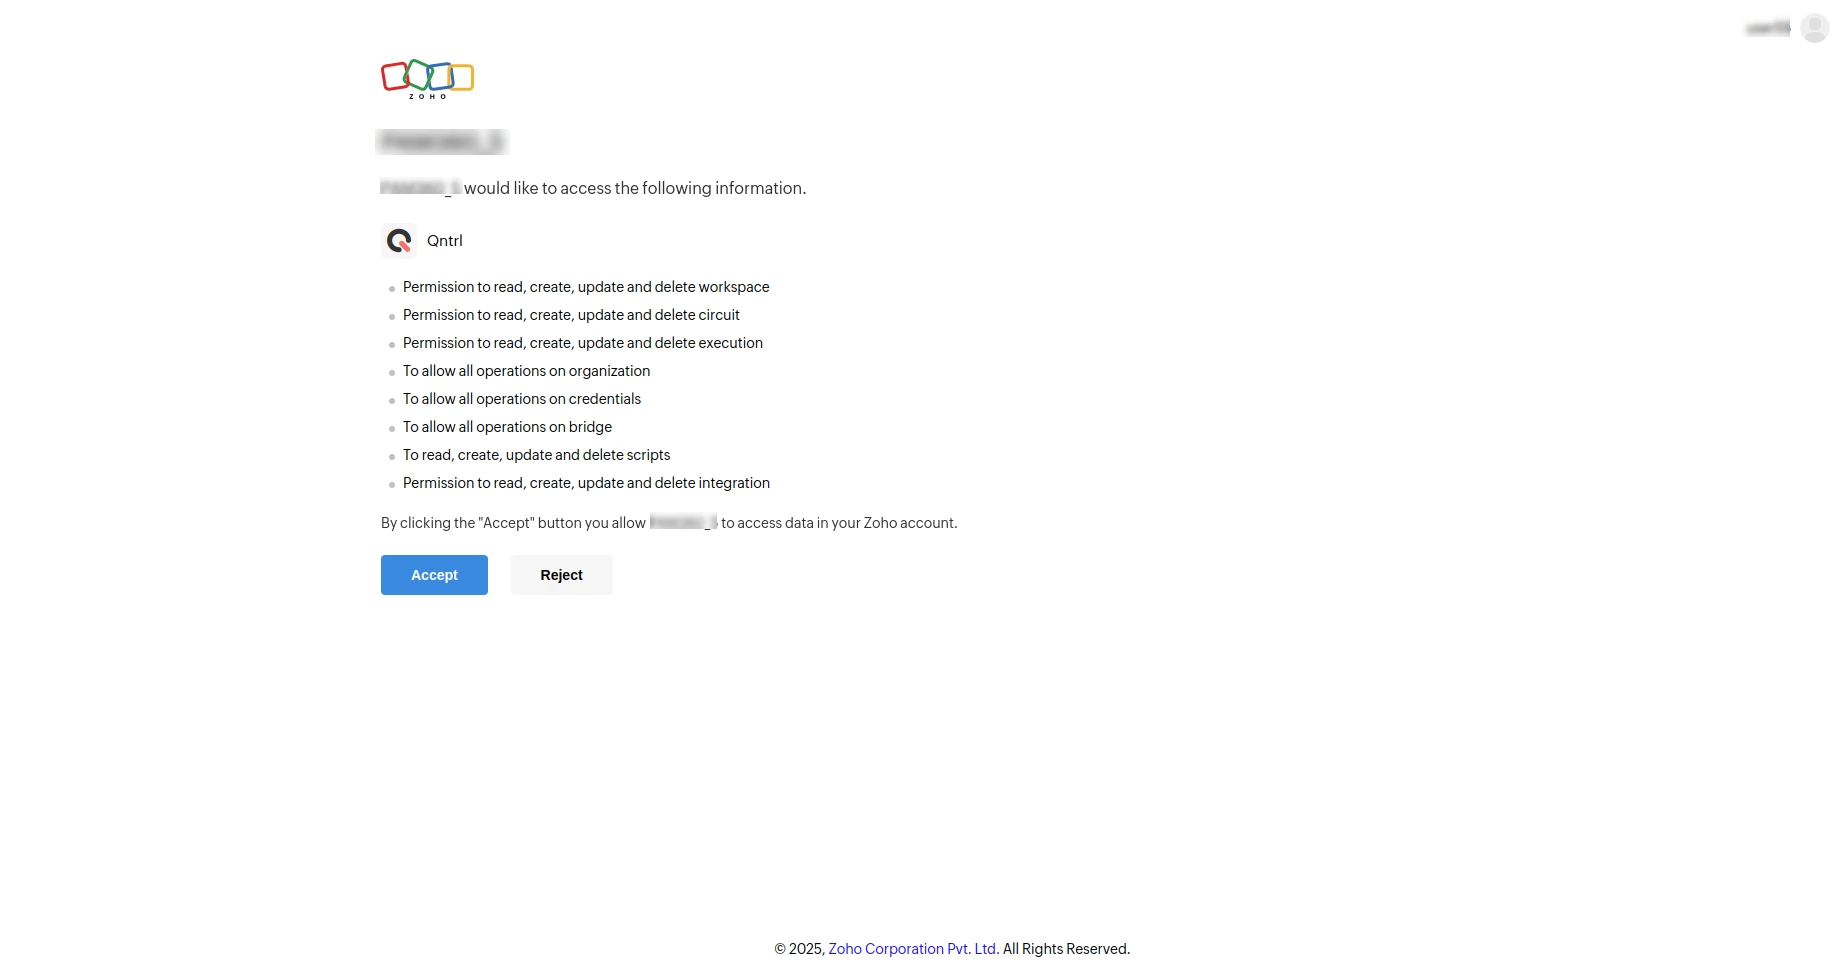
- Click Save, then in the consent prompt that appears, Accept the terms to allow PAM360 to manage privileged tasks in Qntrl.

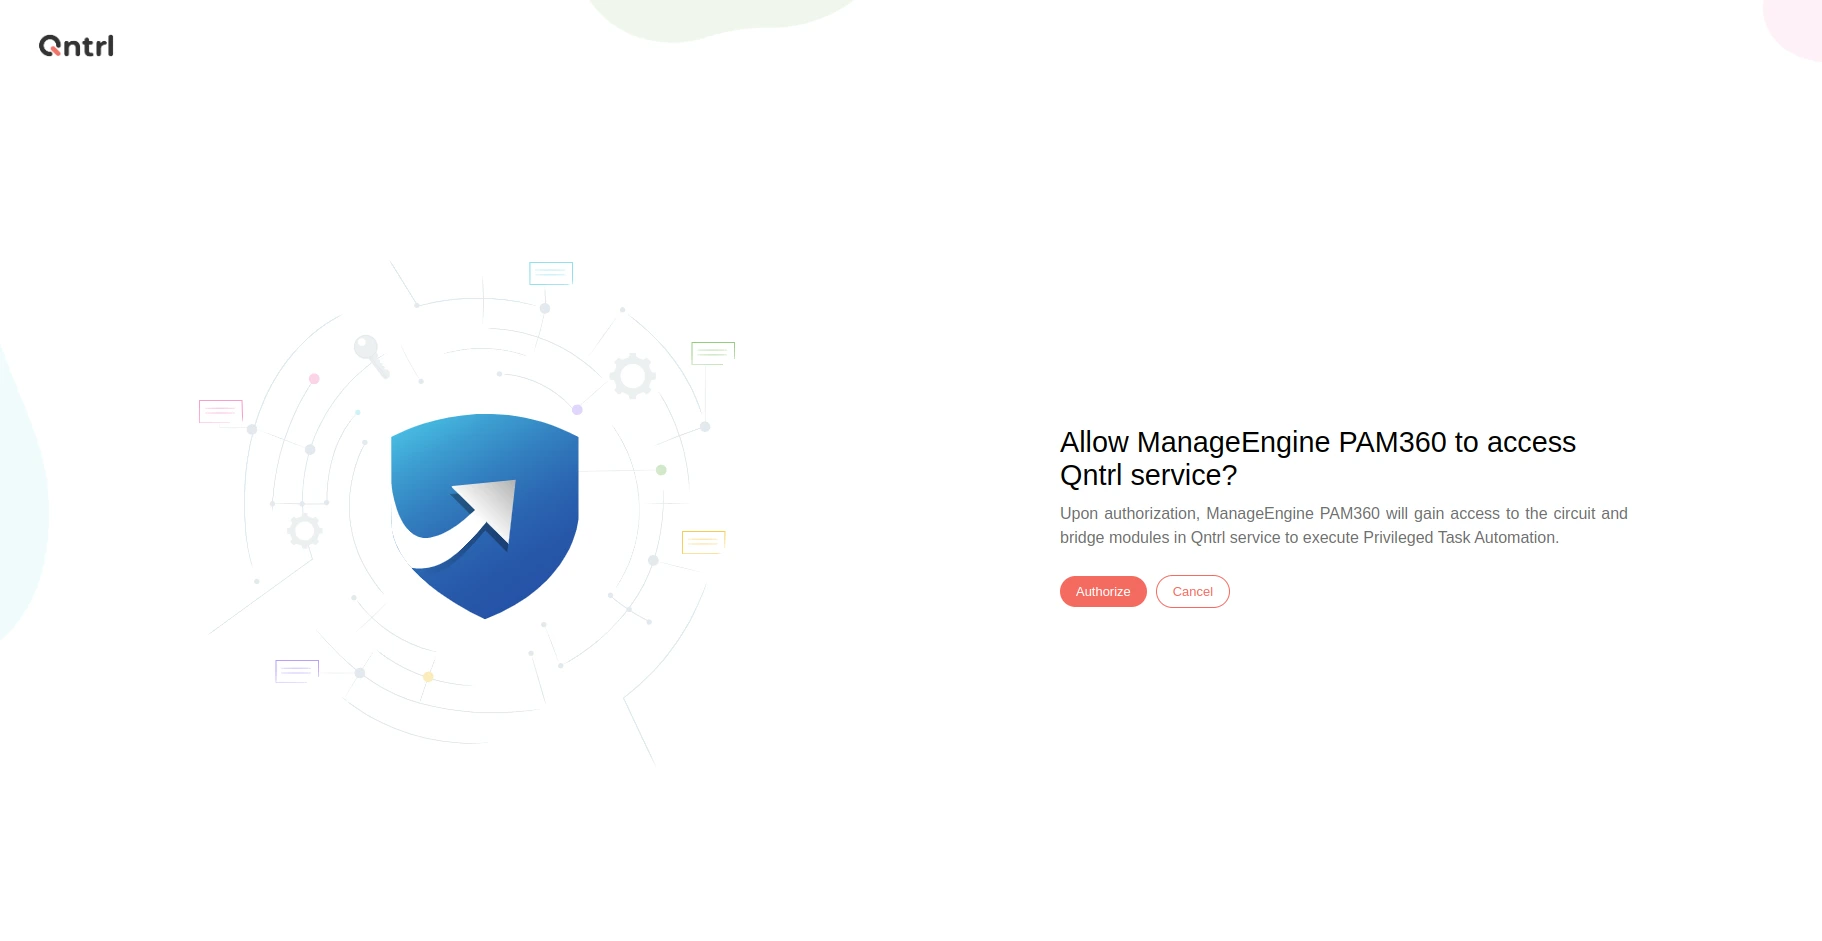
- On the next page, click Authorize to finalize the integration and enable PAM360 to access Qntrl Circuits.

2. Bridge Installation
The Bridge Server functions as a secure agent, enabling communication between PAM360 and Qntrl Circuits for privileged task automation. All the Bridge Servers should be installed on a server with stable internet connectivity within the PAM360 network.
For privileged tasks requiring execution on remote machines that are not directly connected to the PAM360 network or in the demilitarized zone (DMZ), supplementary Bridges should be installed on those networks and registered with PAM360. These Bridges ensure automation workflows function efficiently, regardless of network constraints.
PAM360 allows installing the Bridge Server on Windows and Linux operating systems. Before proceeding, ensure Qntrl registration is completed in PAM360.
2.1 Installing the Bridge on a Windows Server
Follow these steps to install the Bridge server on a Windows server:
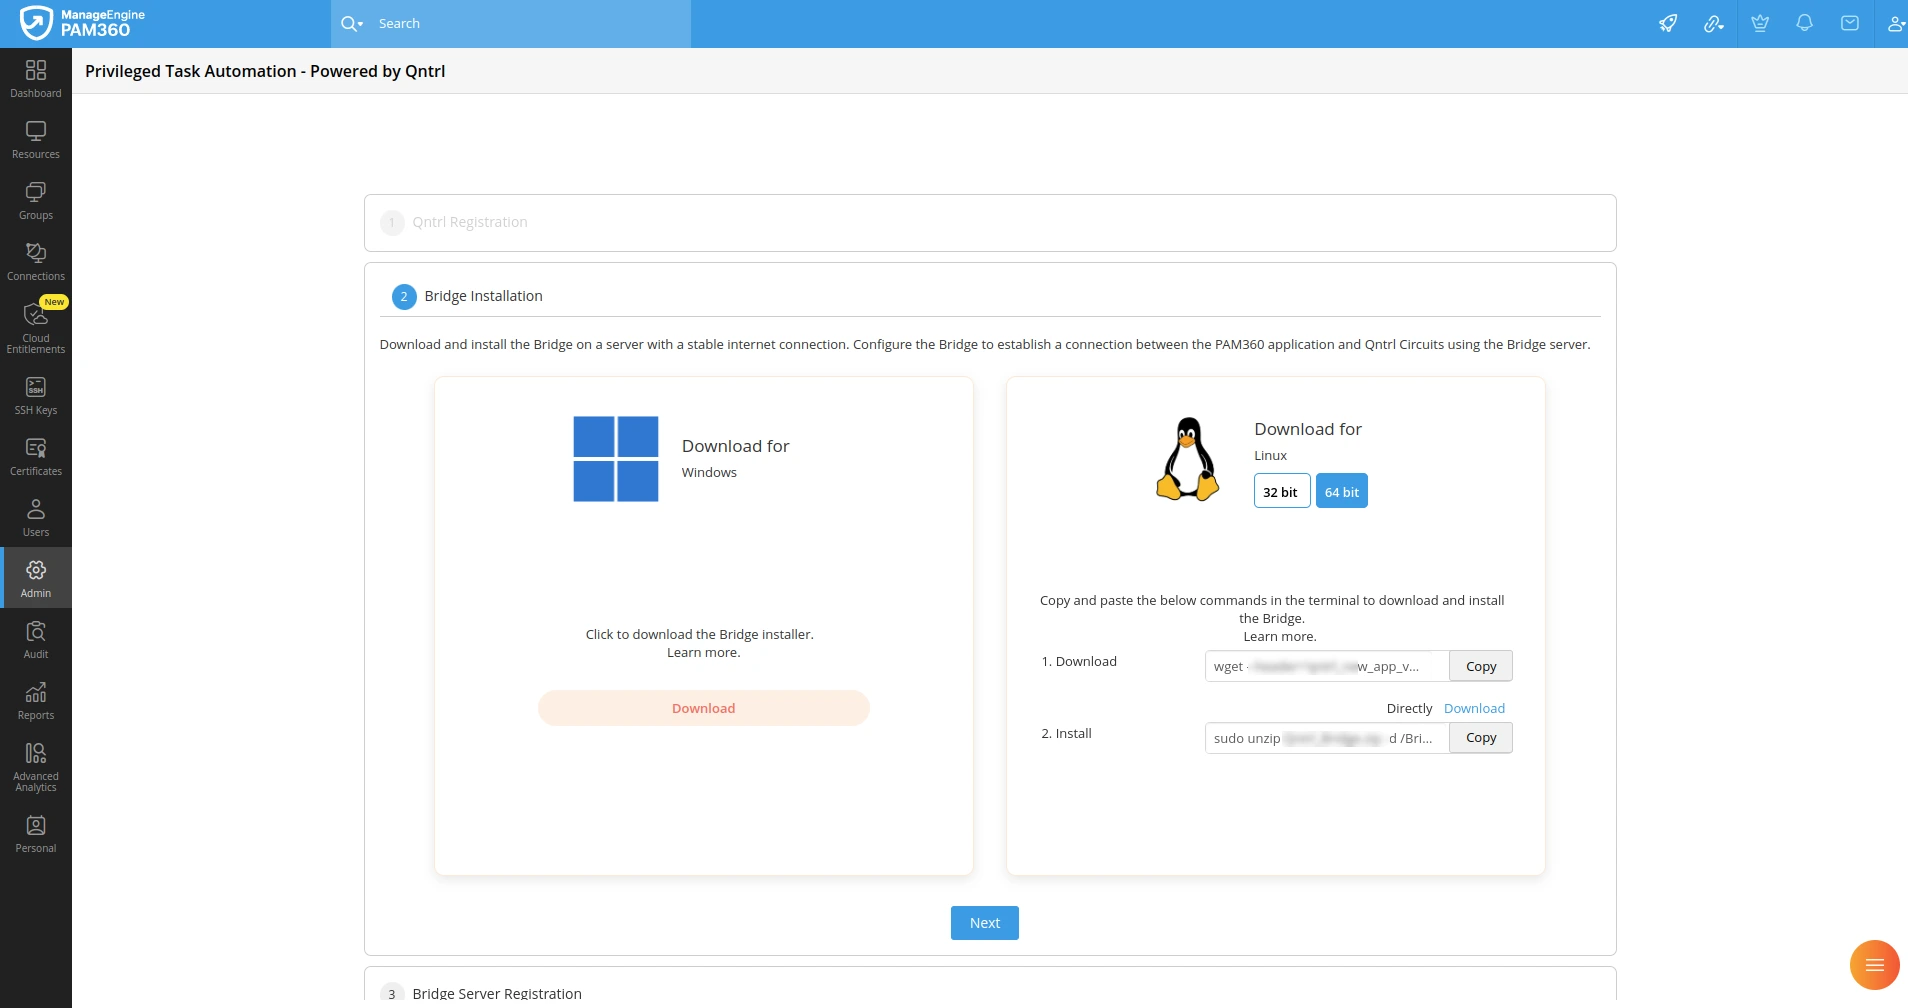
- In the PAM360 interface, navigate to the Bridge Installation section.

- Download the Bridge installer specifically designed for Windows.
- Locate the downloaded `.exe` file and run it on the designated Bridge server to initiate the installation process.
Additional Detail
By default, the Bridge installs in: C:\Users\<User Profile Name>\AppData\Local\Bridge.
- Upon successful installation, the Bridge server will start automatically and be accessible at https://<hostname>:8500.
2.2 Installing the Bridge on a Linux Server
To install the Bridge on a Linux server, follow these steps:
- Open the Terminal on your dedicated Linux server for Bridge installation.
- Copy the download command provided in the Bridge Installation section of the PAM360 UI.
- Paste the copied command into the Terminal and press enter to download the Bridge ZIP file.
- Next, copy the installation command from the PAM360 UI and paste it into the Terminal.
- Press enter to execute the installation process.
Additional Detail
By default, the Bridge installs in /root/. To specify a custom location, modify the installation command accordingly.
- Once installed, the Bridge Server will start automatically and can be accessed at https://<hostname-or-IP-address-or-FQDN>:8500.
By following these steps, the Bridge will be successfully set up, and with the further Bridge Server registration step, communication between PAM360 and Qntrl Circuits will be established for efficient privileged task automation.
3. Bridge Server Registration
Caution
By default, the Bridge installed on a server operates in HTTP mode on port 8500. However, since PAM360 exclusively communicates over secure HTTPS connections, it is essential to enforce HTTPS mode for the Bridge server. To configure this, refer to this relevant documentation for detailed instructions on enabling HTTPS mode.

Registering the Bridge Server with PAM360 is essential for establishing a secure connection between PAM360 and Qntrl Circuits. The Bridge acts as an intermediary, enabling:
- Secure creation and management of privileged tasks in Qntrl Circuits.
- Controlled execution of privileged tasks on target systems.
- Ensured task execution routing through a dedicated server for enhanced security and reliability.
Follow these steps to register the Bridge Server in PAM360:
- Navigate to Admin >> Workflow Orchestration >> Privileged Task Automation.
- Expand the Bridge Server Registration section and enter the Bridge URL (https://<bridge-server-hostname>:8500) in the field.

- Click Register to establish the primary communication link between PAM360 and Qntrl Circuits.