Establishing secure connection between OpManager and MSSQL database
The following steps are to establish a secure connection between MSSQL database and OpManager versions 127131 and above.
Prerequisites:
- A valid SSL certificate in PFX format that won't be expiring soon is required. If the certificate in another format, please convert it into a PFX file.
- The Common Name in the Subject field of the certificate must be the same as the Fully Qualified Domain Name (FQDN) of the device in which the MSSQL Server is installed.
Follow the below steps to ensure secure communication between OpManager and MSSQL
Follow the below steps to select and associate the required SSL certificate with the MSSQL server
- Open SQL Server Configuration Manager.
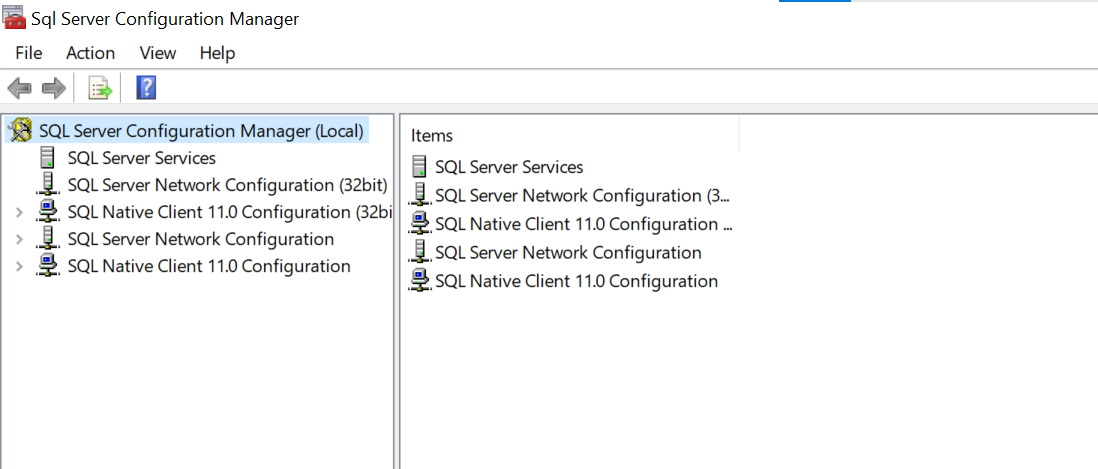
- Navigate to SQL Server Network Configuration.
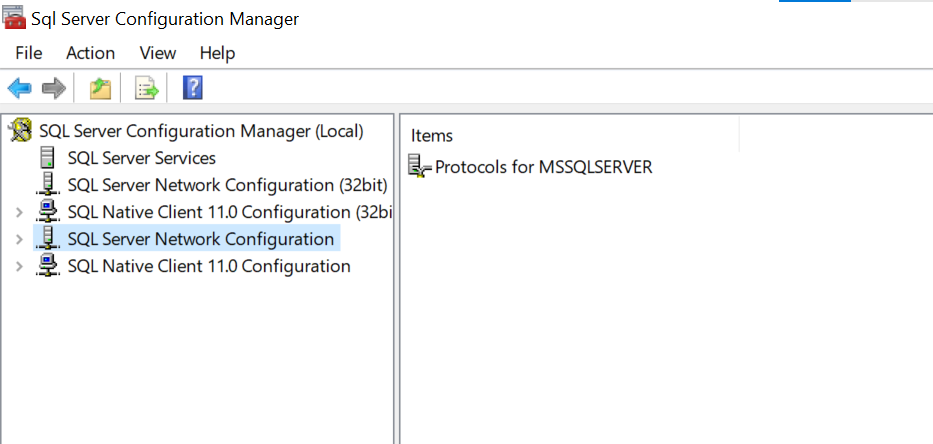
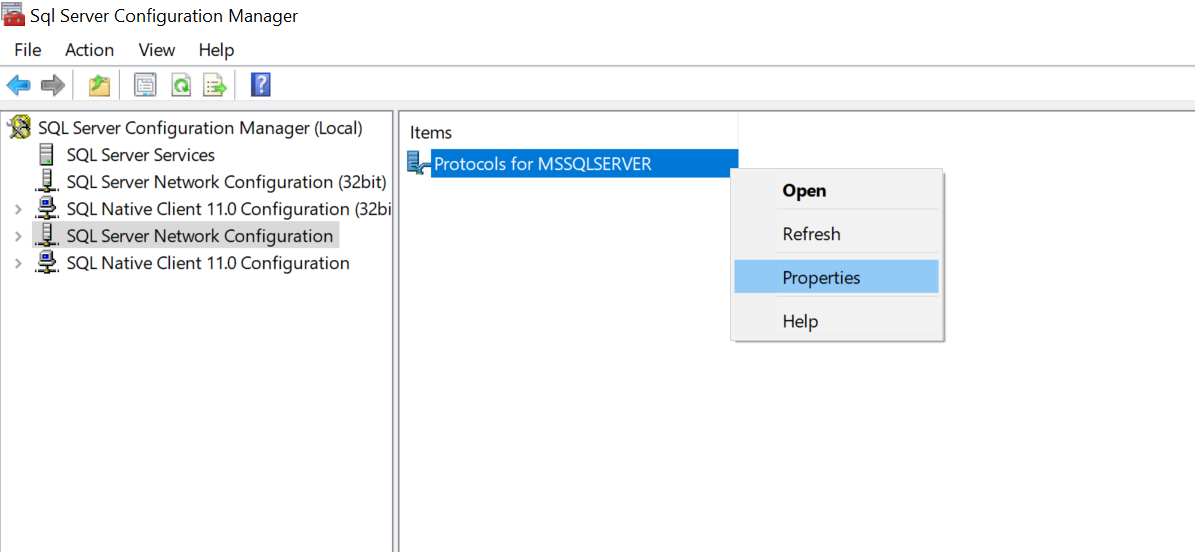
- Right-click on the protocols for the specific MSSQL instance you wish to associate the certificate with (e.g., 'protocols for SQLSERVER'). Select Properties.
- In the Flags window, set Force Encryption to YES.
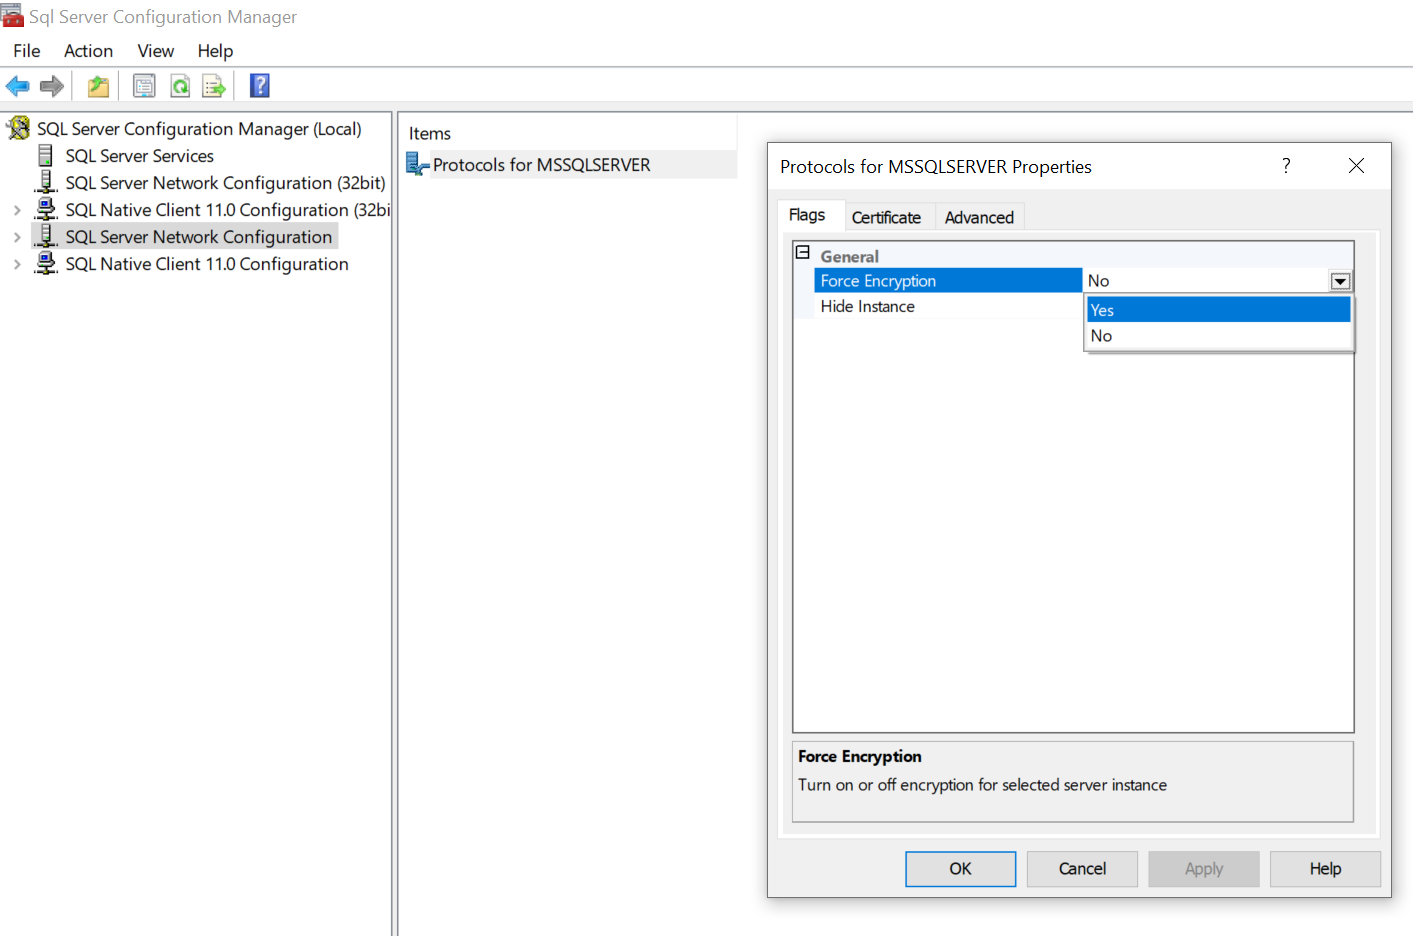
- In the Certificate tab, select the required certificate from the dropdown menu, and click 'OK'. The SSL certificate will be displayed in the dropdown menu, only if the device had the required certificate saved/installed in it.

- Note that the certificate association will take effect only after the MSSQL instance is restarted. Make sure to restart the database after completing the certificate association.
Follow the below steps to save a copy of the SSL certificate to the local file directory,
- Open IIS manager on your server.
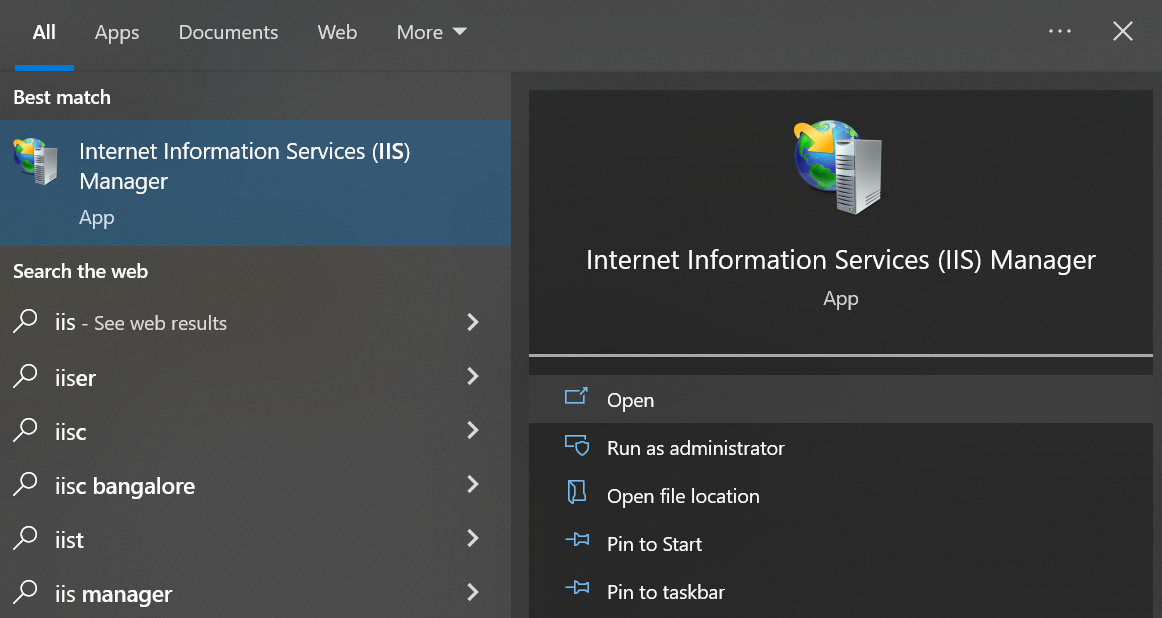
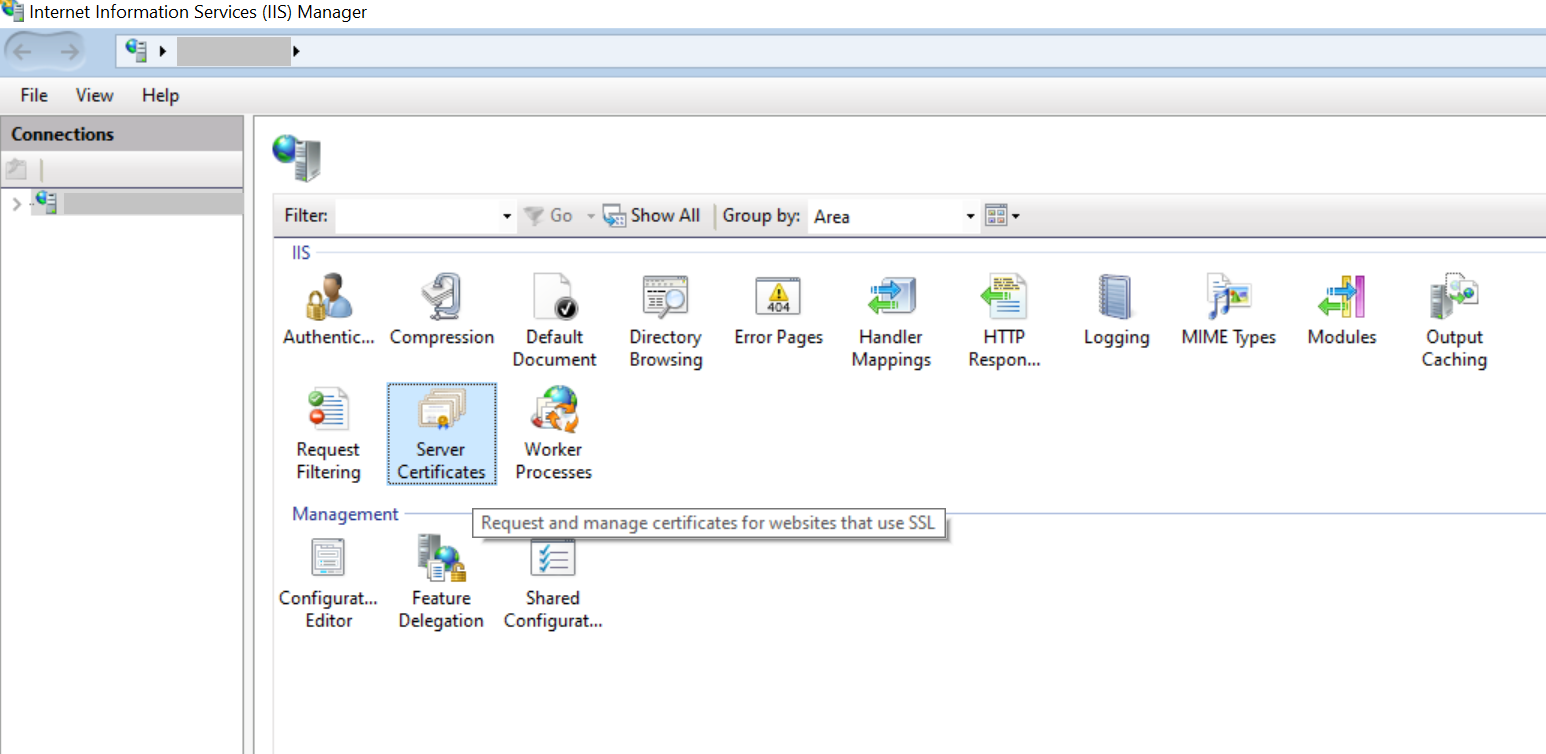
- Navigate to the "Server Certificates" section.
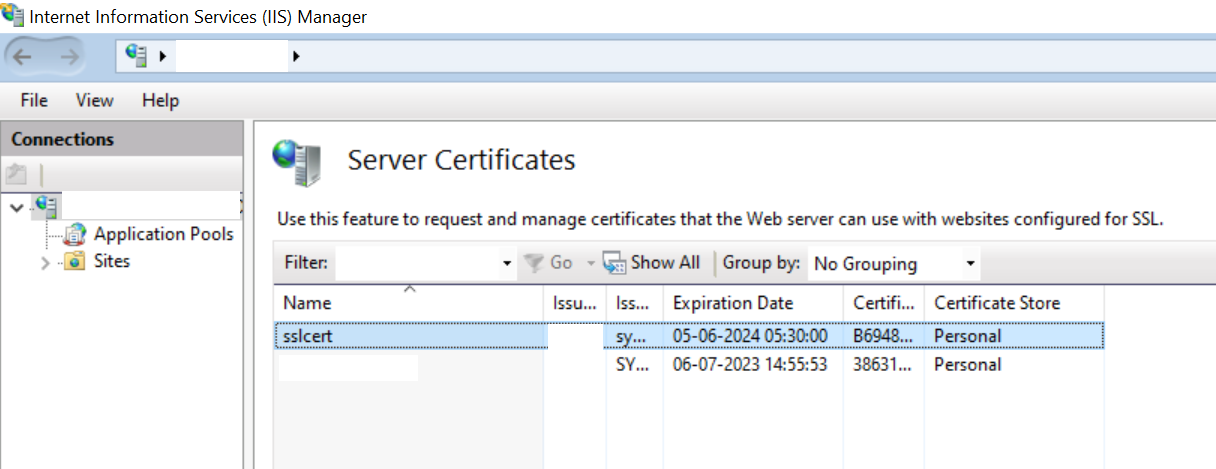
- Select the specific certificate you want to export, and open it.
- Switch to the Details tab to view the certificate details.
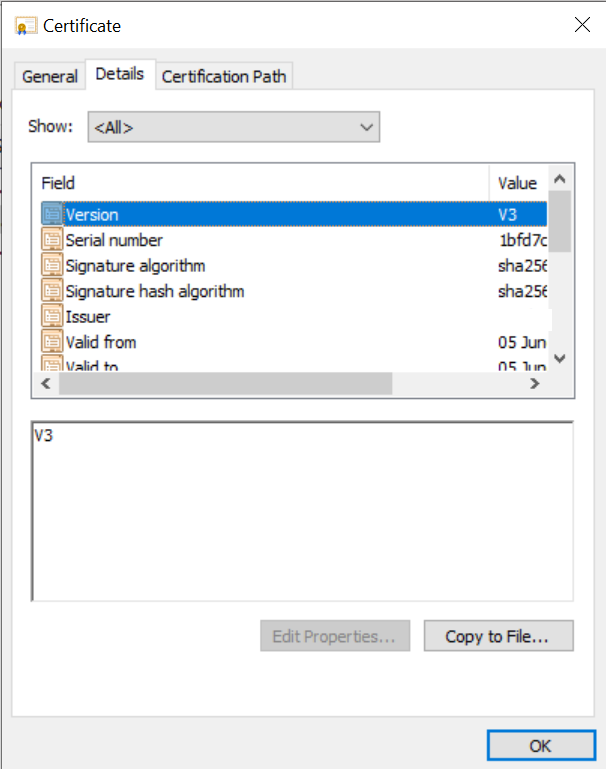
- Click on the "Copy to File" option to open the Certificate Export wizard.
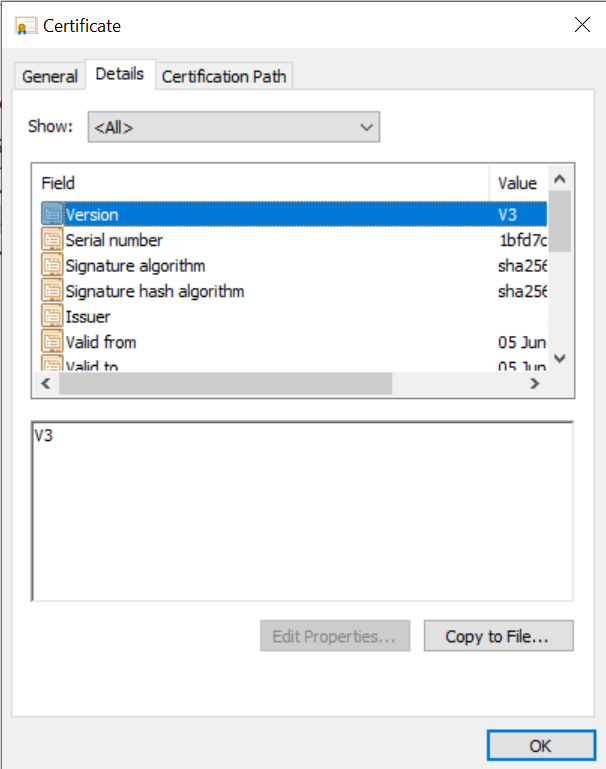
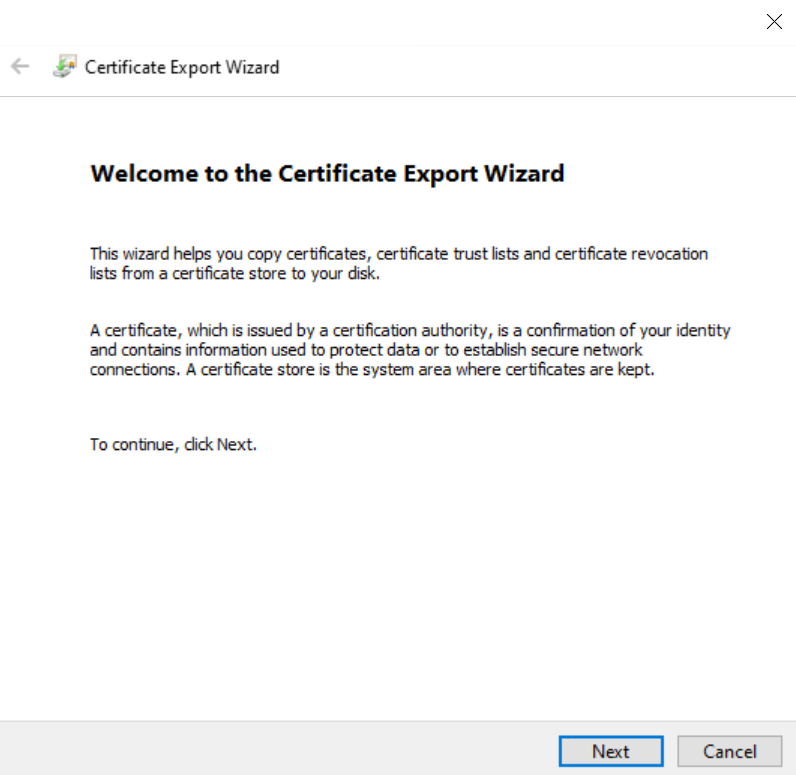
- Follow the wizard's prompts, and click "Next" to proceed.
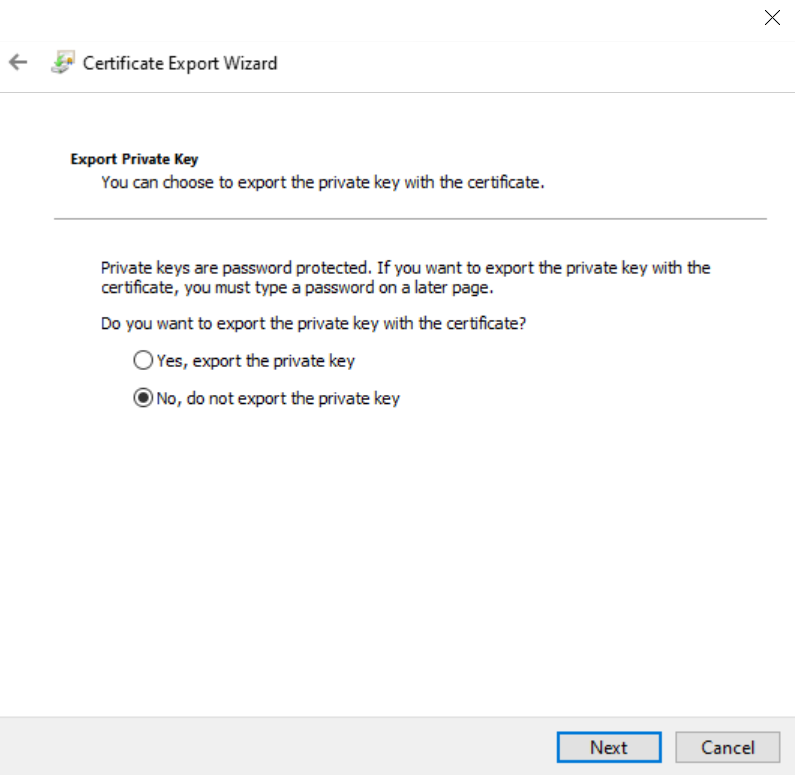
- On export private key window, select the option that says 'NO, do not export the private key'. Then click Next.
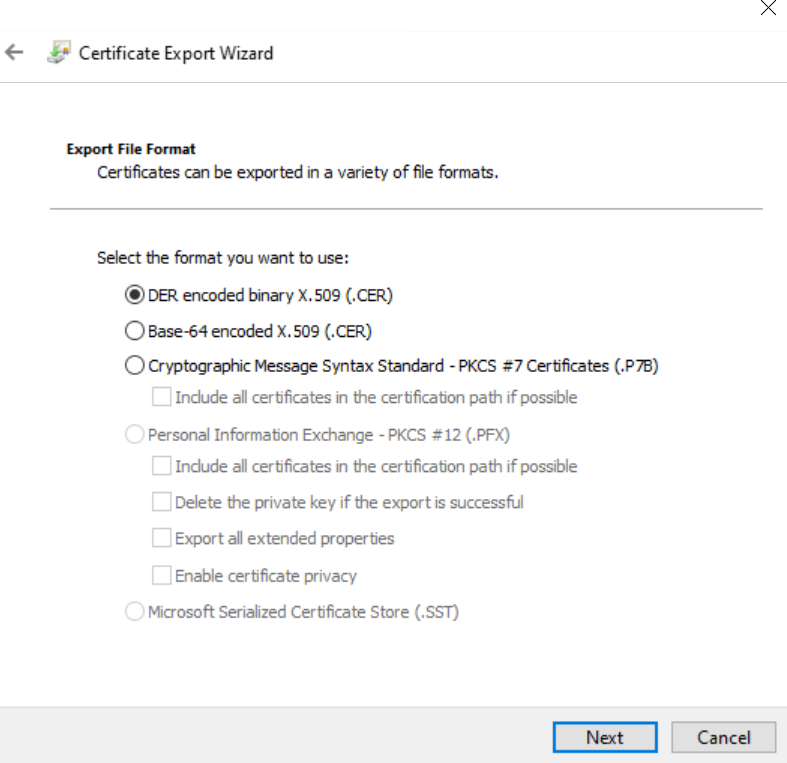
- In the "Export File Format" window, ensure that either "DER encoded binary X.509 (.CER)" or "Base-64 encoded X.509 (.CER)" is chosen, and then click "Next."
- Provide a name for the export file.
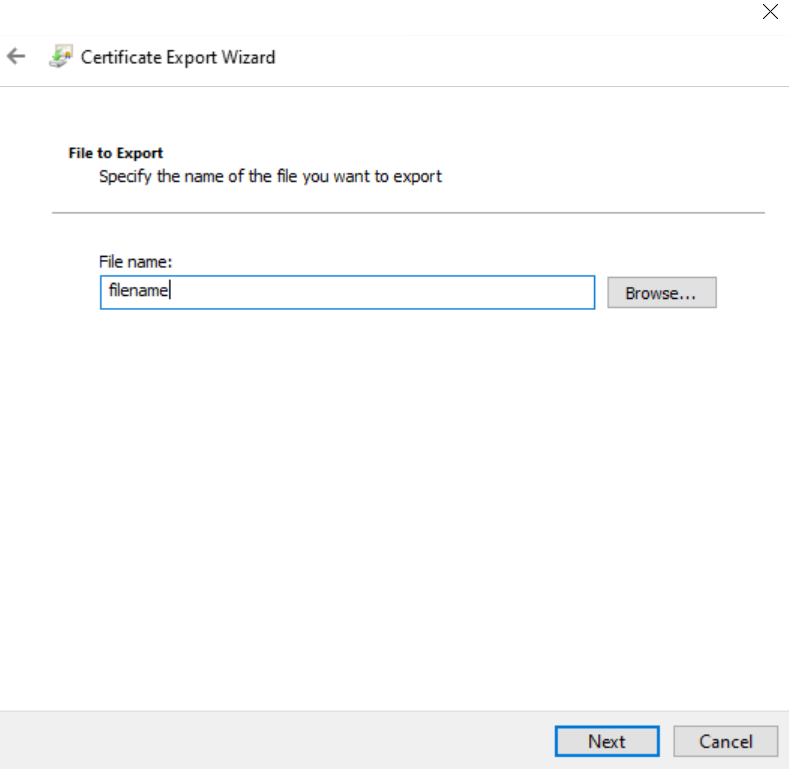
- Click Next, and then click Finish to finish exporting the certificate.
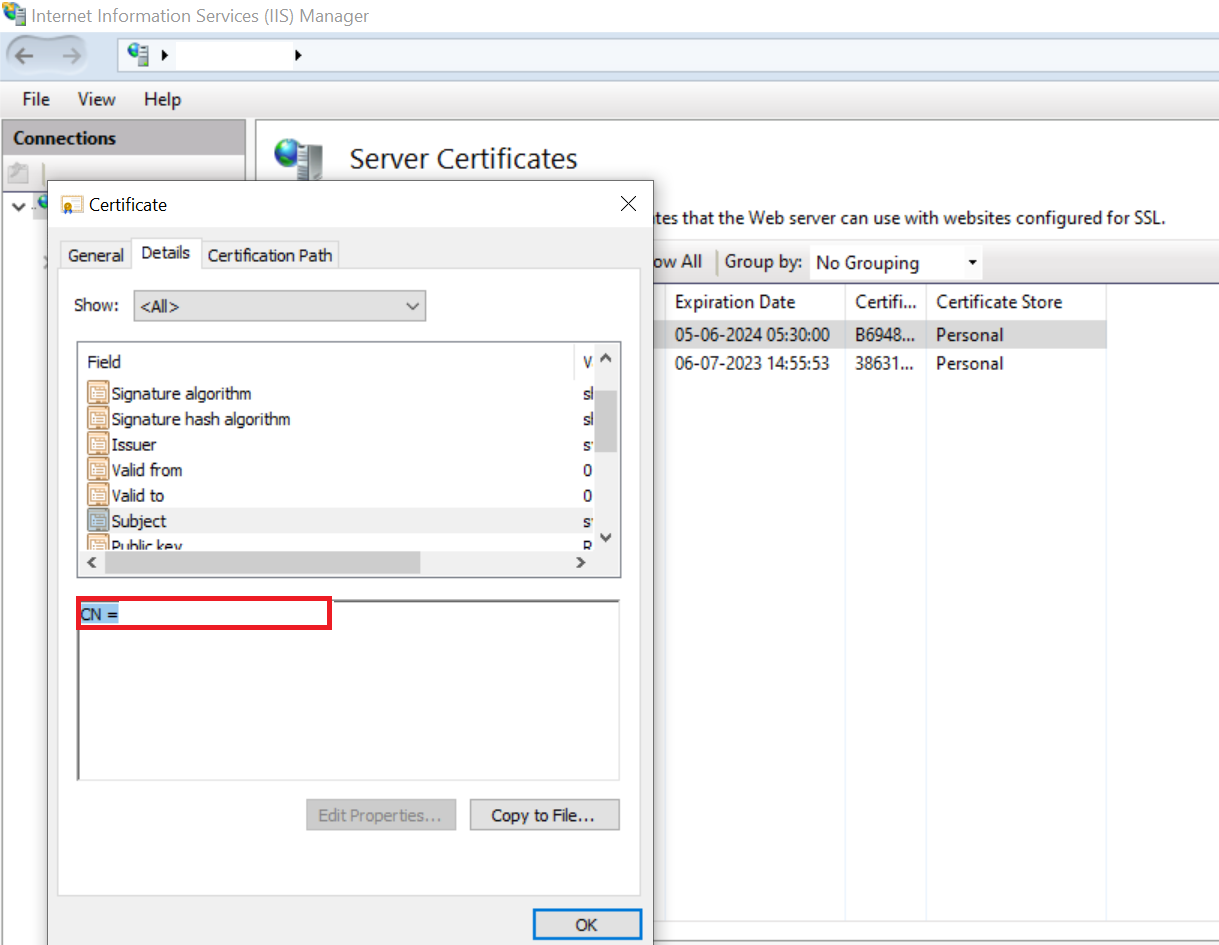
- Replace the <certificateservername> with the certificate name (CN) from the IIS manager and then replace the following parameters in database_params.conf under
<OpManagerHome>/conf : encrypt=true;trustServerCertificate=false;hostNameInCertificate=<CertificateServerName>
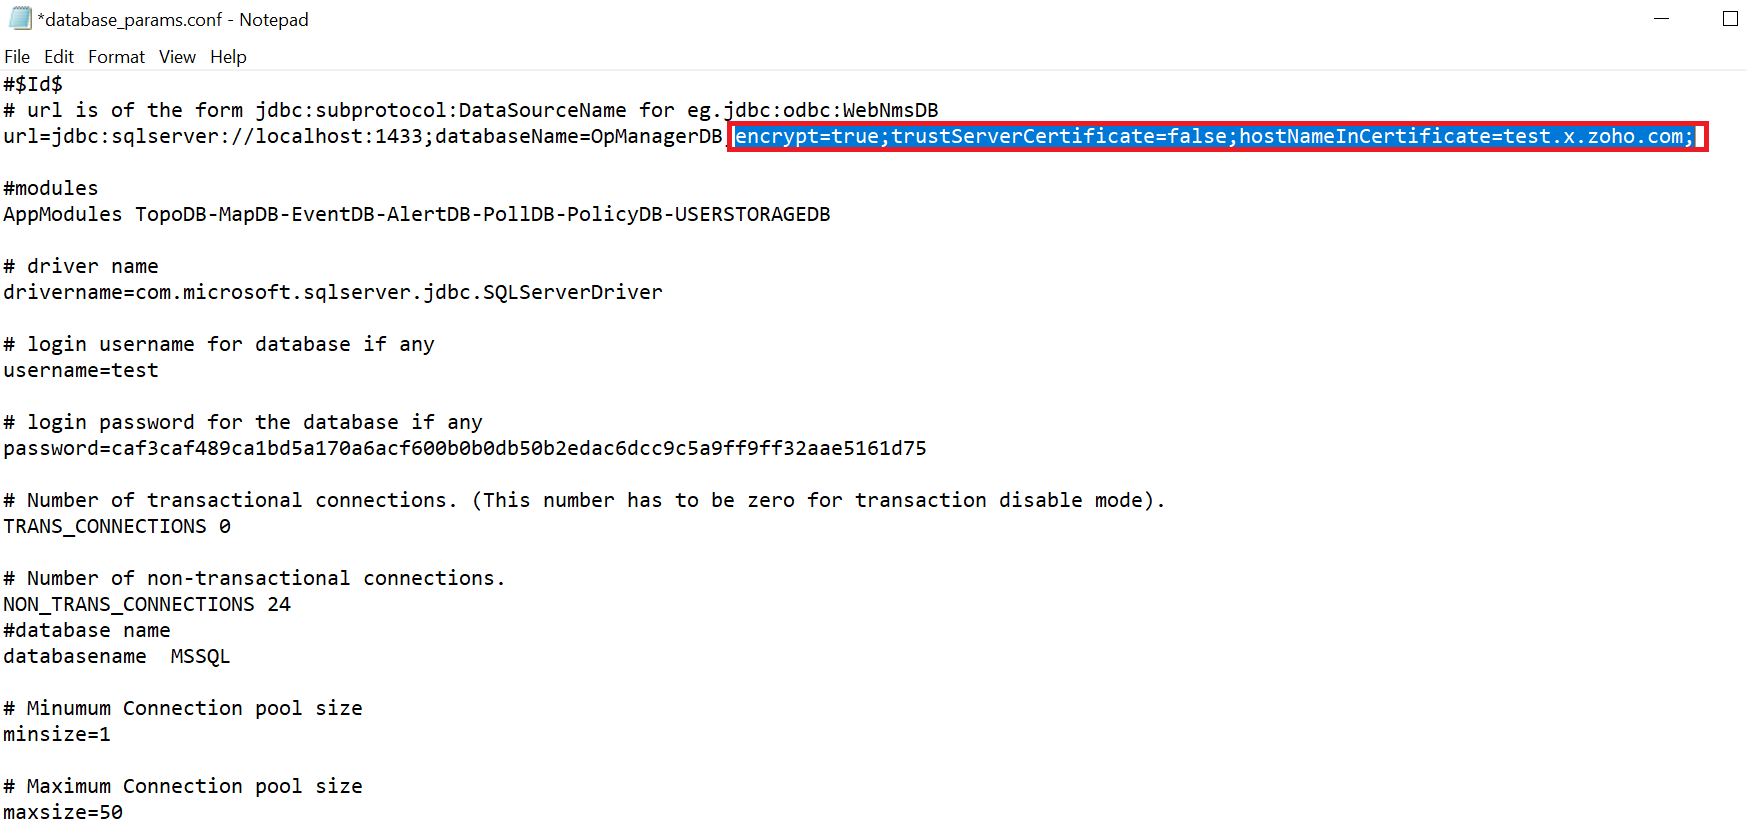
Example:
URLurl=jdbc:sqlserver://localhost:1433;databaseName=<DBName>encrypt=true;trustServerCertificate=false;hostNameInCertificate=<CertificateServerName>
- Make a copy of MSSQL SSL certificate which were exported from the above steps to save certificate, and put it under <OpManagerHome>/conf.
- Open cmd prompt under <OpManagerHome>/bin and run importCertificate.bat. Note that, MSSQL will be enabled only if the certificate names in database_params.conf and IIS manager are the same.
Example: importCertificate.bat sslcertificate.cer
Now start the product.
Thank you for your feedback!


