How to use Wake-on-LAN (WoL) with Endpoint Central
What is Wake-on-LAN(WoL)?
Wake-on-LAN is a networking protocol that can be used to power up a computer from a low power mode. This tool can be used for computers located inside a local network (LAN). This is mainly used to wake-up a computer remotely and deploy any policies to that computer. Wake-on-LAN has the ability to wake up Windows and Linux computers within the same and different subnets. When a task is initiated to wake up a computer, the target computer's broadcast address is sent to the specific computer which is live in that subnet.
What are the prerequisites for Wake-on-LAN (WoL)?
- Ensure that at least one computer with Endpoint Central agent is live in that network.
- Ensure that IP-directed broadcast settings are enabled for the router/switch.
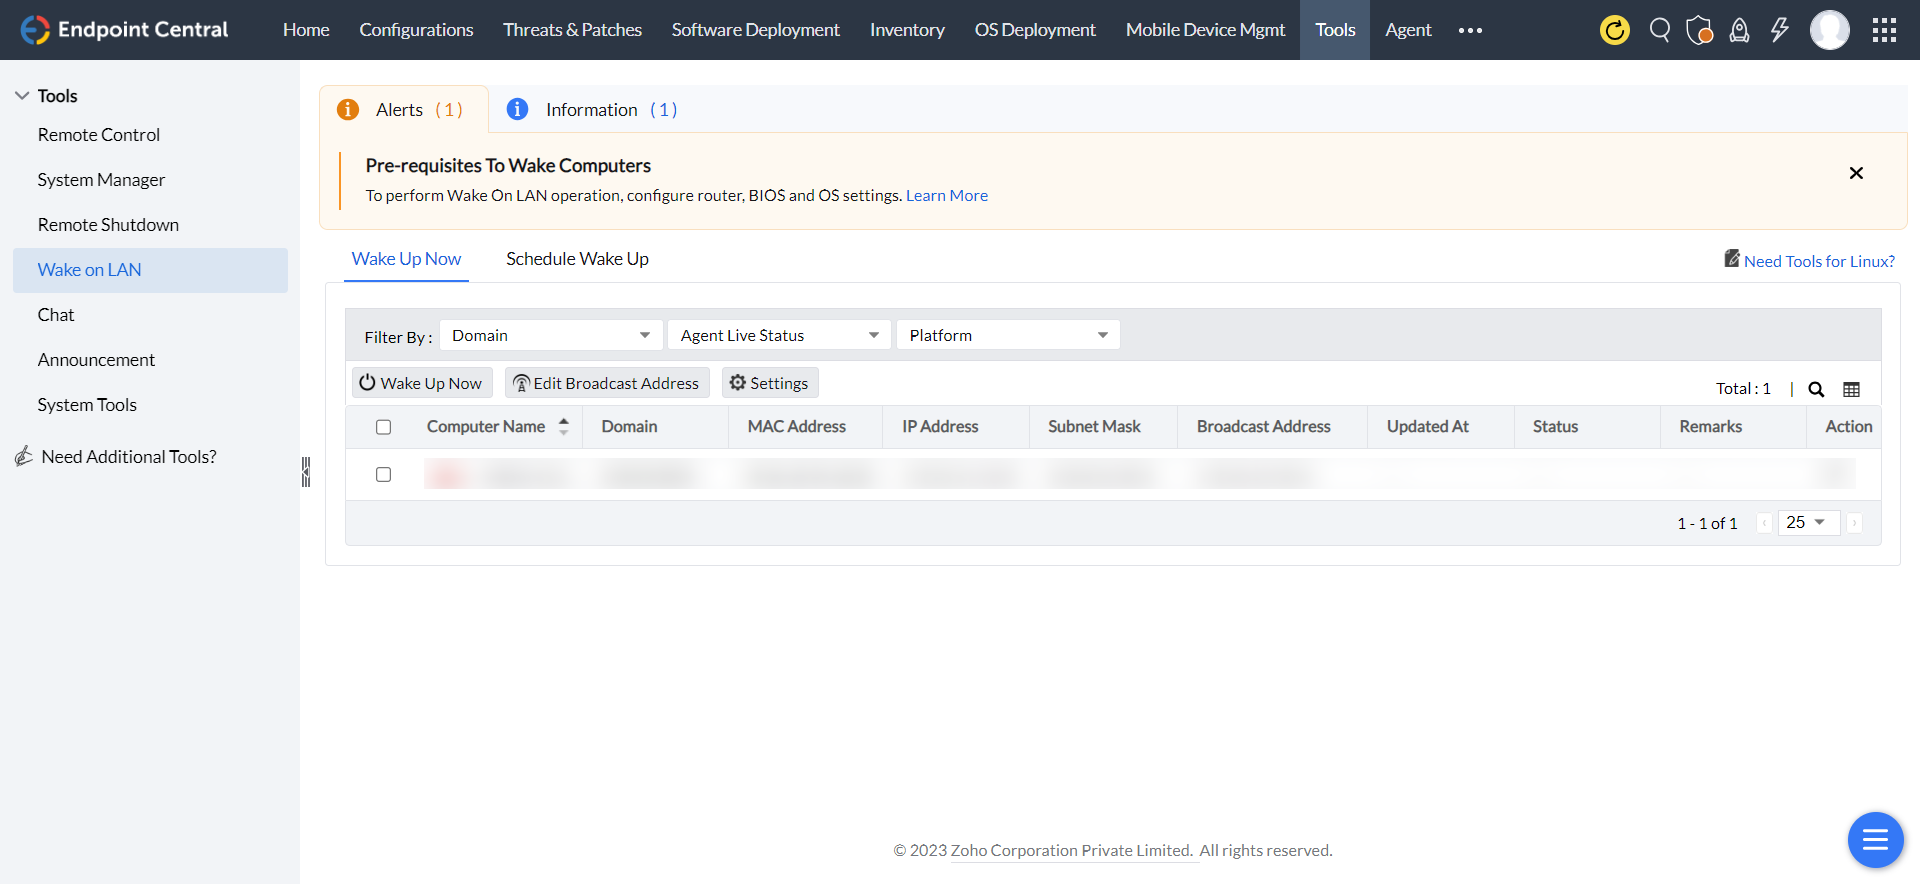
- Ensure that the remote computer will receive magic packets sent from the peer machine. You can enable wake On LAN settings under Tools > Wake On LAN > Settings. Note: The network adapters of all the agents will restart when Wake-on-LAN settings is enabled.
- During the computer’s power-on-self-test enter the BIOS setting screen by pressing the F1, INS, or DEL keys and opt Power Management.
- Under Wake on LAN/WLAN, choose LAN or WLAN. Ensure that the Deep Sleep Mode is disabled.
- Save the settings. Read these guides to activate BIOS settings in Dell, HP, and Lenovo
- For Windows 10, ensure that the computer is not in shutdown mode. Read this article for the workaround.
- Under Settings ensure the time interval to check WOL status is below 5 minutes and port configured (recommended 7) is available on the remote device.
Note: Wake-On-LAN functionality is not supported for managed Virtual Machines.
How to enable wake-on-LAN?
- Navigate to Tools > Wake On LAN > Select the required computers and click Wake up Now
- It is recommended to modify the broadcast address of remote device to match the IP address of viewer device. To modify, navigate to Tools > Wake On LAN > Edit Broadcast Address.

How to schedule wake-on-LAN?
- Under Wake on LAN navigate to Schedule Wake Up and choose Add Task.
- Port: Ensure the port number configured here is available on the remote device. Recommended port number is 7
- Waiting Time: After initiating wake on LAN the Central Server will wait for a period of time to check the status of remote devices. It is recommended to specify this time limit below 5 minutes.
- Resolve IP address on each schedule.
- Define Targets: Specify the remote devices where wake on LAN has to be scheduled
- Configure Scheduler: Customize the frequency and time to perform the scheduled task.
- Once scheduled, you can view all the tasks from Schedule Wake Up tab. You can modify, suspend or delete them by selecting the three dots under Action column.

